
Chapter Six: The Mage
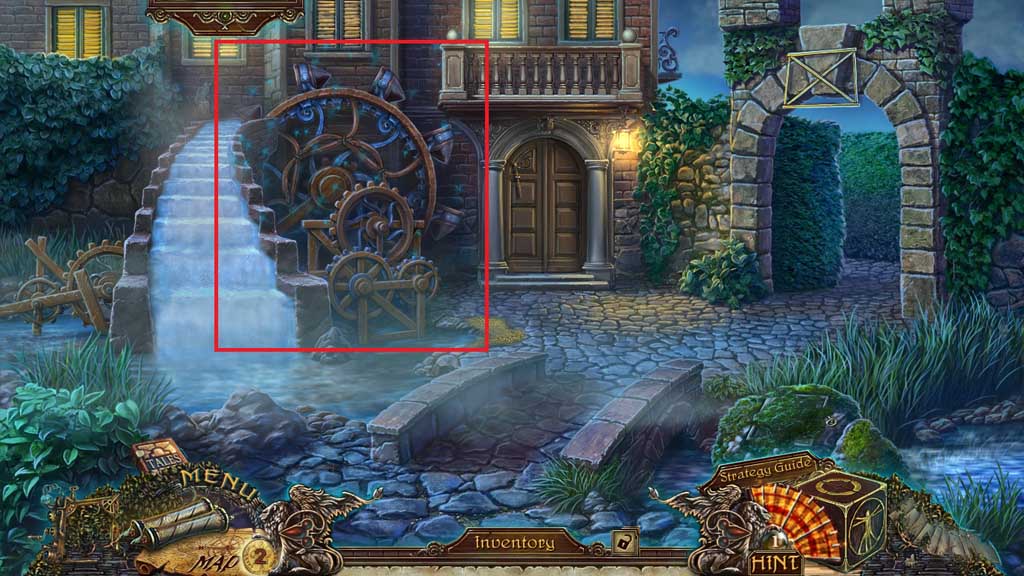
- Click the hidden objects area.
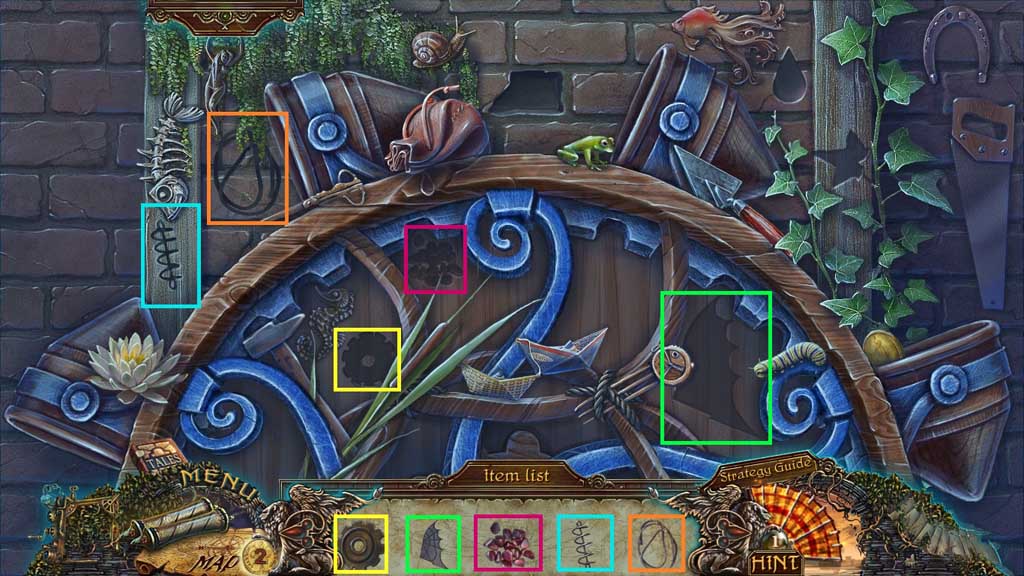
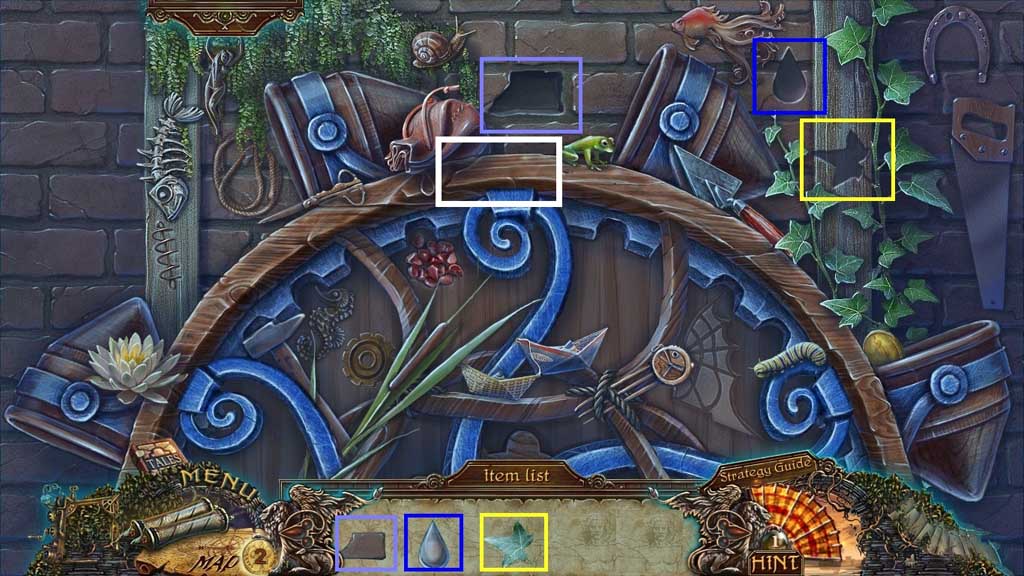
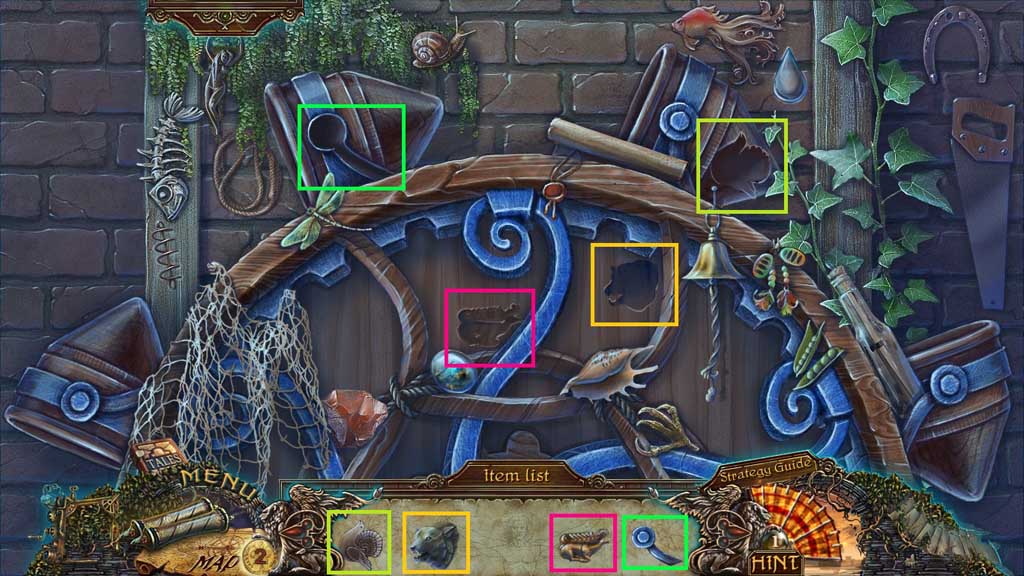
- Place the items correctly.
- Click the wooden frame.
- Collect the wolf head.
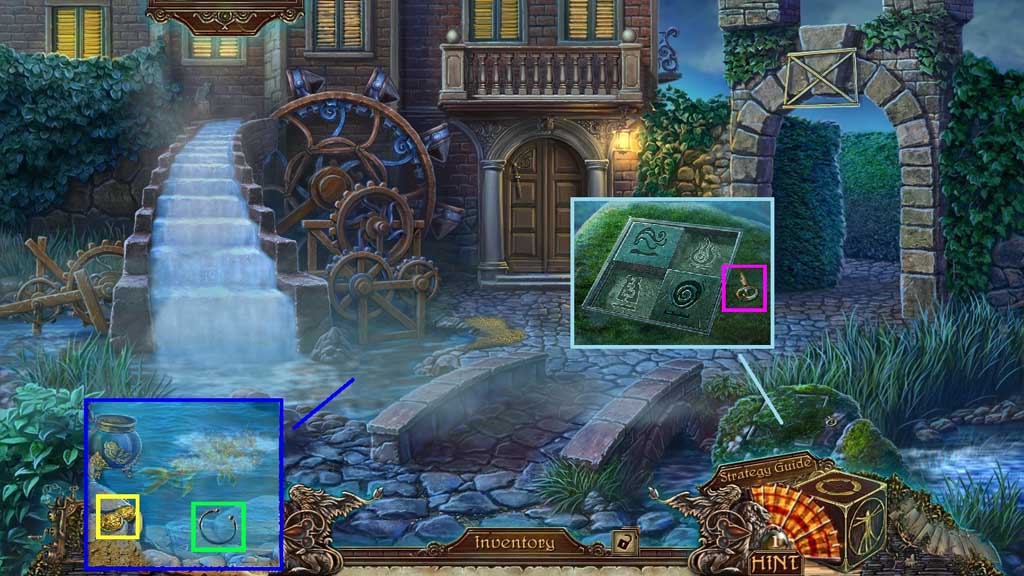
- Select the fish food to pour into the water; collect the ring and coins.
- Select the scraper to remove the moss; collect the tuning key.
- Move to the Cave in the Rock.
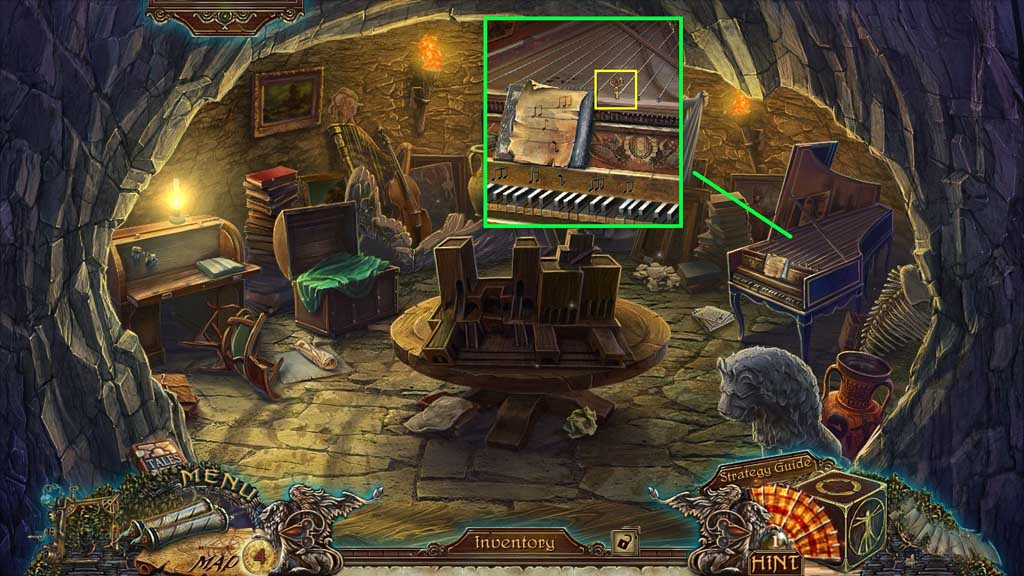
- Insert the tuning key; collect the wire.
- Move to the Yard.
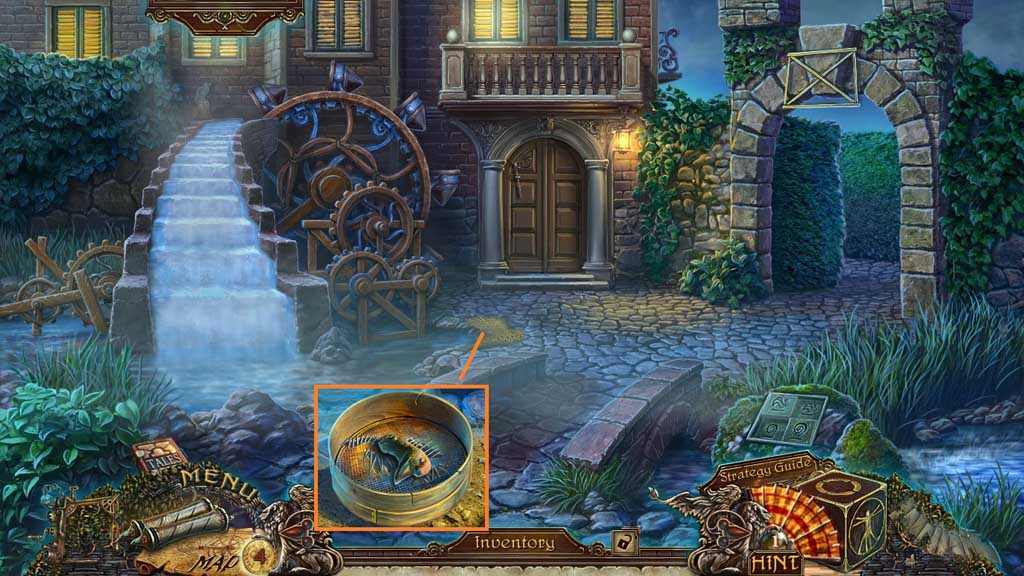
- Place the sieve into the dirt and use the wire to repair it; collect the goose head.
- Move to the Cave in the Rock.
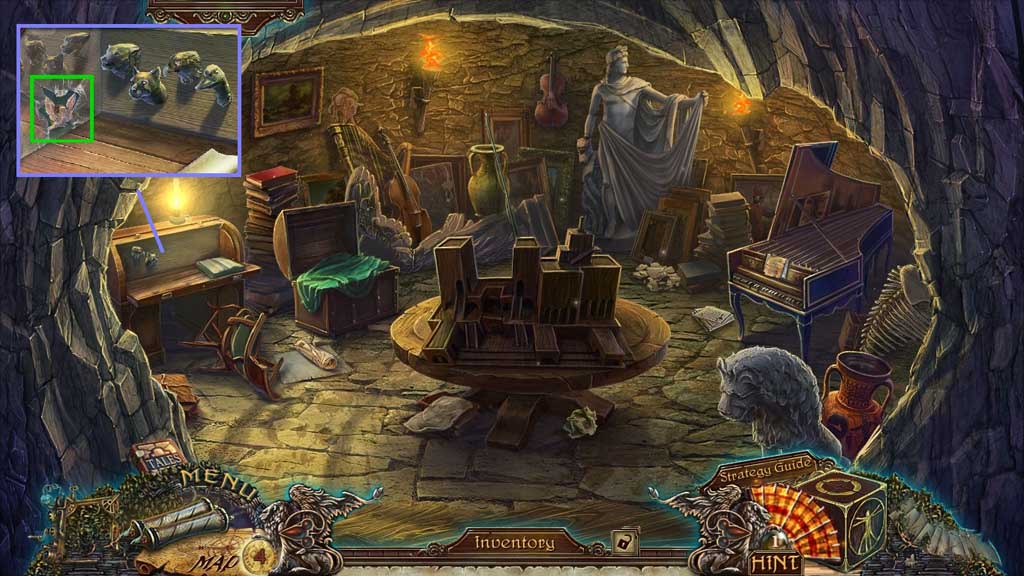
- Attach the wolf and goose heads; collect the homing pigeon and coins.
- Move to the Front Yard Mage House.
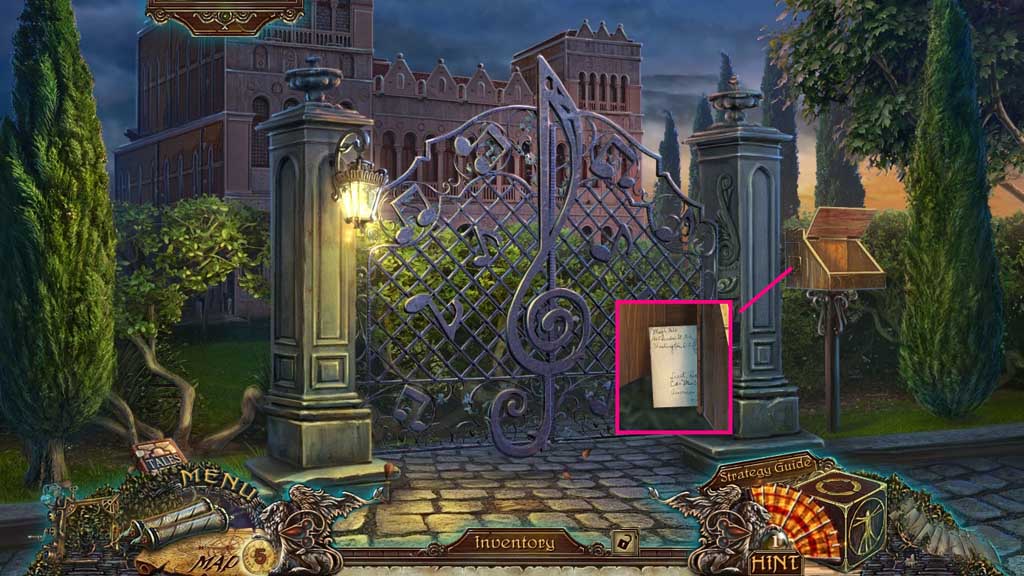
- Place the homing pigeon; collect the Greek inscription.
- Move to the Library.
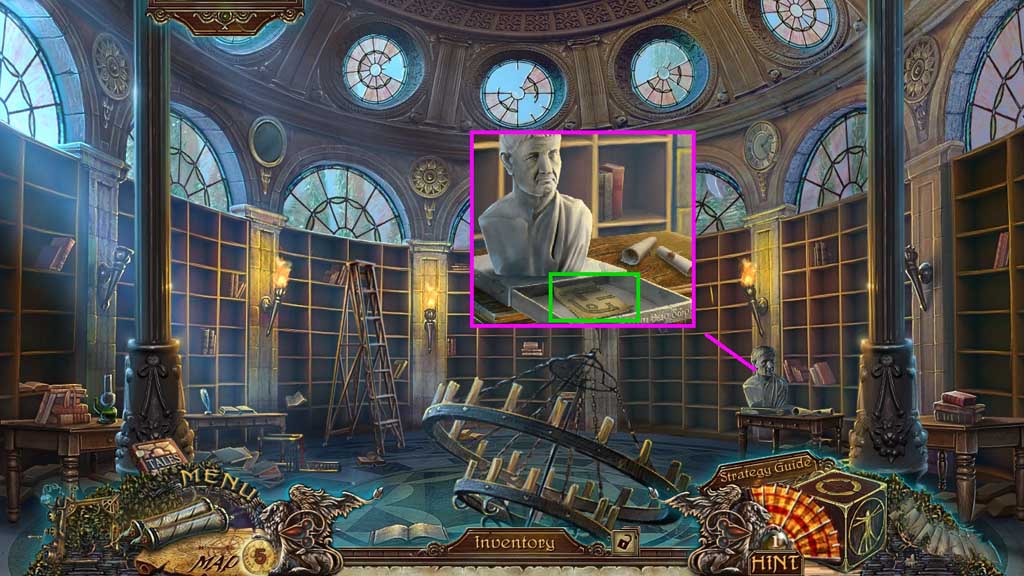
- Place the 2 Greek inscriptions; collect 2 /2 maps of the labyrinth.
- Move to the Yard.
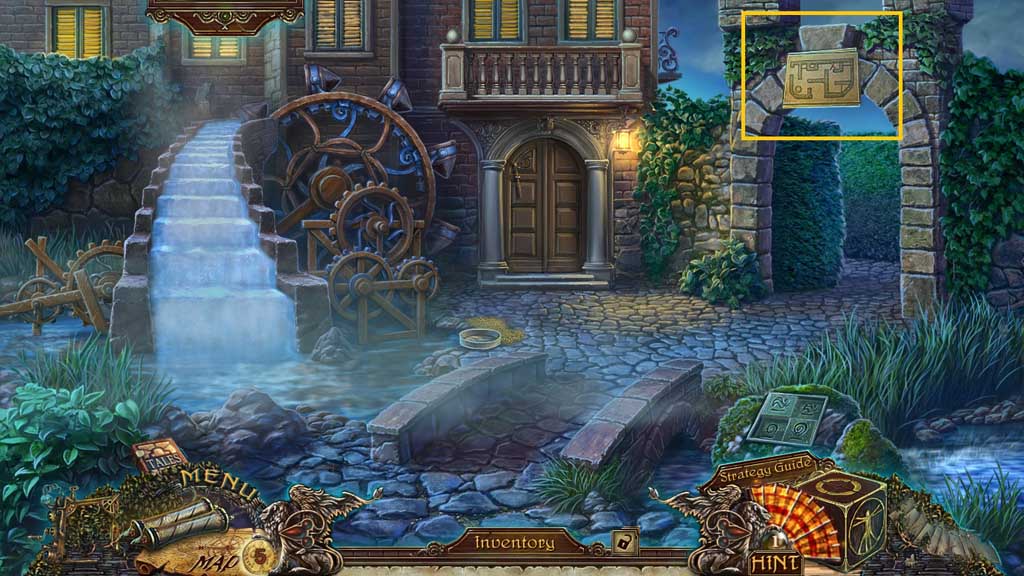
- Place the map of the labyrinth.
- Move to the right.
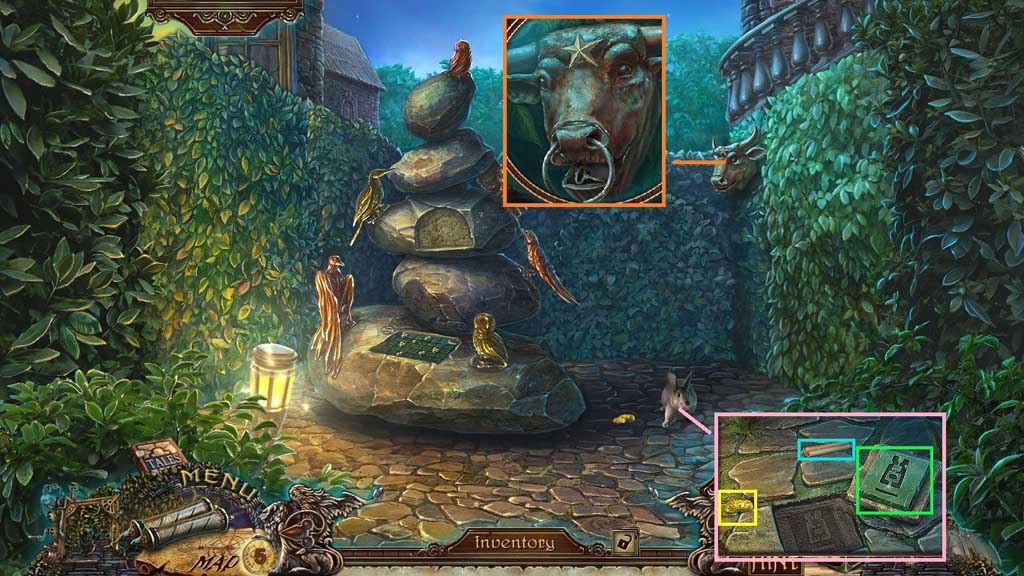
- Give the rabbit the carrot.
- Click the tiles; collect the coins, the correct time and the earth symbol.
- Place the ring; collect the winding key and 1 /3 stars.
- Move to the Library.
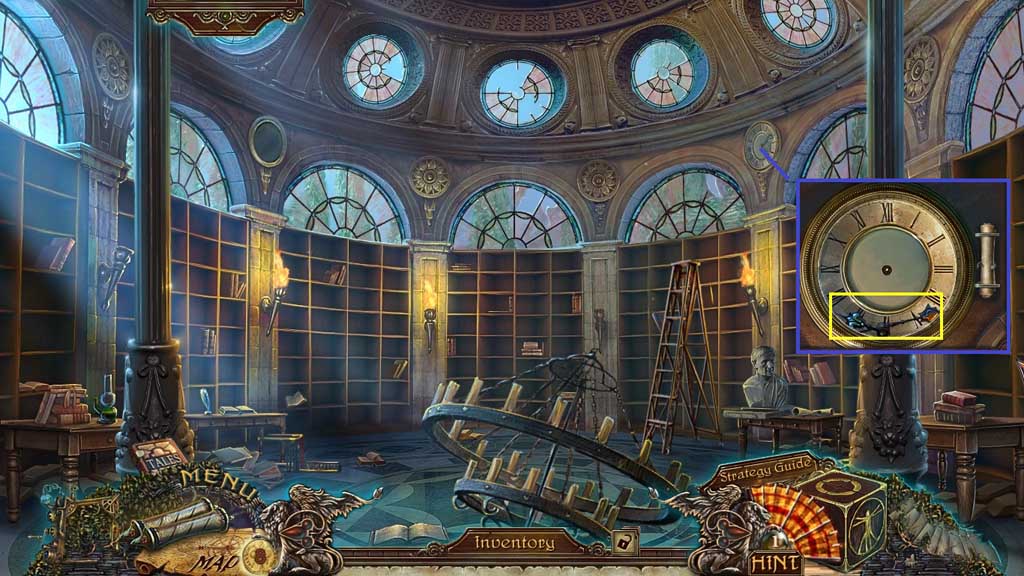
- Click the ladder.
- Place the correct time and set the time 10:10.
- Collect the clock hands.
- Move to the Yard and click the hidden objects area.
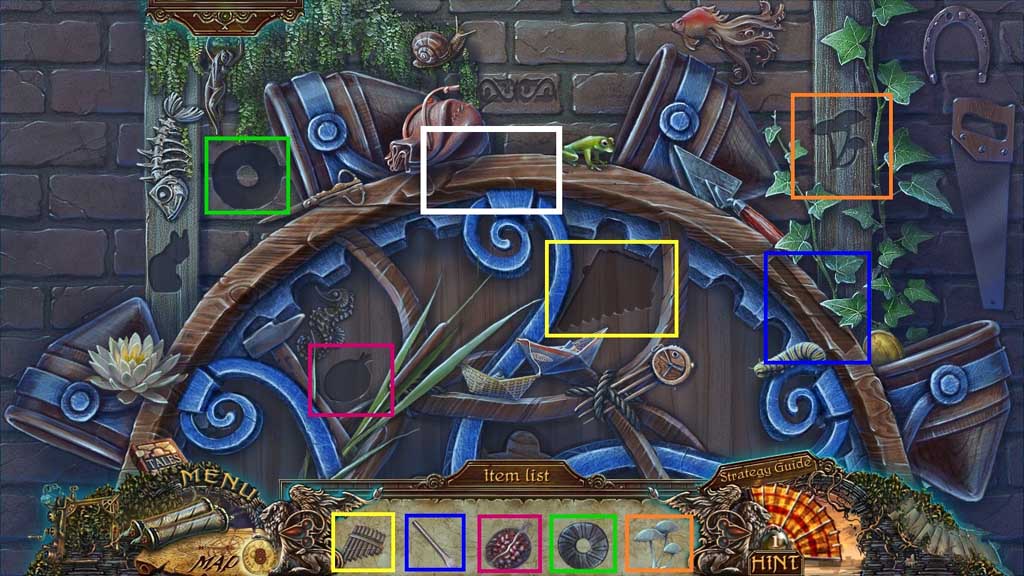
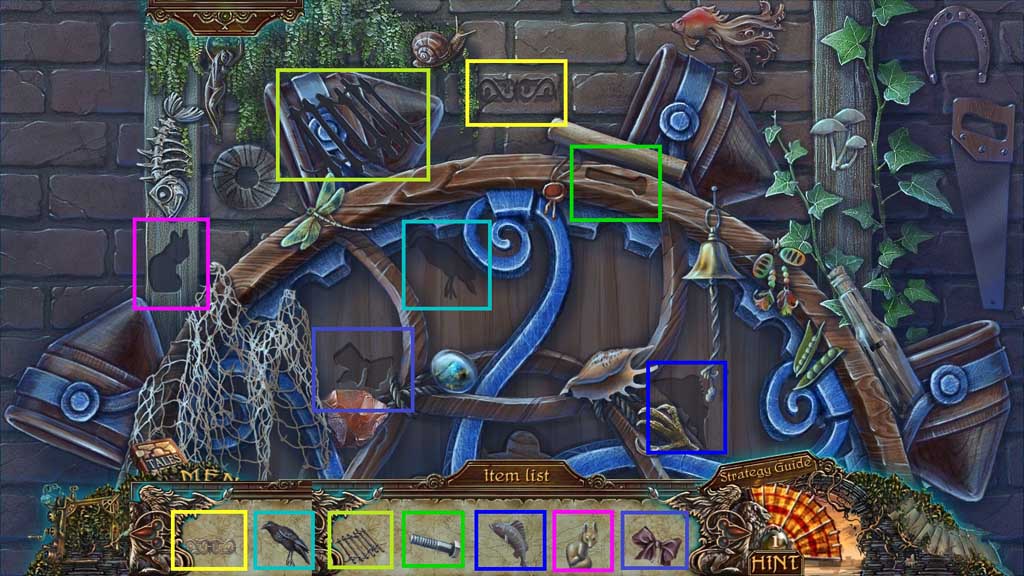
- Place the items correctly.
- Click the wooden frame.
- Collect the rope ladder.
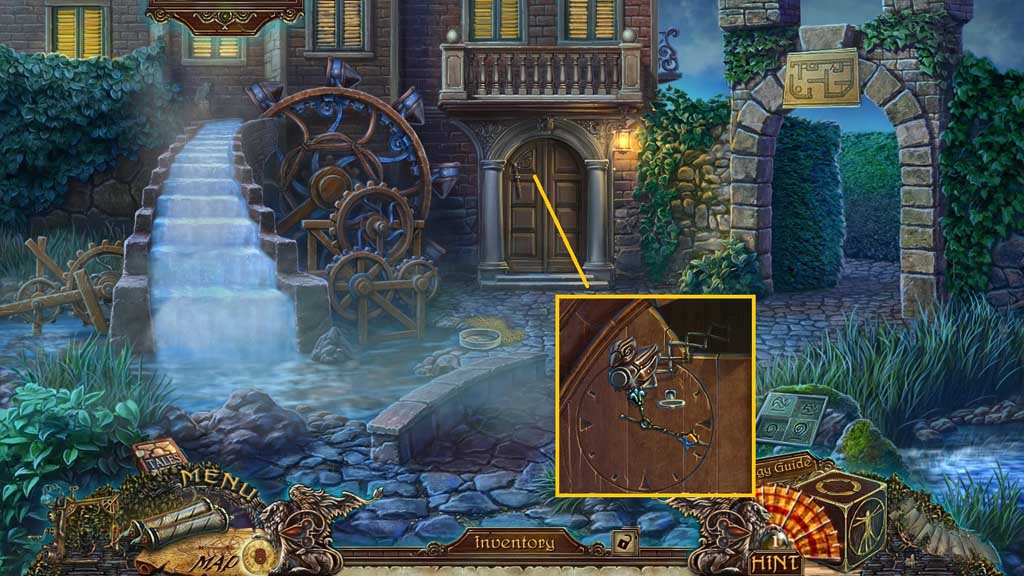
- Insert the clock hands and the winding key.
- Collect the cuckoo.
- Move to the right.
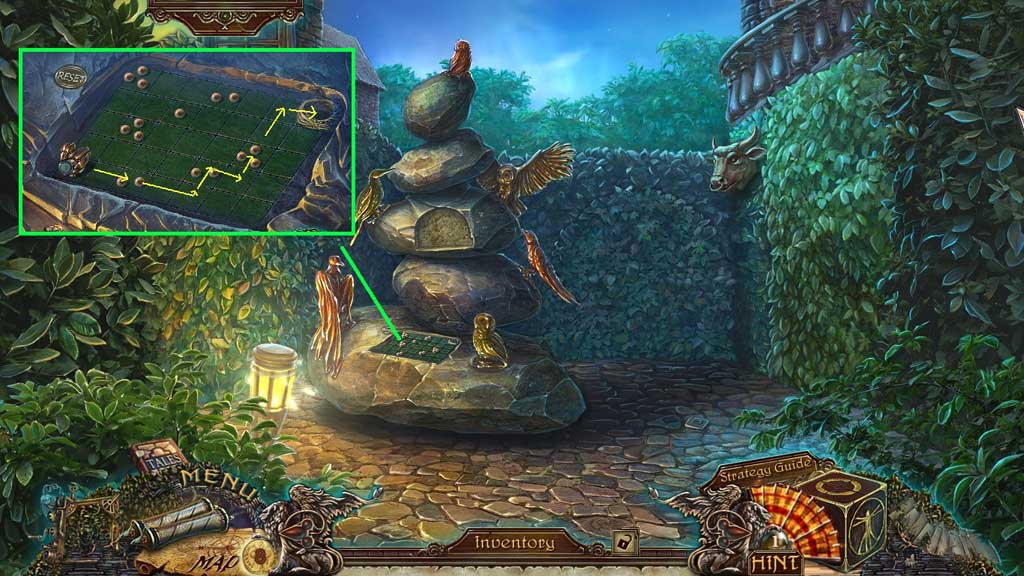
- Insert the cuckoo to trigger a mini game.
- Solve the game by guiding the bird to the nest using the number of squares indicated on its chest.
- Move to the right.
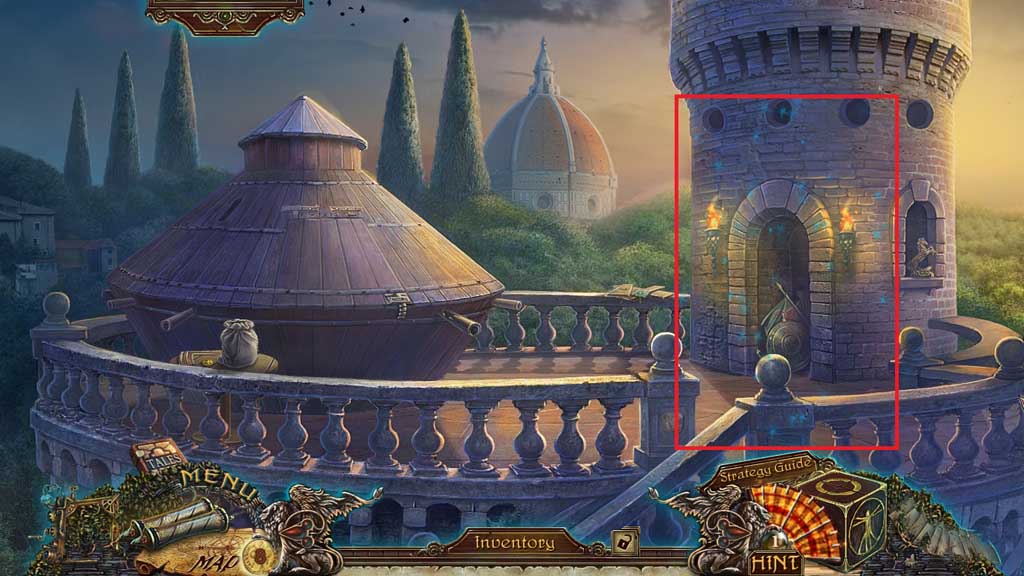
- Toss the smoke bomb.
- Click the hidden objects area.
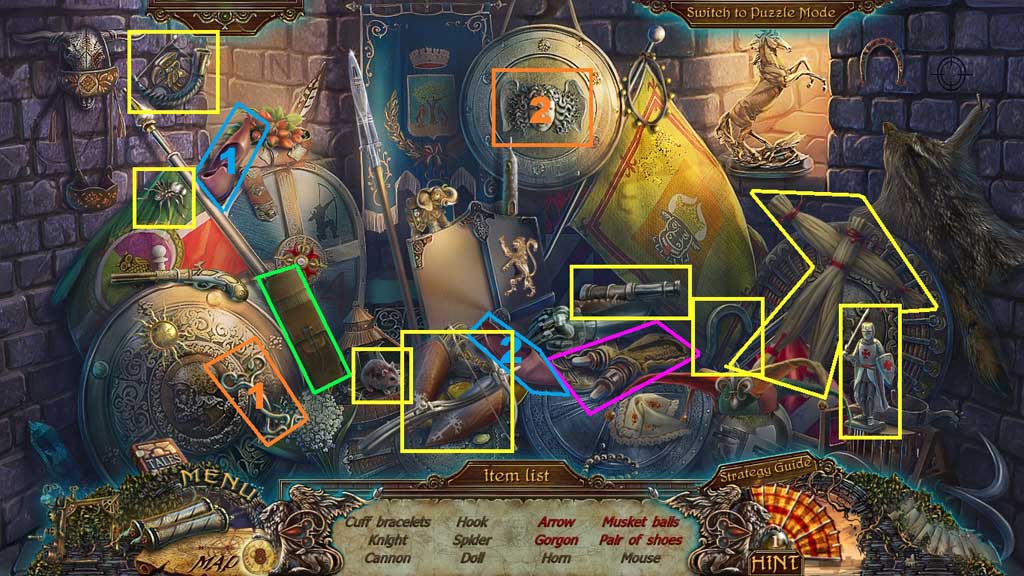
- Find the items.
- Click the bag; collect the arrow.
- Select the snakes and place them onto the Medusa; collect the Gorgon.
- Click the sack; collect the musket balls.
- Select the shoe and place it along with the other; collect the pair of shoes.
- Collect the hook.
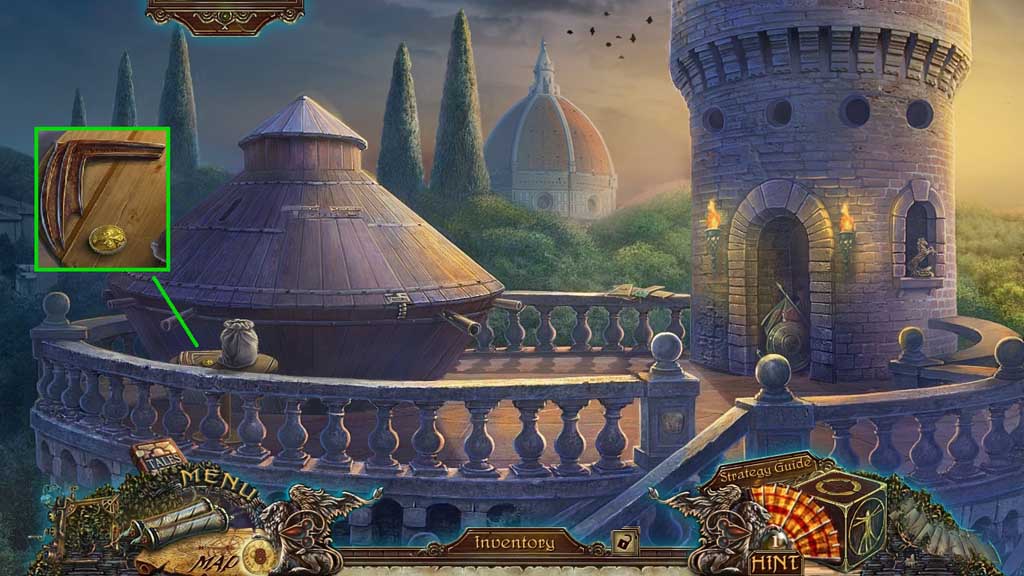
- Collect 1 /2 gargoyle wings and the coin.
- Move down 2x’s.
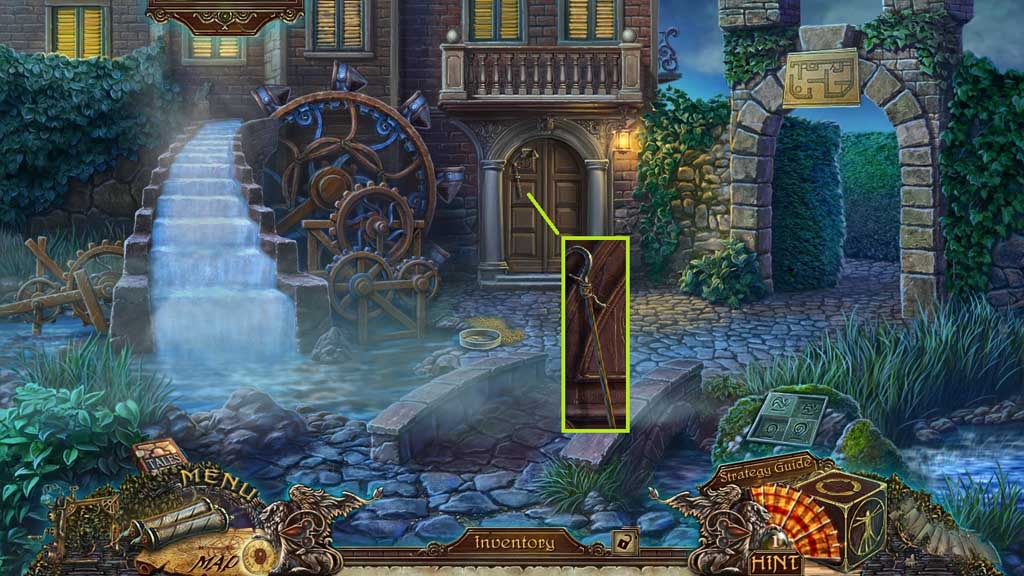
- Attach the hook; collect the long hook.
- Move right 2x’s.
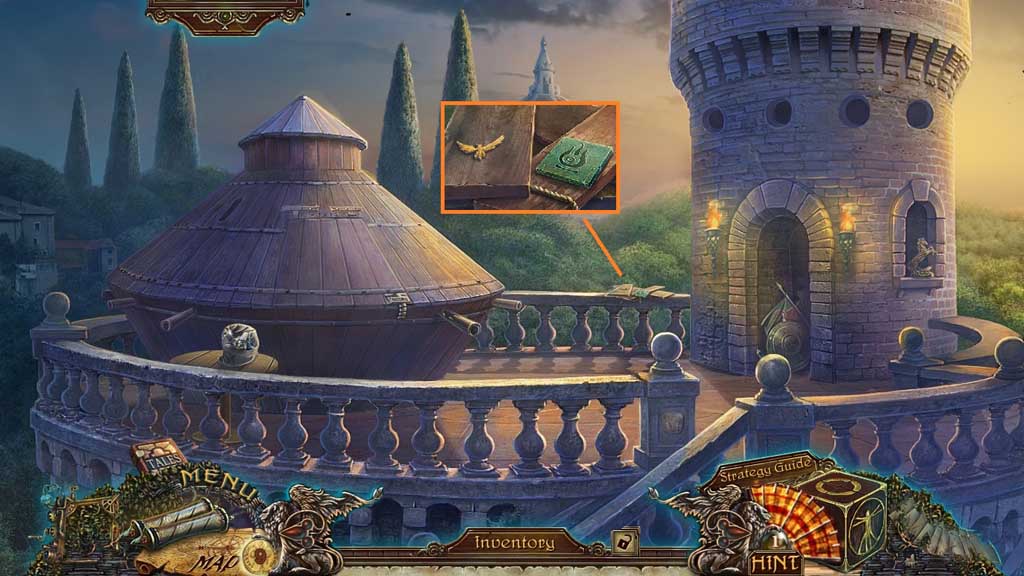
- Select the long hook to collect the Phoenix and the fire symbol.
- Move down 2x’s.
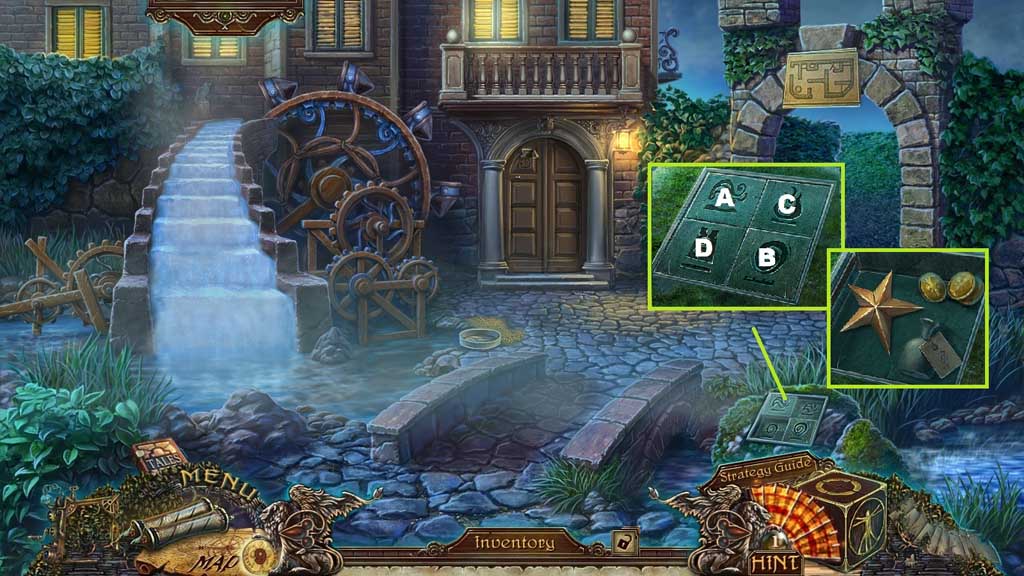
- Insert the earth and fire symbols; click them in the correct order.
- Collect 2 /3 stars, the coins and the glue.
- Move right 2x’s.
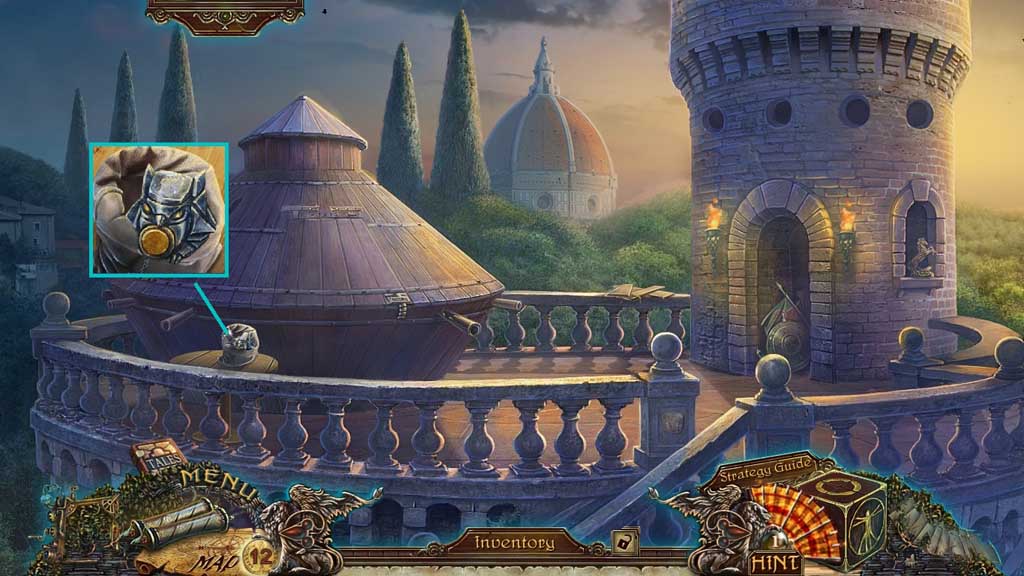
- Click the bag.
- Select the glue to mend and collect the owl.
- Move down once.
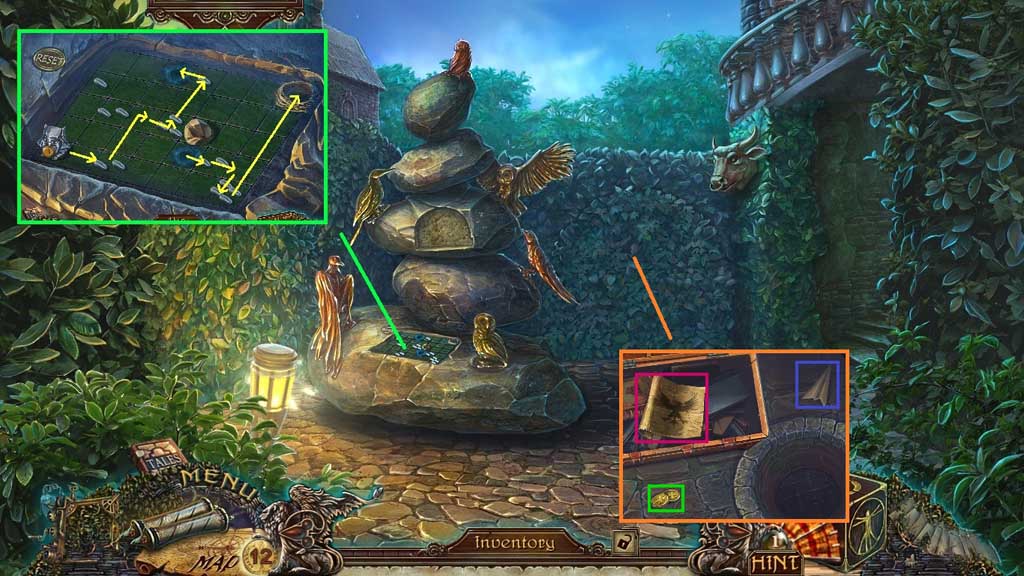
- Place the owl down to trigger a mini game.
- Solve the game by guiding the owl to the nest using the number of squares indicated on its chest.
- Place the Phoenix; collect the constellation diagram, coins and the note.
- Move to the Store.
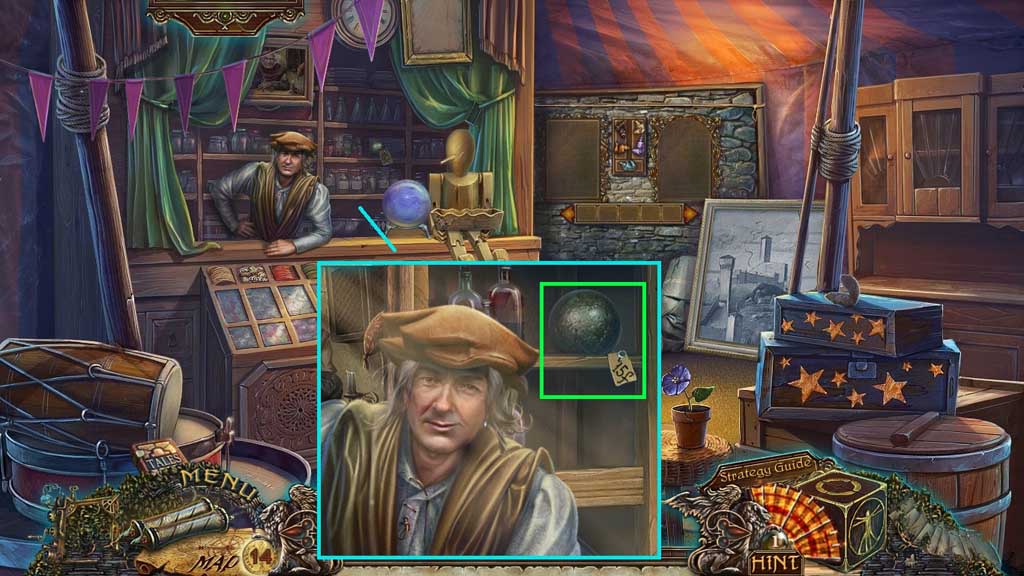
- Purchase the cannonball from the merchant.
- Move to the Observation Platform and click the hidden objects area.
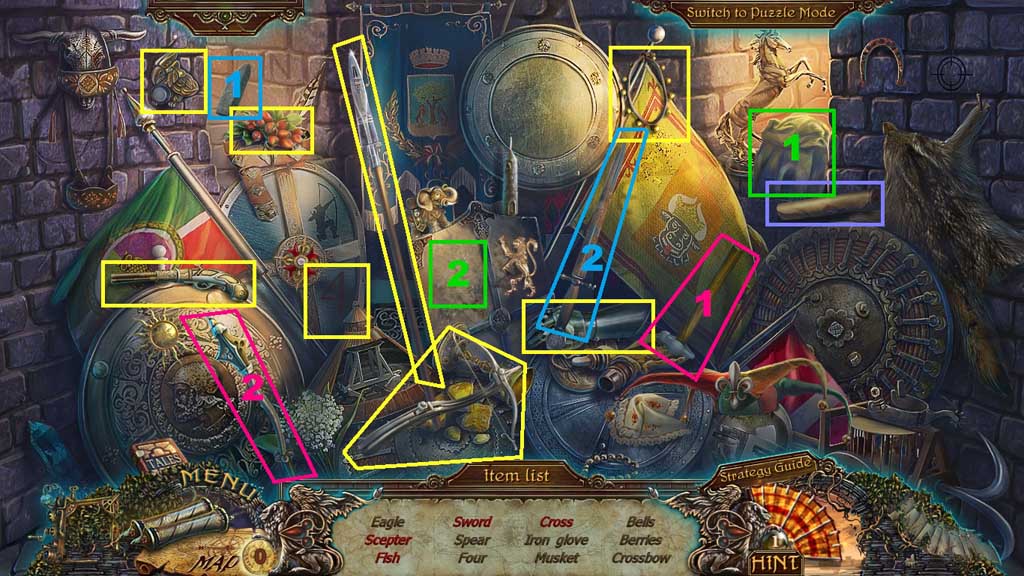
- Find the items.
- Select the hammer to fix and collect the scepter.
- Select the rag and use it on the shield; collect the fish.
- Select the stone and use it on the rusty sword; collect the sword.
- Click the scroll; collect the cross.
- Collect the eagle.
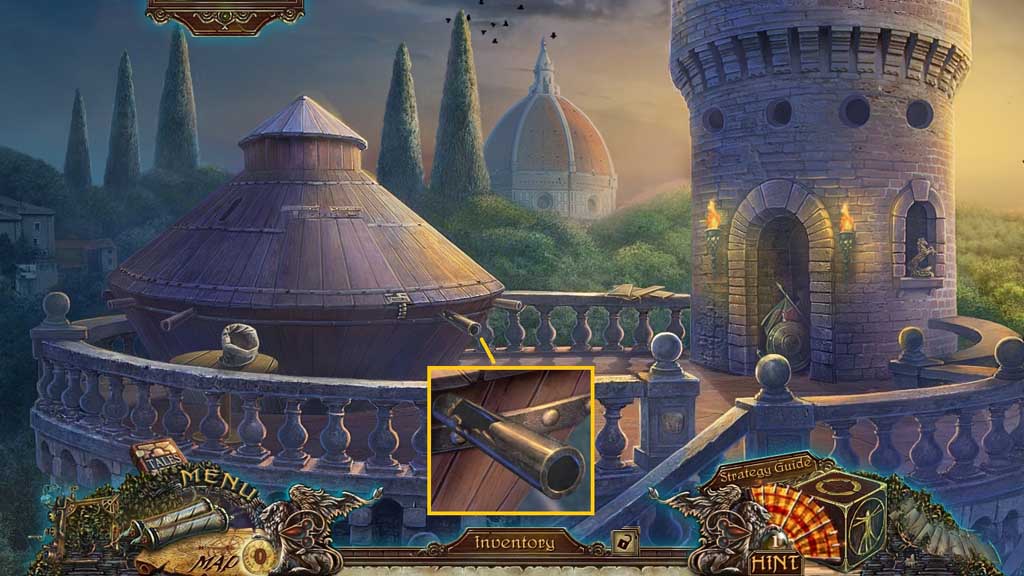
- Select the cannonball to place into the cannon; collect 3 /3 stars.
- Move down once.
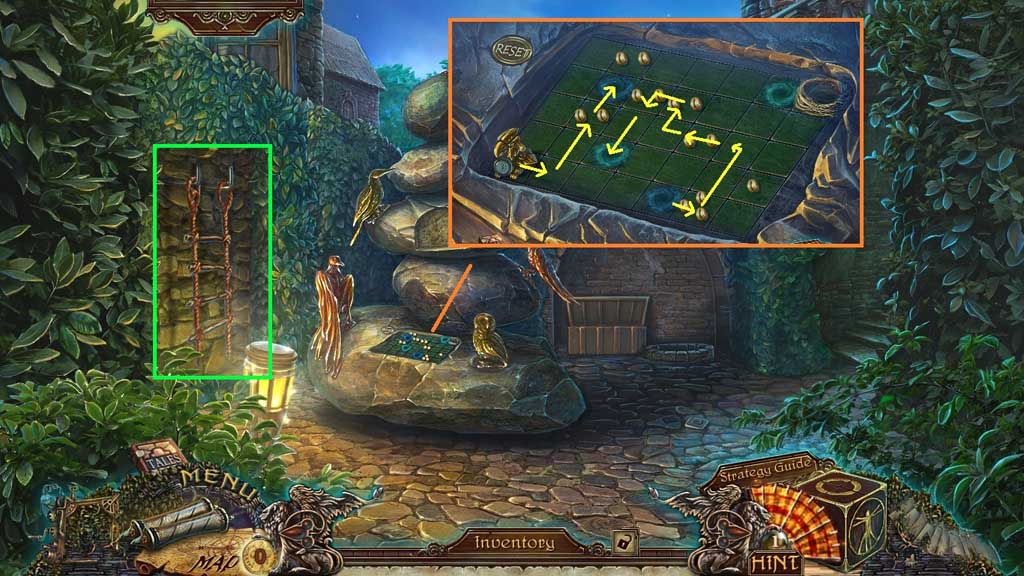
- Insert the eagle to trigger a mini game.
- Solve the game by guiding the eagle to the nest using the number of squares indicated on its chest.
- Place the rope ladder.
- Move to the left.
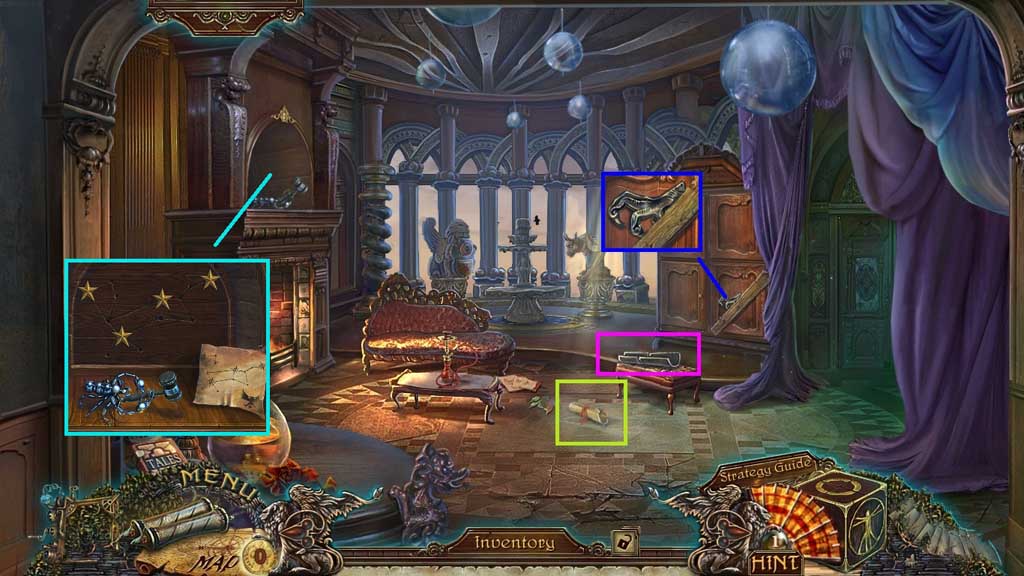
- Collect the note and the Vatican’s crossed key.
- Collect the gutter.
- Collect 1 /2 dragon claws.
- Place down the stars and the constellation diagram.
- Align the stars based on the diagram.
- Move left.
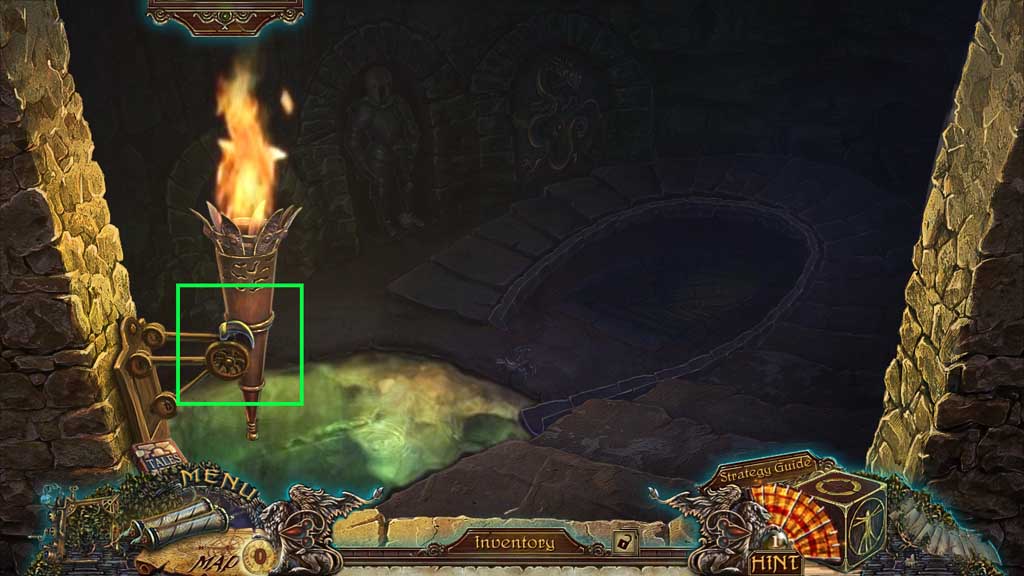
- Collect the sharp claw.
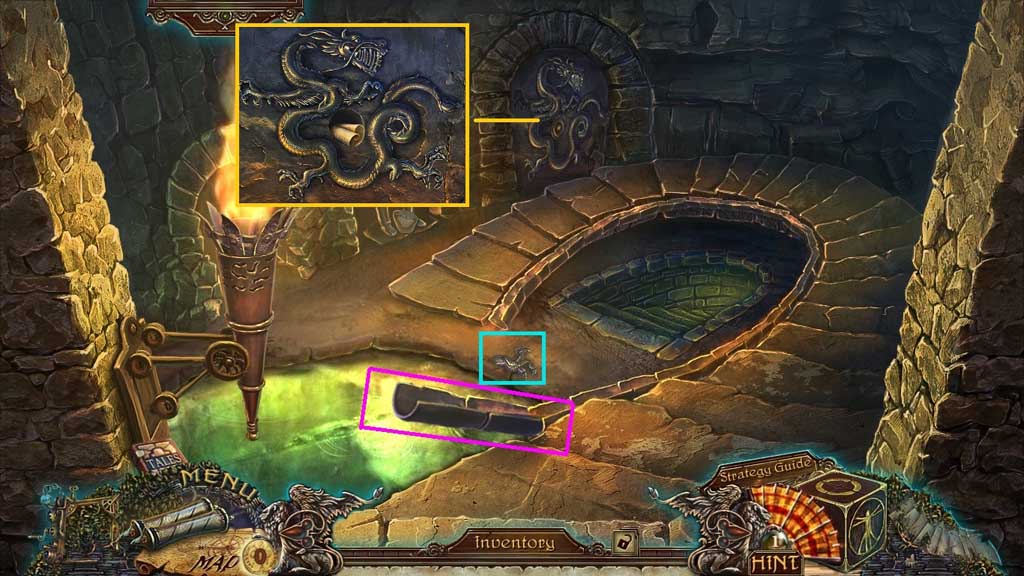
- Attach the gutter.
- Collect 2 /2 dragon’s claws.
- Insert the dragon’s claws and collect 1 /2 diving suit drawings.
- Move to the right and click the hidden objects area.
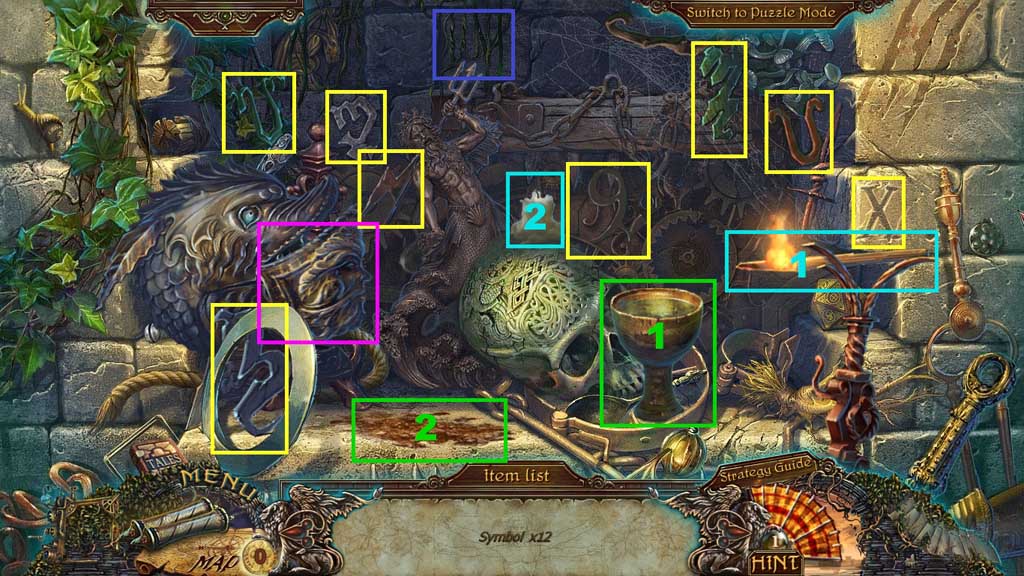
- Find the 12 symbols.
- Select the torch to light the candle; collect the symbol.
- Click the mask; collect the symbol.
- Select the challis and pour it onto the stain; collect the symbol.
- Click the vines; collect the symbol.
- Collect the tile number 2.
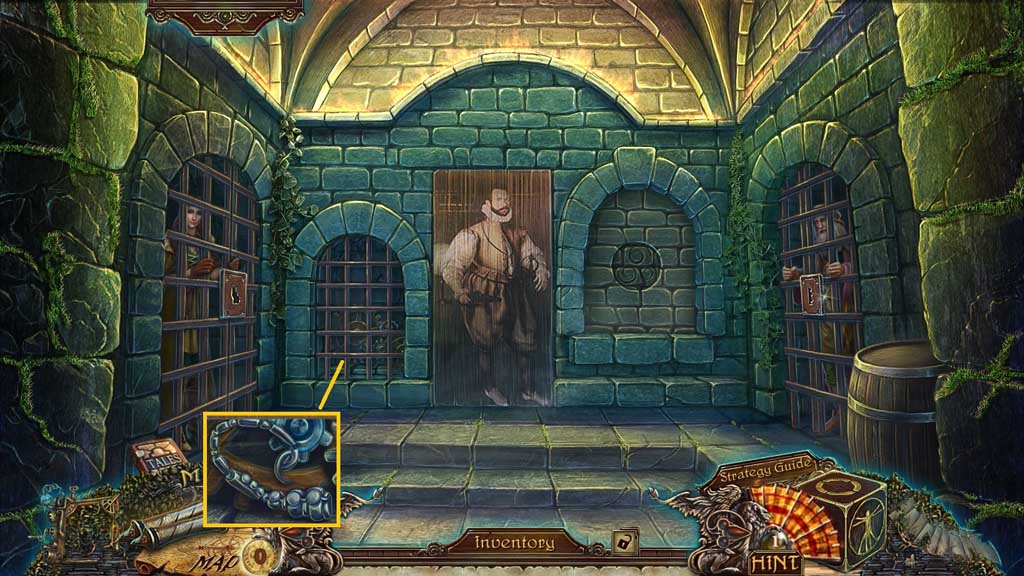
- Collect the scorpion tail.
- Move down 2x’s.
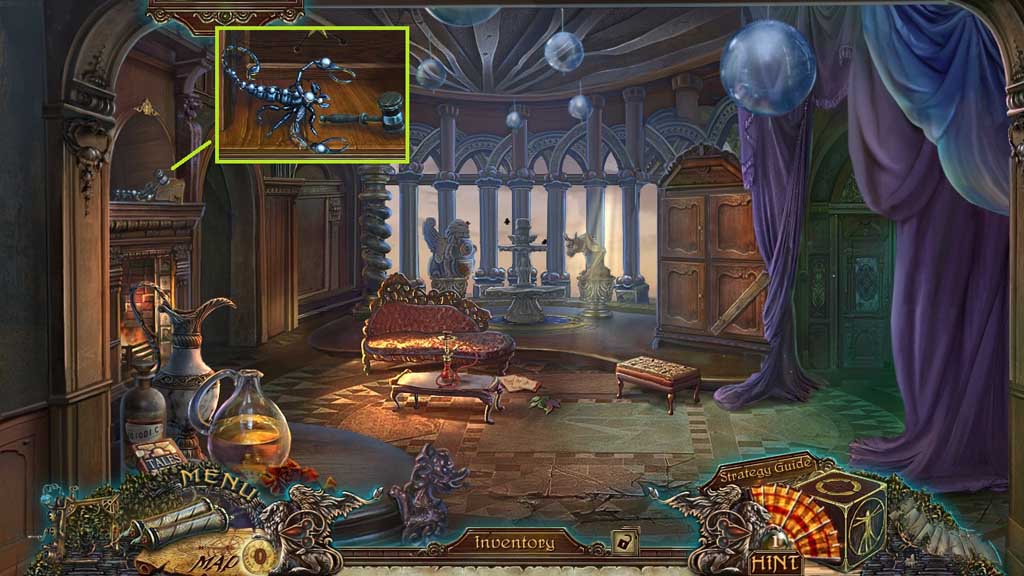
- Attach the scorpion tail; collect the hammer.
- Move to the left.
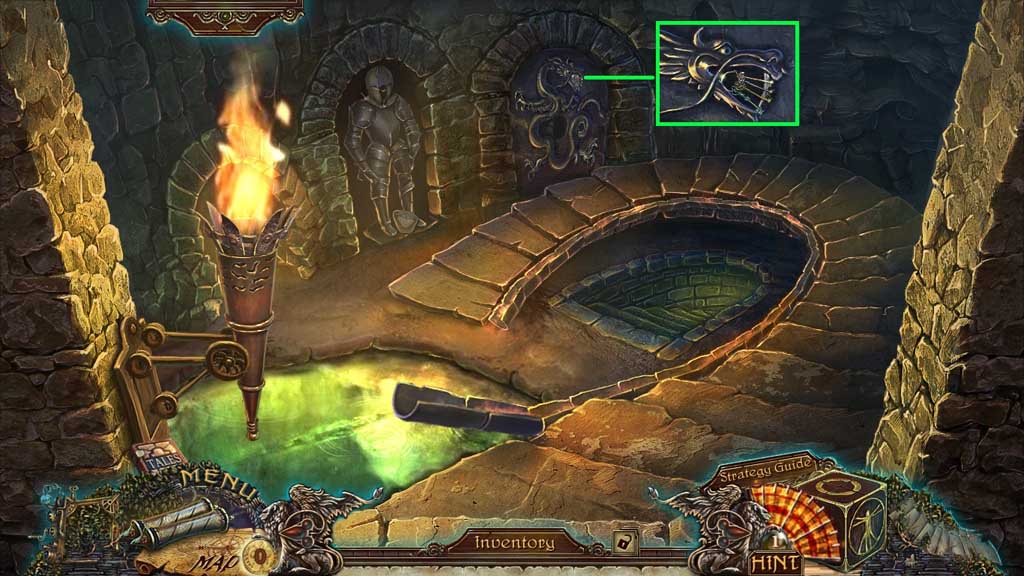
- Select the hammer to collect the cell keys.
- Move to the right.
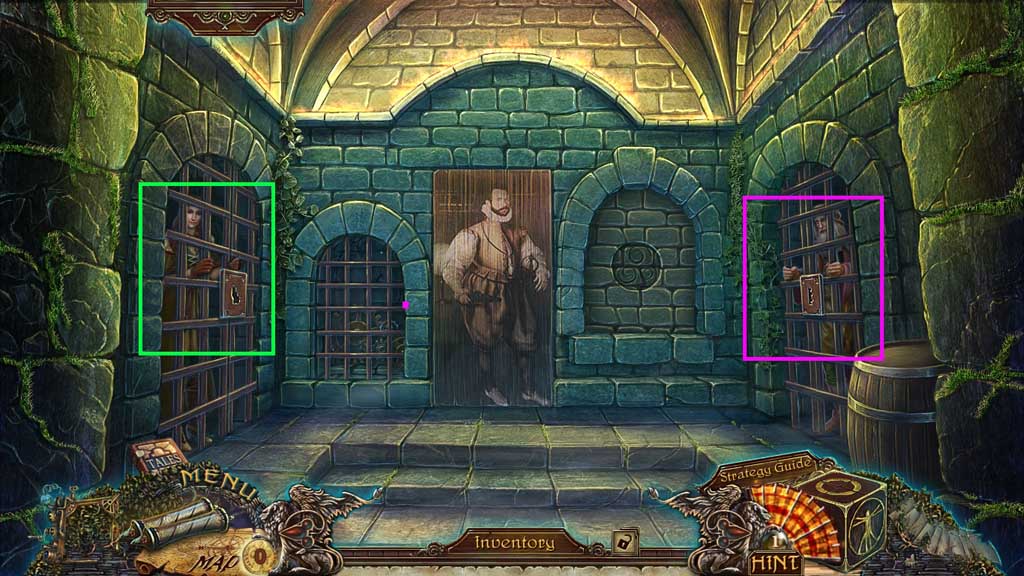
- Insert the cell keys; receive 2 /2 diving suit drawings.
- Insert the cell keys; receive the dart and Yggdrasil.
- Move down 2x’s.
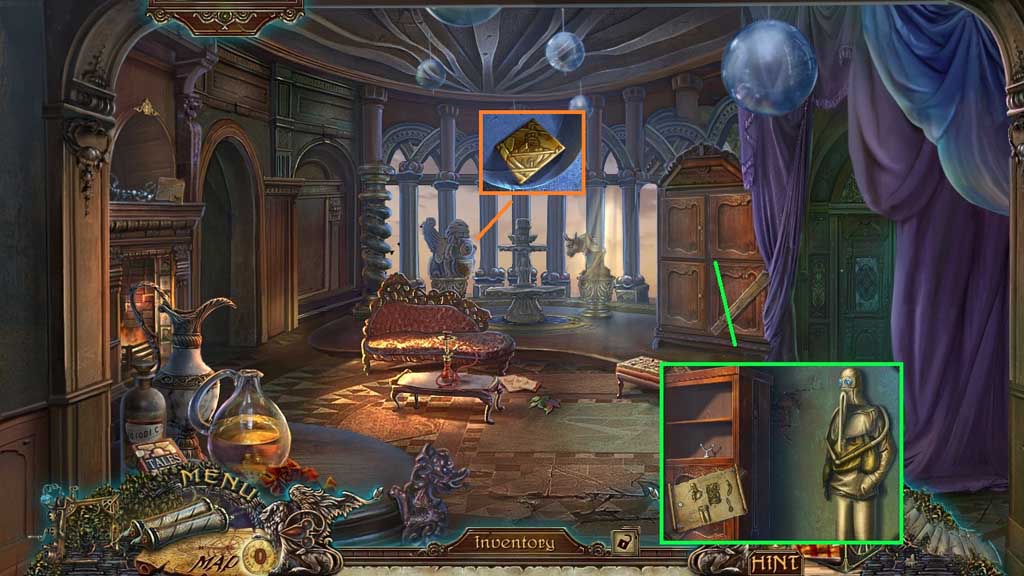
- Zoom into the cabinet and click the door to access diving suit parts.
- Place the diving suit drawing; assemble and collect the diving suit.
- Toss the dart toward the target; collect the tile number 8.
- Move left.
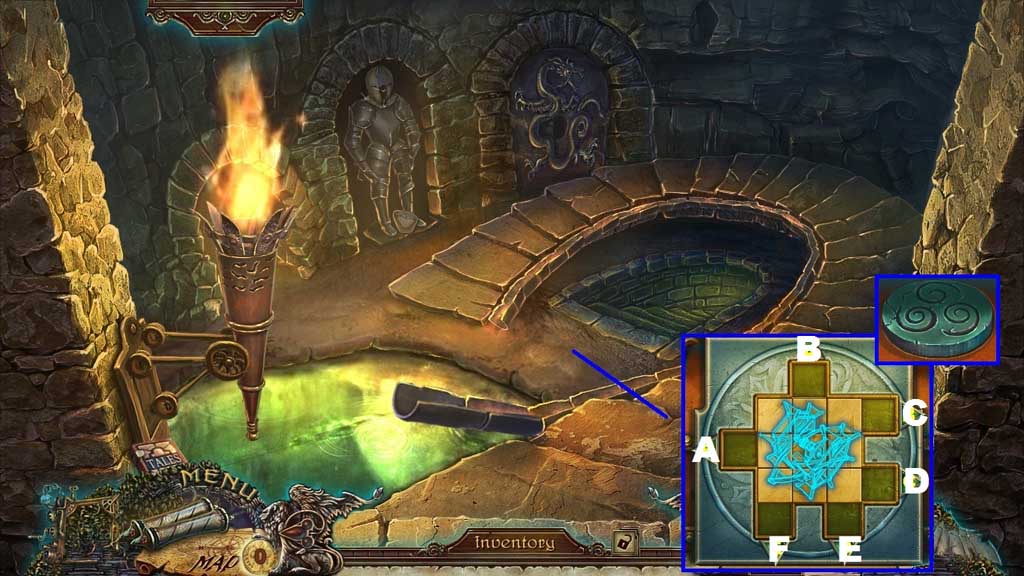
- Use the diving suit to get into the water.
- Insert the 2 mosaic tiles to trigger a mini game.
- Solve the game by aligning the tiles in the correct position.
- Use the following sequence to solve: D – F x 2 – E x 3 – D x 2 – E – A – E x 3 – A x 3 – E x 2 – D x 2 – B – C x 2 – B – D x 2 – B x 2 – C x 2 - B
- Collect the machine schematic.
- Move to the right.
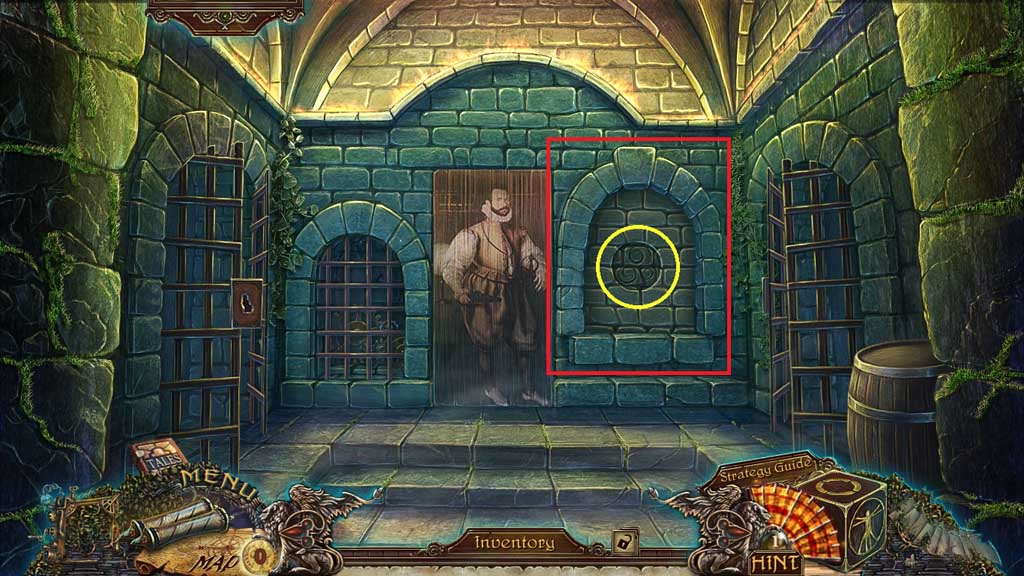
- Attach the machine schematic.
- Click the hidden objects area.
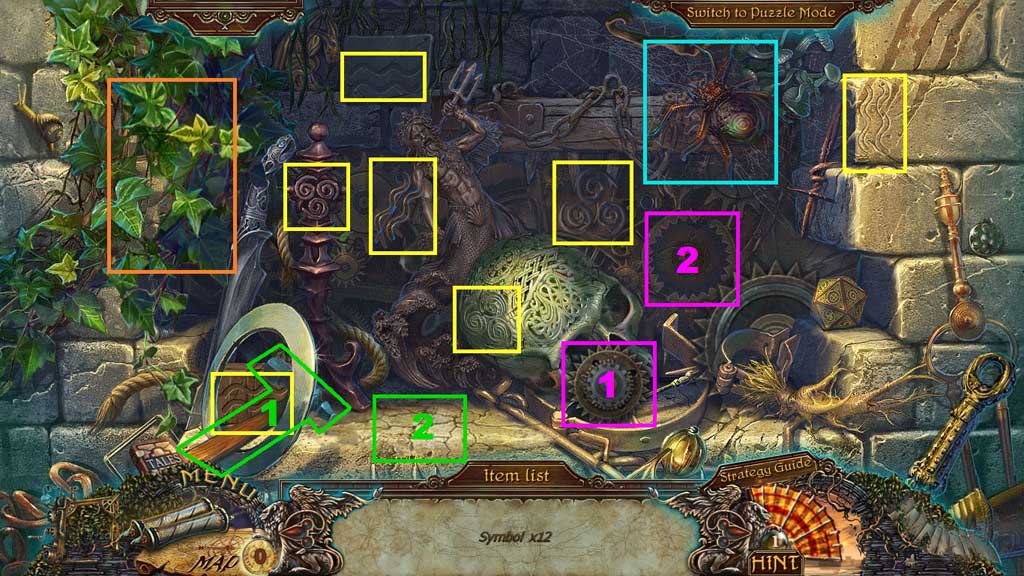
- Find the symbols.
- Click the leaves; collect 2 symbols.
- Select the hammer to smash the floor; collect the symbol.
- Select the gear and insert it into the mechanism; collect the symbol.
- Click the spider; collect the symbol.
- Collect the bellows.
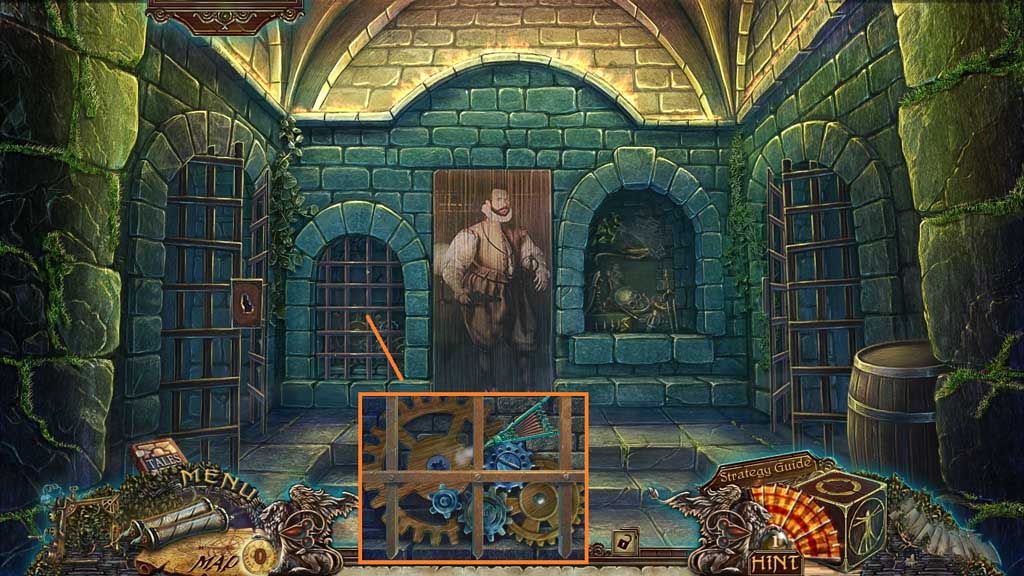
- Select the bellows to move the gears.
- Move ahead.
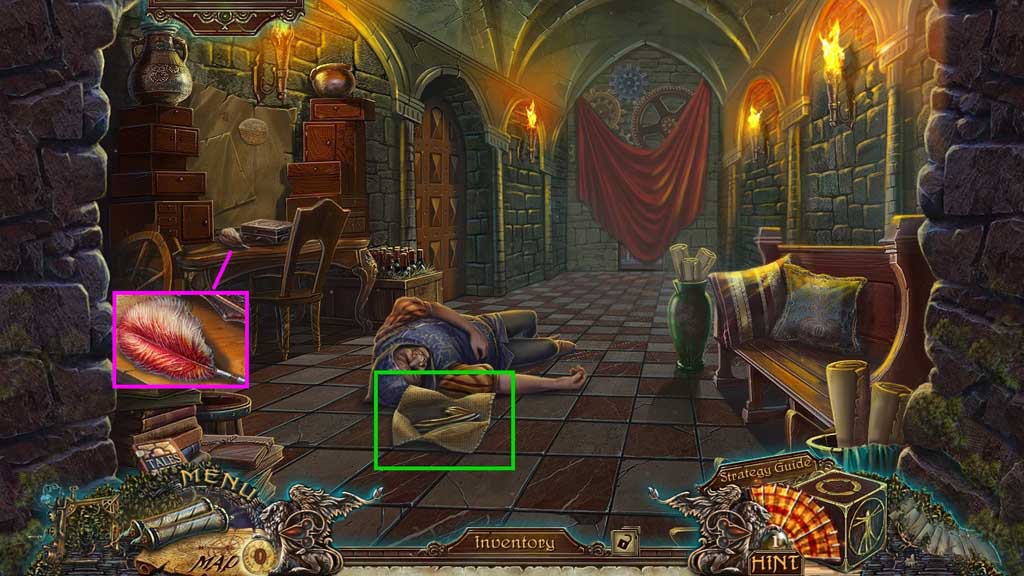
- Select the sharp claw to open the package; collect 2 /2 gargoyle wings.
- Collect the helmet feather.
- Move down 2x’s.
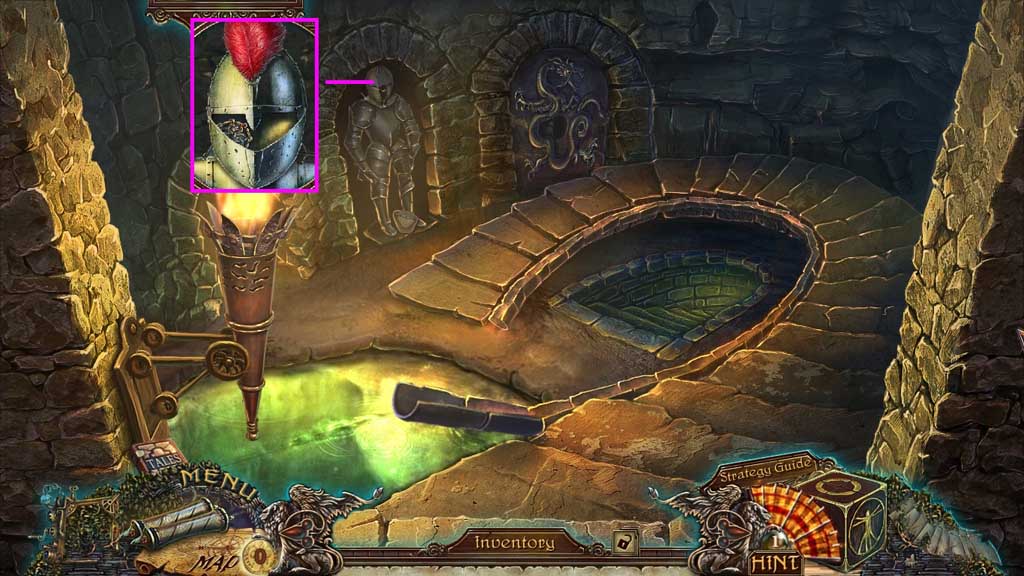
- Place the helmet feather and collect the alchemy symbol.
- Move down once.
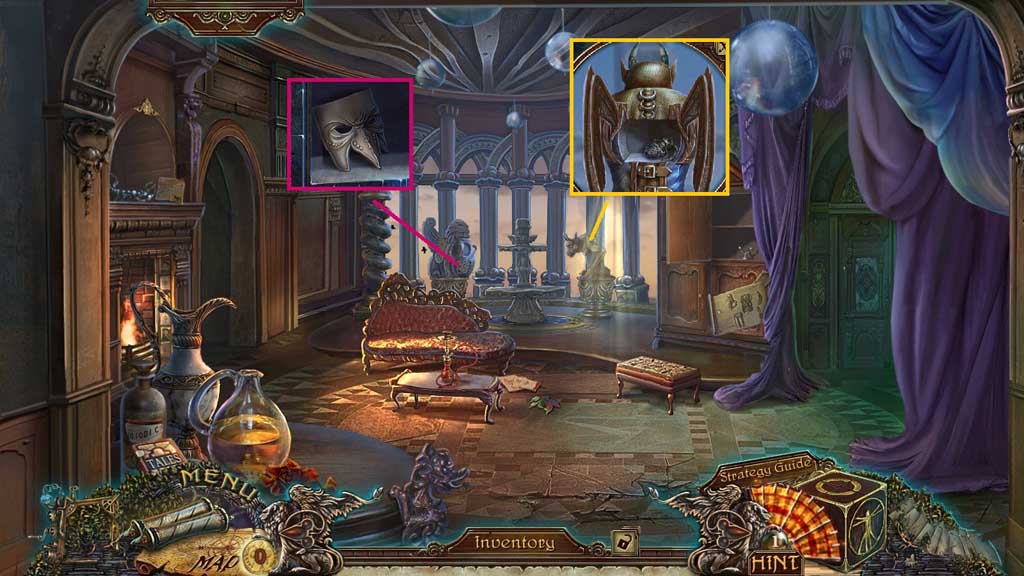
- Insert the alchemy symbol and collect the harlequin mask.
- Attach the gargoyle’s wings; collect the smelling salts.
- Move to the Secret Room.
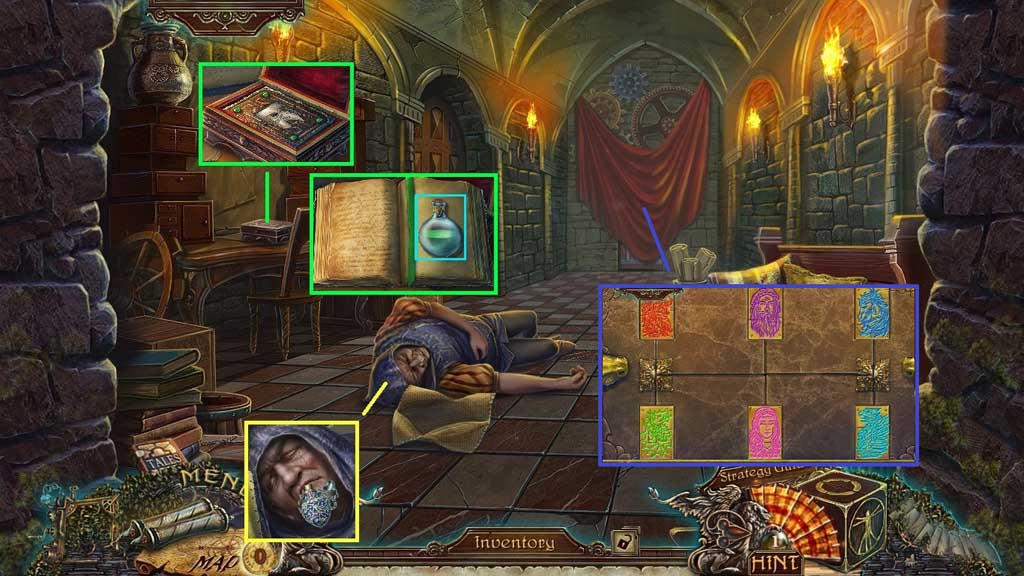
- Select the smelling salts to use on Gobbo; collect the alchemical signs.
- Click the box; insert the harlequin mask.
- Click the book; collect the poison.
- Receive the mage’s diary.
- Click the cloth to play the mini game.
- Solve it by aligning the images correctly.
- Move ahead.
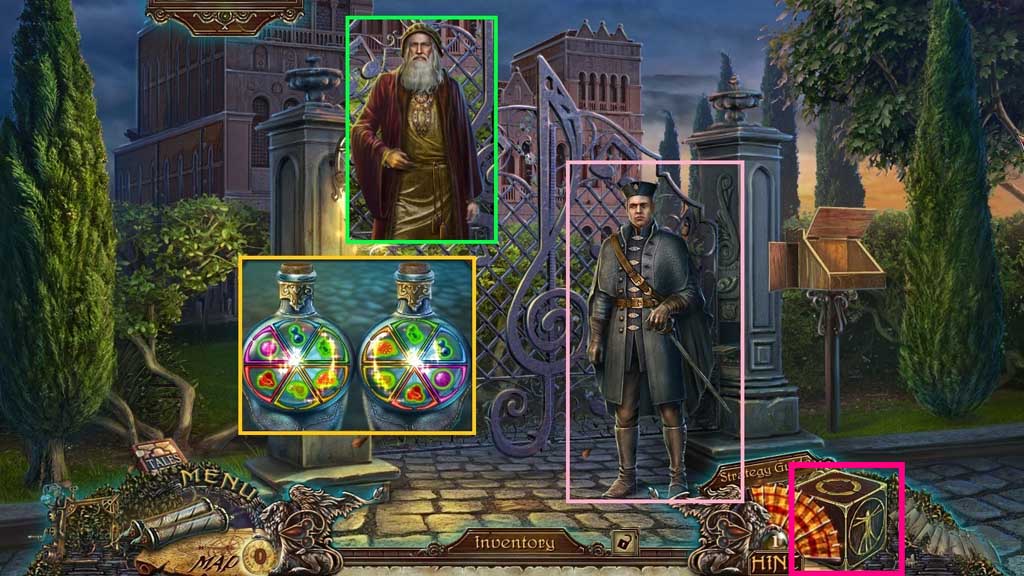
- Give the mayor the mage’s diary and the poison.
- Play the mini game.
- Solve the game by rearranging the segments on the both bottles to an identical arrangement.
- Speak to Leonardo.
- Collect the enlightenment symbol.
- Move to Leonardo’s Secret Chamber by clicking the cube.
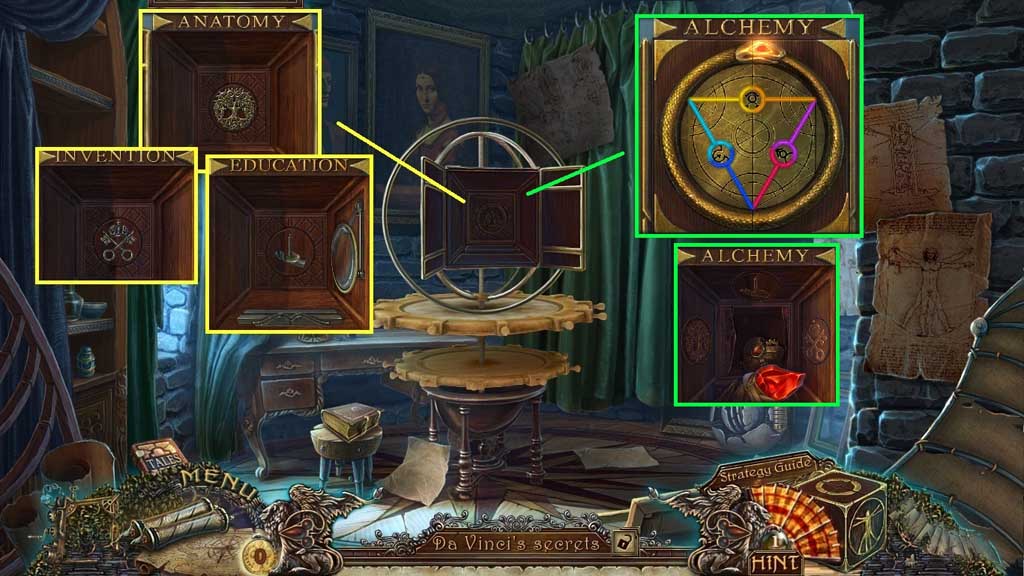
- Place Yggdrasil into the anatomy slot, place the Vatican crossed keys into the invention slot and the enlightenment symbol into the education slot.
- Click the cube to the alchemy side.
- Place the alchemical signs and play the mini game.
- Solve the game by restoring the color scheme of the alchemical circle.
- Collect the philosopher stone and the mechanical heart.
- Move to the Square.
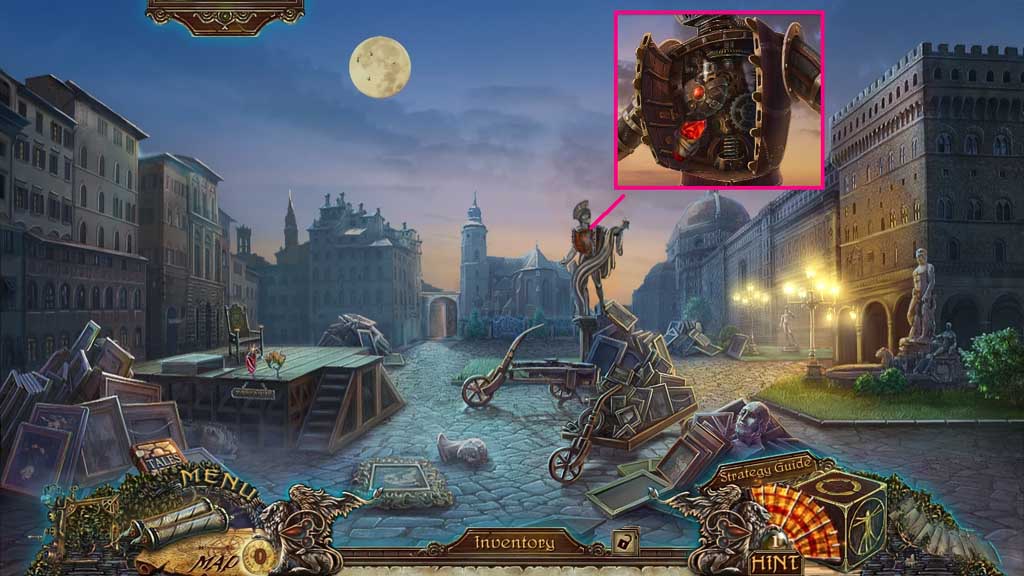
- Click the statue.
- Insert the mechanical heart and touch it with the philosopher stone.
-
Congratulations! You have completed the main game of Grim Façade The Artist and the Pretender C.E.
Comments will load when you reach this part of the walkthrough.