

Chapter 4: Mario's Garage
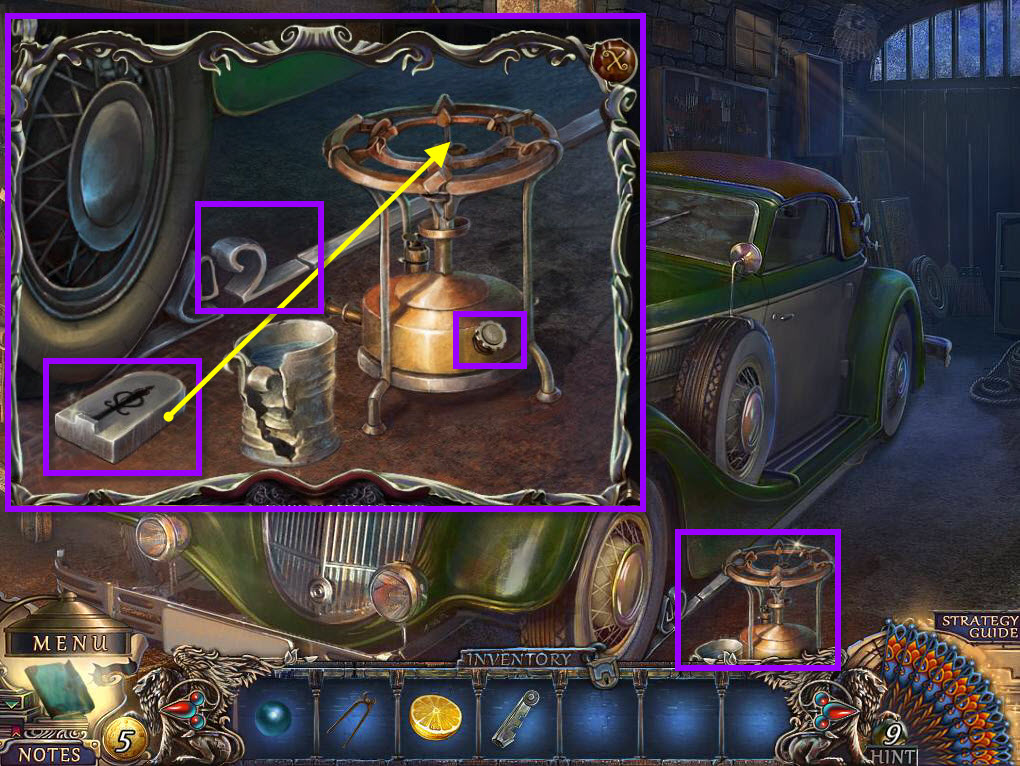
- Click on the burner to zoom in.
- Click to turn on the burner.
- Use the mold on the burner.
- Click on the metal piece and place it on the mold.
- Use the TONGS on the mold to take it off the burner.
- Use the WATER on the mold.
- Take the HOOD LEVER.
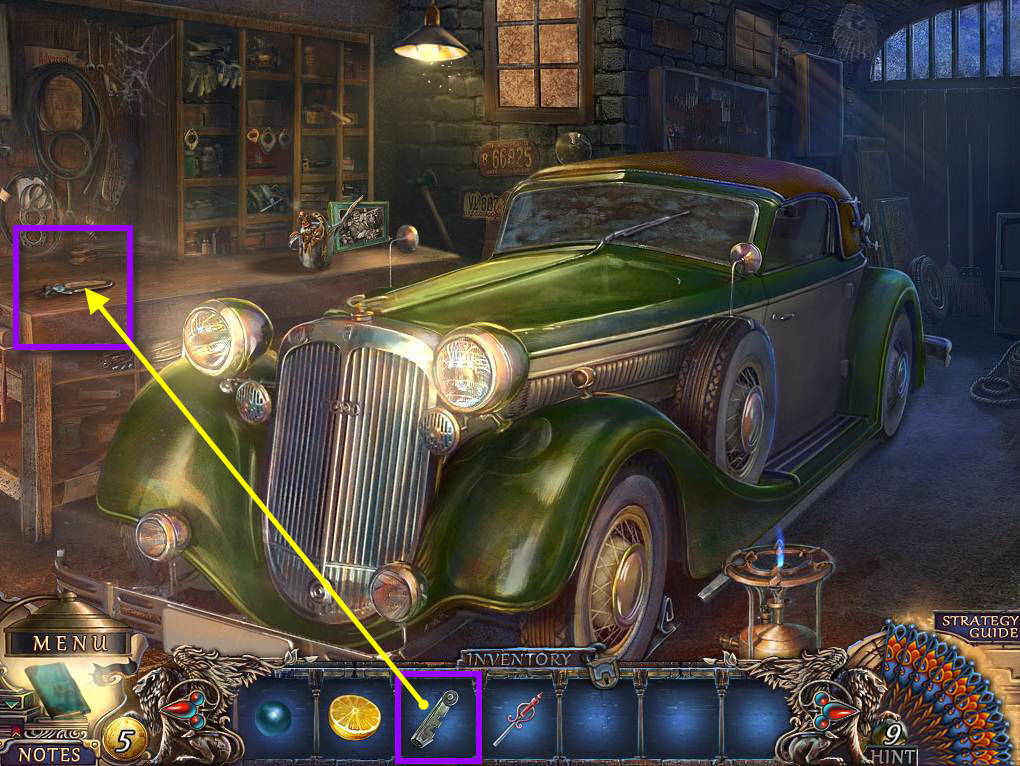
- Click on left side of the worktable to zoom in.
- Use the GLASS CUTTER on the holder to start a mini-game.
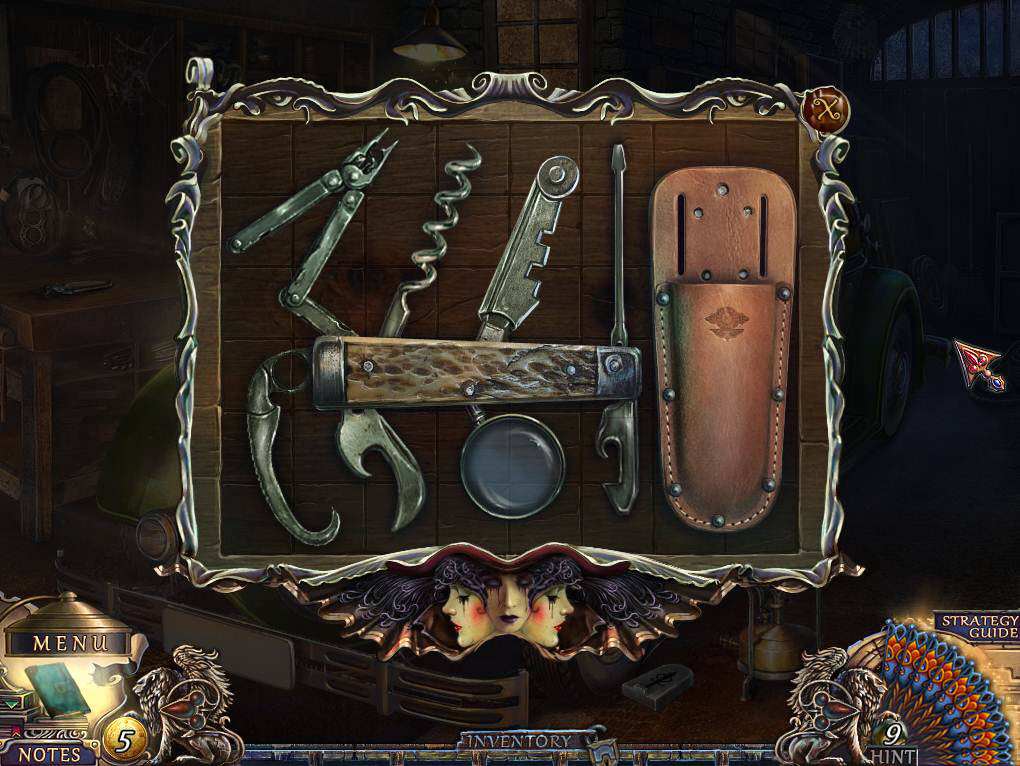
- The goal of the game is to place the tools in the correct spot.
- See the screenshot for the solution.
- Take the MULTITOOL.
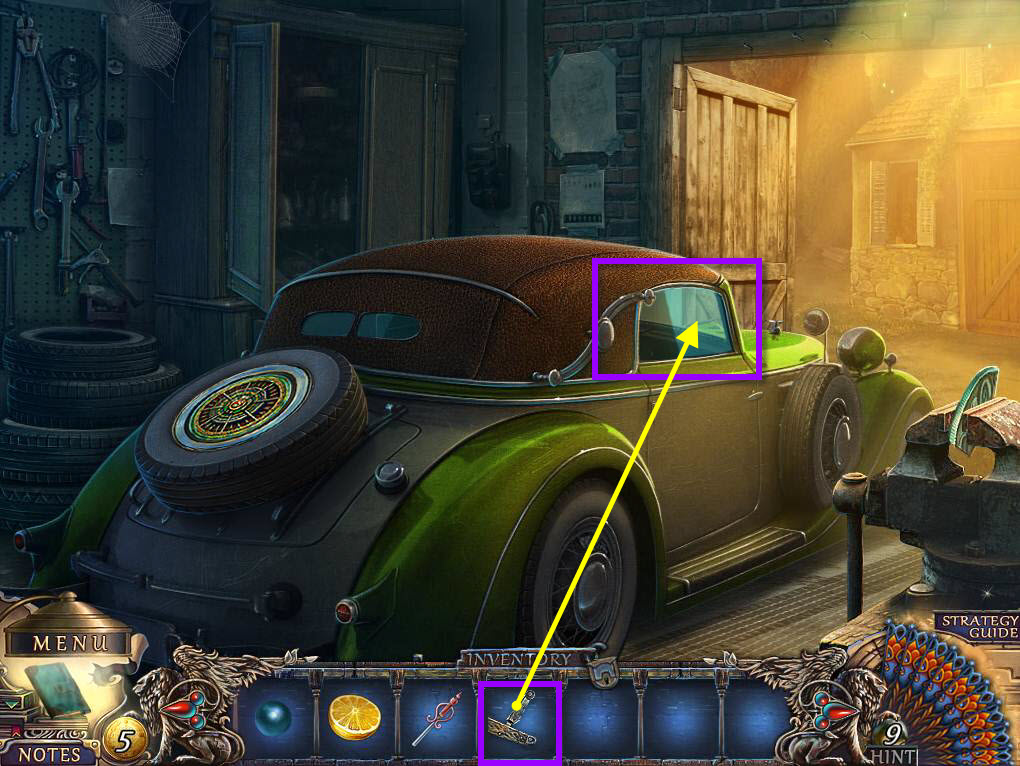
- Move to the back end of the car.
- Click to zoom in on the car window.
- Use the MULTITOOL on the glass to cut it.
- Click on the latch to open the door and go into the car.
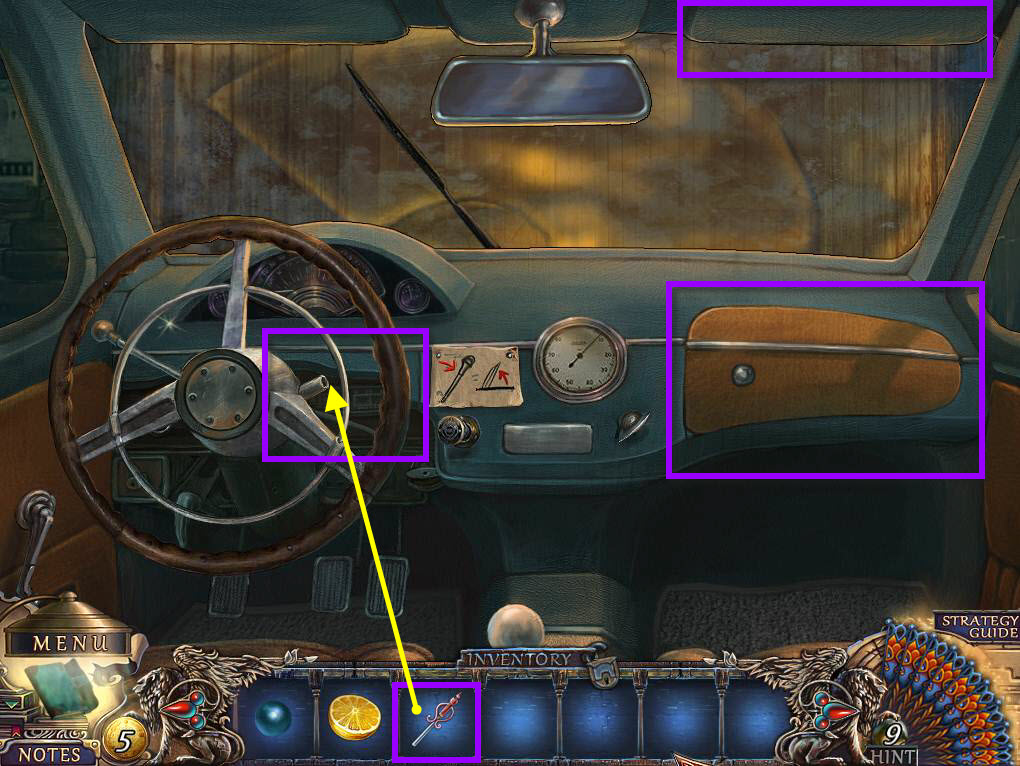
- Click on the visor on the right to pull it down.
- Take MARIO'S PHOTO.
- Click on the glove compartment to open it.
- Take the RAG.
- Use the HOOD LEVER on the steering wheel.
- Click on the HOOD LEVER.
- Click on the windshield wiper button.
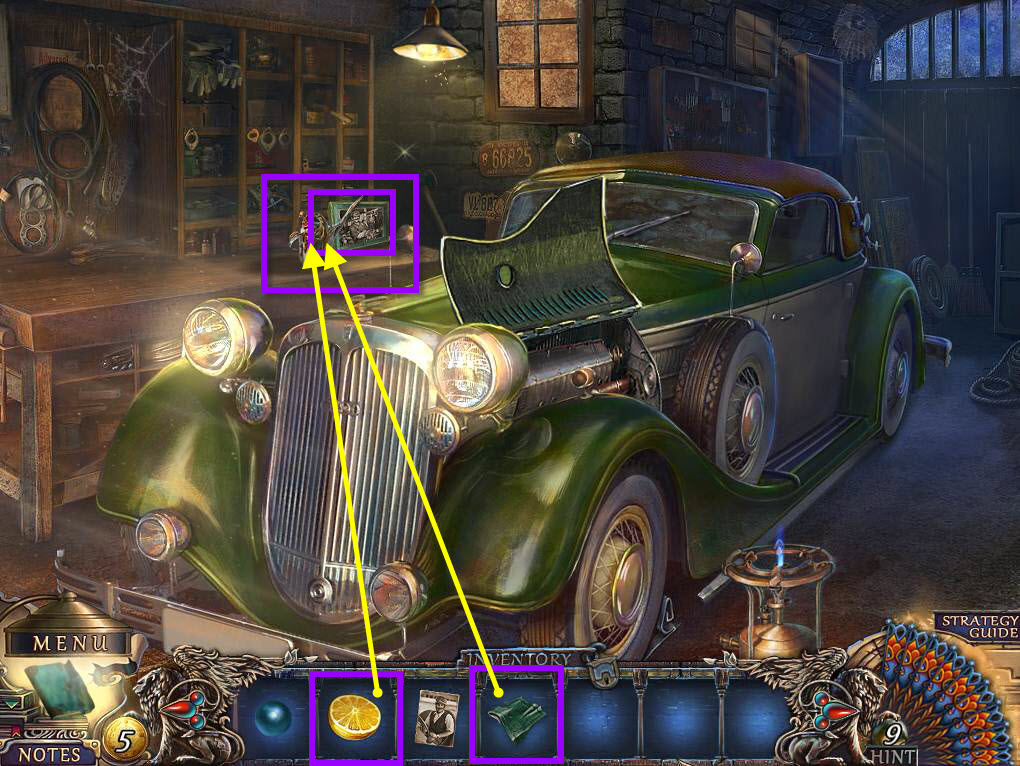
- Go back to the front of the car.
- Click on the right side of the worktable now.
- Take the PHOTO.
- Use the LEMON and the RAG on the table.
- Click on the LEMON to squeeze it on the RAG.
- Use the RAG to clean the oil can.
- Take the EMPTY OILER.
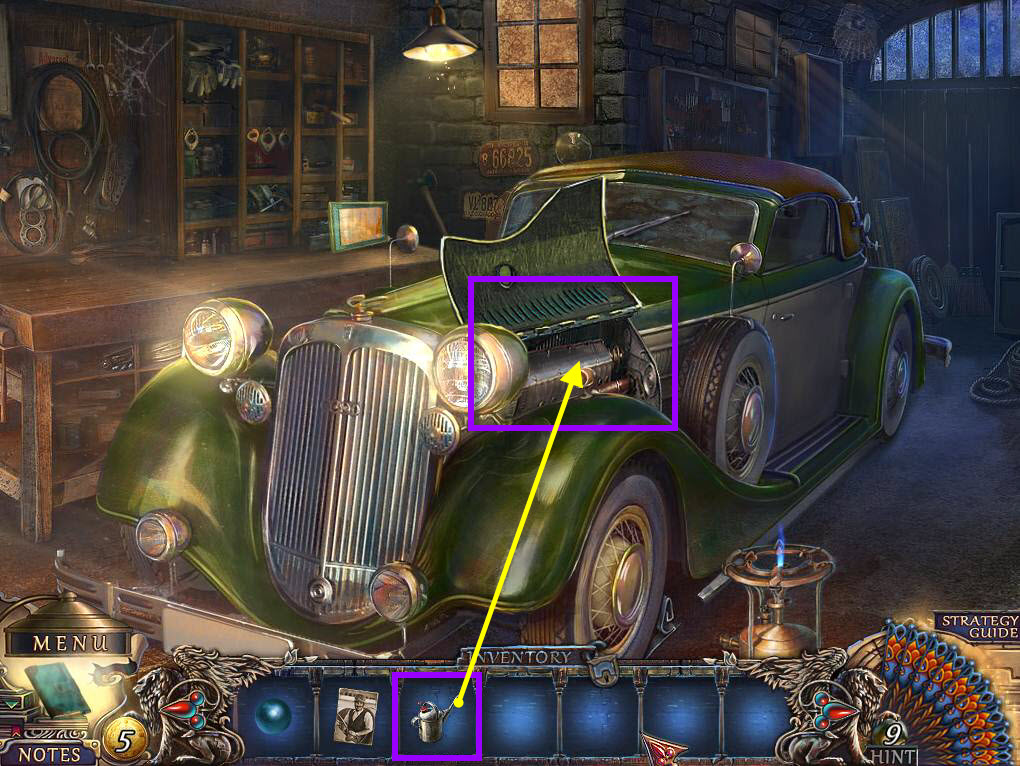
- Click on the engine to zoom in.
- Use the EMPTY OILER on the engine to get the FULL OILER.
- Return to the back of the car.
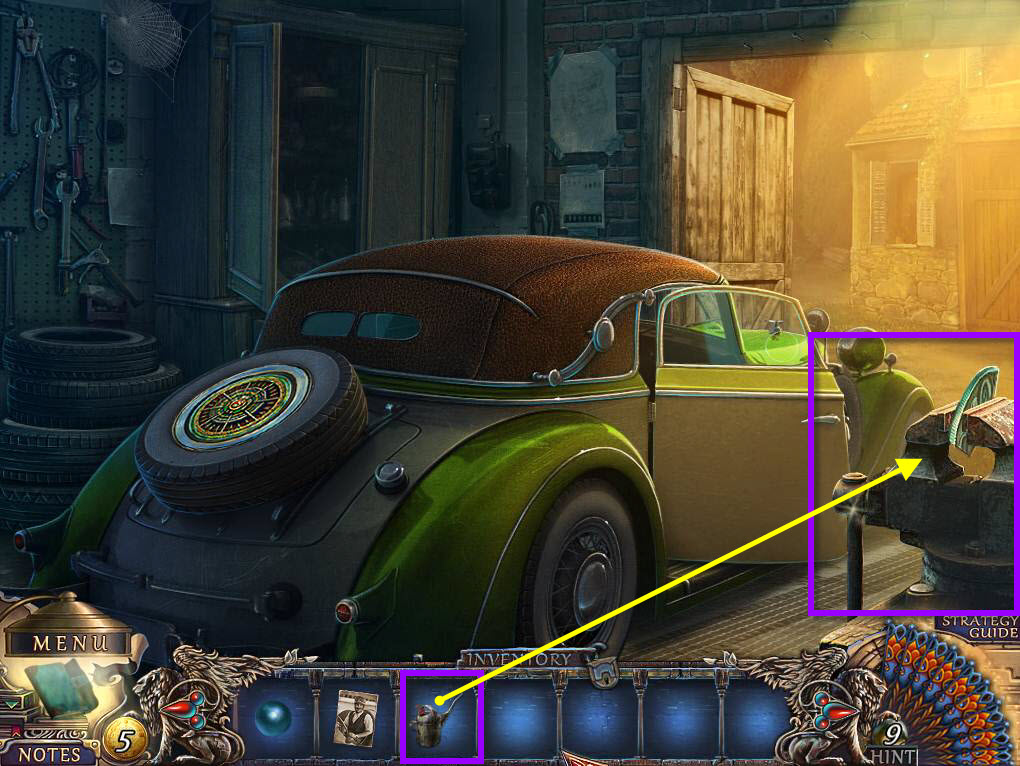
- Click on the vise to zoom in.
- Use the FULL OILER on the vise.
- Click to turn the handle.
- Take the HUBCAP PIECE.
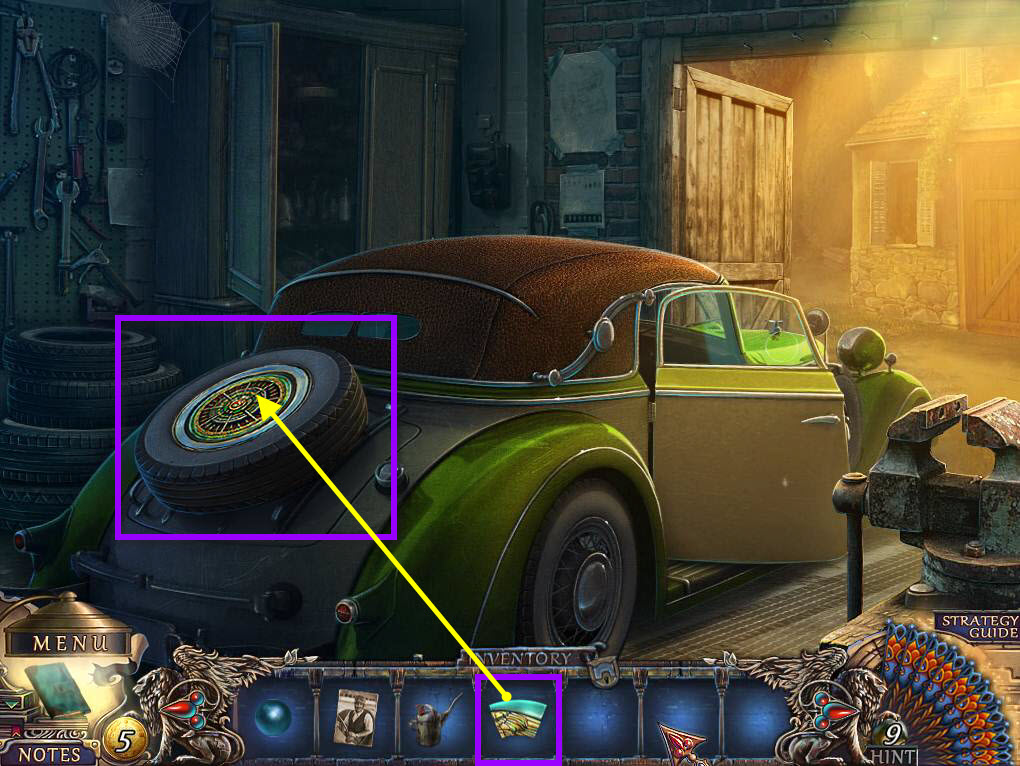
- Click on the tire on the back of the car to zoom in.
- Use the HUBCAP PIECE on the car to start a mini-game.
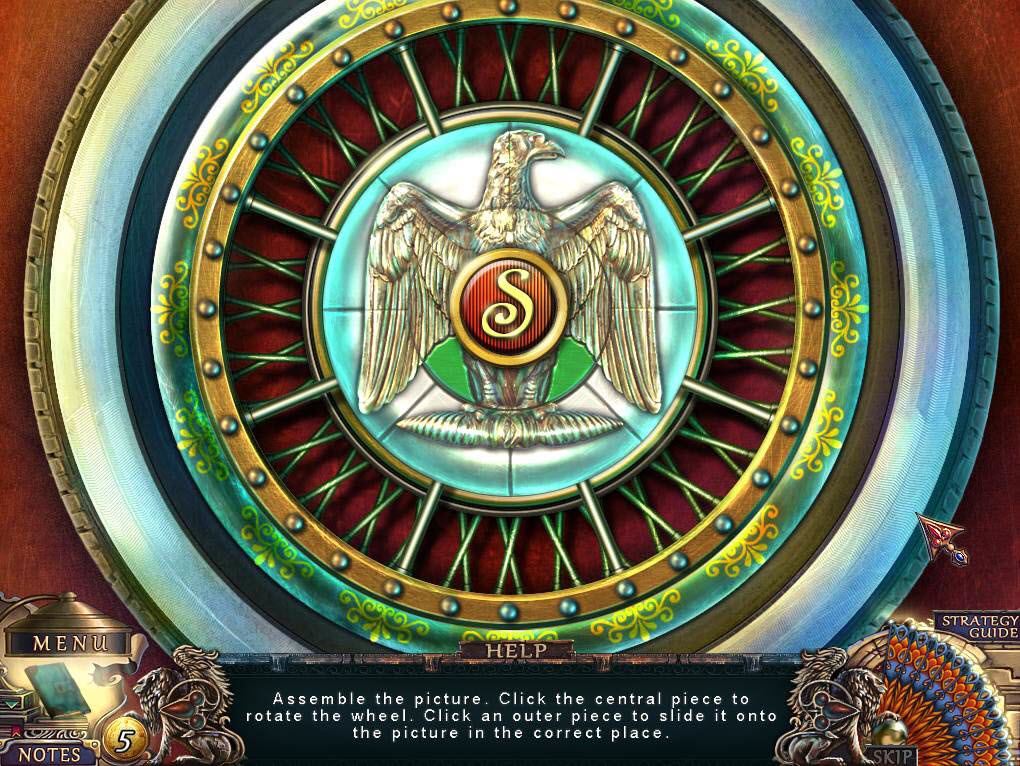
- You will need to put the picture back together.
- The pieces will lock into place if they are in the correct spot.
- See the screenshot for the solution.
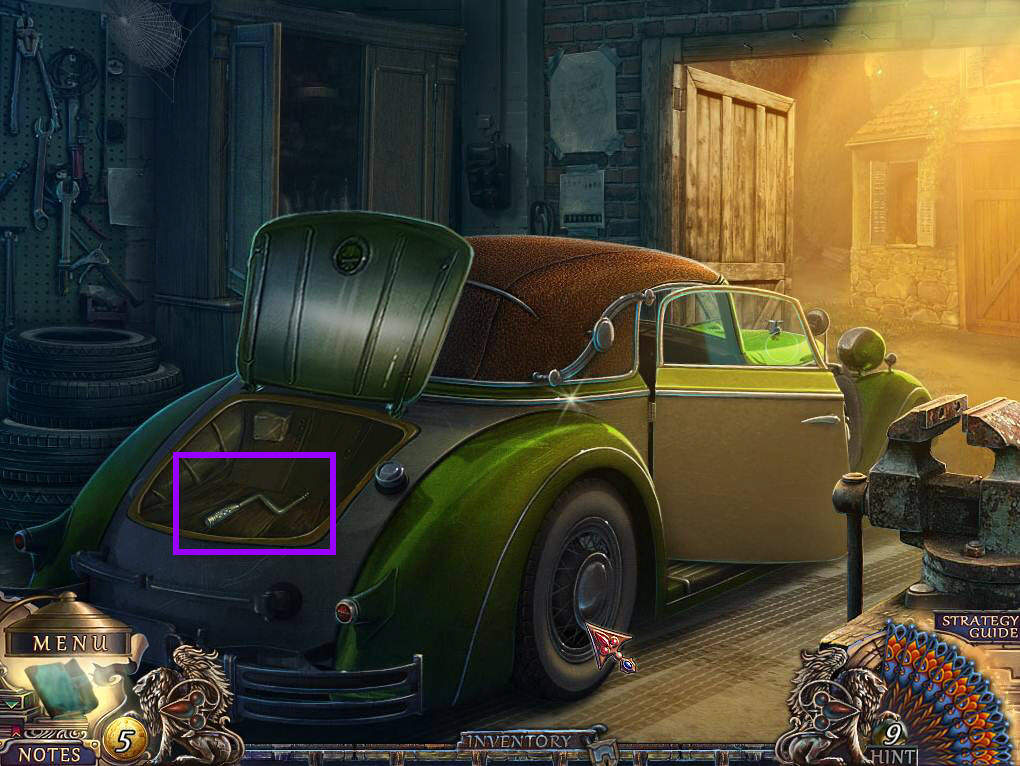
- Click on the trunk to zoom in.
- Take the GRATE HANDLE.
- Now, go back to the Conti's Villa.
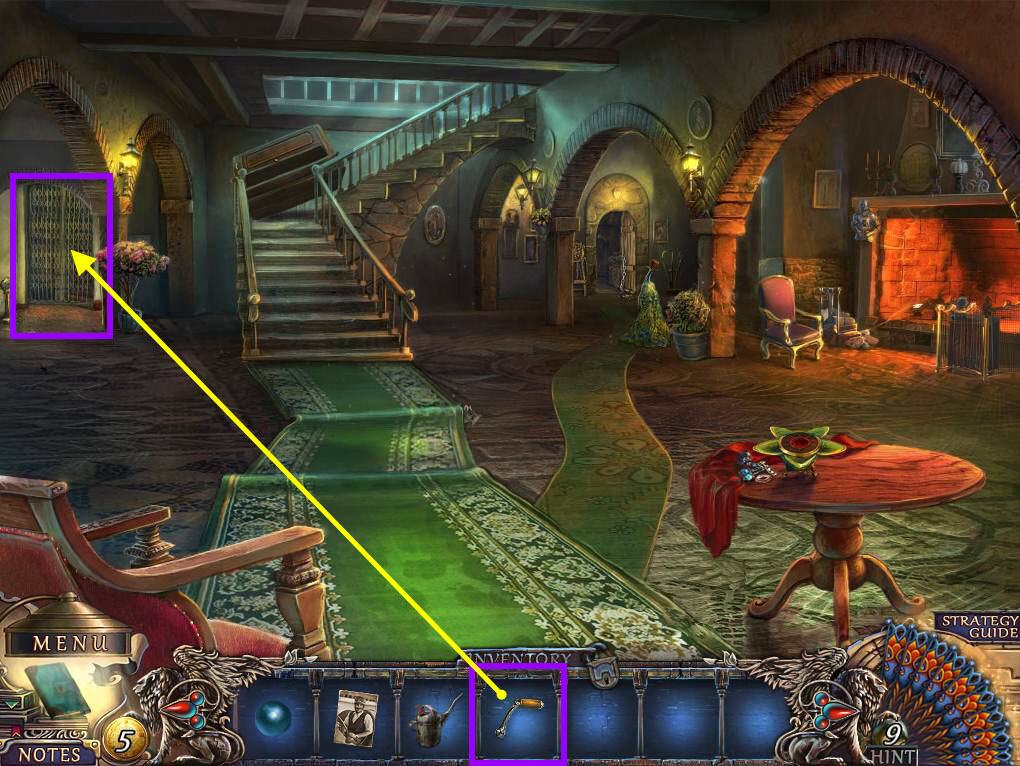
- Click on the mechanism on the left to zoom in.
- Use the GRATE HANDLE on the mechanism.
- Click to turn the handle.
- Go through the door.
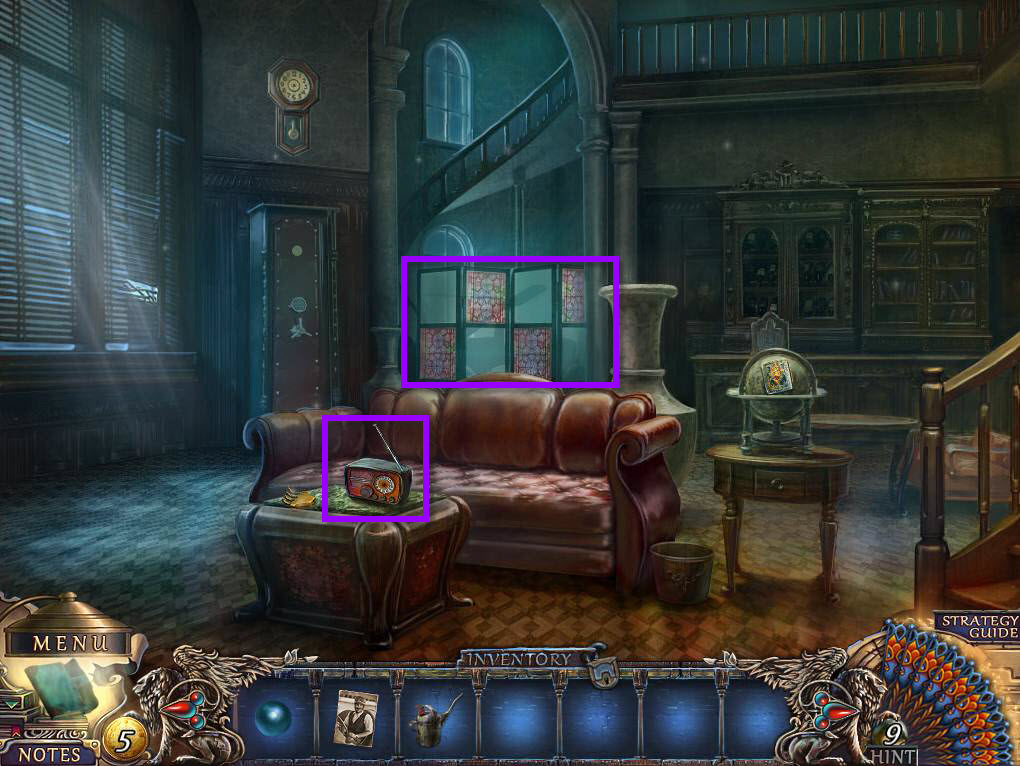
- Click on the table to zoom in.
- Take the RADIO.
- Click on the partition to zoom in.
- Click on it and you will receive the SHARP GLASS PIECE.
- Head to the right.
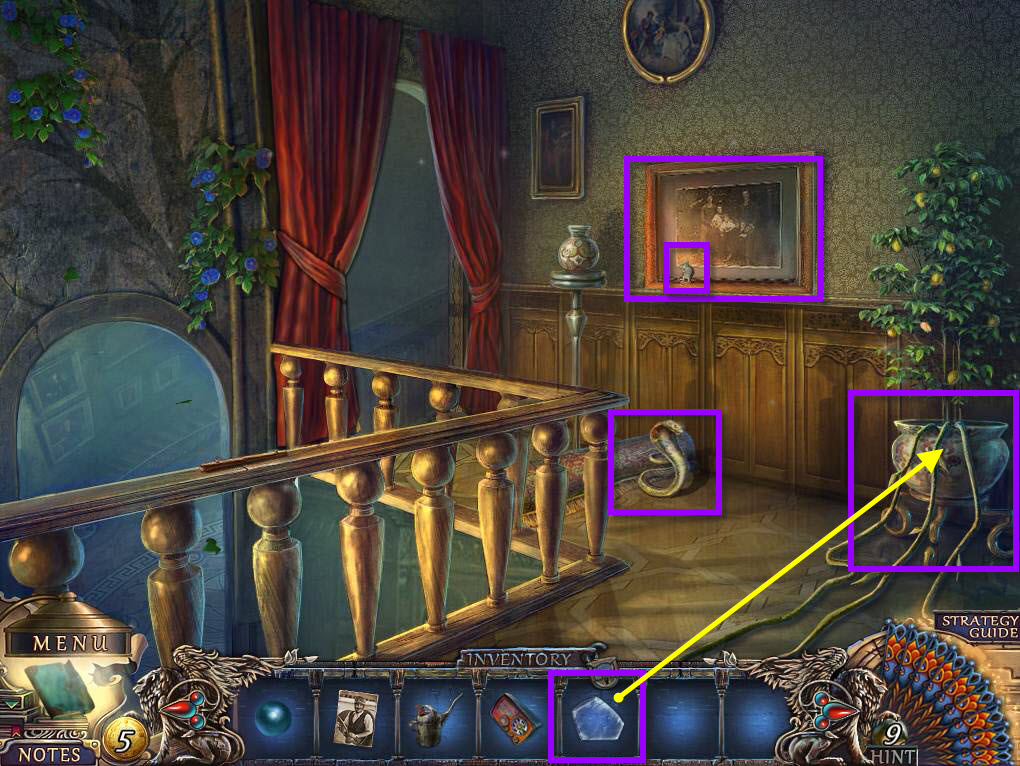
- Click on the snake to roll it up in the carpet.
- Click on the plant to zoom in.
- Click on the vines a few times to tie them up.
- Use the SHARP GLASS PIECE to cut the vines.
- Take the CORD.
- Click on the picture to zoom in.
- Take the MOUSE.
- Go down one screen.
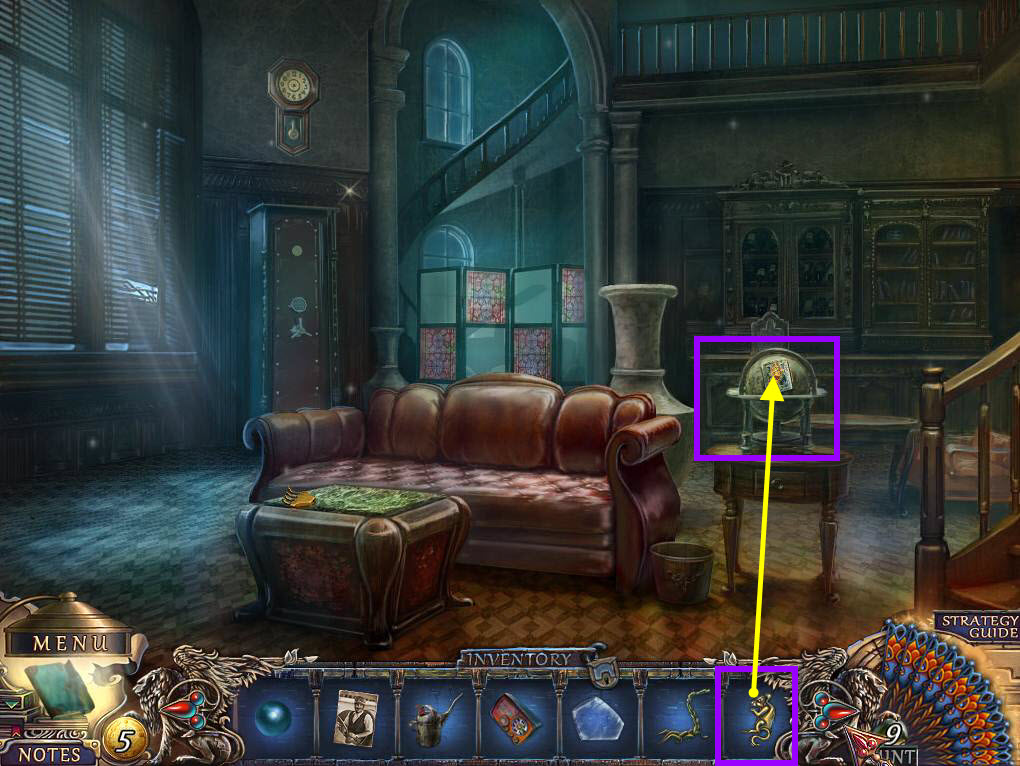
- Click to zoom in on the globe.
- Use the MOUSE.
- Take the RADIO SOLUTION.
- Go to the right.
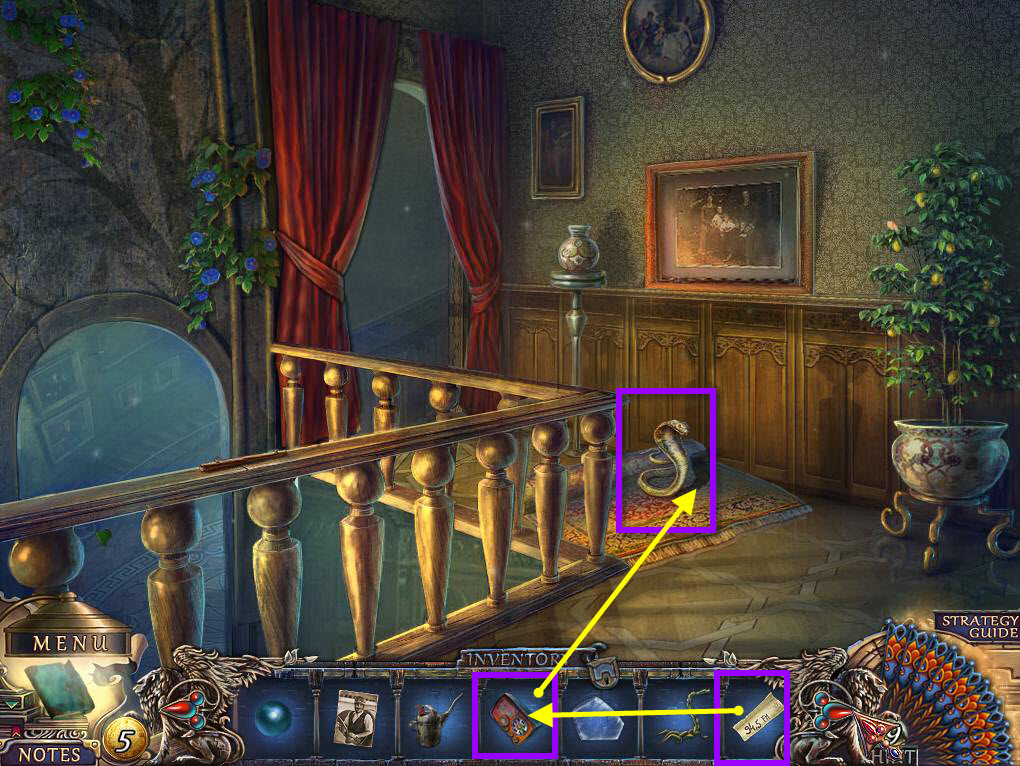
- Click to zoom in on the carpet.
- Click to unroll the carpet.
- Use the RADIO on the spot on the carpet next to the snake.
- Use the RADIO SOLUTION on the radio.
- Click on the knob to tune the radio to 94.5.
- Click on the snake and the radio to make them magically disappear.
- Take the CARPET.
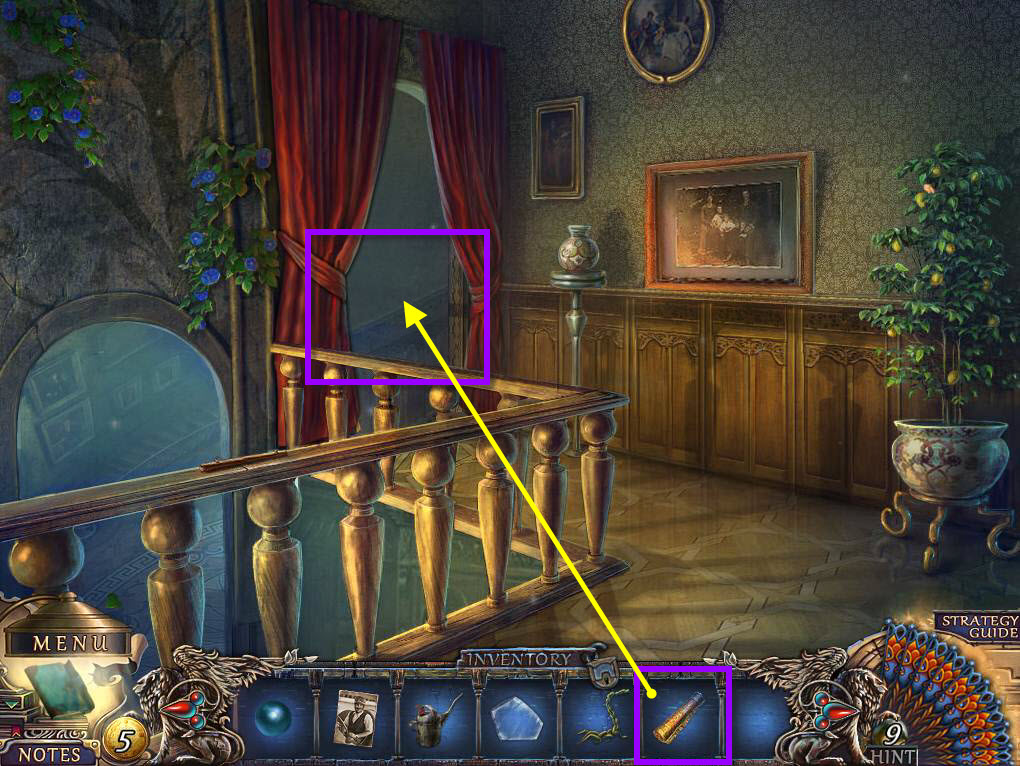
- Click to zoom in on the steps.
- Use the CARPET on the steps.
- Click to go down the stairs to the piano hall.
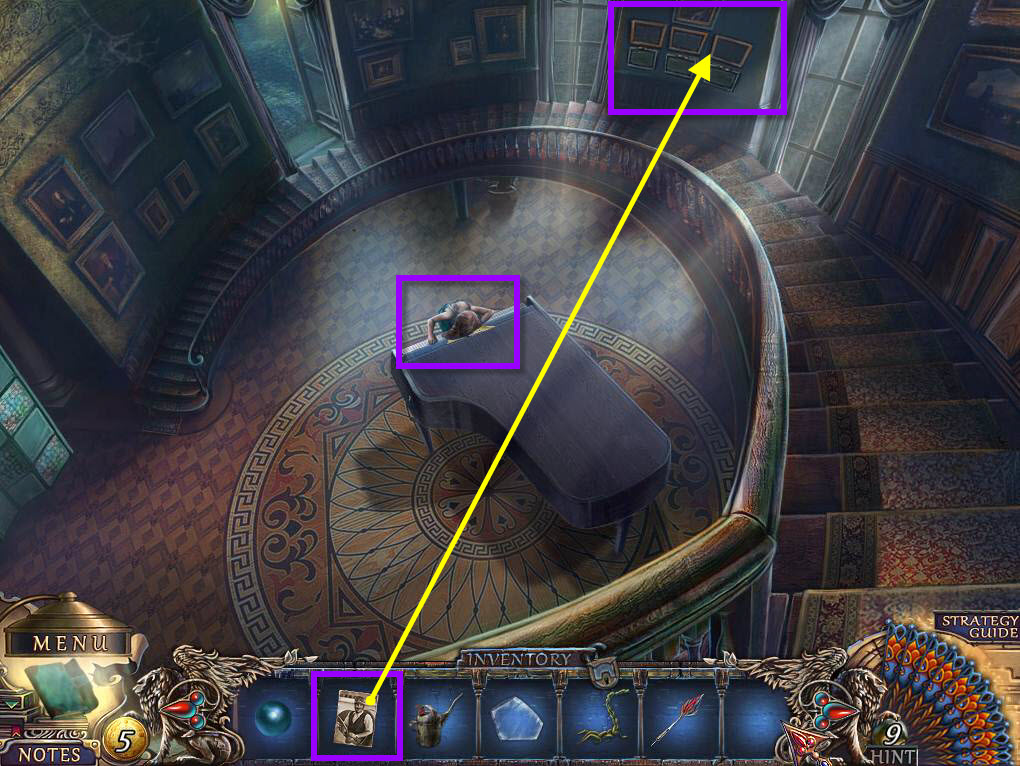
- Click on the piano to zoom in.
- Take the DART.
- Click to zoom into the frames.
- Use MARIO'S PHOTO on the frame.
- Take the SCREWDRIVER.
- Go down one screen.
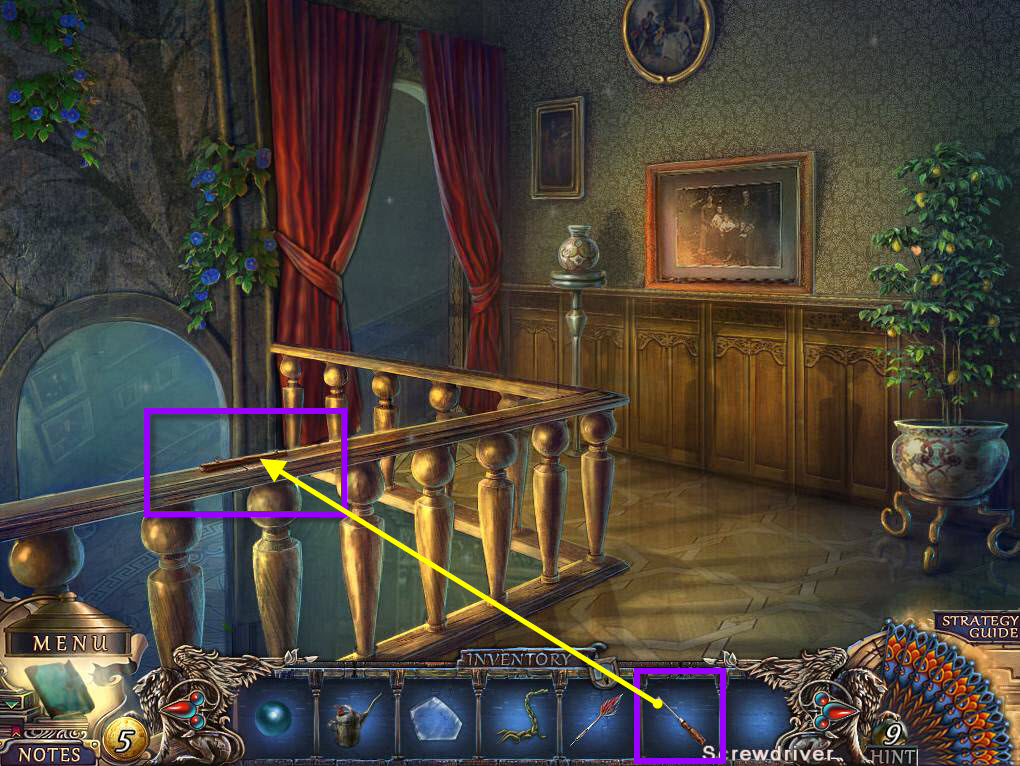
- Click to zoom in on the railing.
- Use the SCREWDRIVER on the screws to remove them.
- Take the WOODEN STICK.
- Go down one screen.
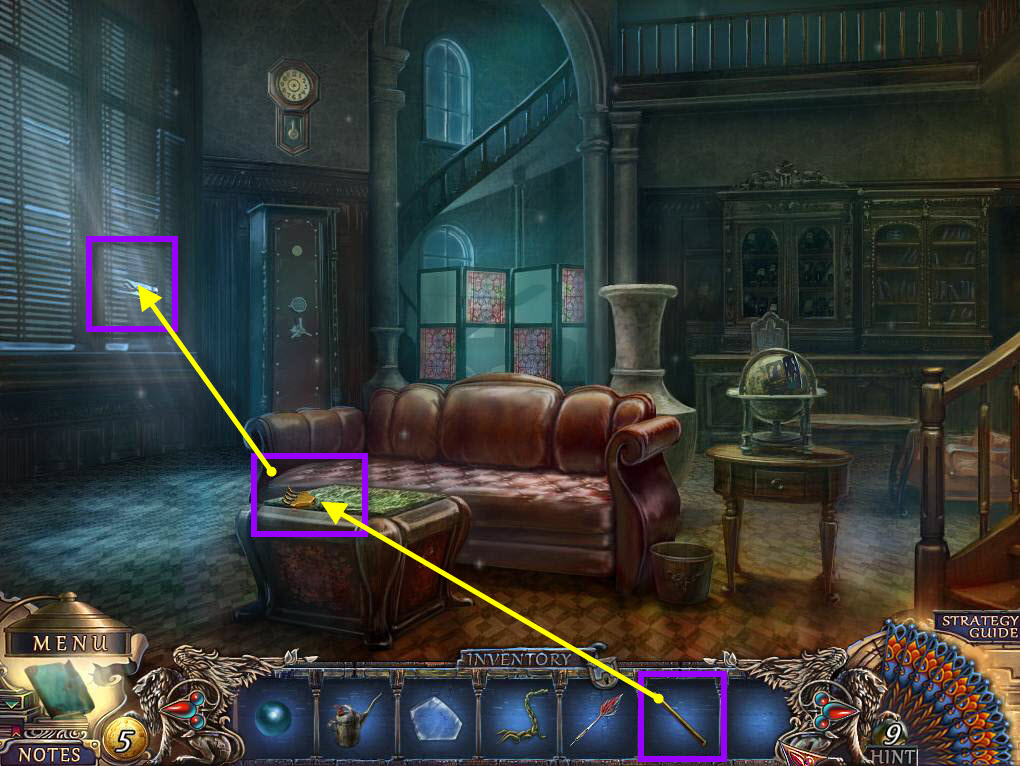
- Click on the table to zoom in.
- Use the WOODEN STICK on the hand.
- Take the WOODEN HAND.
- Click to zoom into the blinds.
- Use the WOODEN HAND on the blinds a few times.
- Take the CORD.
- Return to the piano hall.
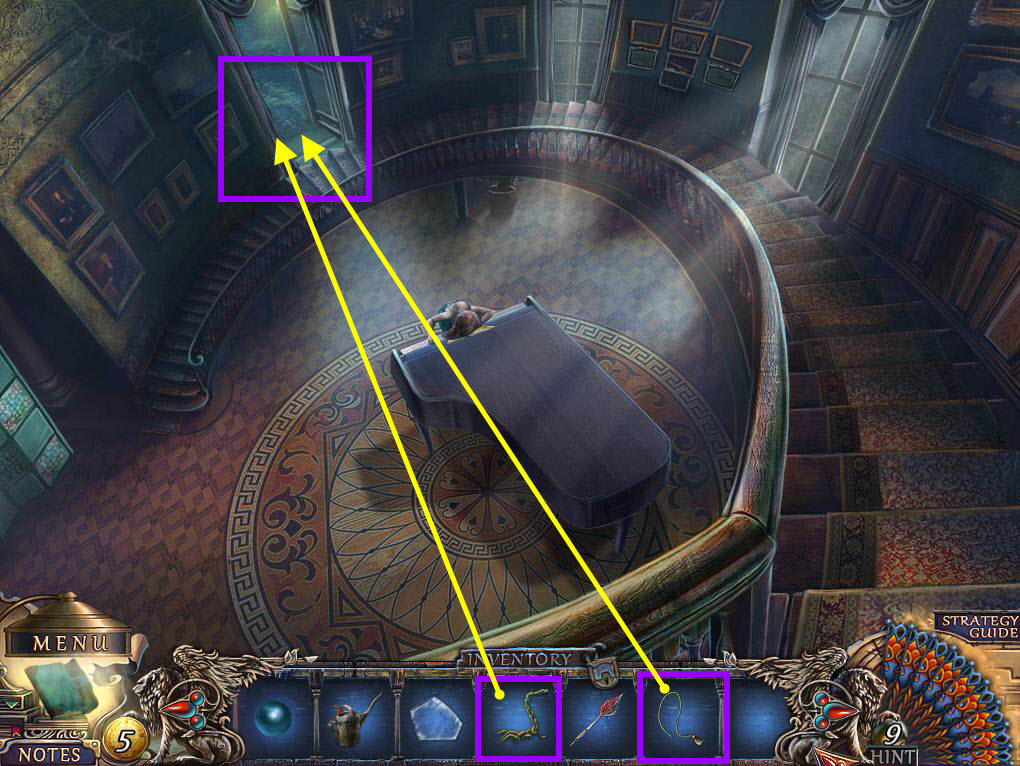
- Click to zoom in on the window.
- Use the 2 CORDS on the curtain.
- Take the SAFE CODE.
- Go down twice.
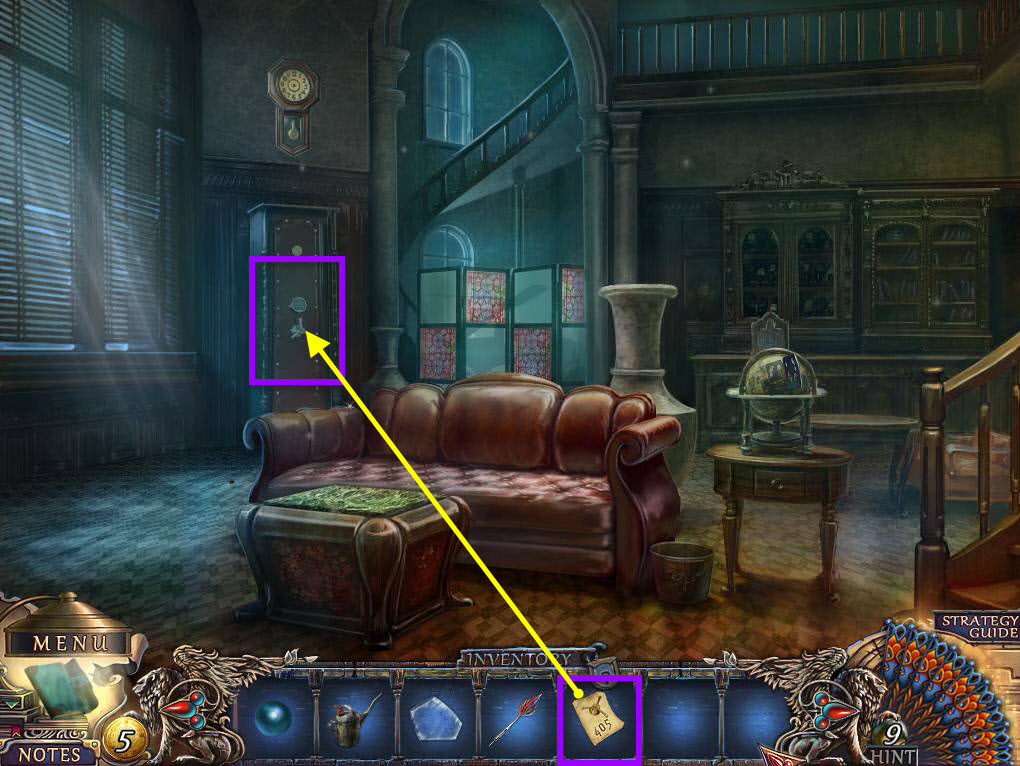
- Click the safe to zoom in.
- Use the SAFE CODE on the safe.
- Use the code 405 on the keypad.
- Take LUIGI'S PHOTO.
- Click to open the coin purse.
- Take the 5 GOLDEN LIRA.
- Return to the piano hall.
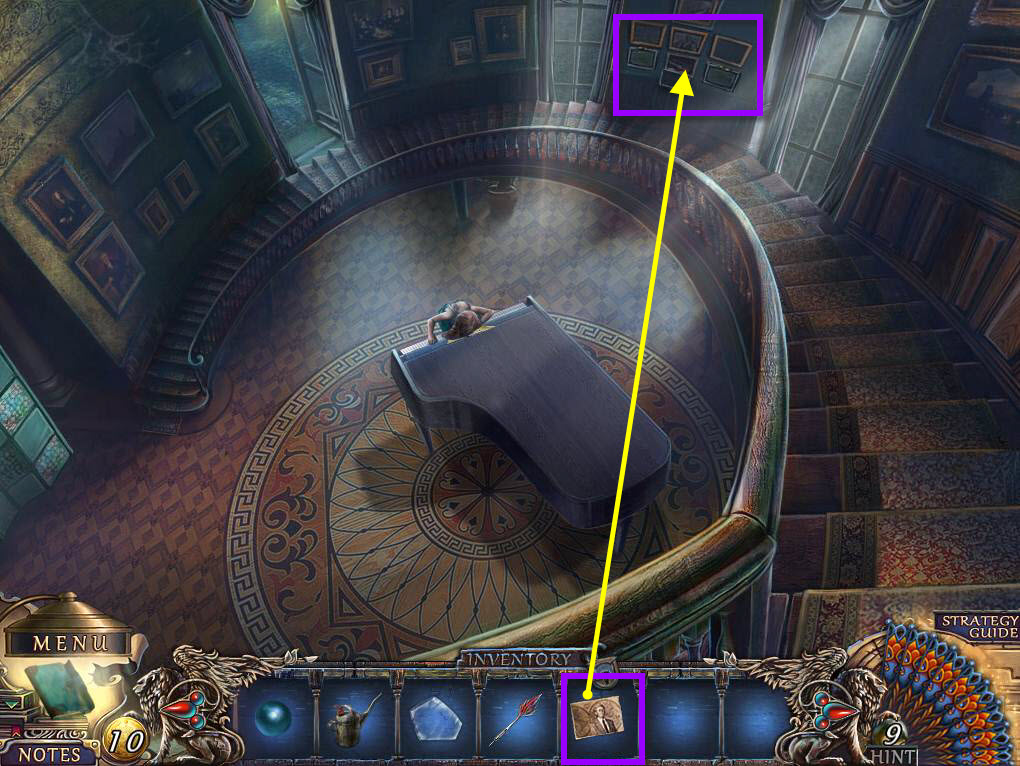
- Click to zoom in on the frames.
- Use LUIGI'S PHOTO on the frame.
- Take LUIGI'S ROOM KEY.
Comments will load when you reach this part of the walkthrough.