

Chapter Five: Inside the City of Felizes
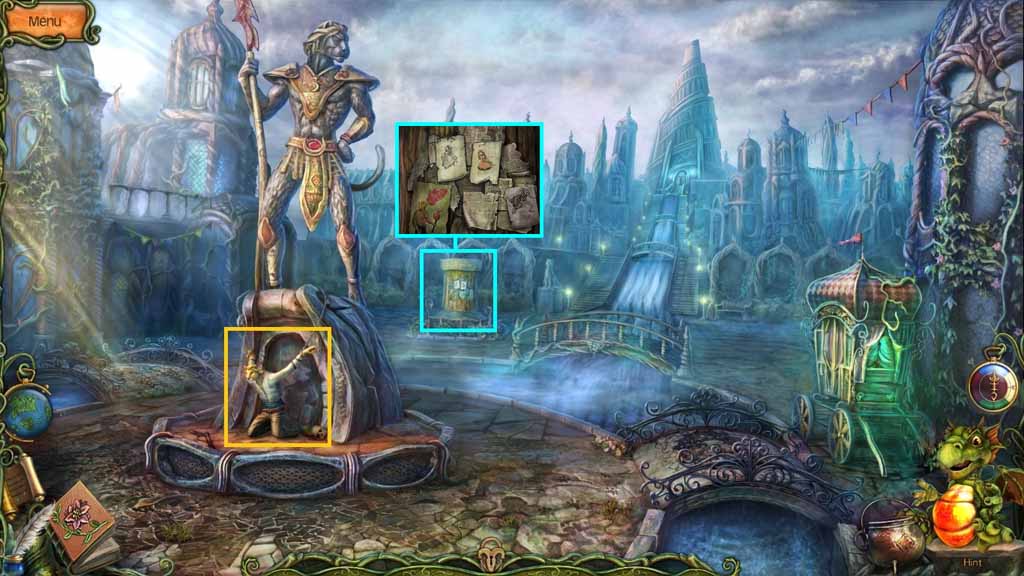
- Speak to Aurelio.
- Read the memos.
- Move ahead to the Street.
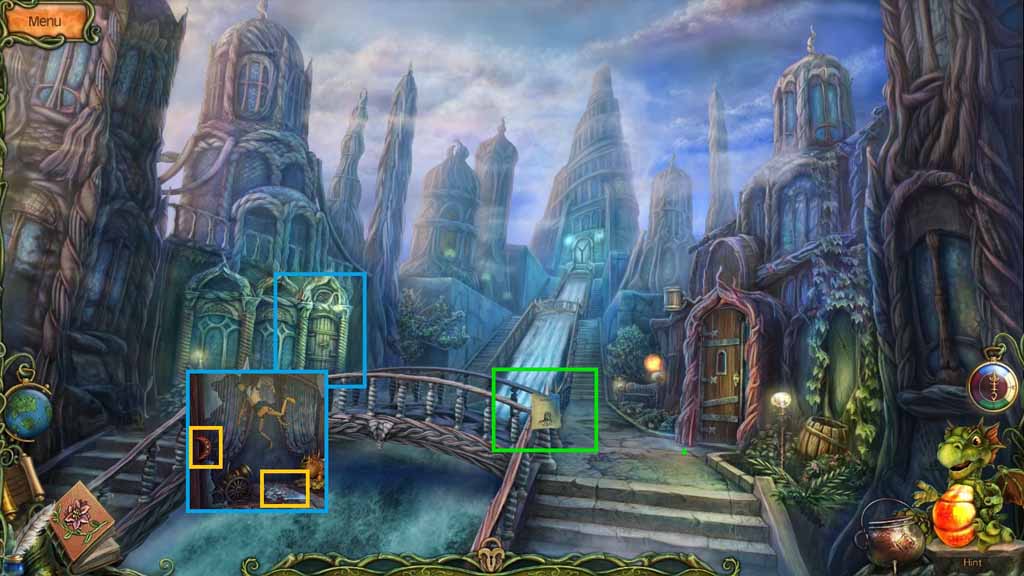
- Click the shutters.
- Collect the locket fragment and the glass shard.
- Read the memo.
- Move to the Town Square.
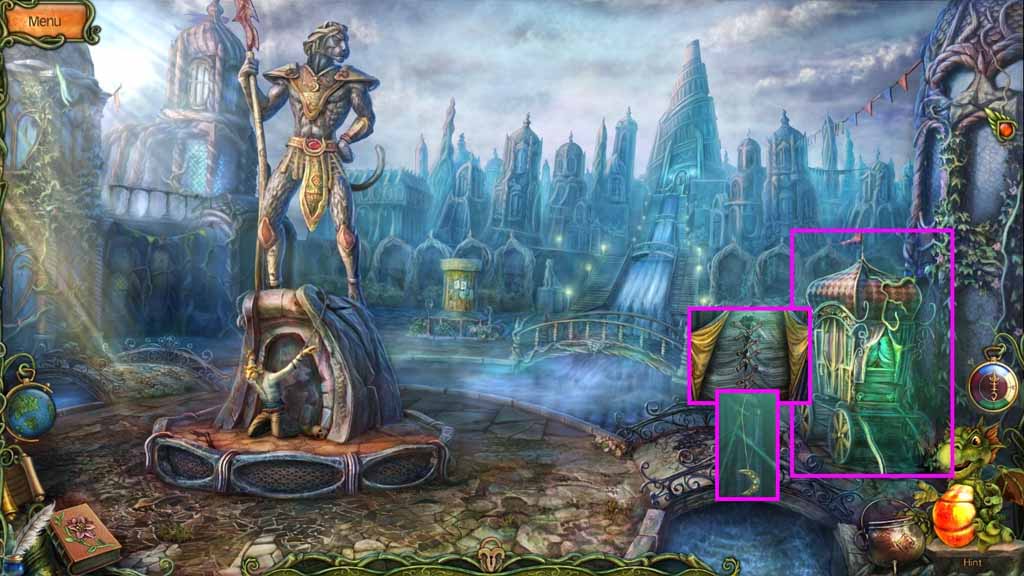
- Select the glass shard; use it to cut the rope on the circus wagon.
- Collect the locket fragment.
- Move to the Entrance of the Archives.
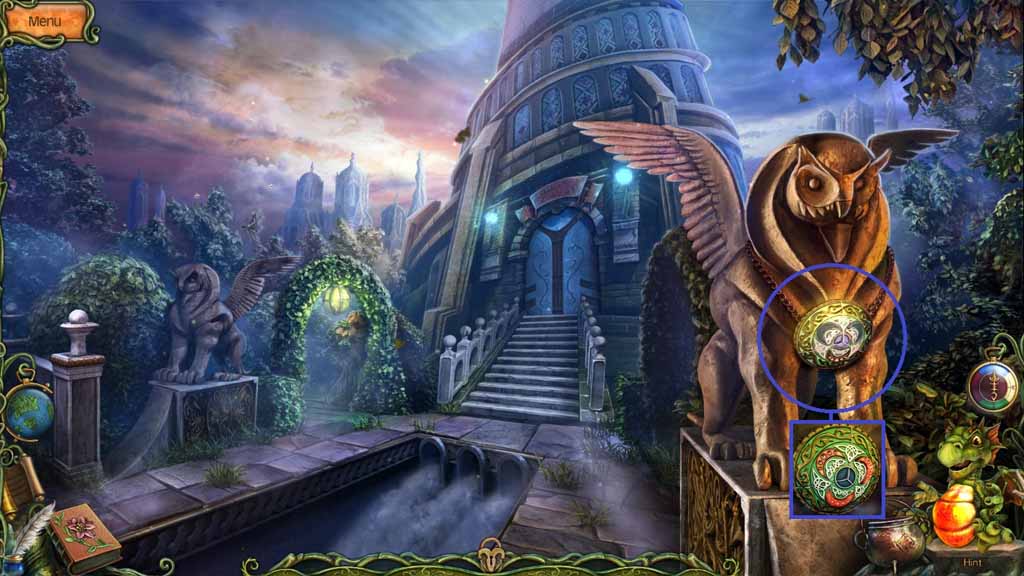
- Insert both locket parts into the mechanism on the statue.
- Move into the Archives.
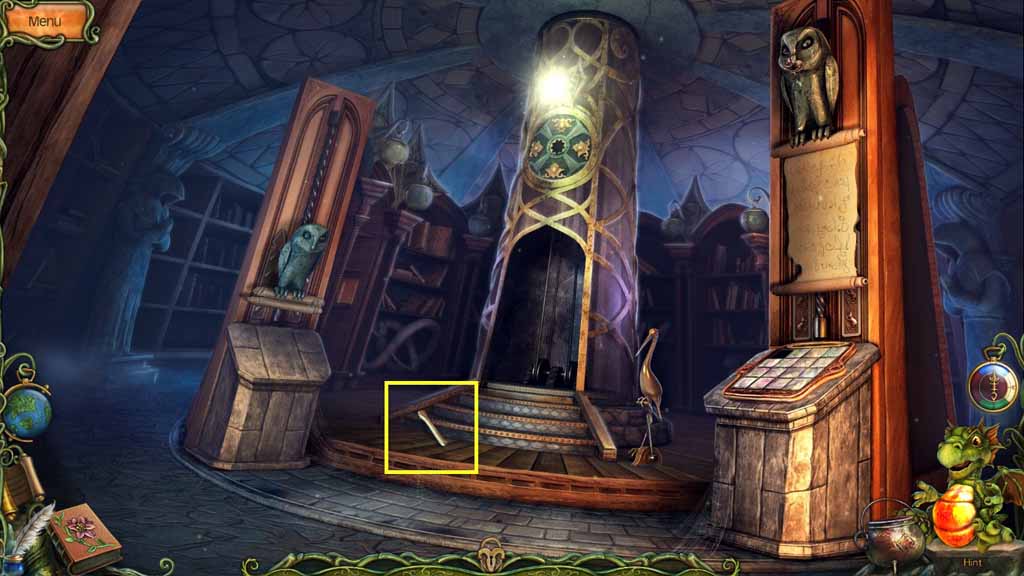
- Collect the axe handle.
- Move outside.
- Click the Garden.
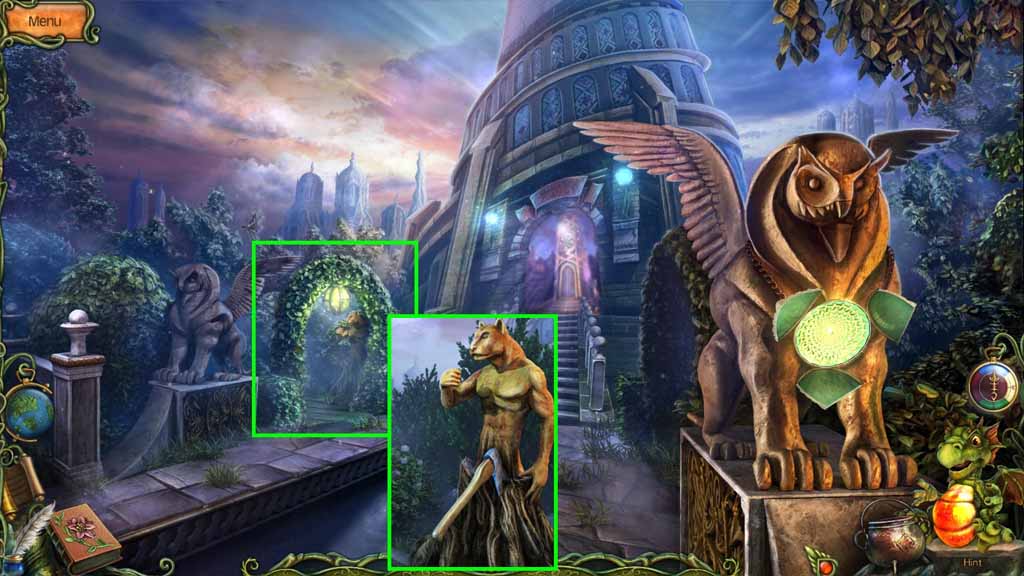
- Attach the axe handle onto the axe.
- Collect the axe.
- Move to the Street.
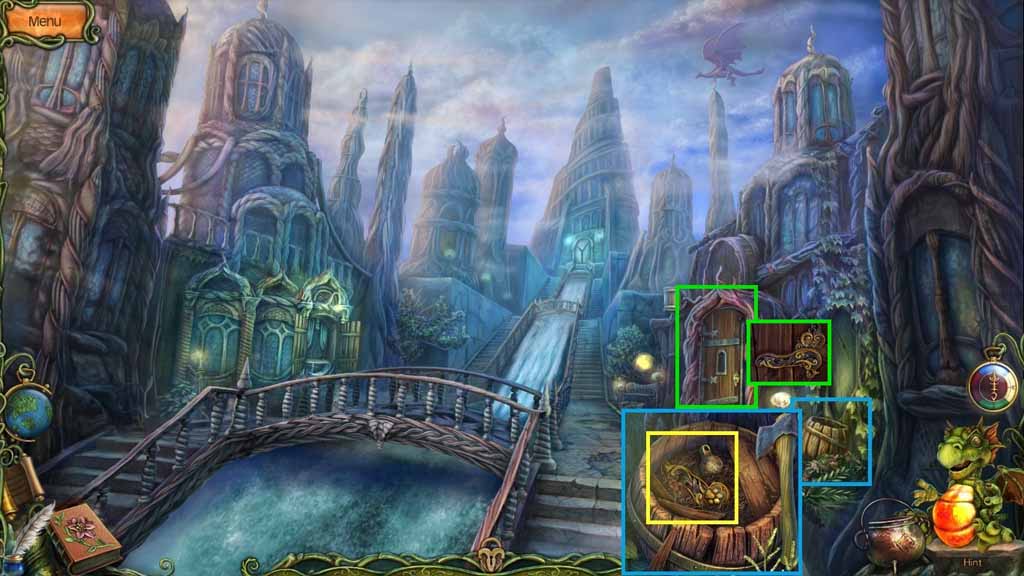
- Select the axe to smash the barrel.
- Collect the weight and the lion’s paw.
- Insert the lion’s paw into the Tavern door; enter the Tavern.
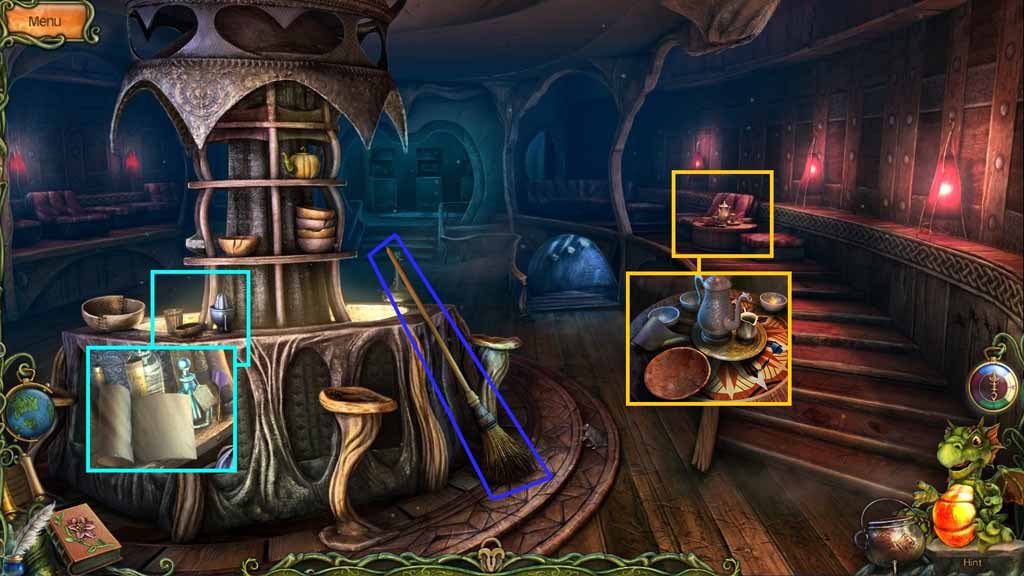
- Collect the broom.
- Click the bar; collect the decipher potion and dart.
- Read the memo.
- Click the table; collect the 2nd dart.
- Read the memo.
- Move to the Street.
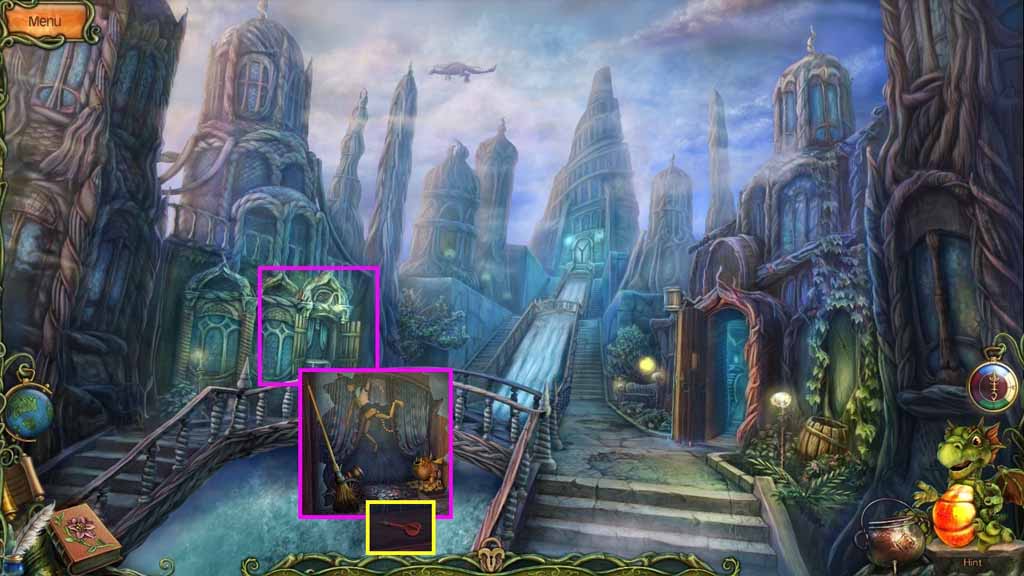
- Select the broom to sweep the glass shards.
- Collect the 3rd dart.
- Move to the Town Square.
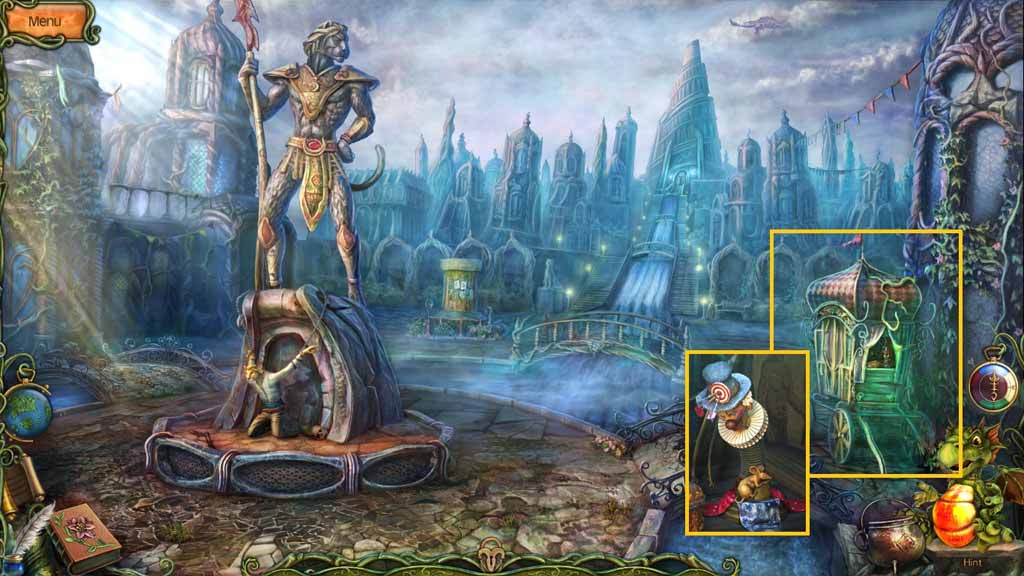
- Throw the 3 darts at the clown in the wagon.
- Collect the gold mouse.
- Move to the Archives.
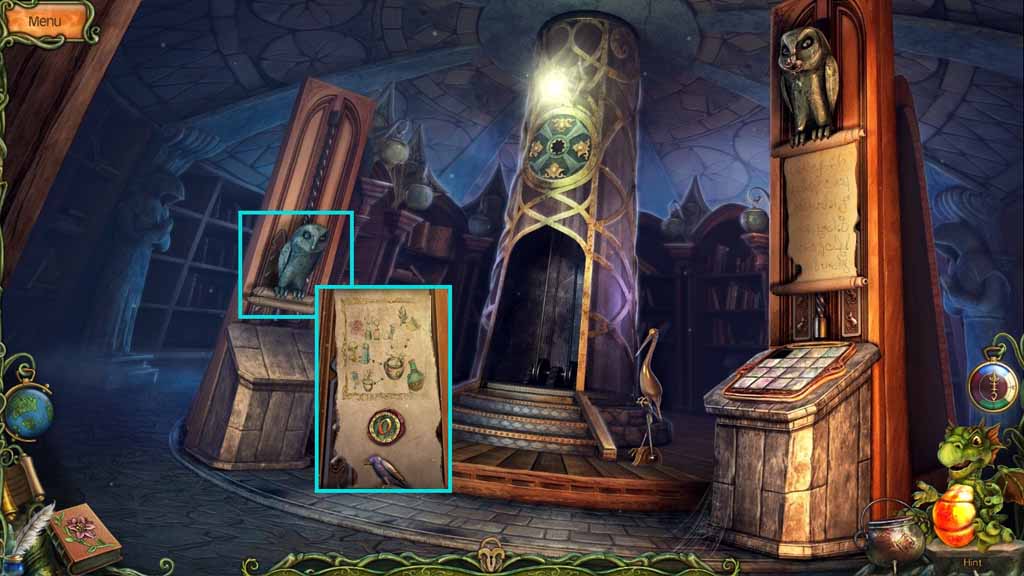
- Insert the gold mouse into the beak of the owl on the left.
- Pour the decipher potion onto the scroll; collect the Freedom Potion recipe.
- Collect the elevator button and the bird figurine.
- Move to the Tavern.
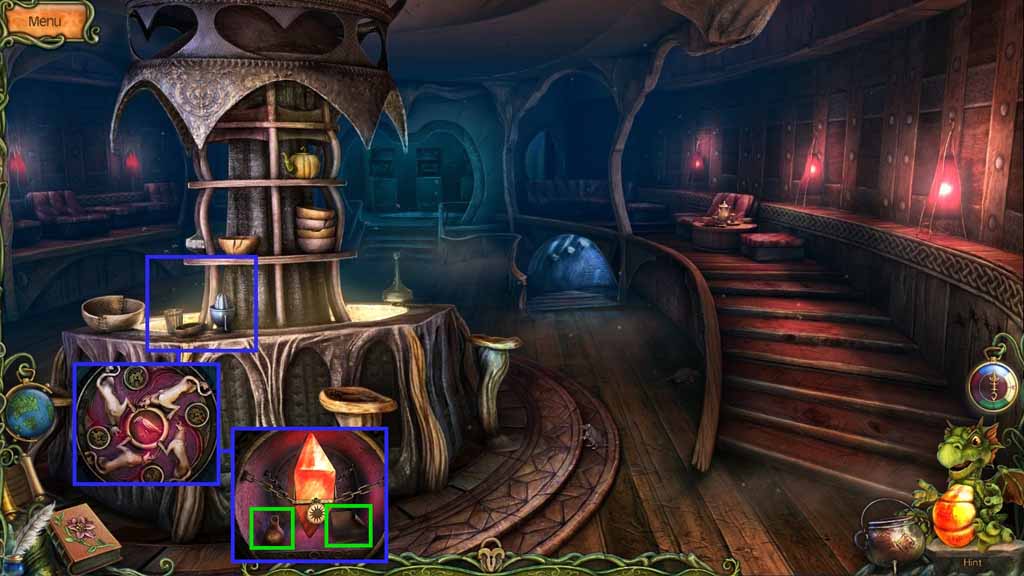
- Zoom into the door behind the bar.
- Insert the bird figurine; collect the 2nd weight.
- Read the memo.
- Move into the Tavern Cellar.
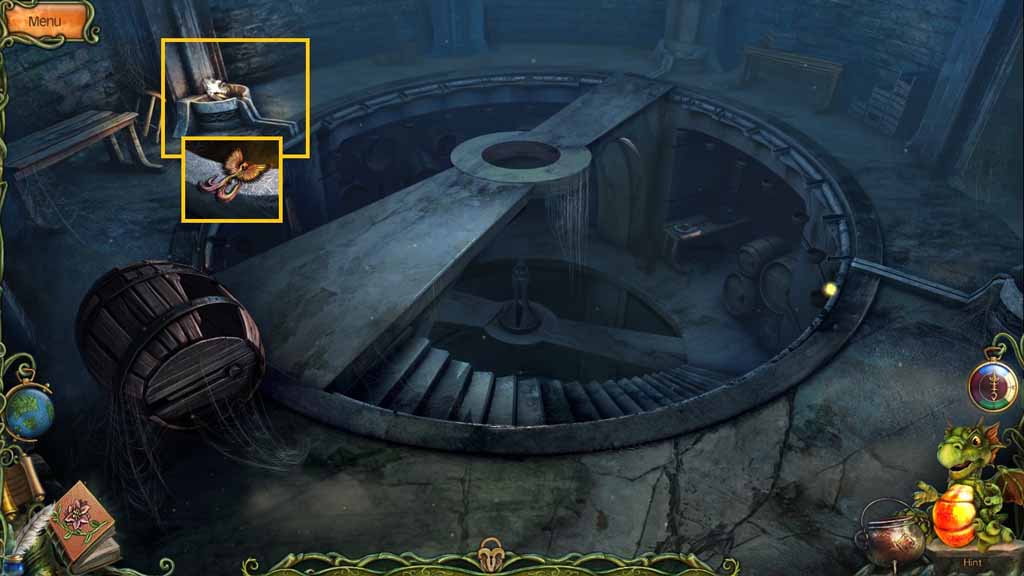
- Collect the Phoenix.
- Move to the Town Square.
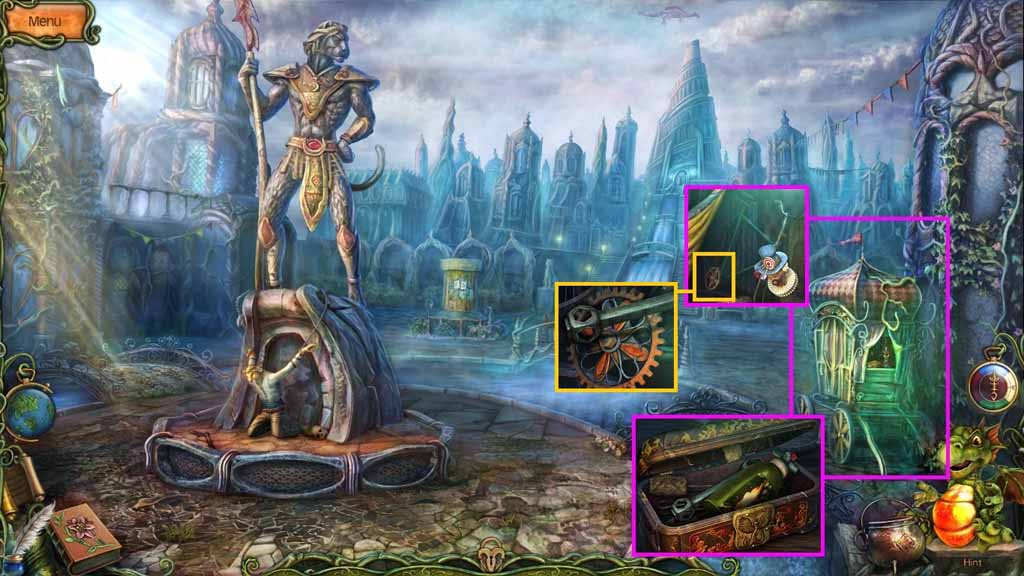
- Zoom into the circus wagon.
- Insert the Phoenix into the case; collect the wrench and the oil.
- Select the wrench and use it to remove the gear from the bicycle.
- Move to the Tavern Cellar.
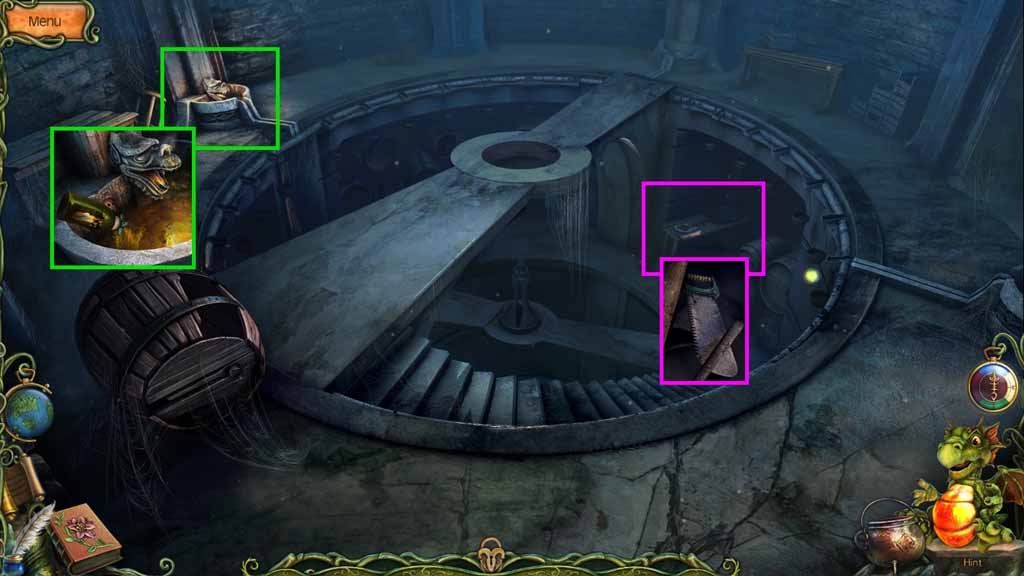
- Pour the oil into the bowl.
- Collect the saw.
- Move to the Archives.
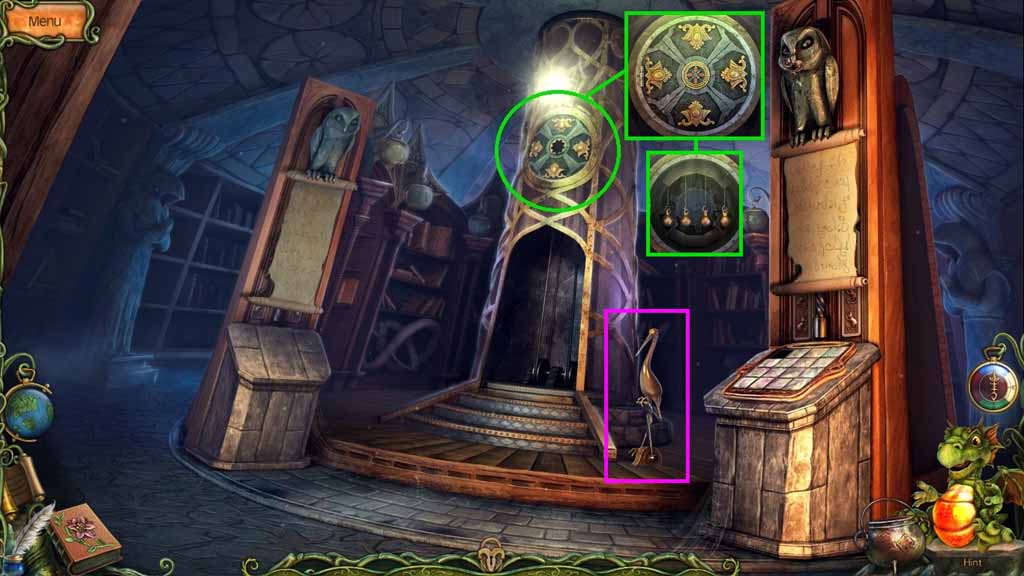
- Select the gear to open the mechanism.
- Place the weights onto the hooks.
- Click the lever; move into the elevator.
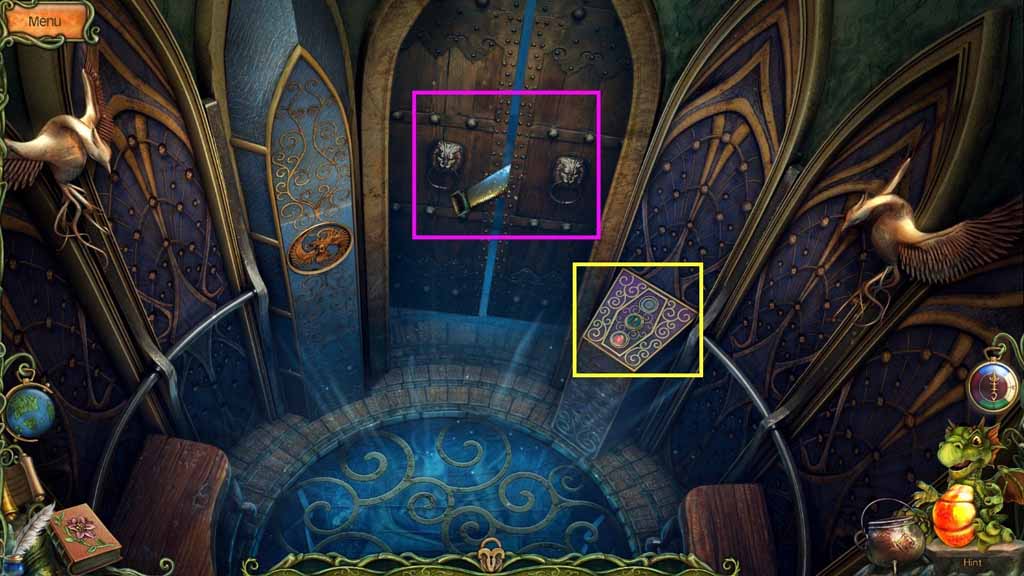
- Insert the elevator button.
- Click the down button.
- Select the saw to cut the plank.
- Move into the Storeroom.
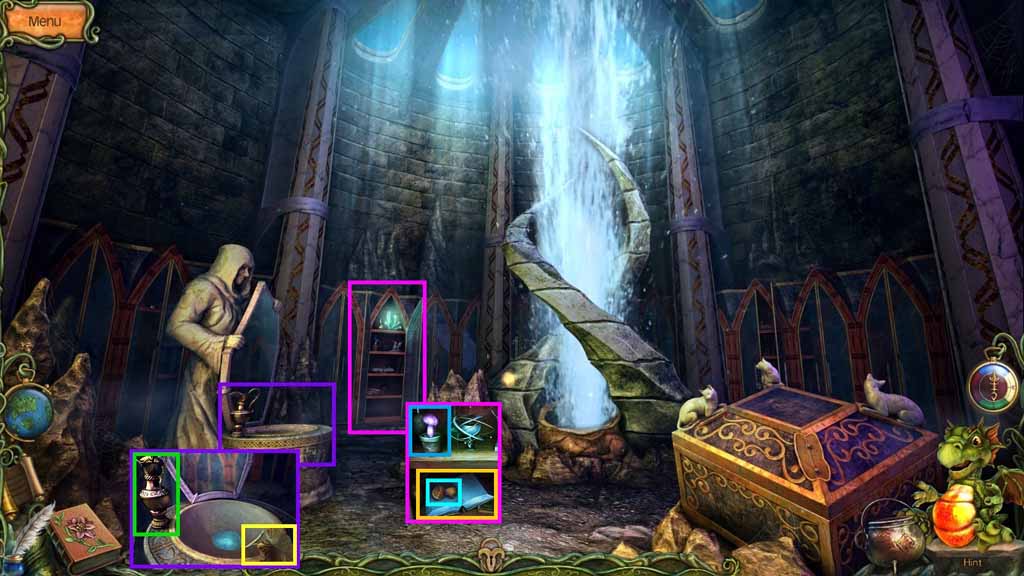
- Collect the jug.
- Collect the red miola leaf.
- Collect the blue mushroom.
- Collect the lemon.
- Read the memo.
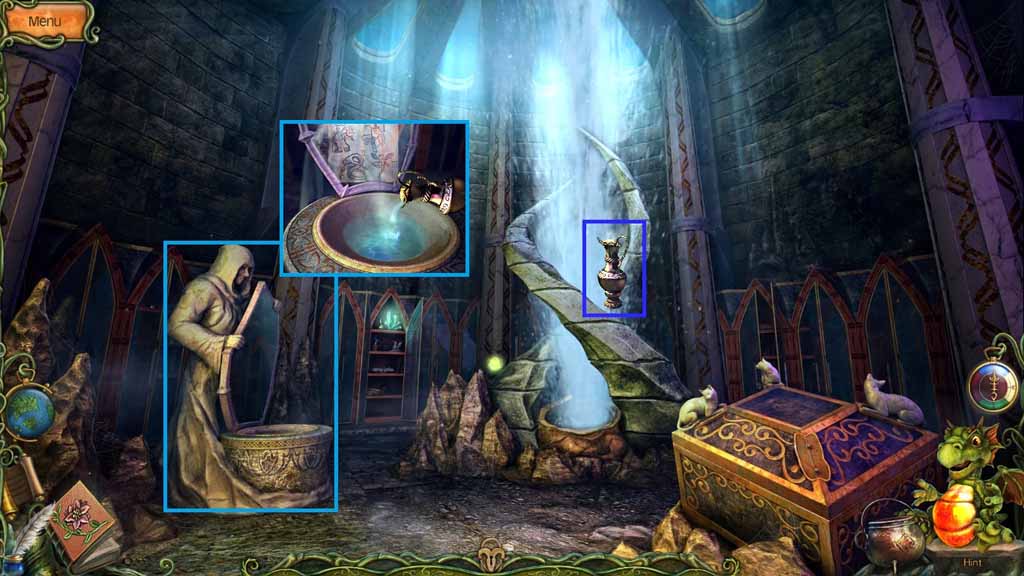
- Fill the jug with water; collect the jug of hot water.
- Pour it into the bowl.
- Notice the images on the mirror.
- Move to the Entrance of the Archives.
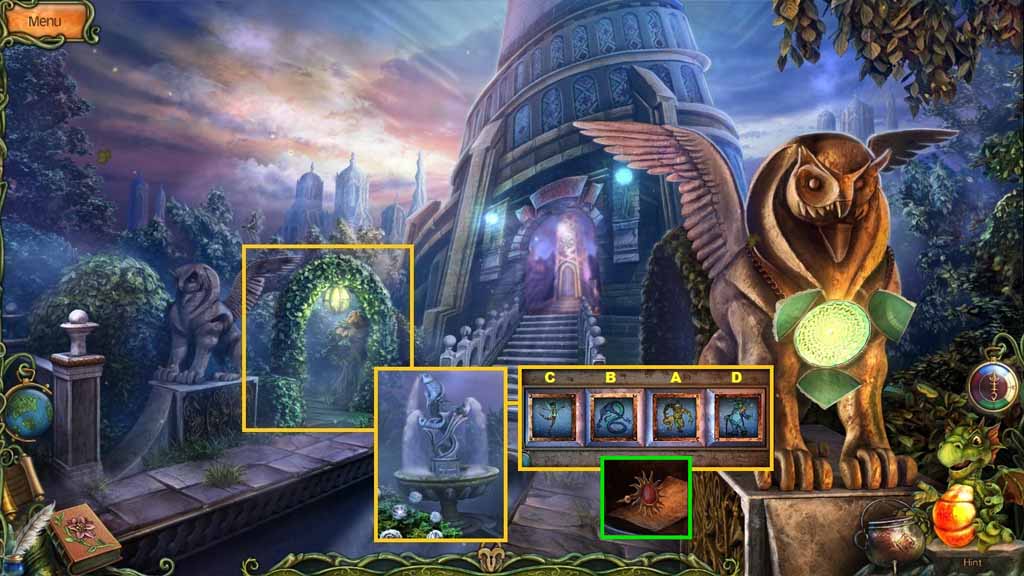
- Click the fountain.
- A mini-game will trigger.
- Solve the game by using the code from the mirror in the Storeroom.
- Click the buttons in ABC order.
- Collect the special key.
- Read the memo.
- Move to the Tavern.
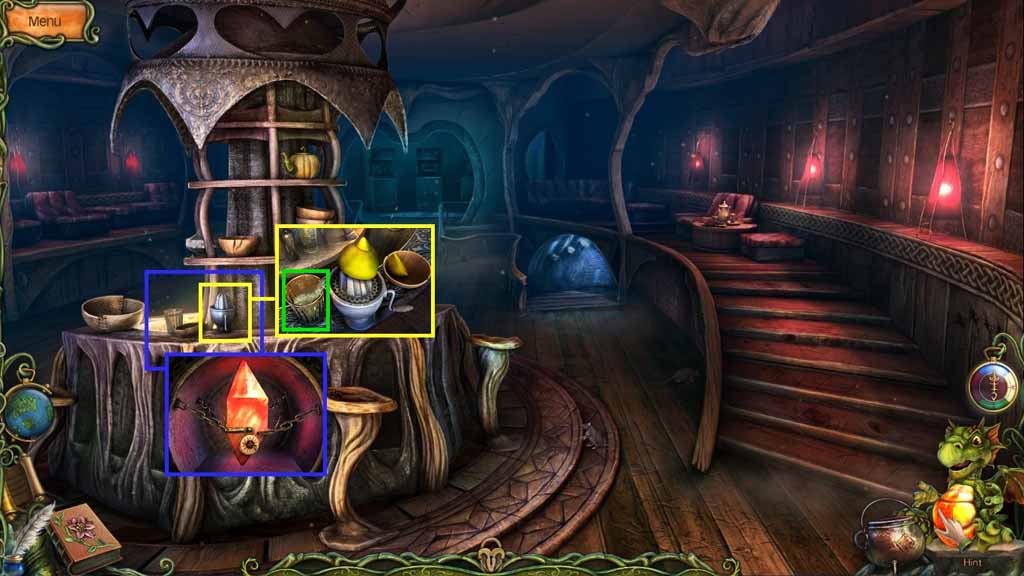
- Zoom into the bar and zoom once more into the cubby hole.
- Insert the special key into the gem lock; collect the gem.
- Squeeze the lemon; collect the lemon juice.
- Move to the Tavern Cellar.
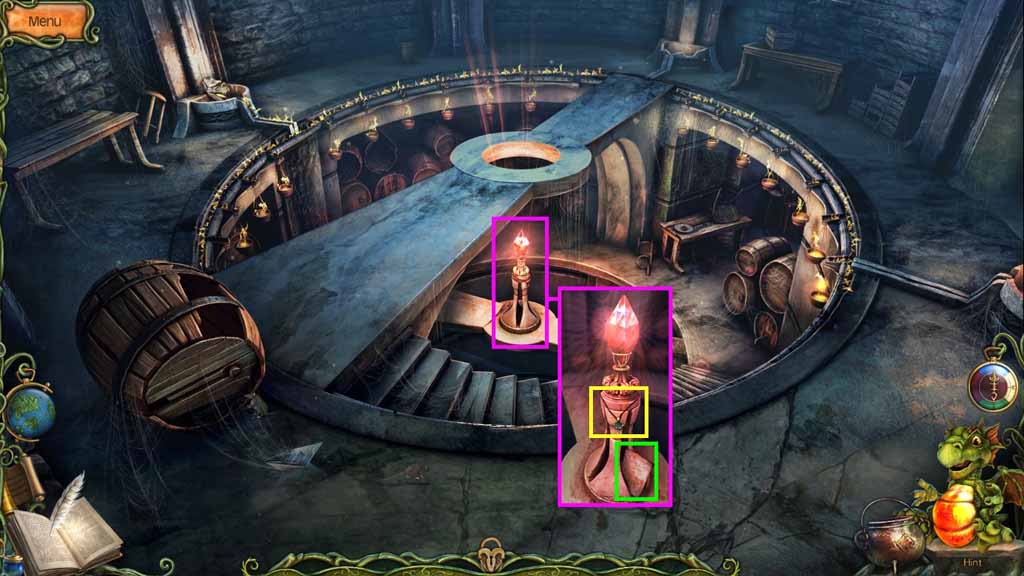
- Insert the gemstone into the base.
- Collect the token.
- Read the memo.
- Move upstairs.
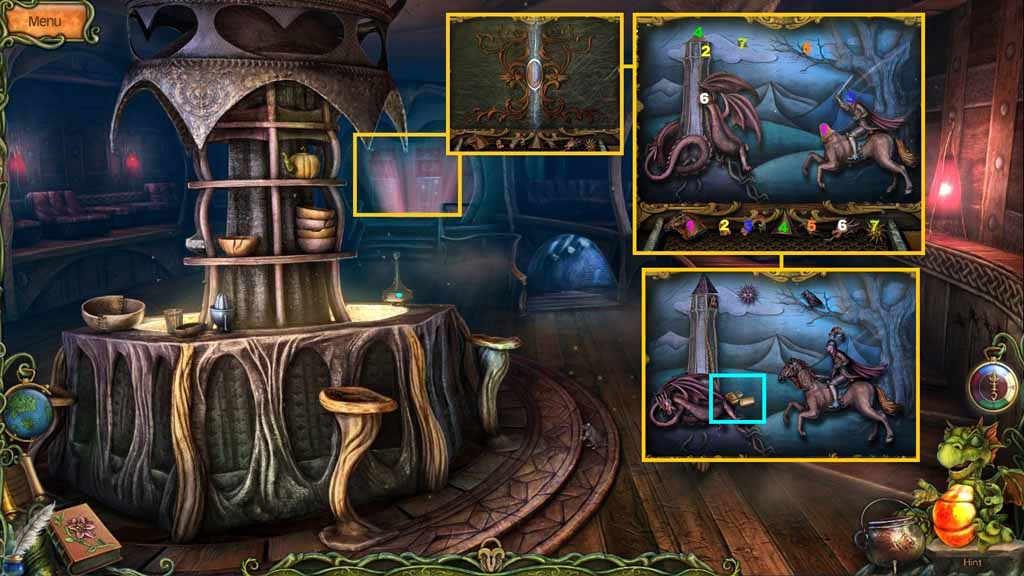
- Click the slot machine.
- Insert the token to trigger a mini-game.
- Solve the mini-game by placing the pieces into the correct places.
- Collect the lighter.
- Move to the Street.
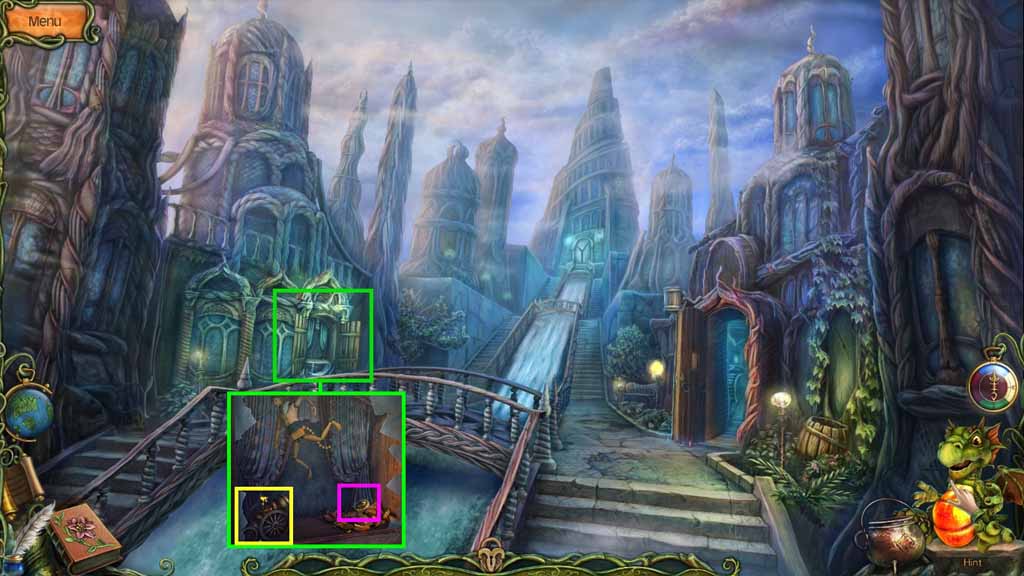
- Select the lighter to ignite the fuse.
- Collect the elevator button.
- Move to the elevator.
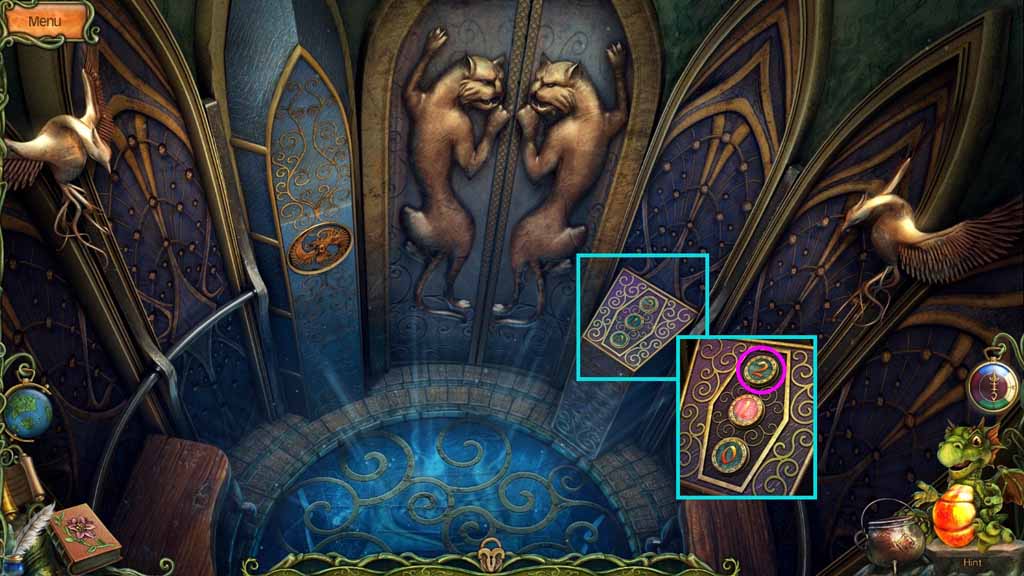
- Insert the elevator button and click it once.
- Move into the Mirrored Hall.
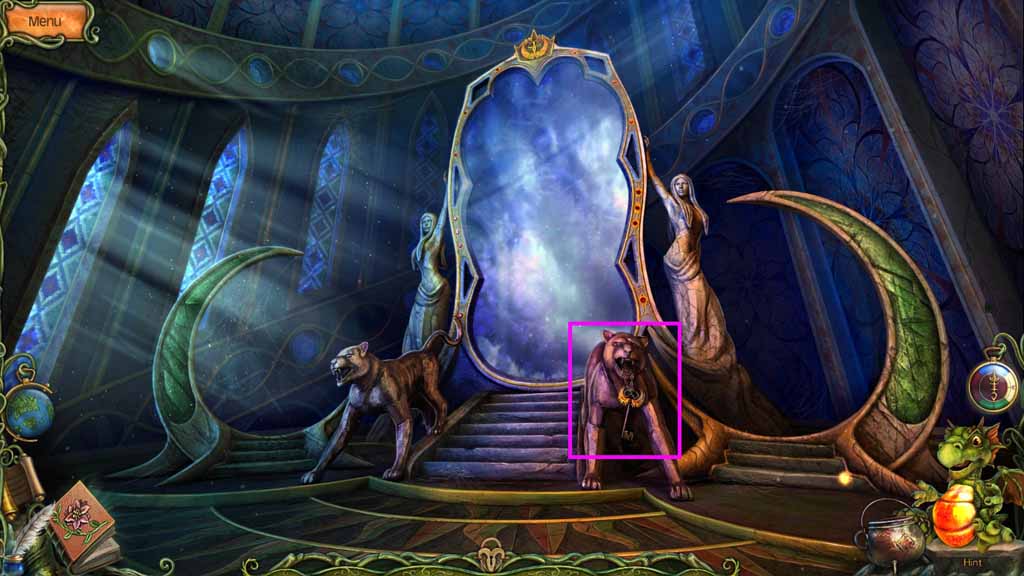
- Collect the bird shaped key.
- Move to the elevator.
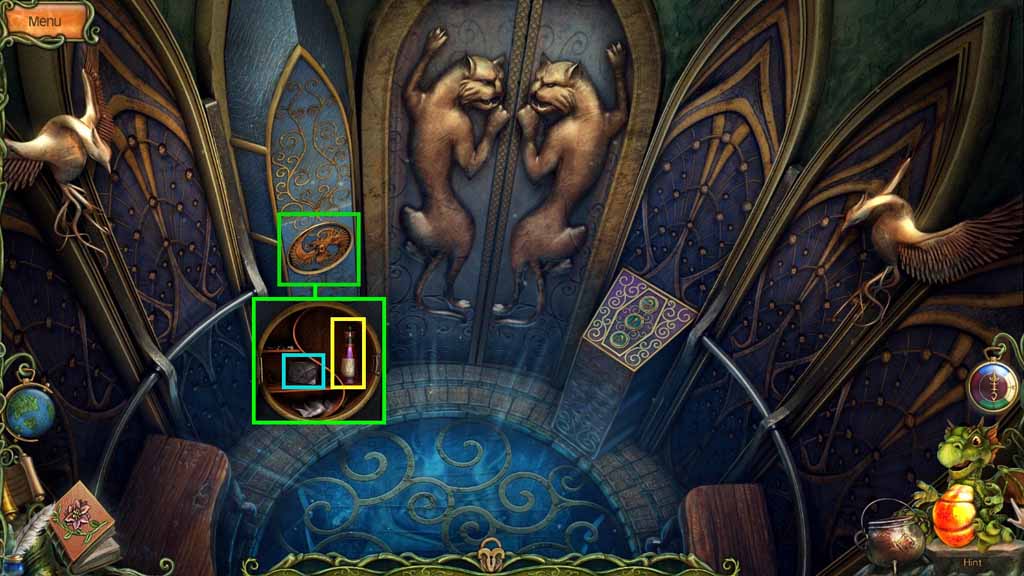
- Insert the bird shaped key into the cabinet; collect the stone tile.
- Collect the kahkara bubbles.
- Move to the Archives.
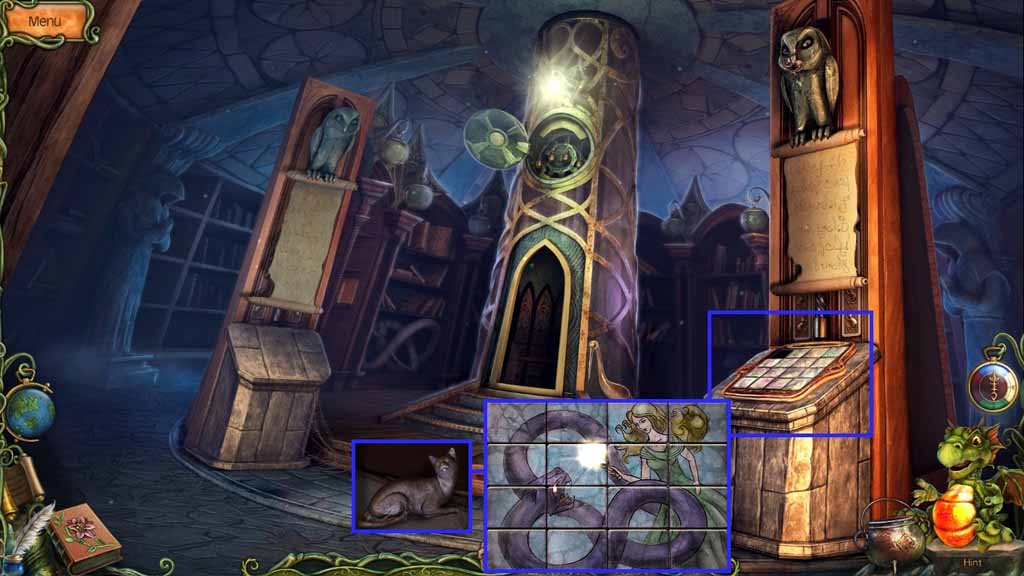
- Insert the stone tile into the picture to trigger a mini-game.
- Flip the tiles to create a completed image to solve the mini-game.
- Collect the cat figurine.
- Move to the Storeroom.
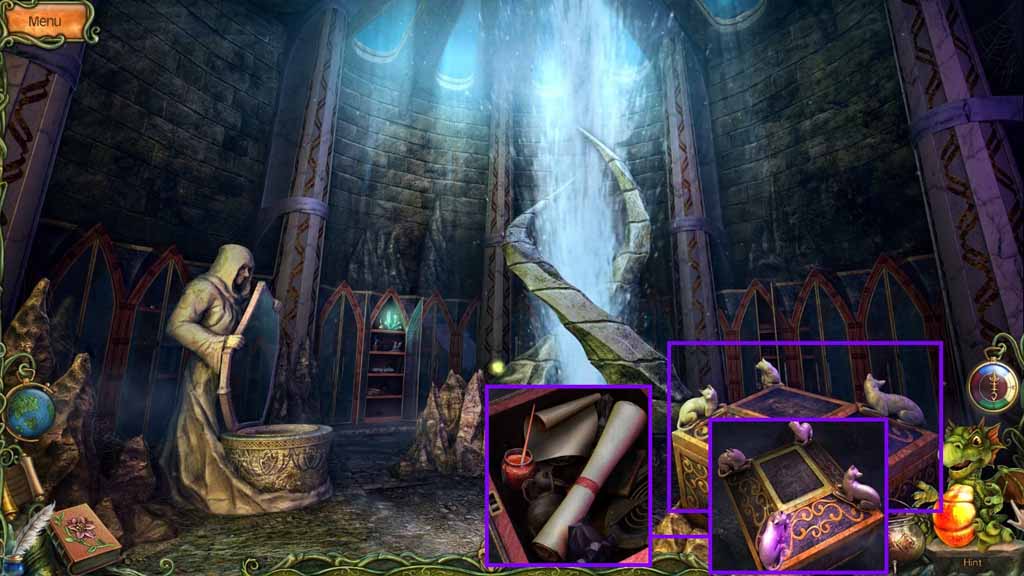
- Put the cat figurine onto the chest lid.
- Collect the red paint.
- Read the memos.
- Move to the Entrance to the Archives.
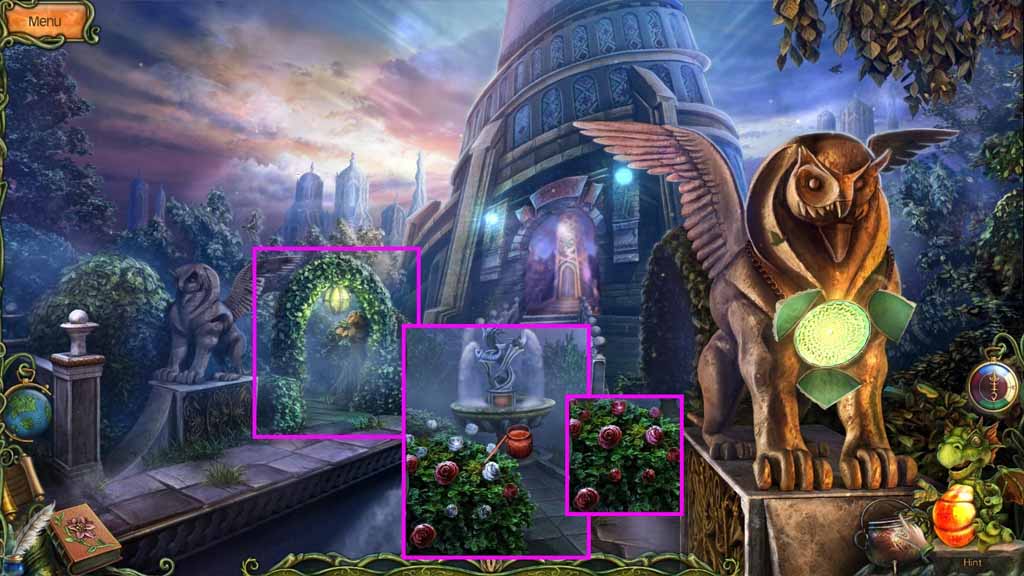
- Paint the white roses using the red paint.
- Collect the red rose petals.
- Create the Freedom Potion.
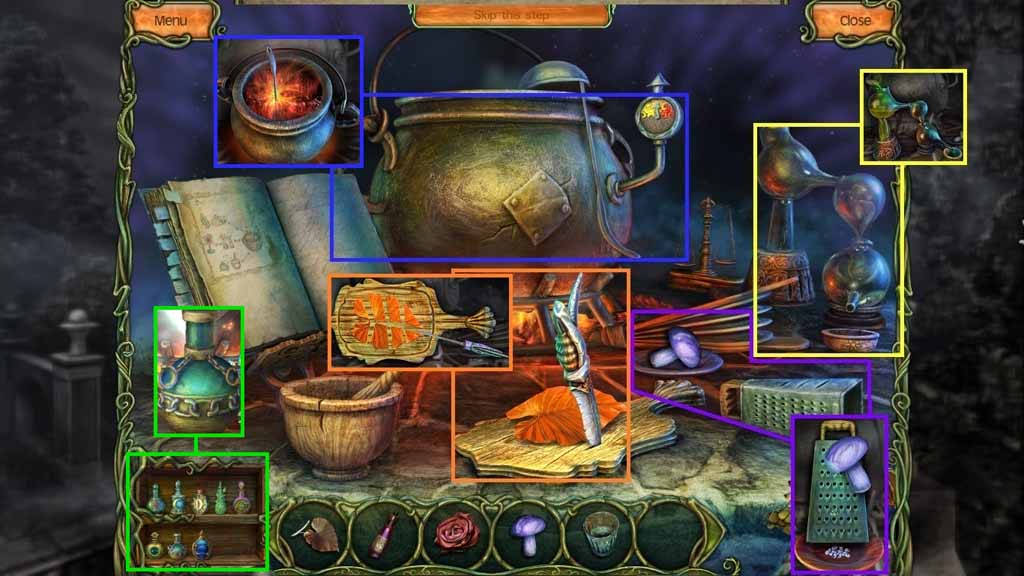
- Put the red miola leaf onto the cutting board and cut it up.
- Place the kahkara bubbles into the pot.
- Place the red rose petals into the pot.
- Grate the blue mushroom.
- Place the lemon juice into the distiller.
- Stir the ingredients.
- Collect the Freedom Potion.
- Move to the Town Square.
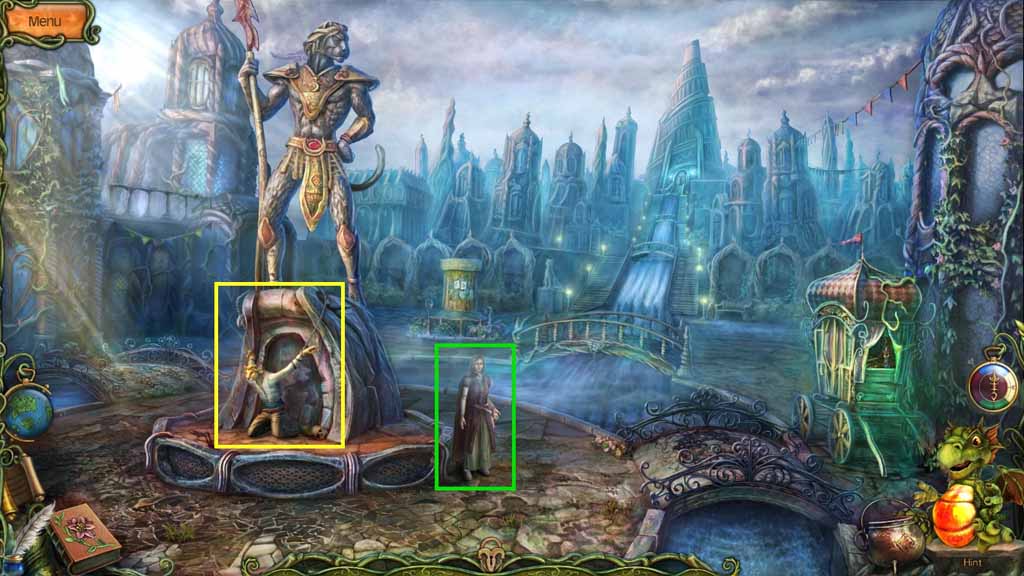
- Pour the Freedom Potion onto the shackles.
- Speak to the healer; collect the maze key.
- Move to the Mirror Hall.
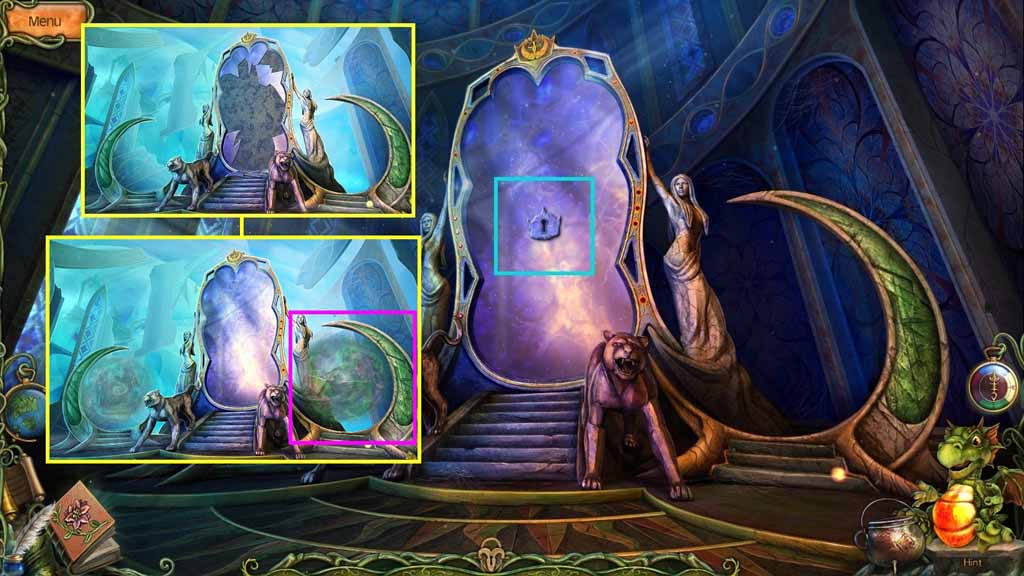
- Click the mirror; insert the maze key.
- Click the mirror to trigger a mini-game.
- Assemble the shattered mirror to solve the mini-game.
- The portal to the Maze will open; enter through the right portal.
Comments will load when you reach this part of the walkthrough.