

Chapter Two: Evidence
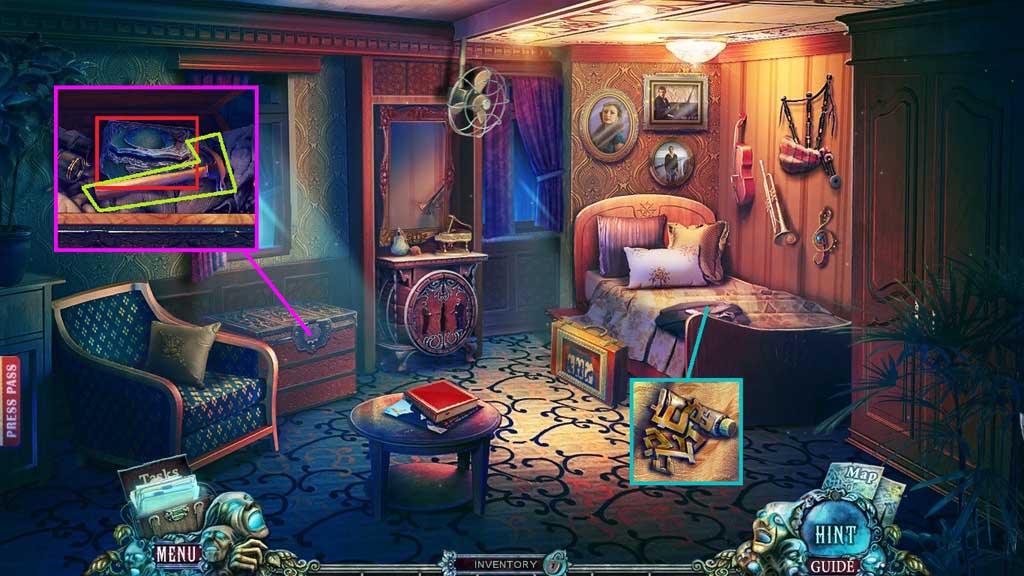
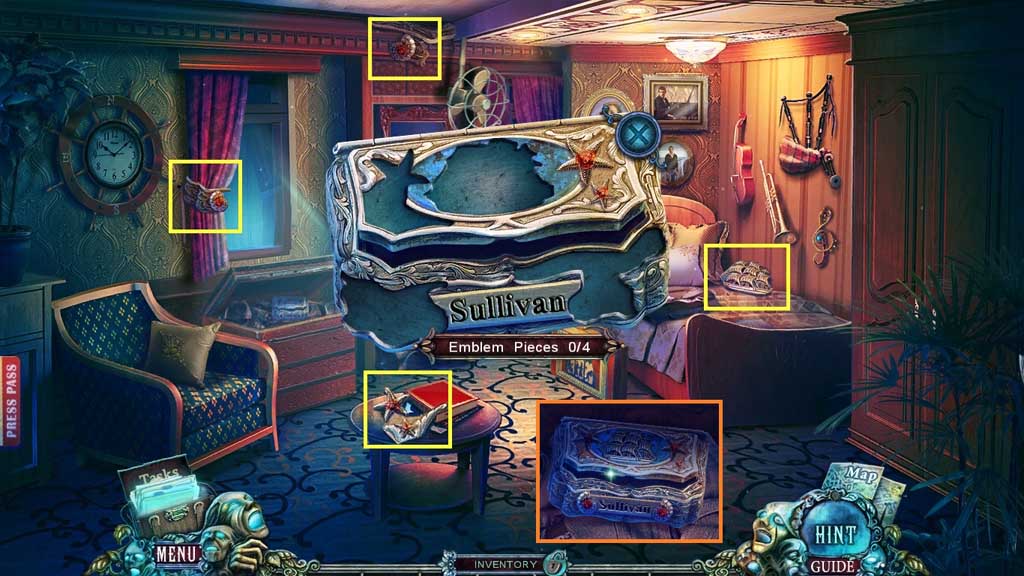
- Click the suit and the sheet music.
- Collect the part of piano roll and the white paint.
- Use the screwdriver to remove the screws; collect the hammer.
- Click the chest.
- Find the missing pieces.
- Collect the chest.
- Move down once.
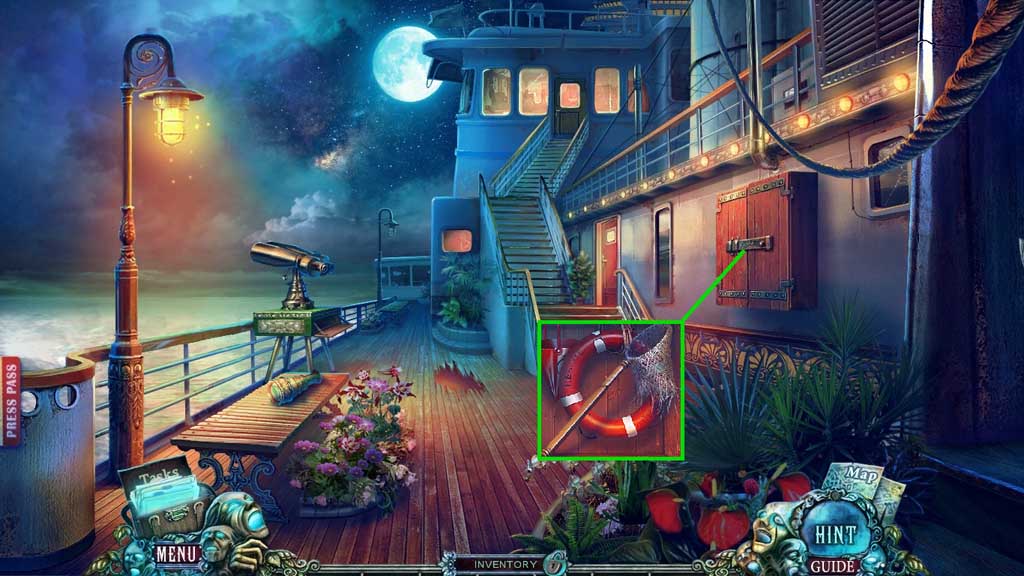
- Select the hammer to smash the lock.
- Click the door; collect the damaged net.
- Move down once.
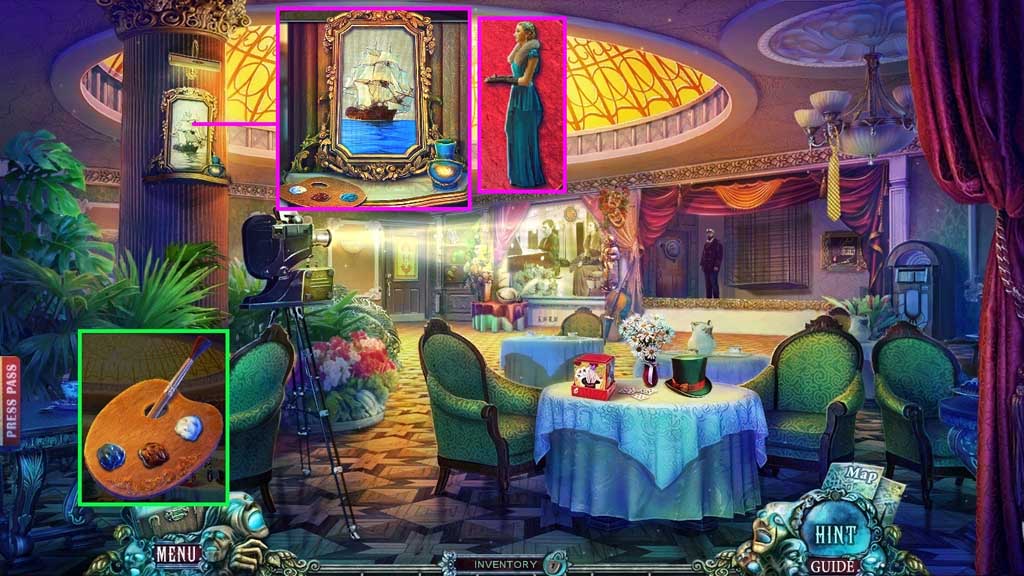
- Select the palette and place the blue, white and brown paint onto it along with the brush.
- Place the paint set near the framed canvas; paint the water blue, the sails white and the ship brown.
- Click the canvas 2x’s; collect the Grace figure.
- Move down once.
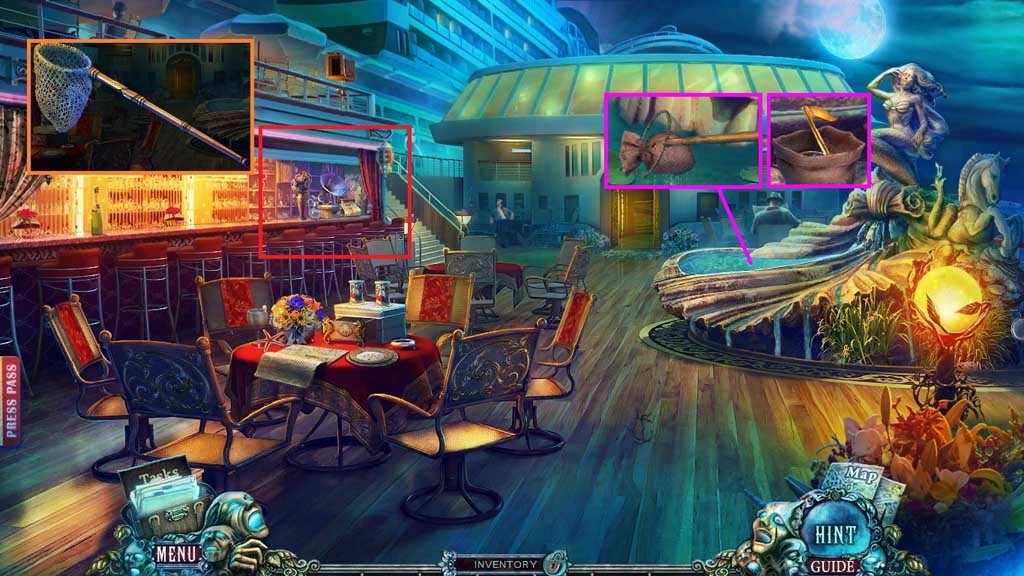
- Click the damaged net 2x’s and place the net.
- Select the net and use it 2x’s to collect the sack.
- Click the sack and collect the golden note.
- Click the hidden objects area.
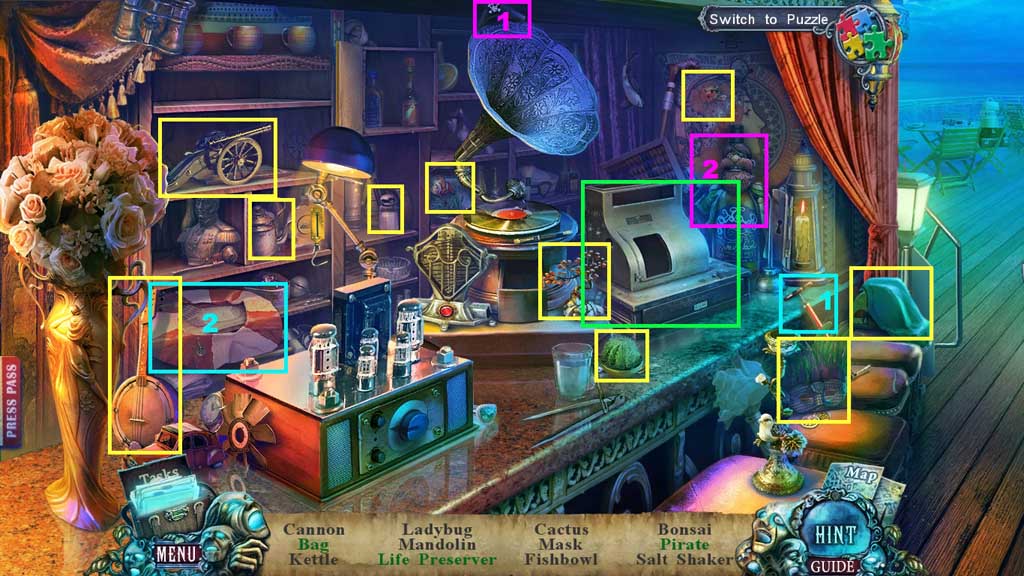
- Find the items and click the fragments beneath them.
- Collect the broken flashlight.
- Move to Dylan’s Cabin.
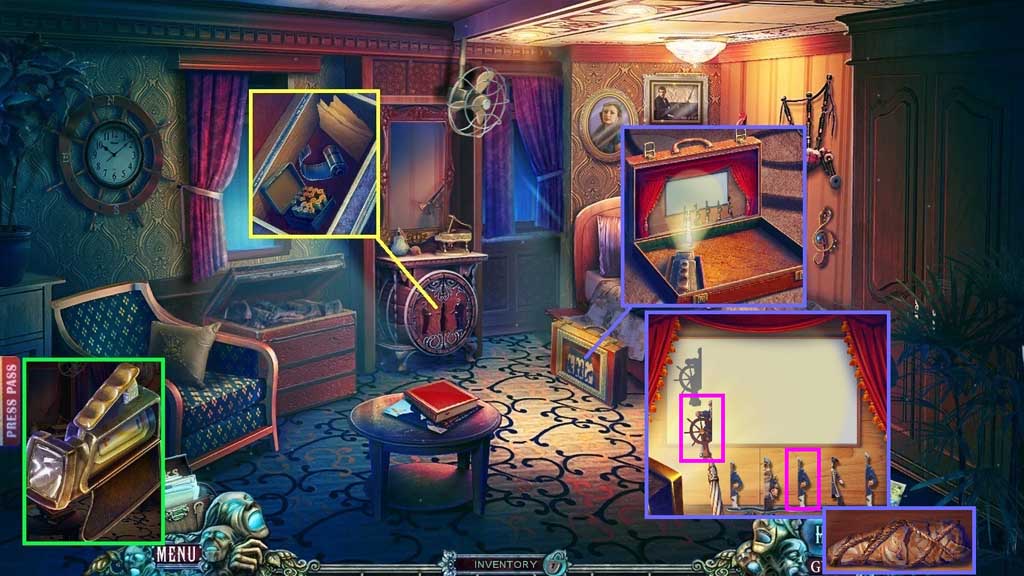
- Insert the Grace figure and click the violin case.
- Insert the silver and gold notes.
- Collect the note, the film and the box of cartridges.
- Click the broken flashlight and insert the light bulb and the battery.
- Click the briefcase and insert the flashlight; click it on.
- Zoom in to trigger a mini game.
- Solve the game by finding the matching halves.
- Collect the package.
- Move down 2x’s.
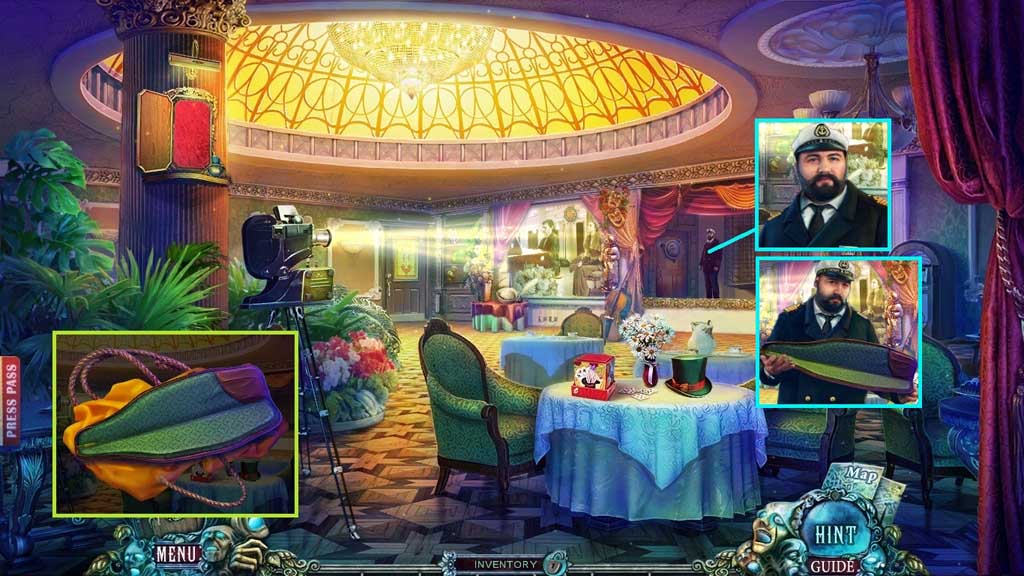
- Click the package 3x’s.
- Collect the gun case.
- Speak to the Captain; give him the gun case.
- Move to the Storage Room.
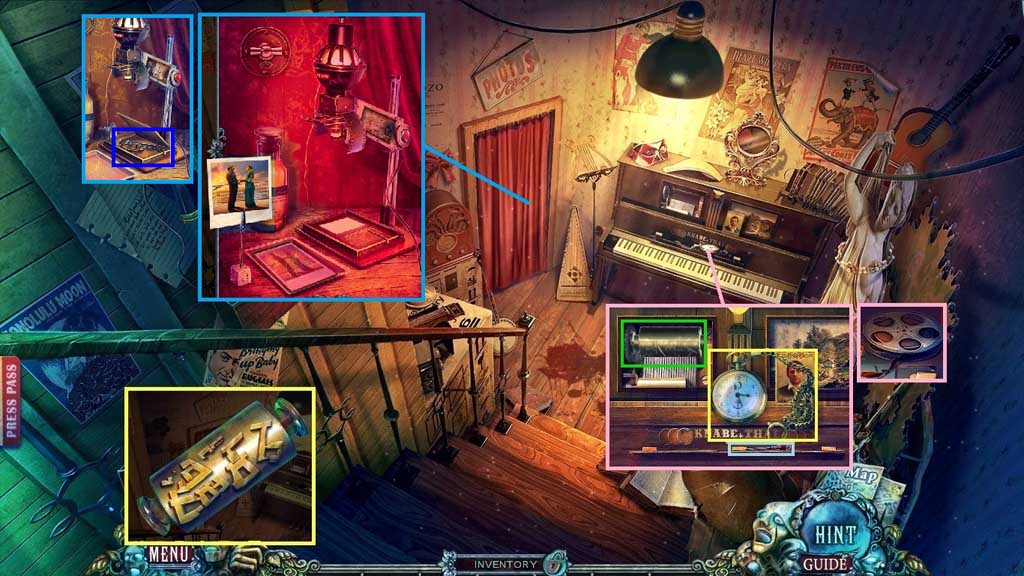
- Click the part of piano roll and place the other part of piano roll.
- Restore the piano roll.
- Attempt to collect the watch; collect the hairpin.
- Attach the piano roll and collect the reel of tape.
- Click the curtain.
- Place the film onto the film scanner and place the paper into the tray beneath.
- Click the light on the wall, then the button on the scanner.
- Pour the developer into the other tray and transfer the paper into the other tray.
- Select the clip to dry and collect the photo.
- Collect the wrench.
- Move down once and click the hidden objects area.
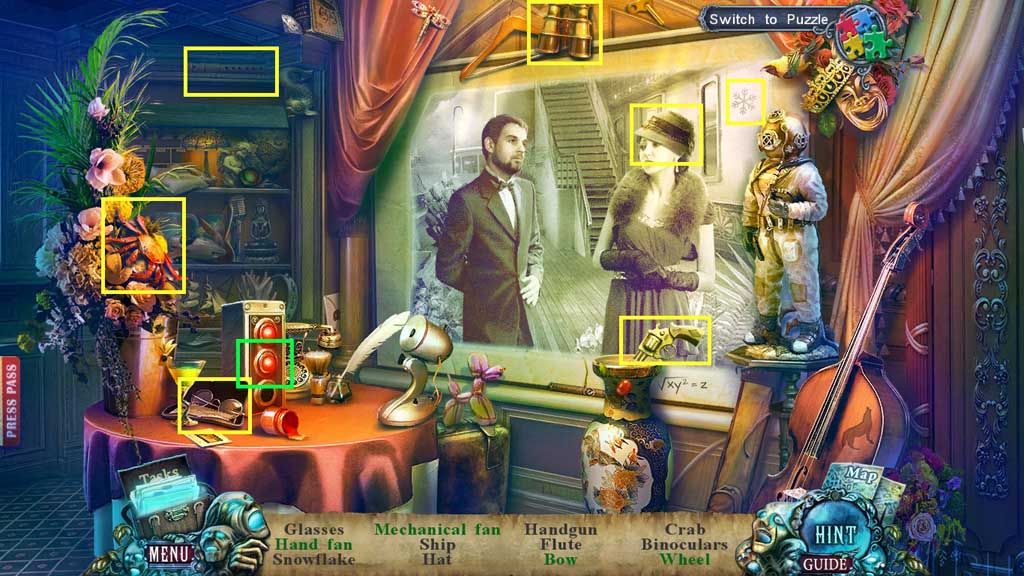
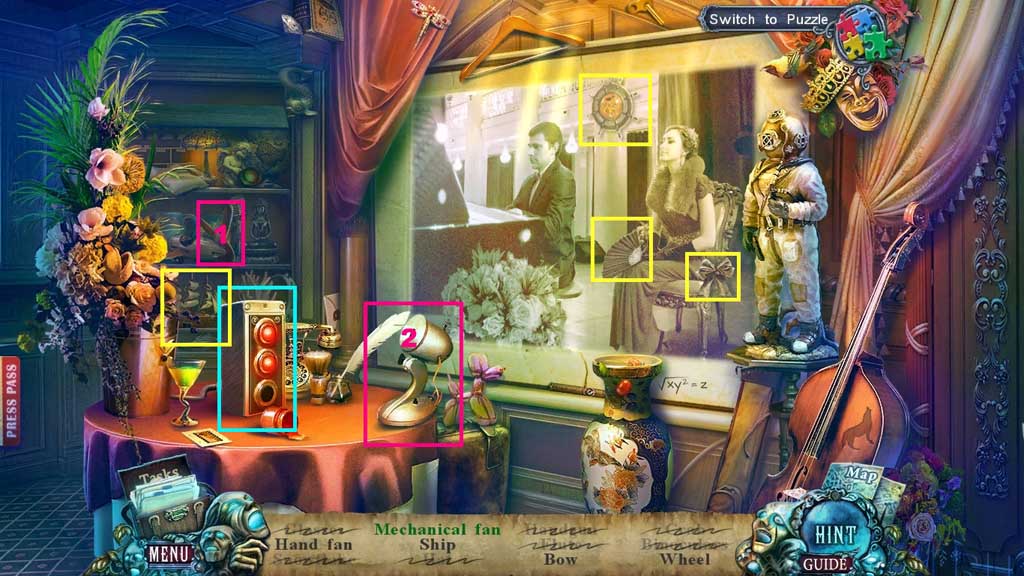
- Find the items.
- Collect the tweezers.
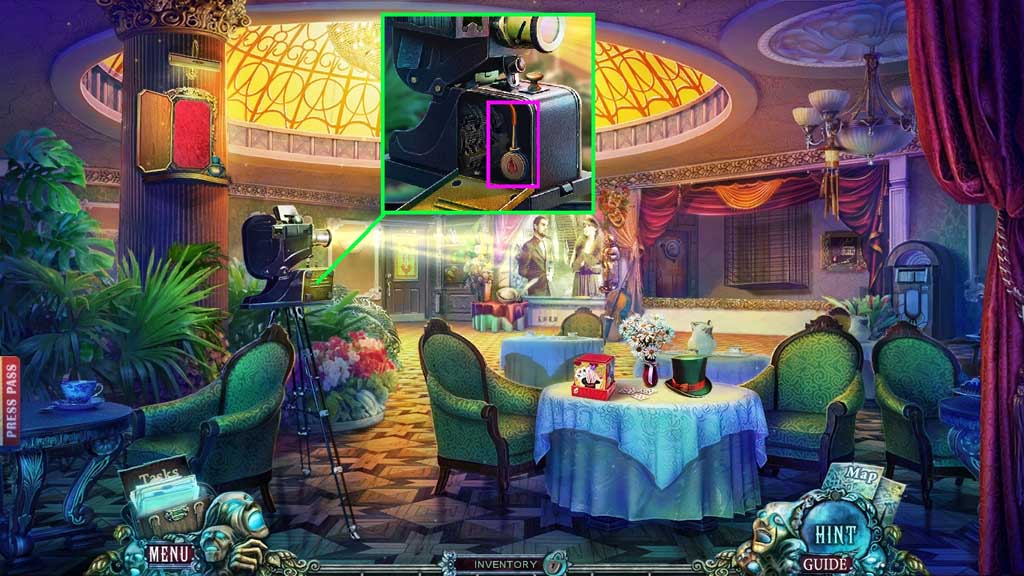
- Select the wrench to remove the bolts.
- Collect the oil.
- Move to the Storage Room.
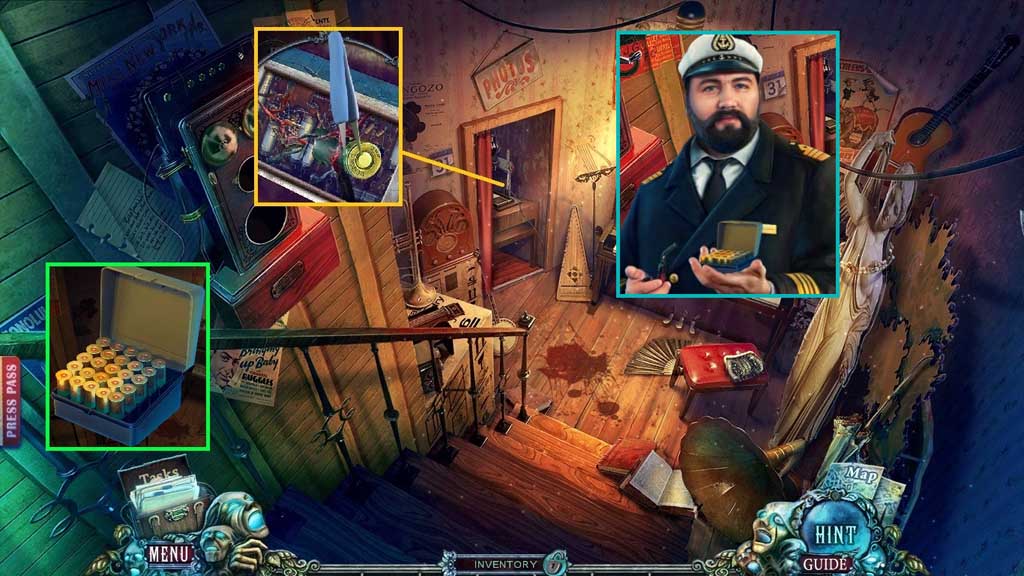
- Select the oil and tweezers to collect the cartridge.
- Click the box of cartridges and insert all of the cartridges; collect the proof.
- Speak to the Captain and give him the proof.
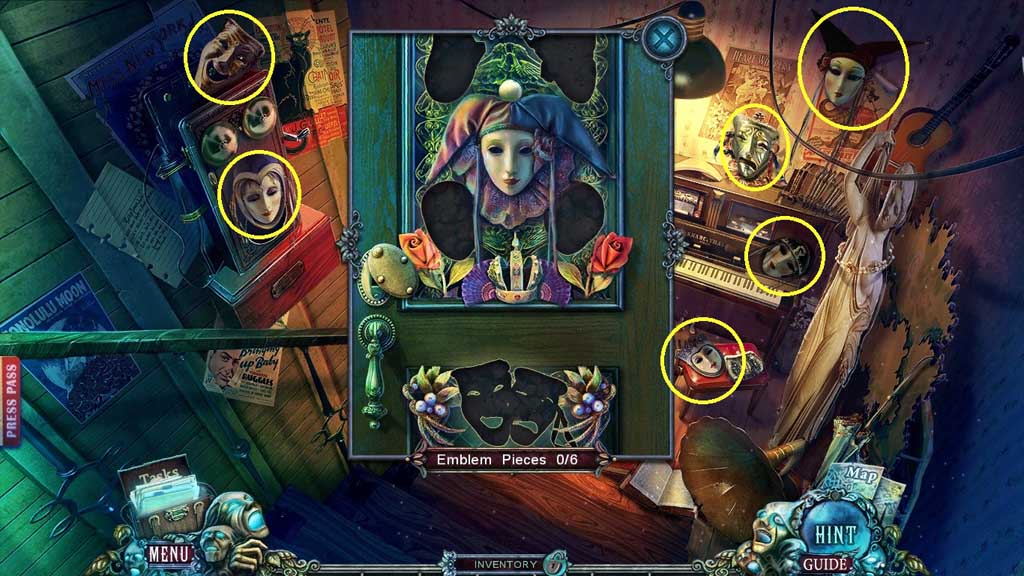
- Zoom down and find the masks.
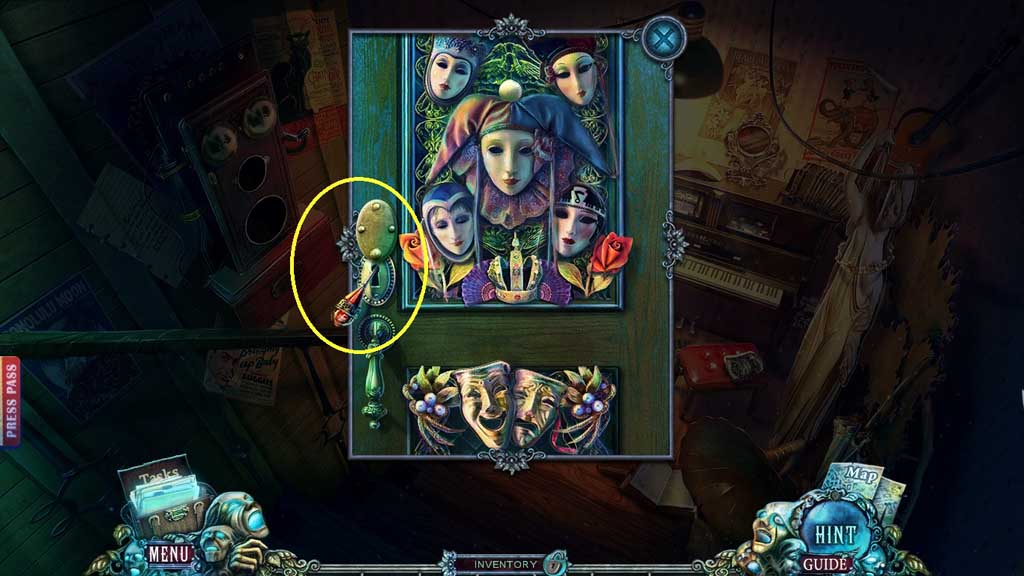
- Insert and click the hairpin to open the door lock.
- Move down once.
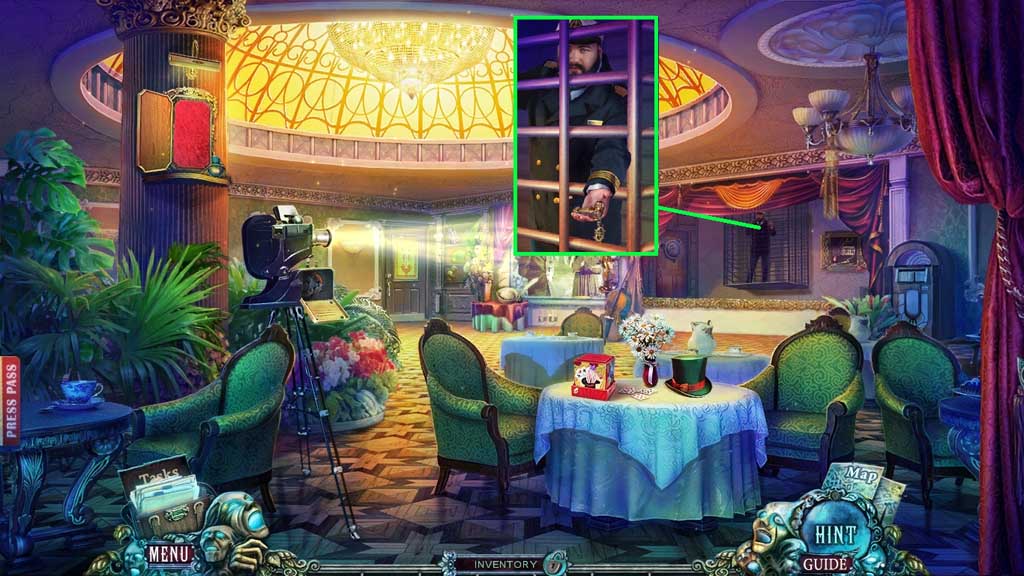
- Speak to the Captain and collect the Captain’s key.
- Move ahead to the Observation Deck.
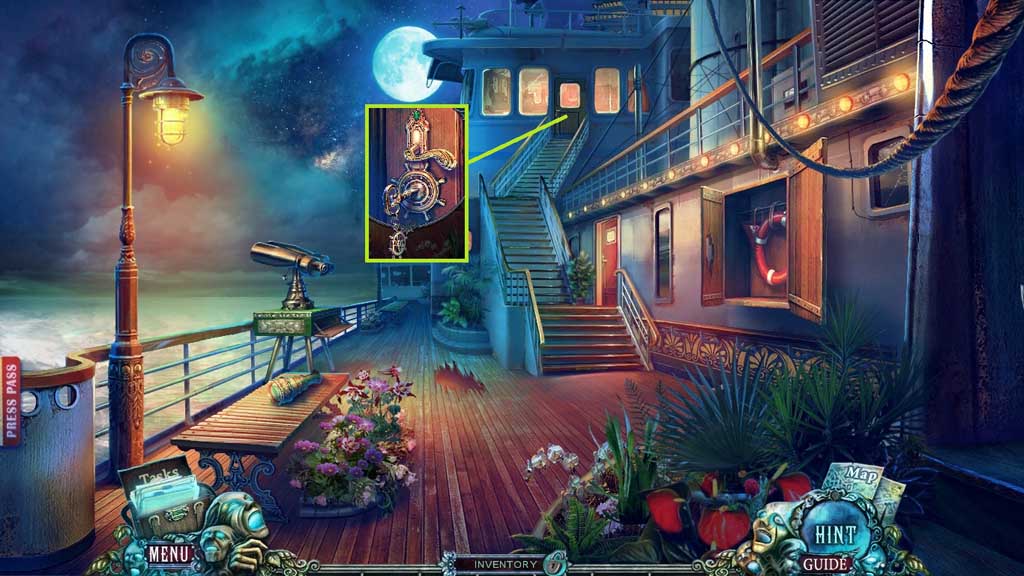
- Insert and click the Captain’s key.
- Move ahead.
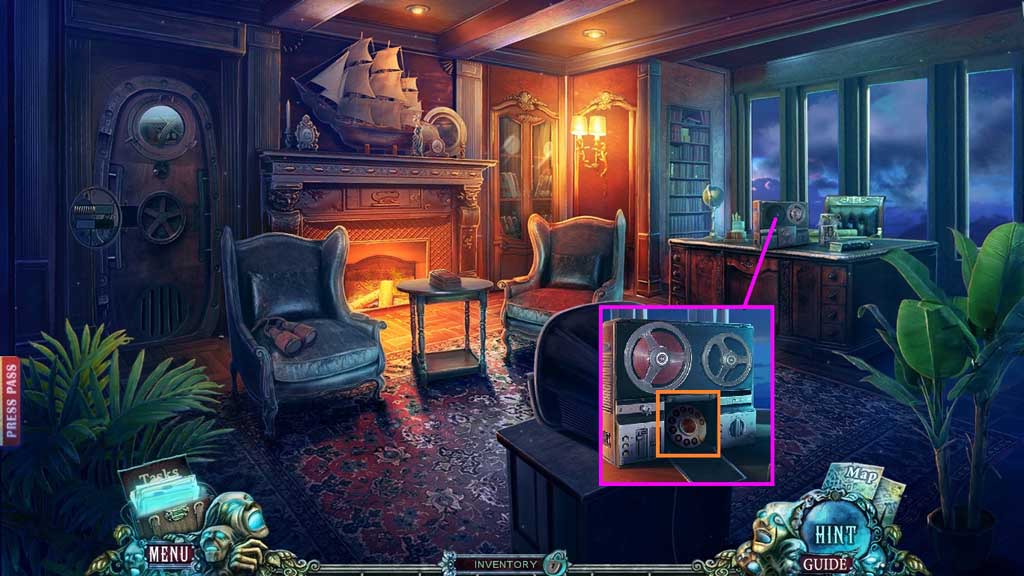
- Attach the reel of tape.
- Collect the rotary phone dial.
- Move to the Storage Room.
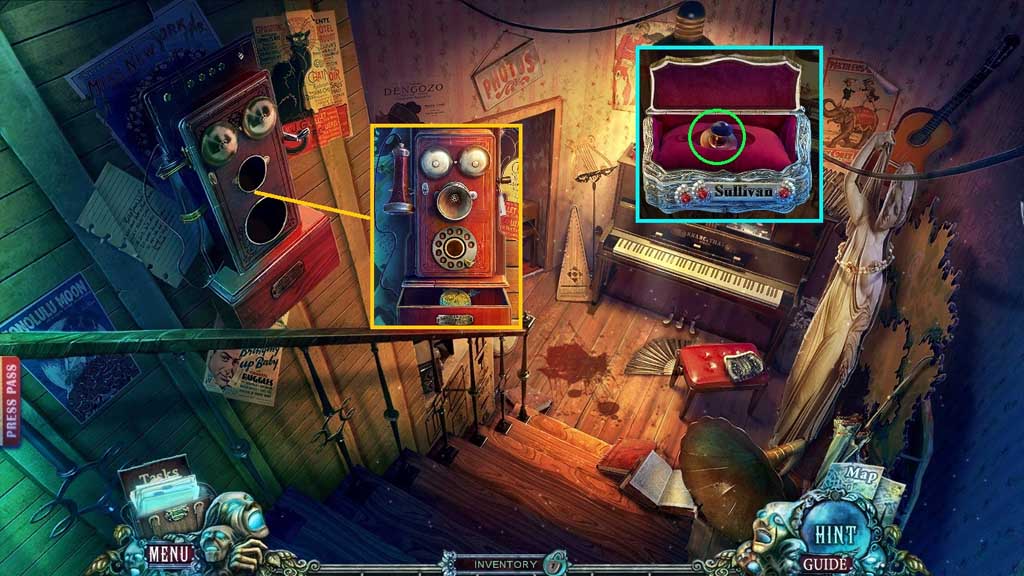
- Click the chest 2x’s; collect the phone mouthpiece.
- Attach the phone mouthpiece and the rotary dial onto the phone.
- Click the receiver; collect the astrolabe.
- Move to the Captain’s Quarters.
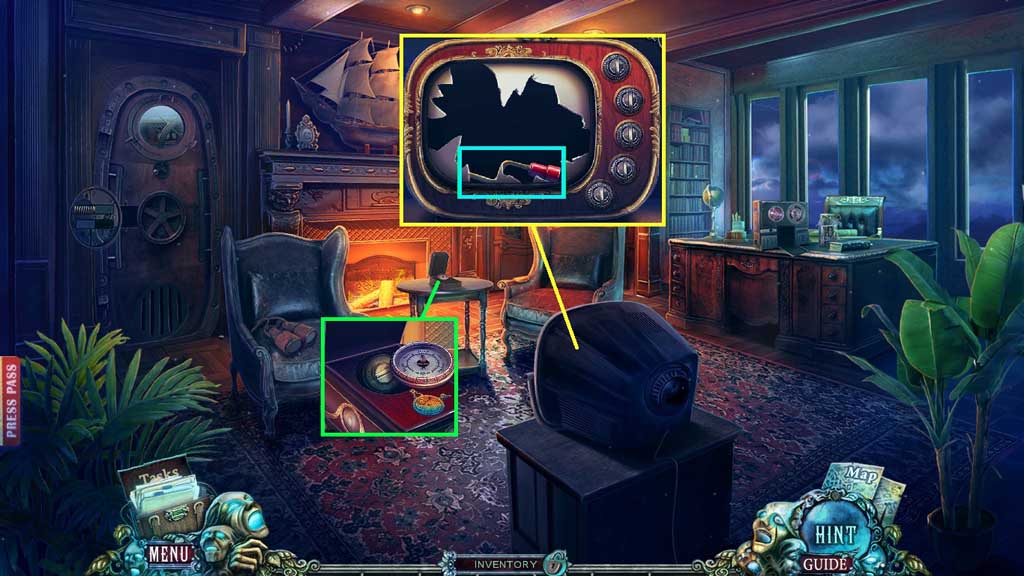
- Click the box and place the astrolabe; collect the dial.
- Place the dial onto the T.V. to trigger a mini game.
- Solve the game by
- Use the following solution to solve: 1 – 2 – 3 – 4 – 5 – 1 – 4
- Collect the box handle.
- Move down 2x’s.
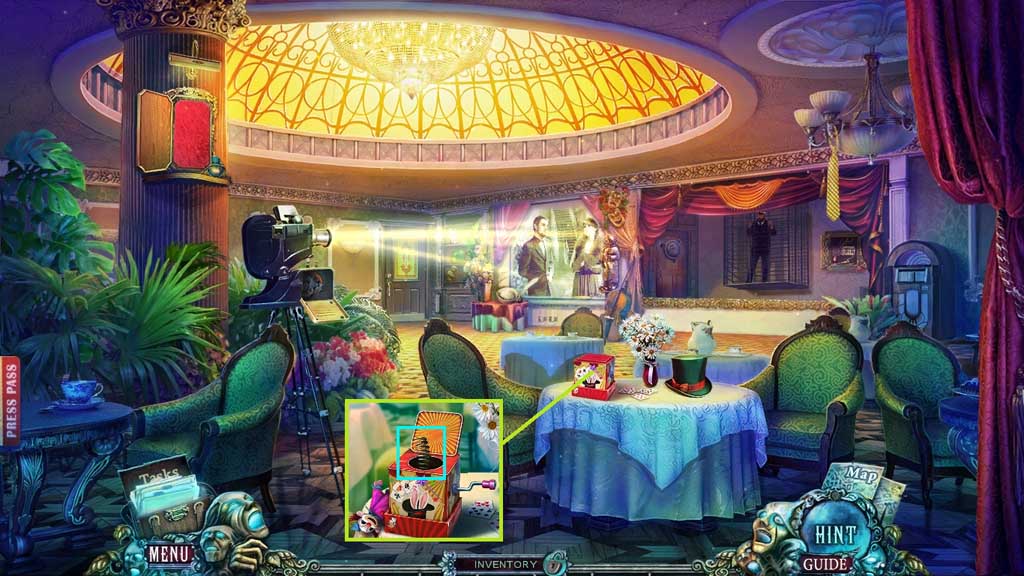
- Attach and click the box handle.
- Collect the spring.
- Move to the Captain’s Quarters.
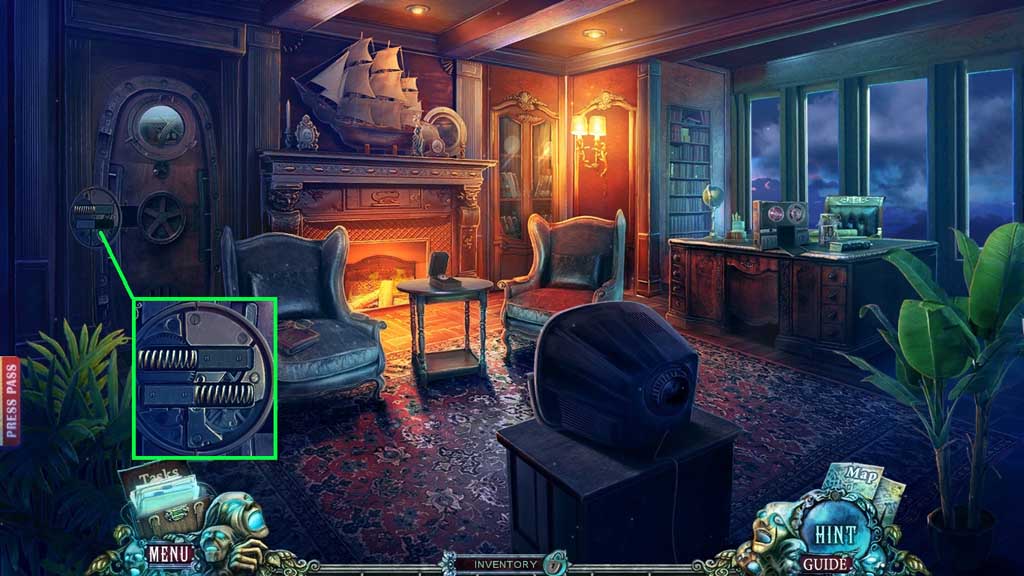
- Insert the spring.
Comments will load when you reach this part of the walkthrough.