

Chapter One: Tower
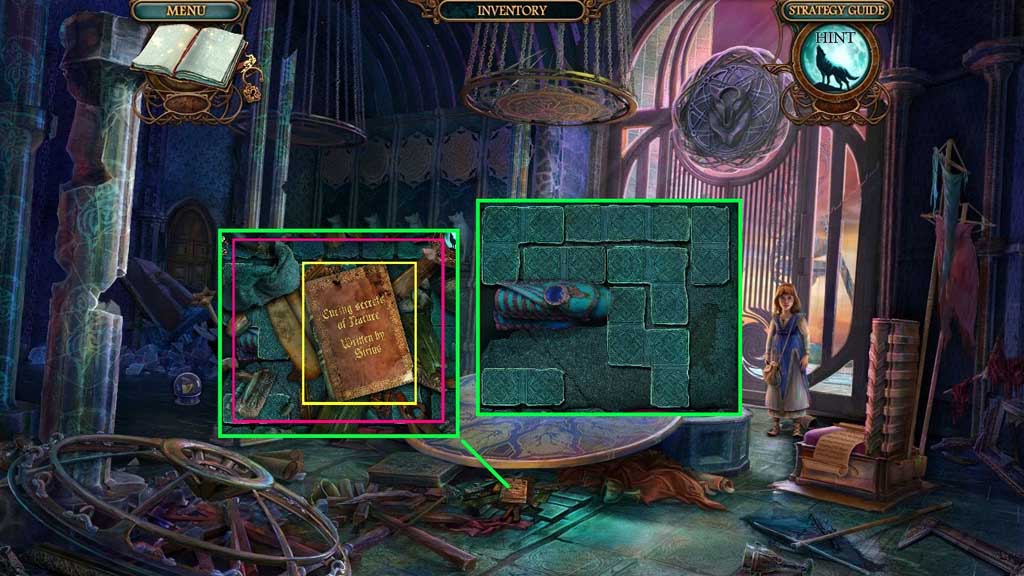
- Collect 1 /3 books.
- Click the debris beneath it to trigger a mini game.
- Solve the game by moving the blocks to collect the bracelet.
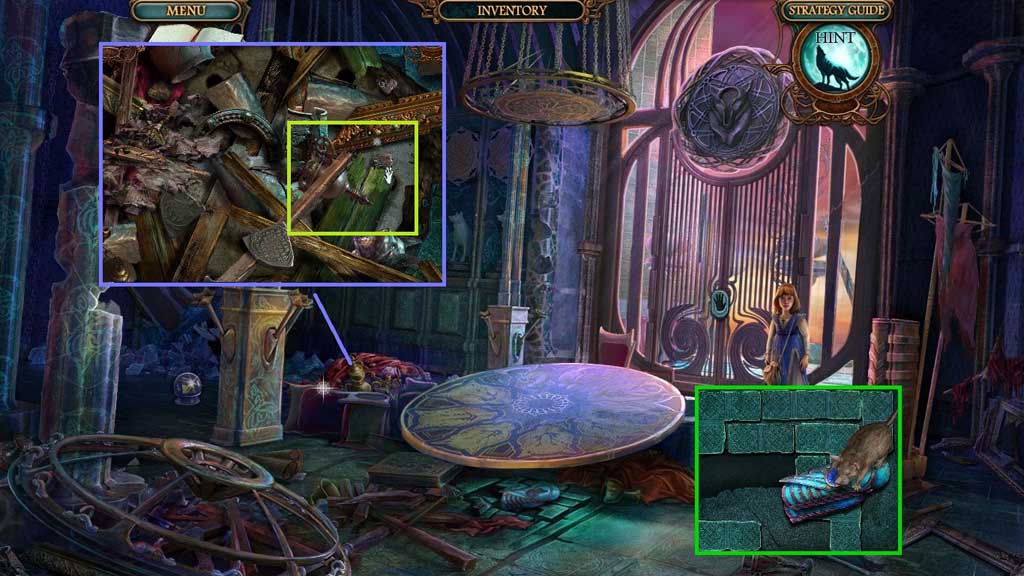
- Zoom into the bracelet.
- Zoom into the mouse to trigger a mini game.
- Solve the game by finding the mouse.
- Click the debris to trigger a mini game.
- Solve the game by finding the matching pairs.
- Collect the charged crystal.
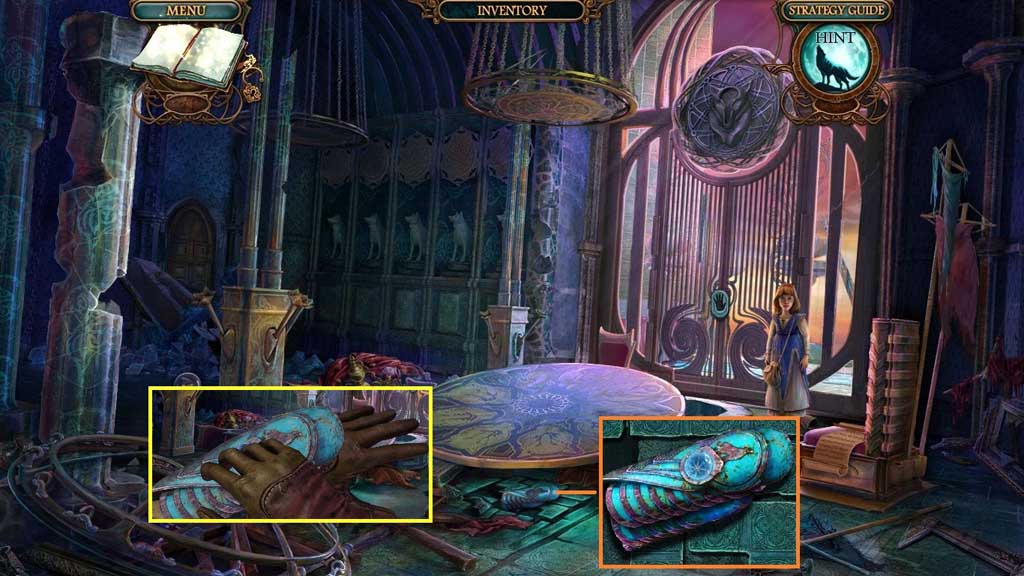
- Insert the charged crystal; collect the bracelet.
- Select the bracelet to illuminate the room.
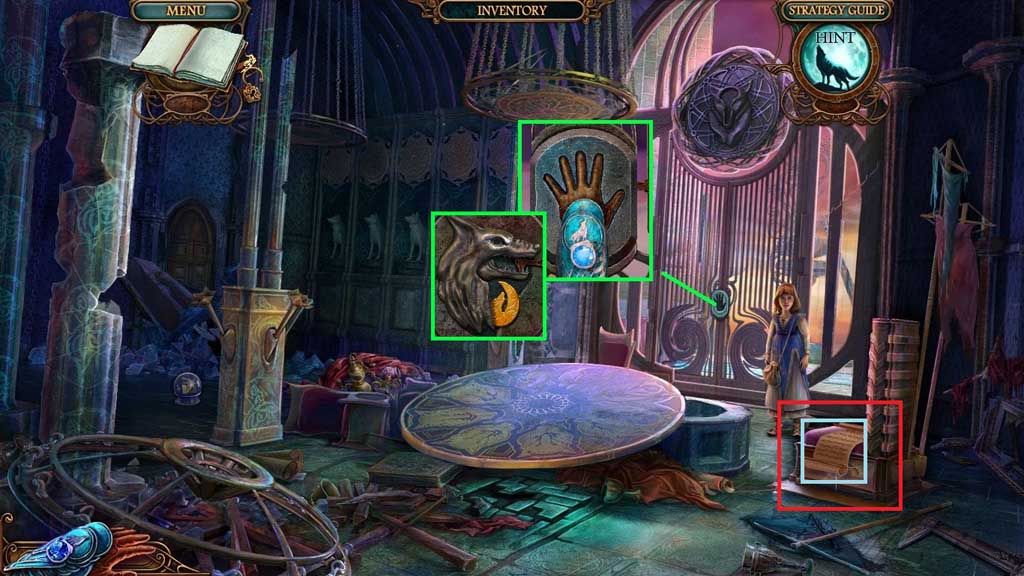
- Click the lock.
- Collect the bas-relief.
- Read the scroll.
- Insert the bas-relief to trigger a hidden objects area.
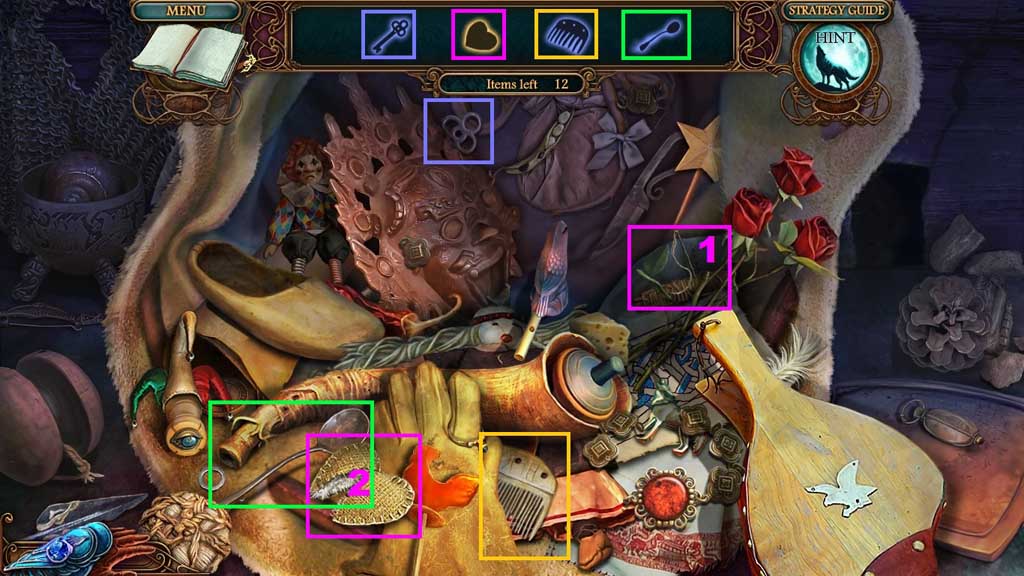
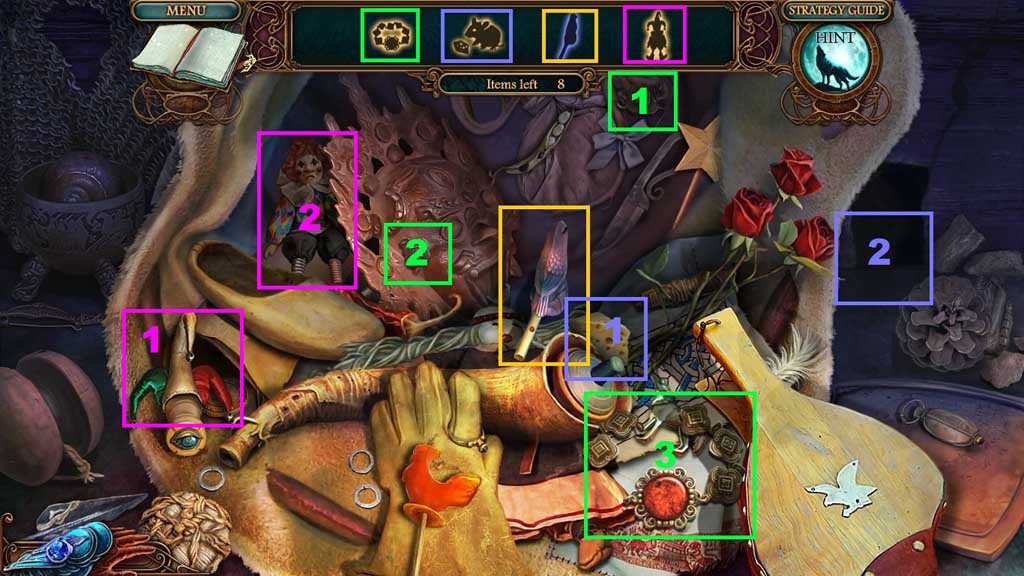
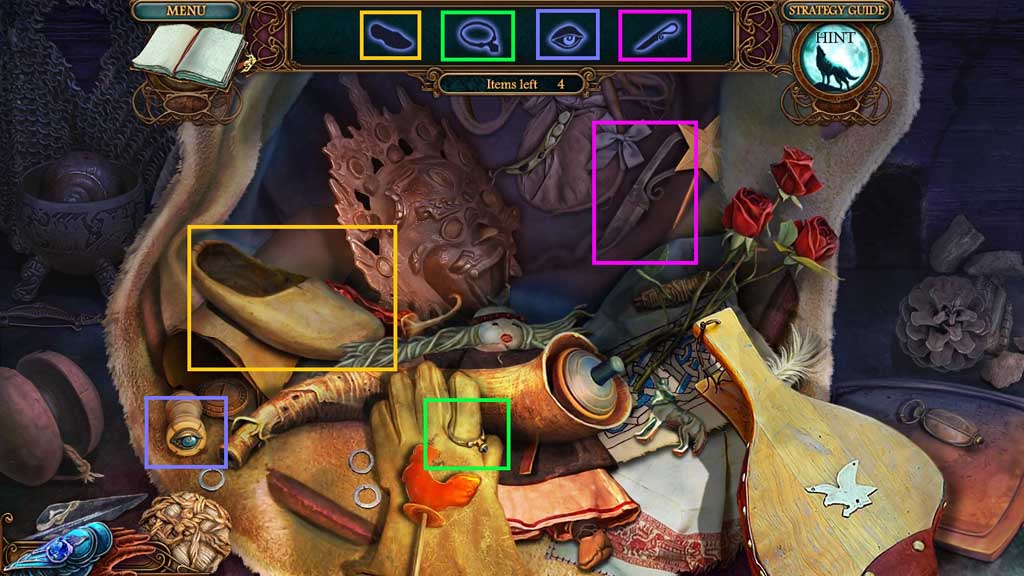
- Find the items.
- Select the needle and thread to mend and collect the heart.
- Select the links and place them onto the bracelet; collect the bracelet.
- Select the cheese and use it to lure and collect the mouse.
- Select the hat and place it onto the clown; collect the clown.
- Collect the wolf eye.
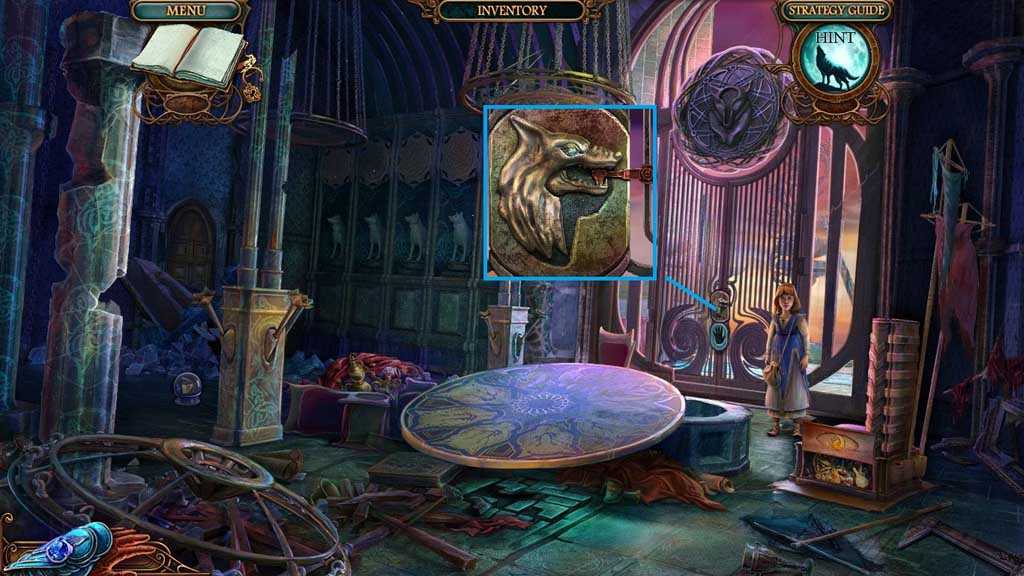
- Insert the wolf eye.
- Move ahead.
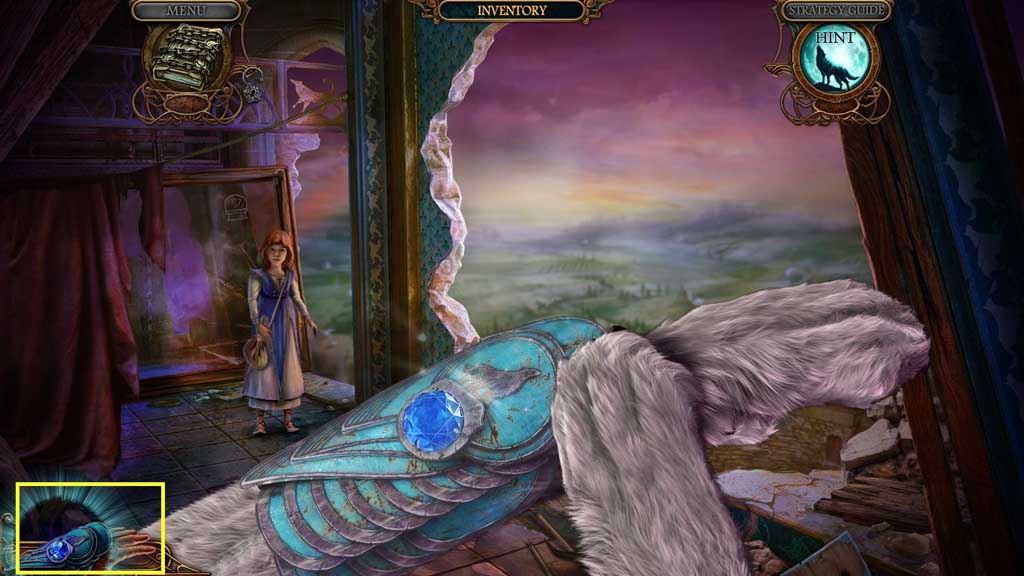
- Click the bracelet.
- Move ahead through the opening.
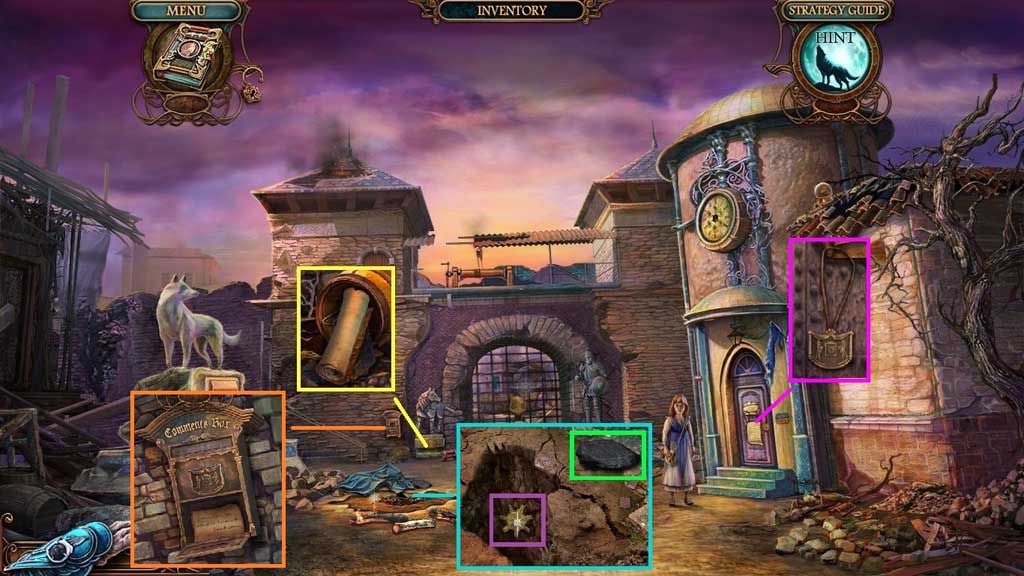
- Collect the map and 2/ 3 books behind it.
- Collect the coal.
- Click the dirt 3x’s; collect 1 /2 gears.
- Read the plaque and the note; collect the postbox emblem.
- Insert the postbox emblem; collect the letters, the air sign and the button.
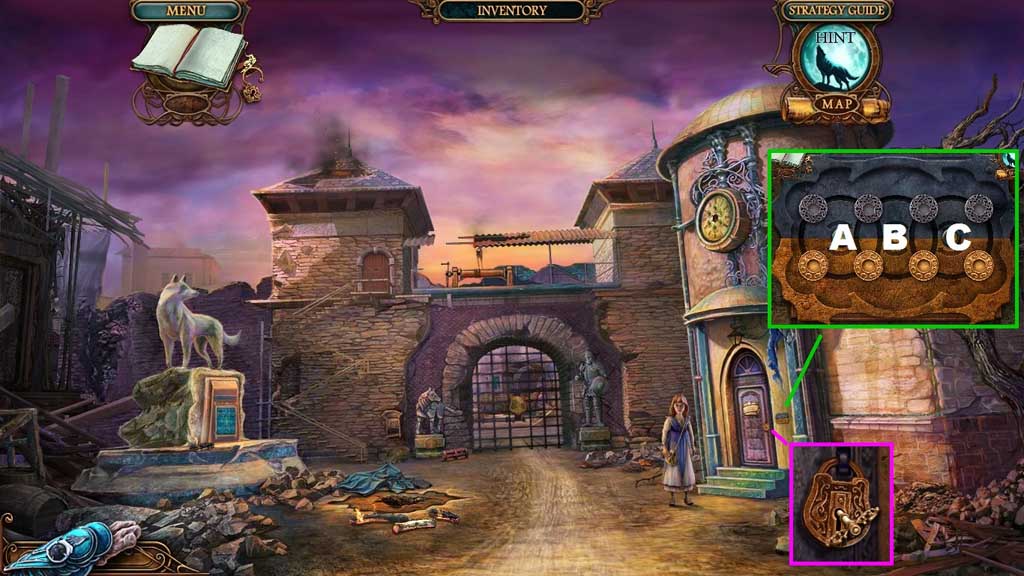
- Insert the button to trigger a mini game.
- Solve the game by aligning the coins correctly.
- Use the following solution to solve: A x 2 – B – C – B x 3
- Collect the key and insert it into the lock.
- Enter the doorway and move upstairs and click the hidden objects area.
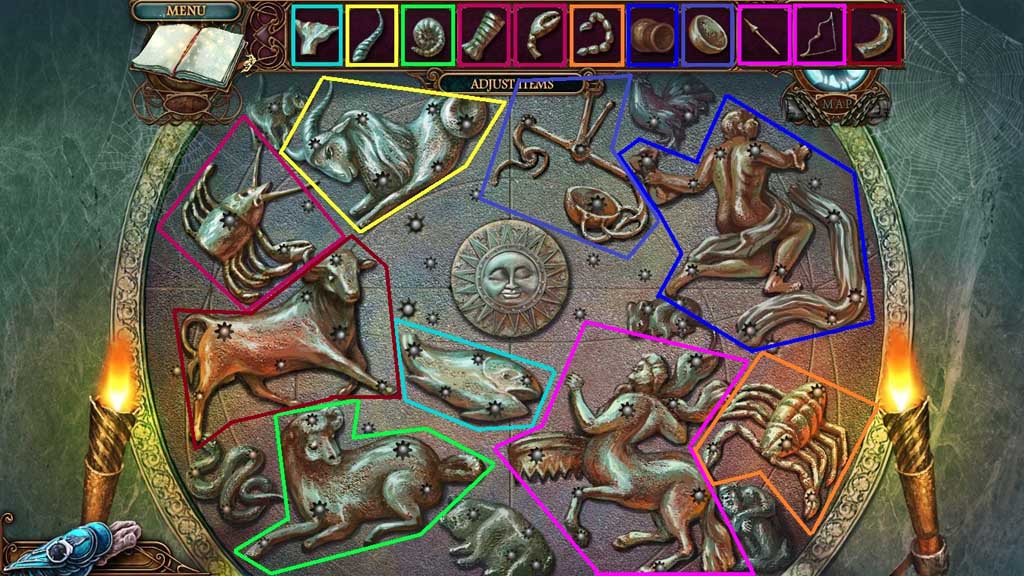
- Place the items correctly.
- Collect the fire sign.
- Collect the water sign.
- Select the coal to reveal the code.
- Collect the burning candle.
- Move down once.
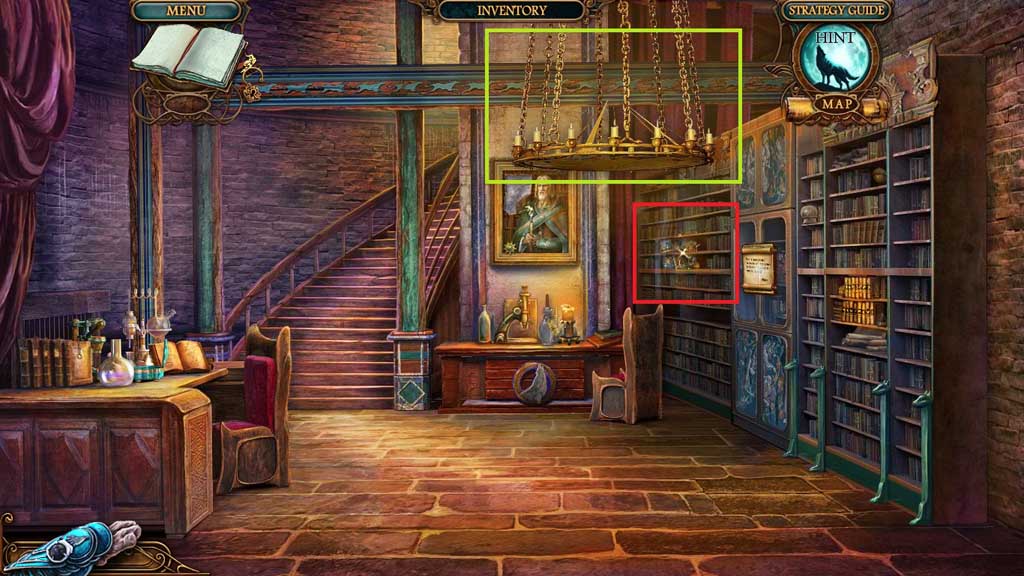
- Select the burning candle to illuminate the chandelier.
- Click the hidden objects area.
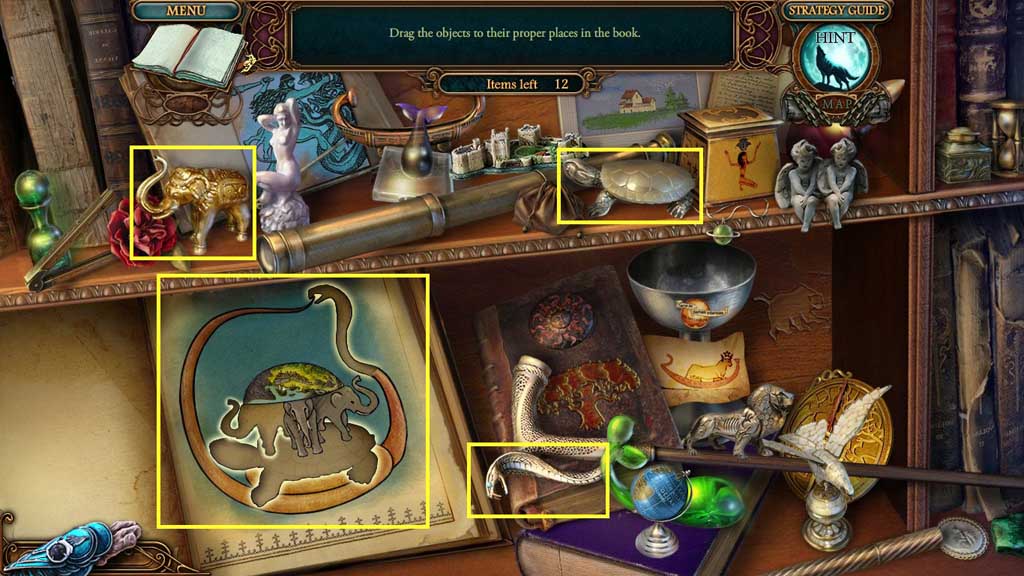
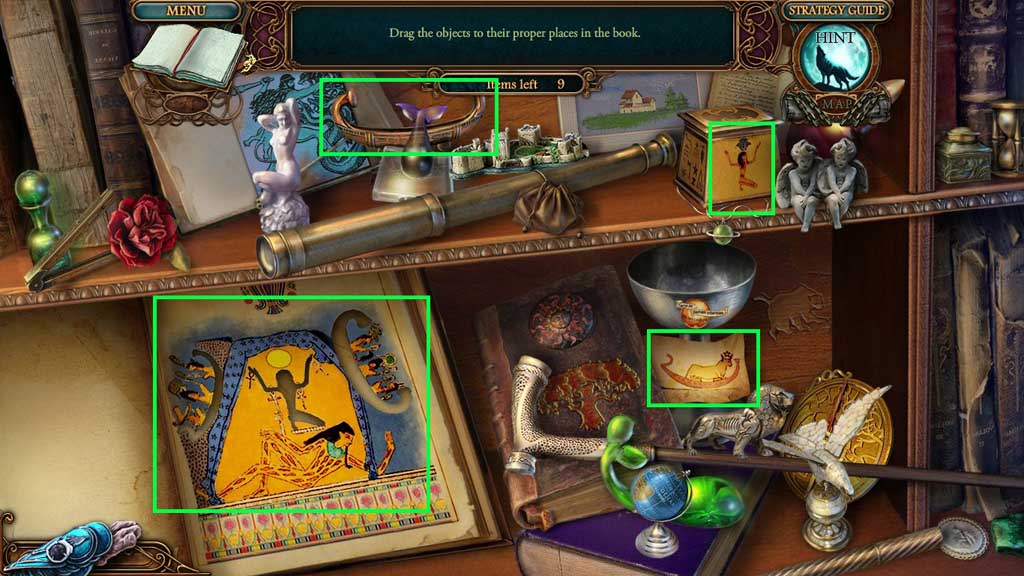
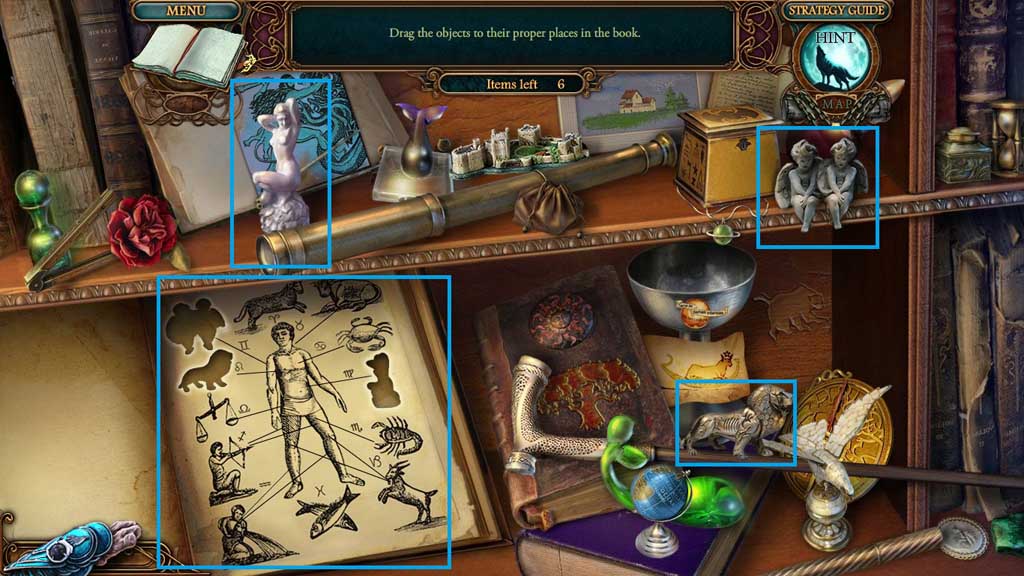
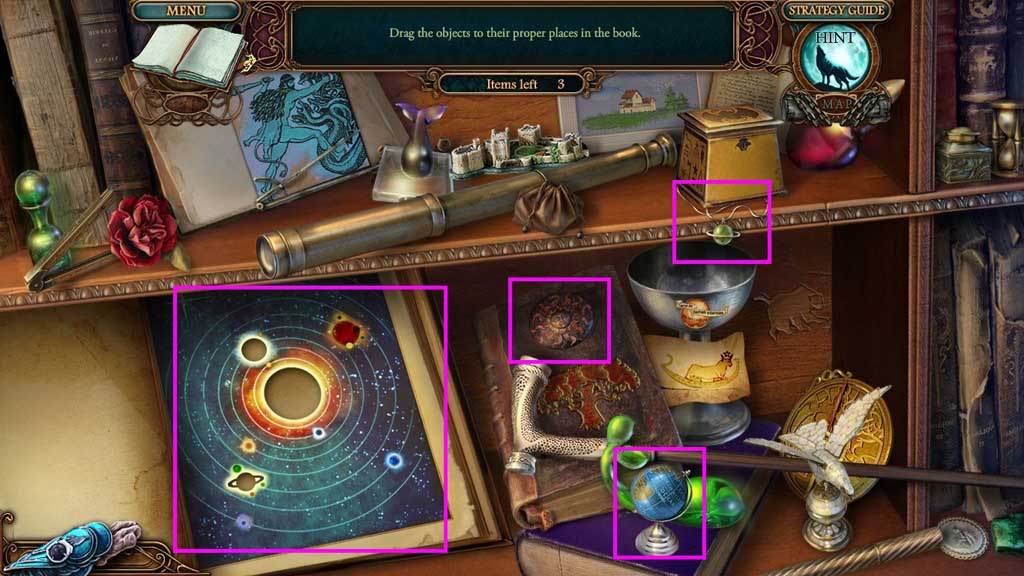
- Place the items correctly into the book.
- Collect the telescope part.
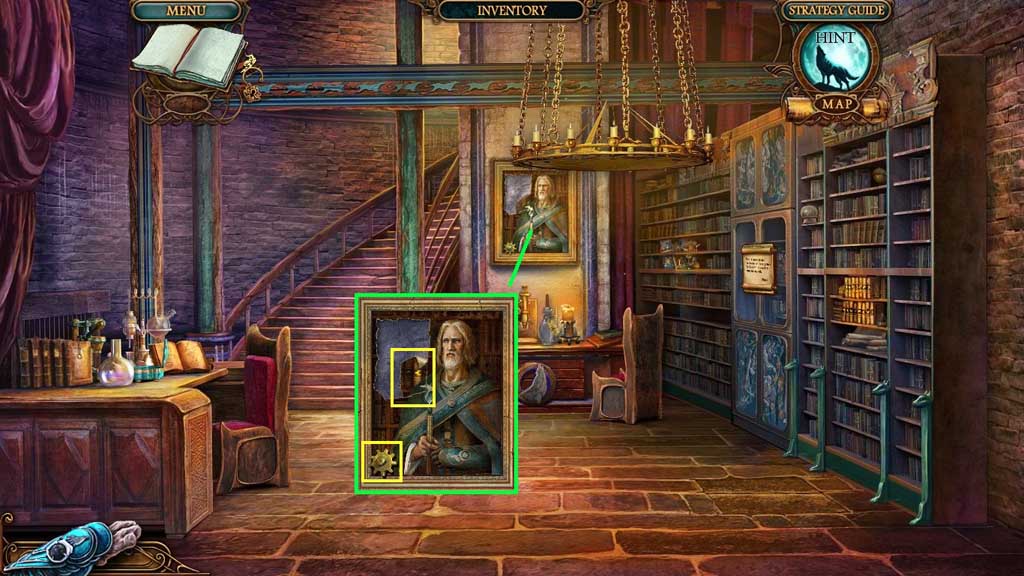
- Collect 2 /2 gears and 1 /2 pieces of canvas.
- Move upstairs.
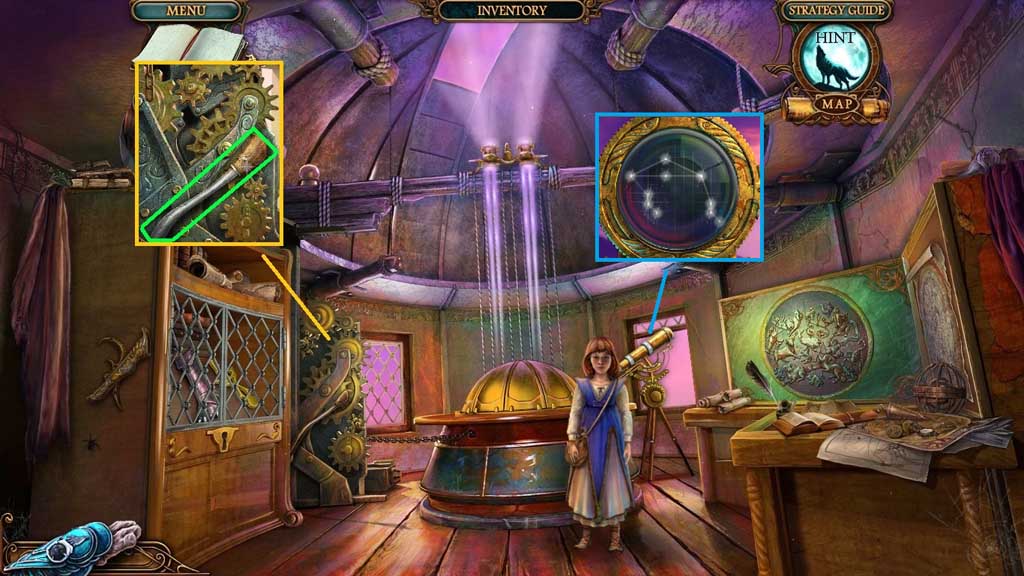
- Click the lever and insert the gears.
- Click the lever.
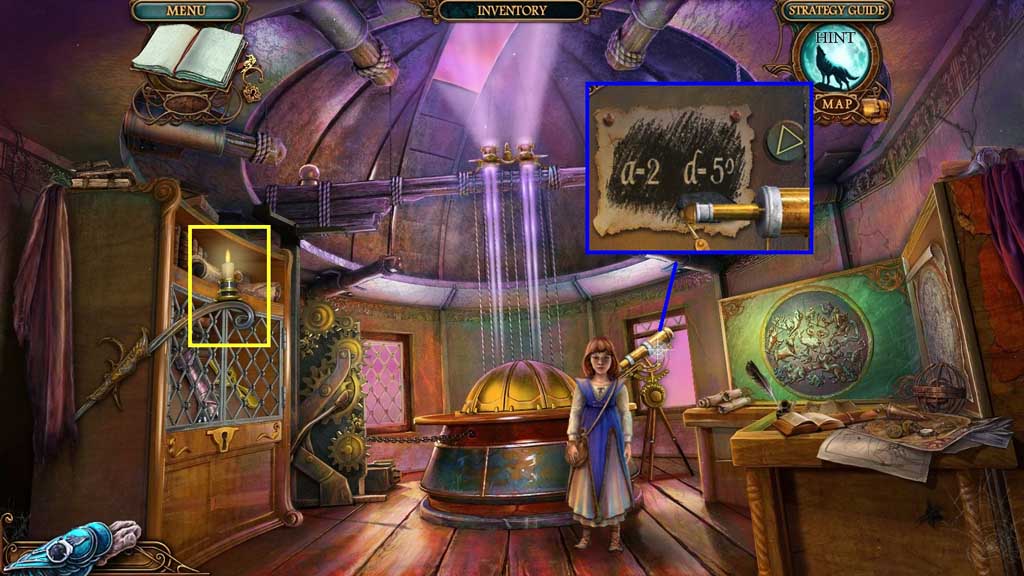
- Attach the telescope part; adjust the parts using the code shown.
- Collect the lens.
- Move down once.
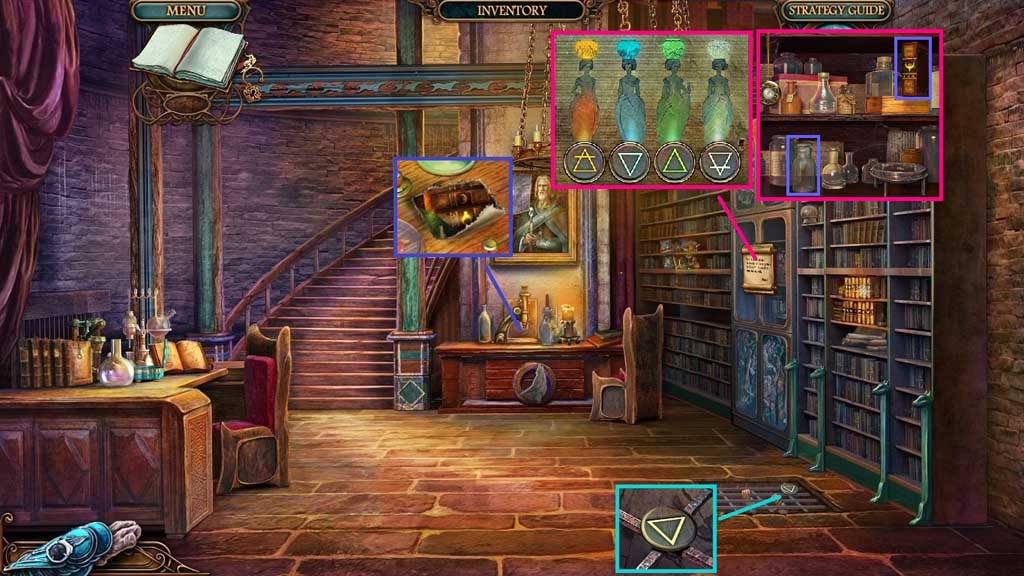
- Collect the 2nd piece of canvas.
- Collect the earth sign.
- Collect the note.
- Insert the air – fire – water and earth signs.
- Collect 3 /3 books and the jar.
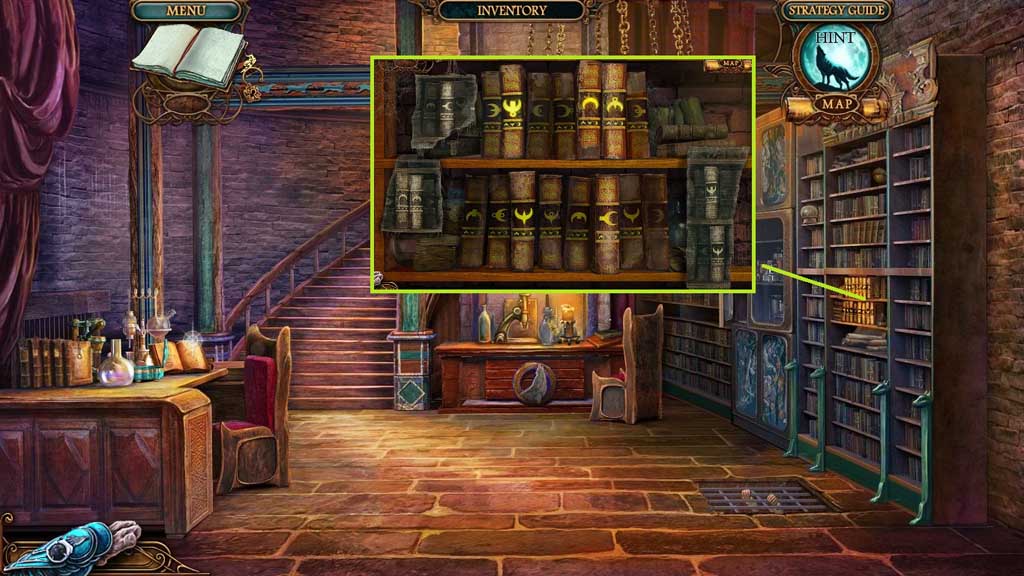
- Insert the books and the piece of canvas to trigger a mini game.
- Solve the game by clicking the books based on the clues on the canvas.
- Move to the right.
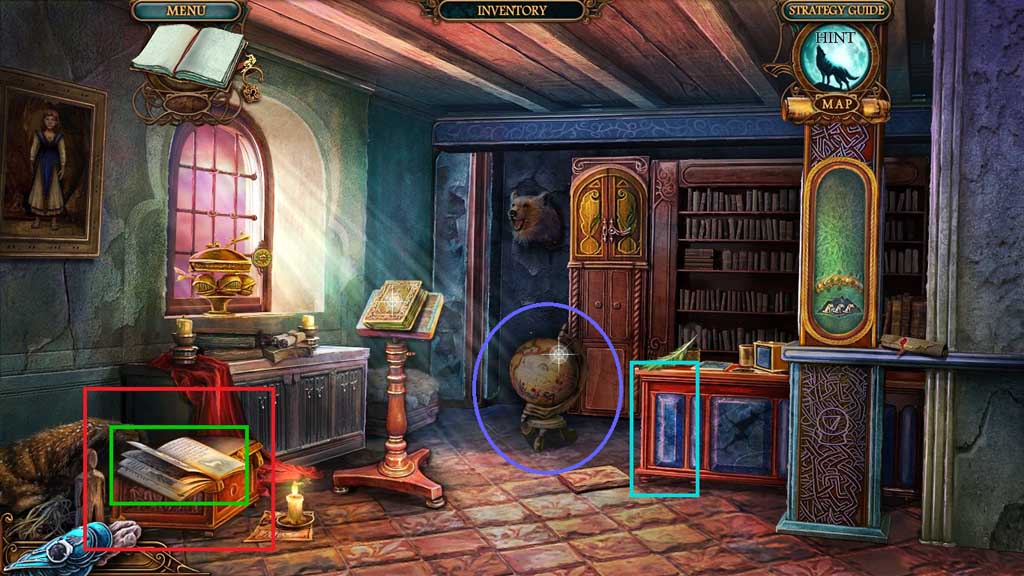
- Click the globe 3x’s; collect 1 /2 clock hands.
- Collect the book and click the box to trigger a hidden objects area.
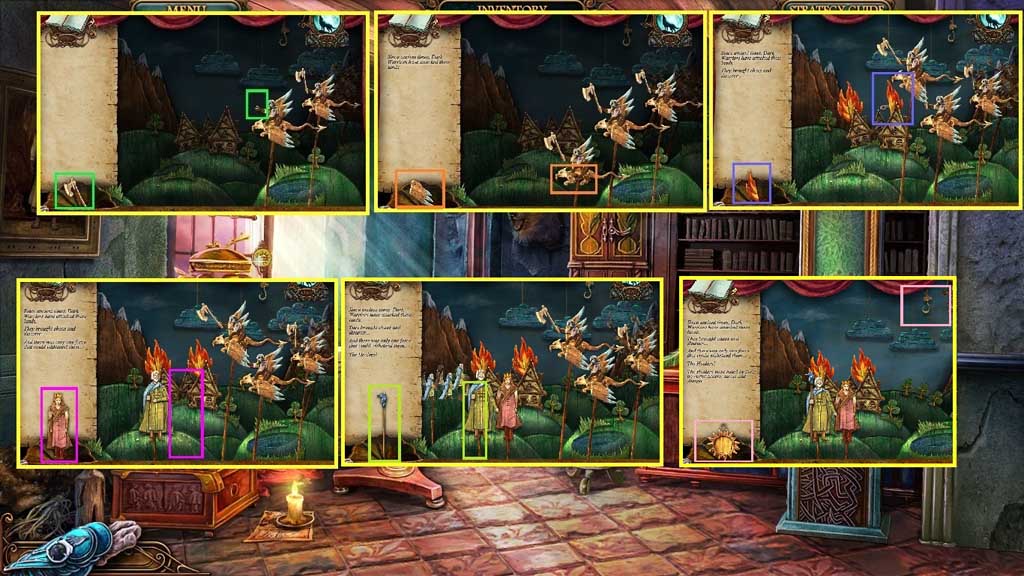
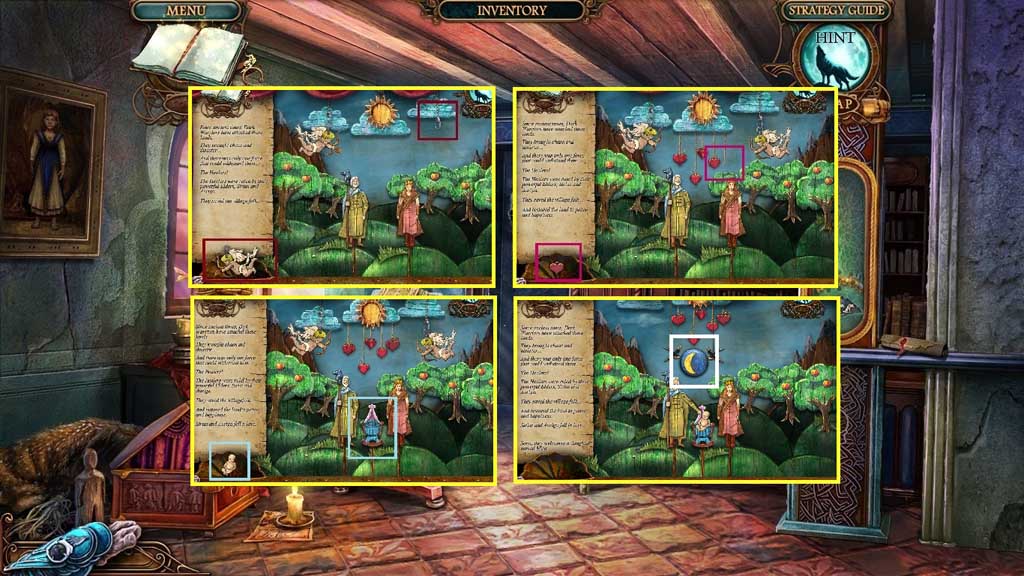
- Place the items correctly.
- Collect 1 /3 moons.
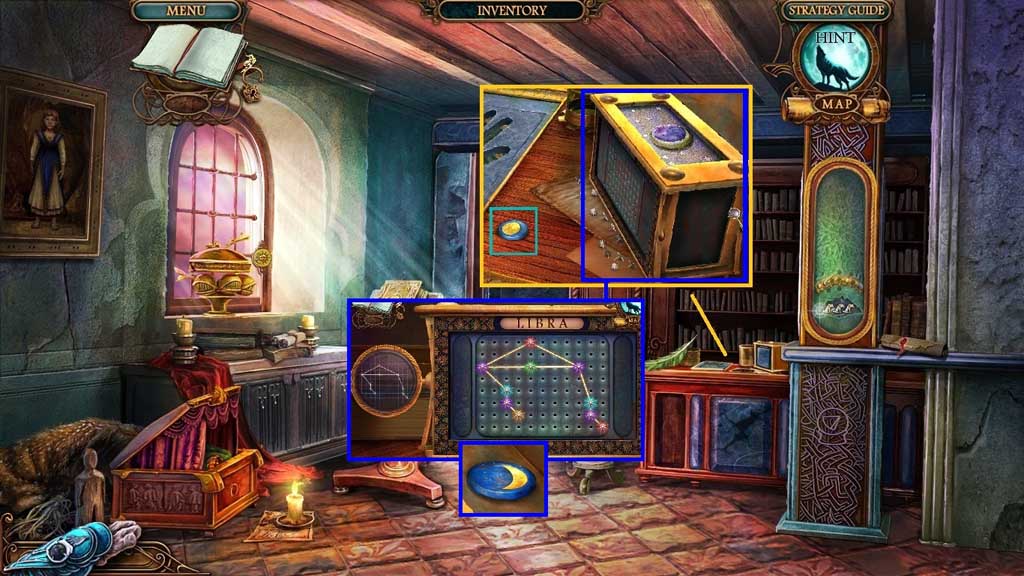
- Collect 2 /3 moons.
- Insert the lens to trigger a mini game.
- Solve the game by recreating the constellation.
- Collect 3 /3 moons.
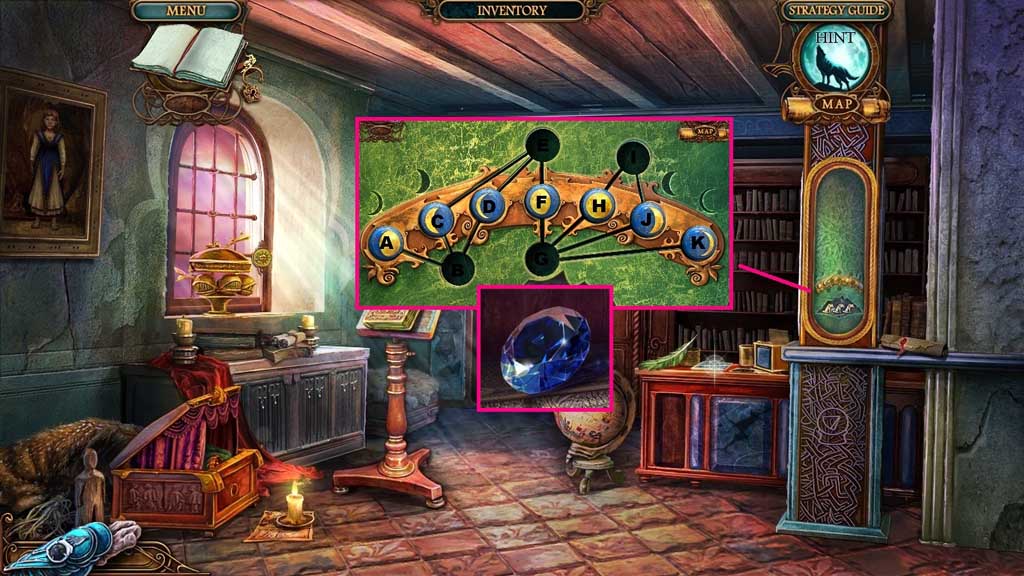
- Insert the moons to trigger a mini game.
- Solve the game by arranging the lunar cycle correctly.
- Use the following solution to solve: H – I, F – H, D - B, K – D , C – K, B – C, D –B, J – D, C – J , B – C, D –G, A – D, C – A, G –C, H – G , I – H, J – I, G – J, H – E, K – F, I – K, J – H, F –J, E –F
- Collect the crystal.
- Move down once and go upstairs.
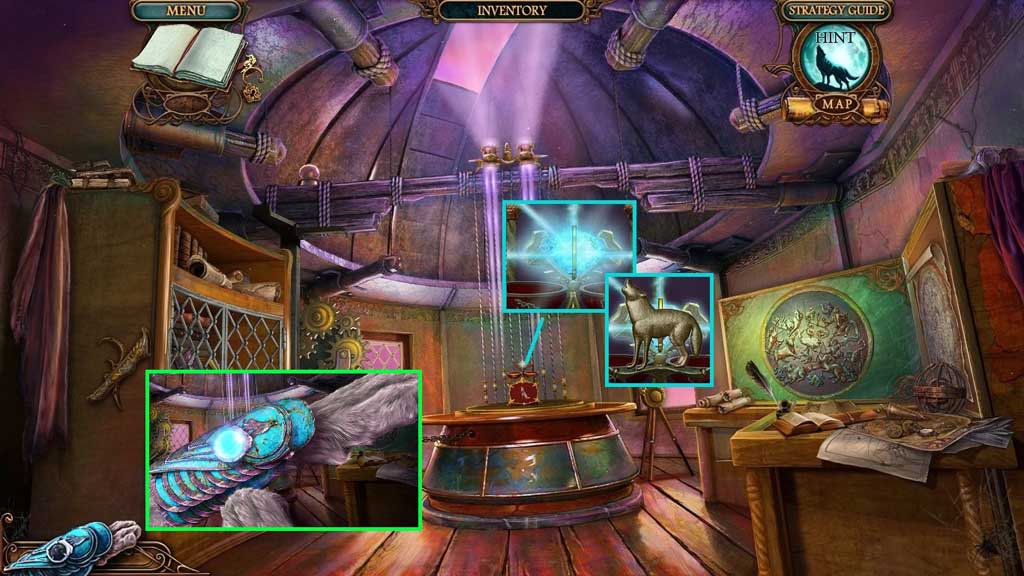
- Insert the crystal; collect the charged crystal and Mira’s amulet.
- Insert the charged crystal into the bracelet.
- Move down once and go to the right.
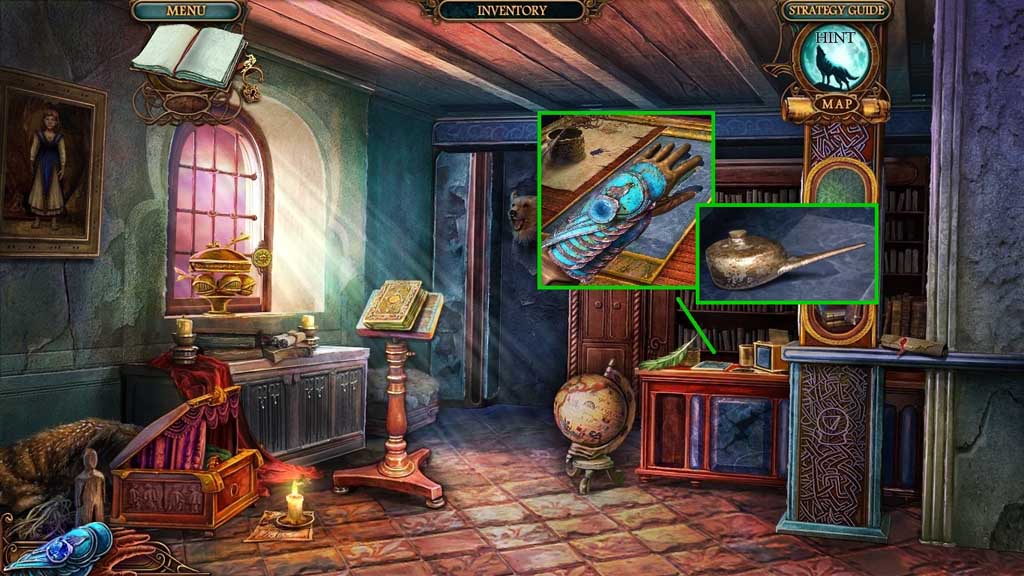
- Click the hand tile; collect the oil.
- Move down 2x’s.
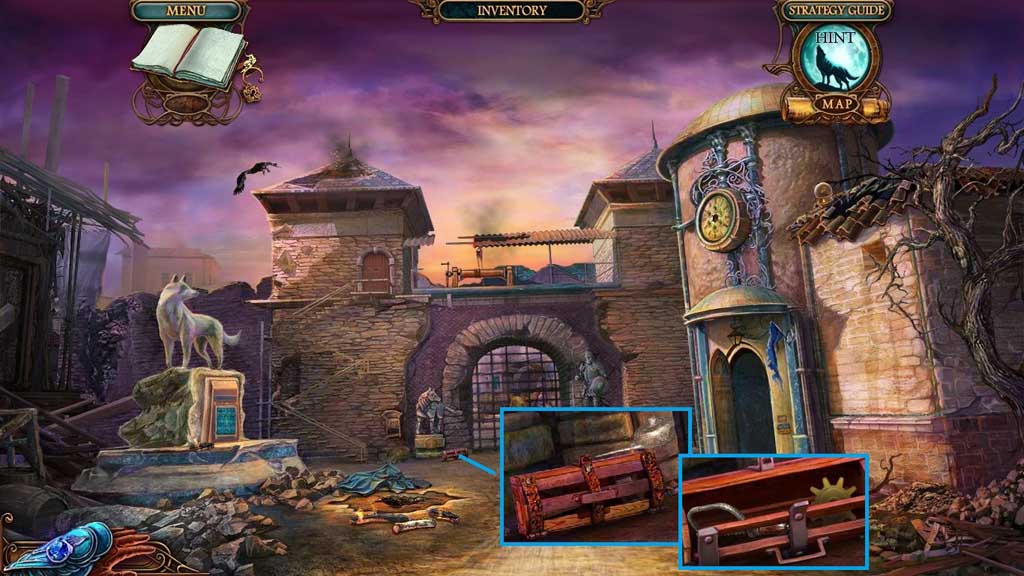
- Select the oil to lubricate and open the toolbox.
- Collect the hacksaw.
- Move to the right.
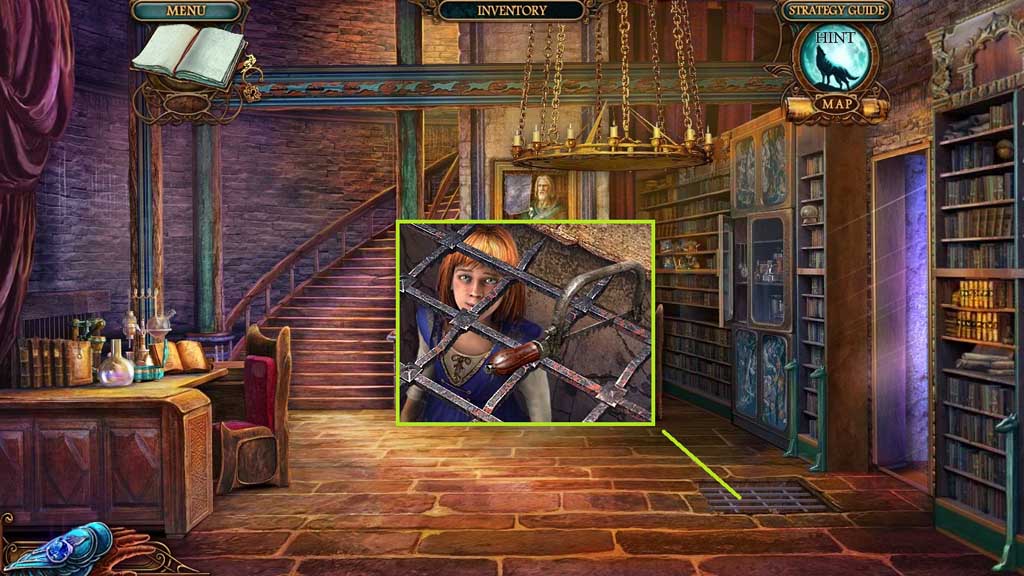
- Select the hacksaw to cut through the bars.
- Move down once.
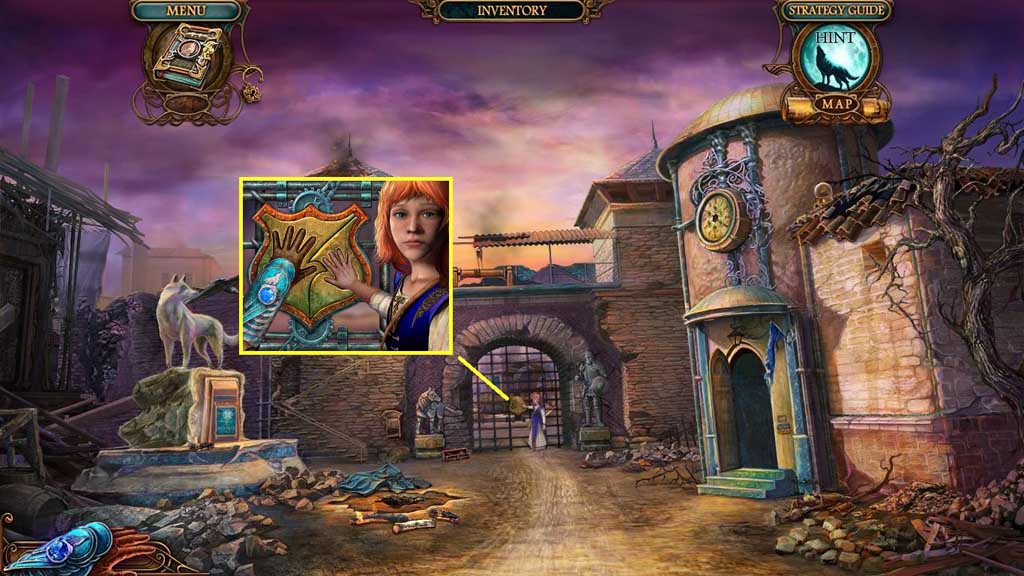
- Click the lock.
- Move ahead.
Comments will load when you reach this part of the walkthrough.