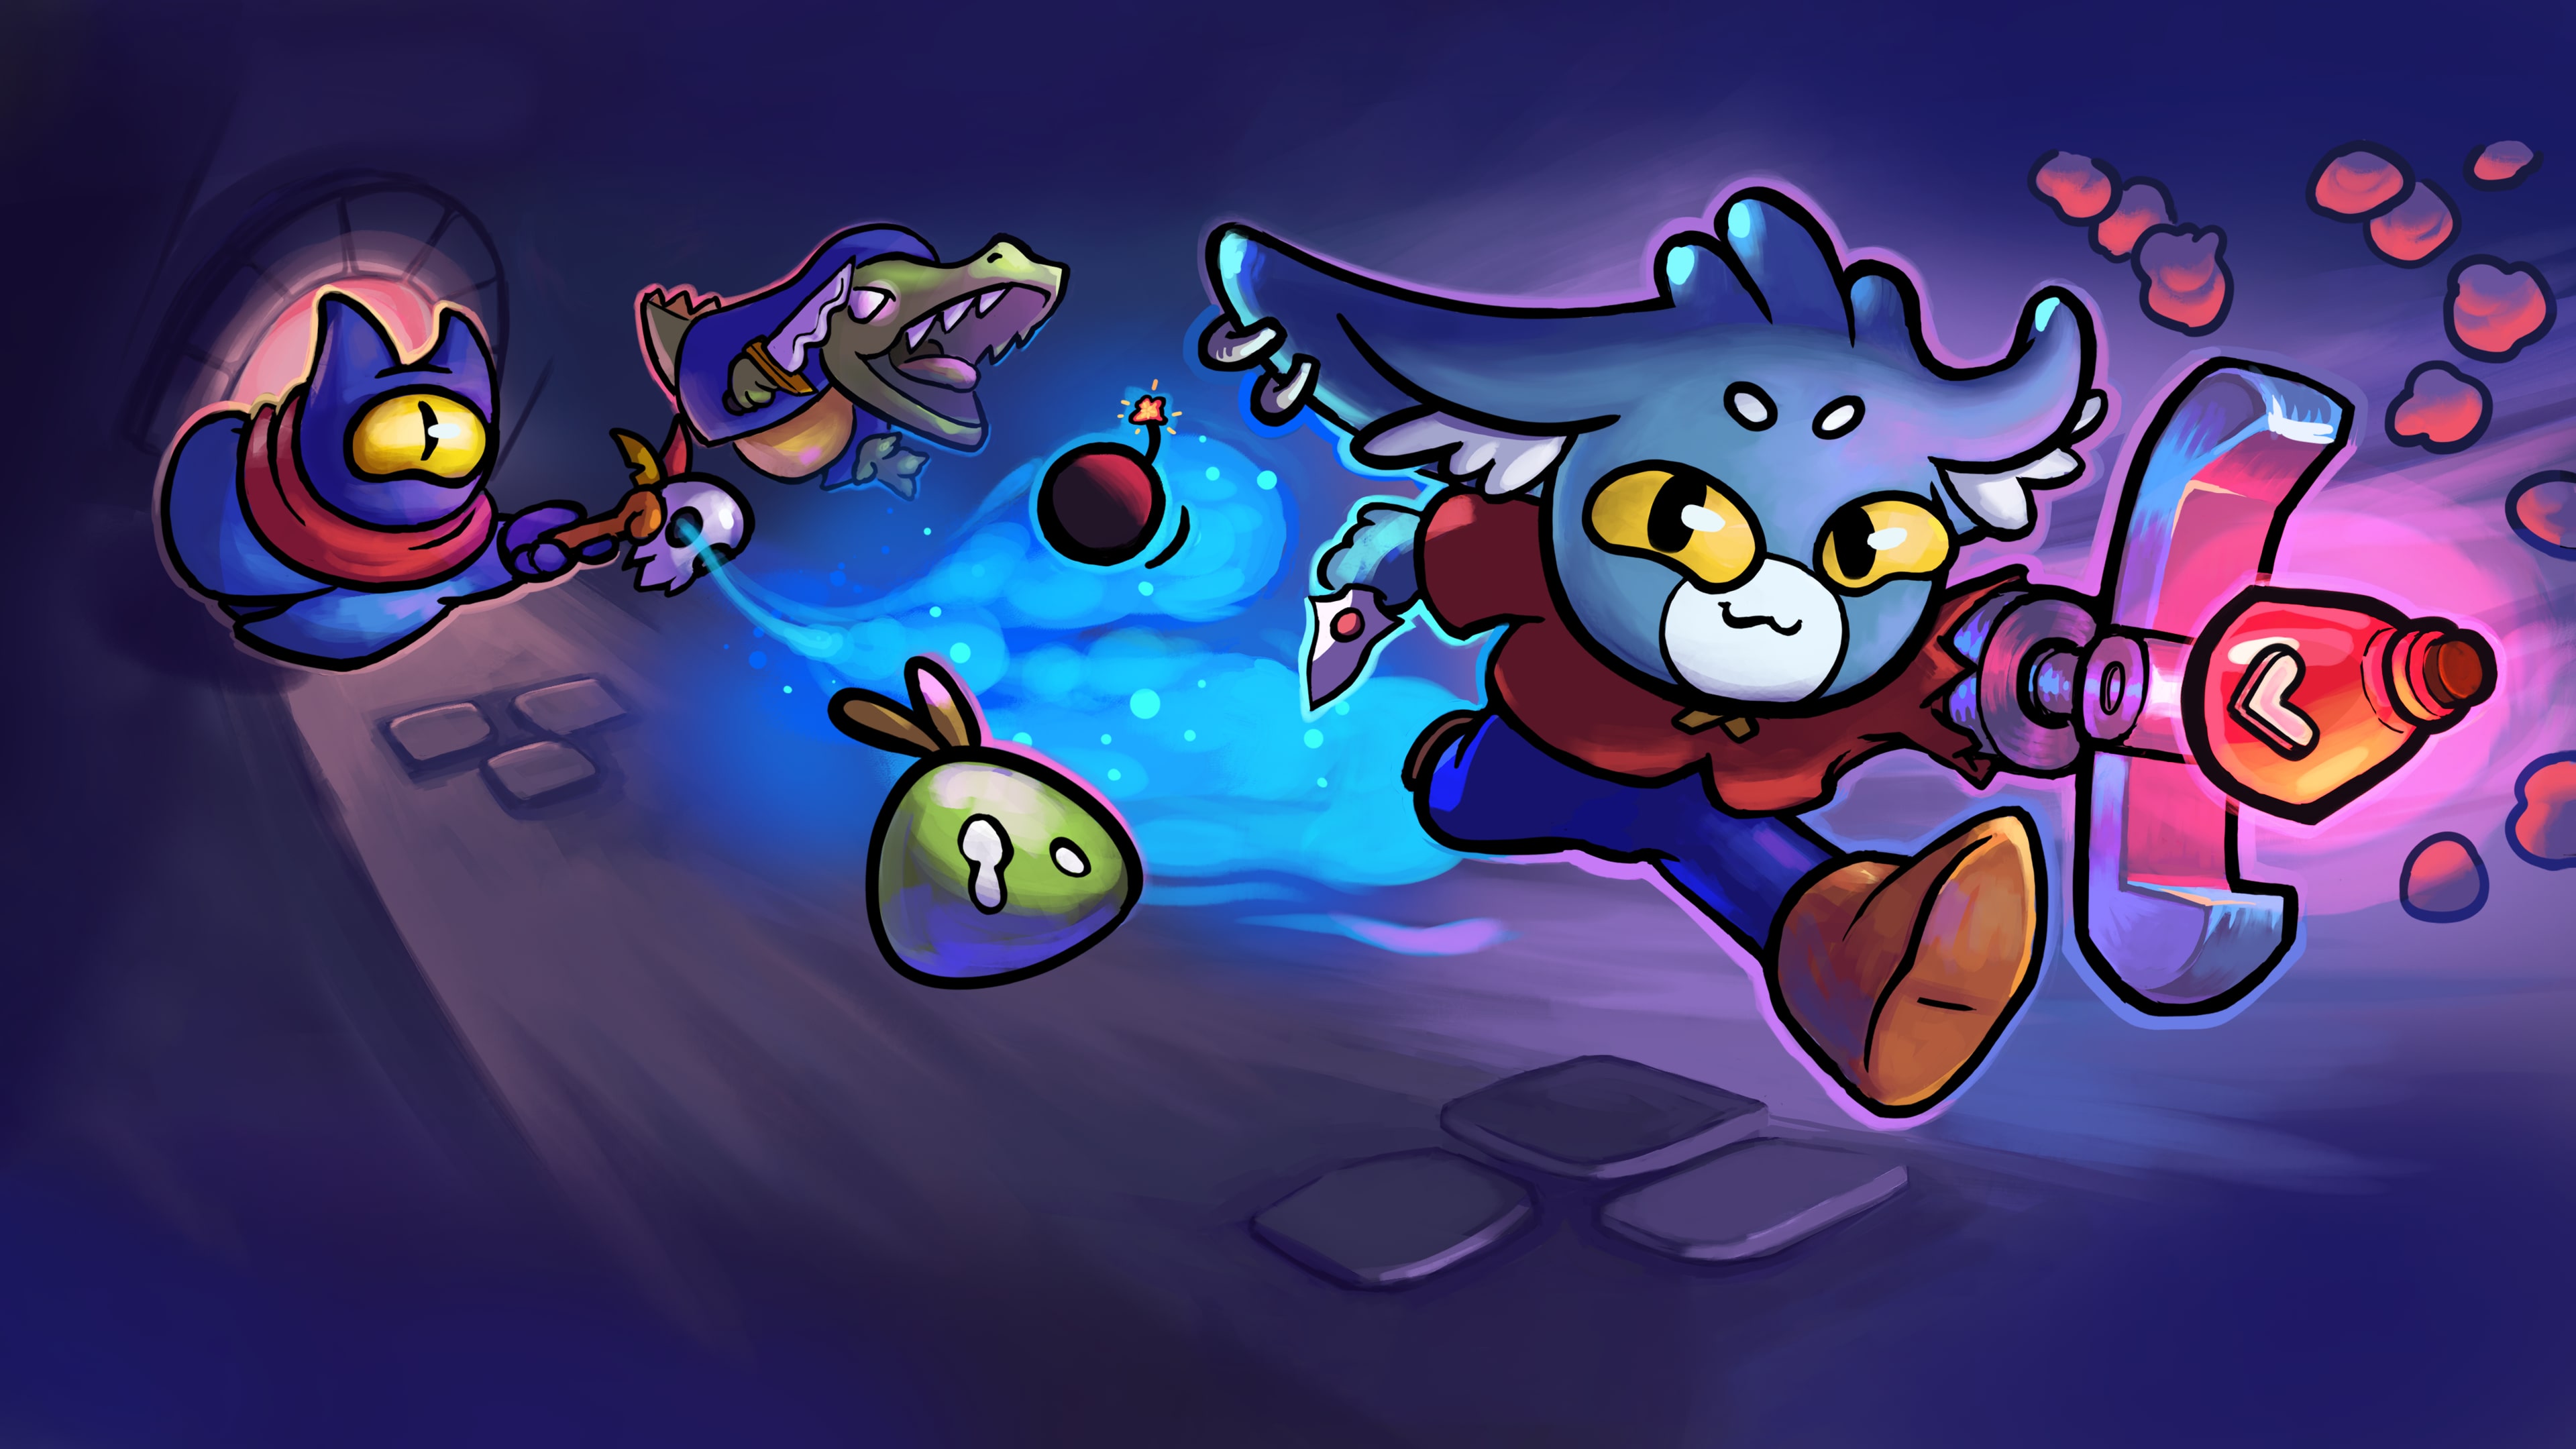
Boss Fight Walkthroughs
Dungeon Clawler bosses are not just larger health bars. They test whether your claw machine is still clean enough to find key items, whether your damage plan can scale before the enemy plan snowballs, and whether you can survive a failed grab without losing the run. Treat every boss fight as a short checklist: secure your build piece on turn 1, answer the boss gimmick before it fills the machine, then spend damage only when you can keep surviving the next turn.
The boss pool changed with the 1.0 release, so this section separates confirmed boss-specific mechanics from practical counterplay. The original map-guide boss set includes Prickwood, Queen Beeatrice, Melimon, Knight Commander of the Order of Defendalot, Lord Squidula, Mothilda, Walwrath the Blubbarian, Goobert, King of Slimes, and Squalo "The Loan" Fishetti. The 1.0 update also added Giant Lava Slime, Giant Ice Slime, Giant Plant Slime, Mama Creampuff, Smeltor, and a secret bossfight.
Universal Boss Plan
- Turn 1 is for your engine: grab the item that makes the rest of the fight work, not the flashiest loose item. A key scaling weapon, poison piece, mirror, brass knuckle, gauntlet, shield engine, or material enabler is usually worth more than one awkward high-damage grab.
- Skip bad rewards before bosses: if the item choice after a fight does not help your current build, skip it. Extra filler makes boss sabotage worse because your important pieces get buried.
- Spend rerolls where they matter: early item rerolls are cheap, but boss perk rerolls are often more valuable because one synergistic perk can define the rest of the run.
- Upgrade only your real win condition: upgrade the pieces you expect to grab repeatedly. If you are still missing the build-defining item or perk, save coins for rerolls instead of making filler slightly better.
- Do not stall: several bosses punish slow fights through scaling, machine clutter, status pressure, or direct sabotage. If you cannot finish soon, grab block, healing, dodge, or mirror effects before chasing another damage piece.
Prickwood
What he tests: Prickwood is the early item and perk check. Community advice calls him an anti-stall boss, which is the right way to think about the fight: if your deck only blocks and waits, he exposes it before your run has enough upgrades to recover.
How to beat him: bring damage that keeps improving while you defend. Strength items and perks are the safest plan, especially Berserker, Power Ring, Strength Amulet, Critical Strength, or any critical upgrade line you already have. Poison also works because it keeps dealing damage after a mediocre claw grab. Spikes are strong if your deck can survive long enough to let him hit into them; Hedgehog, Spike Shield, Porcupine-style effects, and similar thorn plans turn his pressure back on him. Thermometer, Hammer, Scythe, Magic Stick, Gauntlet, Fire Fluff, and Poison Fluff are also good Prickwood answers when they appear early.
Turn priority: take your scaling damage item first, then block. If your first pull fails, stop chasing the same item at the edge. Grab the most stable damage-plus-defense pile from the center and keep the fight moving.
Knight Commander of the Order of Defendalot
What he tests: Knight Commander, also called Defendalot in community discussion, is another early build check. The fight rewards builds that can punch through defenses or deal damage without needing a perfect single grab.
How to beat him: use the same family of answers that works into Prickwood, but prioritize consistent damage over pure thorns. Strength scaling, poison, Thermometer, Scythe, critical upgrades, Poison Fluff, and Gauntlet all help because they either keep scaling or convert a small number of useful grabs into enough damage to end the fight. If your deck is shield-heavy, make sure the shield turn also advances offense through spikes, gauntlet effects, critical block, or another conversion perk.
Turn priority: do not spend three turns only shielding. You want one defensive pull, then a scaling or poison pull, then a push turn. If you cannot damage him reliably by turn 3, your item pool is probably too clogged.
Queen Beeatrice
What she changes: Queen Beeatrice drops honey balls into the claw machine. Honey sticks items together, so one connected item can pull a whole clump with it. That can be a gift or a trap: a good clump wins the turn, but an oversized clump can fail to fit into the chute.
How to beat her: use honey to grab clustered useful items, not every cluster. Aim for a clump that contains two or three pieces you actually want, especially damage plus block or damage plus healing. Avoid honey balls attached to bulky junk unless you have a claw that can reliably lift and fit the whole mass. If your best weapon is stuck to filler, grab from the weapon side so the claw closes around the item you need first and lets the honey drag the rest.
Turn priority: first pull should be a controlled clump. Second pull should cover defense if her next turn threatens your health. Once the machine gets sticky, avoid edge grabs; pull from the center where dropped items can still be recovered next turn.
Melimon
What he changes: Melimon drops branded bombs into your claw machine. If you pick up the bombs, they damage him. If you leave them in the machine after the turn, they damage you.
How to beat him: treat bombs as forced objectives, not optional clutter. If a bomb is easy to collect with a damage item, take it immediately. If a bomb sits in an awful angle, decide whether you can shield through the punishment before spending the turn trying to fish it out. The losing pattern is chasing a bad bomb, missing it, and also failing to block.
Best counters: mirrors, brass knuckles, strength scaling, critical perks, and reliable shield engines let you spend turns clearing bombs without falling behind. Recycle Bin, Trash Bin, and other removal-style effects are excellent when they appear because they keep the machine from becoming bomb soup. If you have a charged Gold Dagger or another high-scaling weapon, you can often ignore a single awkward bomb and race the fight, but only if you already have enough health or block to survive the leftover damage.
Lord Squidula
What to expect: current public guides identify Lord Squidula as one of the main boss rooms, but they do not document a stable turn-by-turn script. His theme points players toward machine control: liquid, tentacle-style grabs, and awkward item positioning are the problems to prepare for.
How to beat him: value reliable grabs over narrow combo grabs. If the machine is wet or items are sliding into strange positions, wide pickup tools and center-pile pulls outperform edge fishing. Sponges, water-compatible items, and any build that benefits from liquid can turn the room into an advantage. If your deck does not use liquid, play short turns: grab the highest-value stable item, block before the enemy turn, and avoid adding filler that will be hard to claw out of a messy machine.
Mothilda, Walwrath, and Goobert
What to expect: published room guides name these bosses but do not currently provide reliable ability text for each one. Use the map icon to identify the boss, then adapt based on the first two enemy intents.
- Mothilda: fight like a tempo boss. Take clean damage early, keep one defensive answer ready, and do not let the machine clutter while you wait for a perfect grab.
- Walwrath the Blubbarian: assume the fight will punish fragile decks. Open with your strongest repeatable damage item, then take shield or healing before your health falls into one-shot range.
- Goobert, King of Slimes: expect the fight to get messier as it goes. Prioritize area damage, poison, scaling weapons, or any plan that does not need one exact item to be visible every turn.
If you discover the specific gimmick during a run, do not change builds mid-fight unless the machine forces it. Most losses against these mid-run bosses come from abandoning the plan after one bad claw drop. Recover with shield, take the next stable damage pull, and keep the fight short.
Squalo "The Loan" Fishetti
What he changes: Squalo is the final boss and the most important fight to plan for. Community discussion describes him as a sabotage fight: he interferes with the claw machine, sends Piggy Bank pressure, fills the machine with spike balls if the fight drags, and punishes gold/debt interactions. He also has the highest health, so a deck that only survives will eventually get buried.
Turn 1: grab your most important item immediately. Do not open by clearing random junk. You want your key damage piece, mirror, brass knuckle, gauntlet, shield converter, or charged scaling weapon before Piggy Bank and spike clutter make the machine harder to read.
Turn 2 and after: switch to item management. Not every item will be usable in this fight, and that is fine. If Piggy Bank or spike balls block the good pieces, take the best stable counter instead of forcing the original line. Recycling Bin, Trash Bin, Glass Breaker, Janitor-style removal, mirrors, brass knuckles, and gauntlets are especially valuable because they either remove the problem or punish Squalo while you defend.
Gold builds can still win: gold plans are risky because Squalo's debt pressure can grow deadly, and Bernie-style extra money gain can make that worse. The reason gold still works is speed: a charged Gold Dagger or strong money-scaling damage plan can kill him before the sabotage fully takes over. If you are on a gold build, commit to the race. Grab the gold-scaling weapon first, take only enough defense to survive, and finish before spike clutter dominates the machine.
Character-specific warnings: Scrappy can suffer if a magnet build starts pulling bad objects along with metal pieces, so transmute only the items that truly help and keep removal in mind. Hare L. Quinn can accidentally upgrade the Piggy Bank or roll into claw types that change the plan, so avoid leaving the fight dependent on one exact grab. Benny can struggle once spike balls arrive because defensive dam play does not always answer machine clutter; bring a way to remove, mirror, counter, or end quickly.
1.0 Bosses: Giant Slimes, Mama Creampuff, and Smeltor
The 1.0 release added Giant Lava Slime, Giant Ice Slime, Giant Plant Slime, Mama Creampuff, Smeltor, and a secret bossfight. Public guides are still catching up, but the available player reports point to the important practical lesson: these newer bosses can apply status pressure, heal, buff themselves, or force damage that normal block does not fully solve. That means slow block-only decks are fragile.
- Giant Lava Slime: treat fire as a timer. Race harder than usual, and take healing, dodge, mirror, or damage reduction if your block is not stopping the status damage. If you can finish this turn, finish; do not spend a perfect lethal turn on extra shield.
- Giant Ice Slime: expect your machine plan to become less reliable. Prioritize centered, easy grabs and repeatable damage. Avoid adding awkward oversized items right before this fight.
- Giant Plant Slime: prepare for poison, roots, thorns, or other attrition-style pressure. Poison of your own and scaling damage are good because they keep working even when a defensive turn is needed.
- Mama Creampuff: assume adds or healing pressure until proven otherwise. Area damage, poison, spikes, and scaling weapons are better than a single slow setup item.
- Smeltor: treat him like a damage race with possible fire or metal pressure. Open with your scaling weapon, keep one survival answer, and do not overfill the deck with pieces you cannot grab cleanly.
Until more detailed 1.0 boss data is stable, the safest rule is simple: enter these fights with one way to win quickly and one way to survive damage that bypasses normal blocking. Strength, crit, poison, mirror, brass knuckles, gauntlet, removal, and reliable healing are the boss tools that keep showing up in successful player advice.
High Difficulty Boss Rooms
On higher debt levels, boss rooms become much less forgiving. The Steam achievement guide notes that Debt Level 17 increases boss health by another 30%, and Debt Level 20 puts two bosses in each boss room except the final boss. That changes routing: if you see a Reward Room near a boss floor, consider fighting the first boss before using the heal so the room can repair the damage afterward. If you enter a double-boss floor already low, take the heal first instead.
For Debt 20, do not build a deck that requires a long warm-up every fight. You need a plan that functions when the first boss damages you and the second boss starts before the run is fully reset. Poison, strength, critical damage, mirrors, brass knuckles, gauntlets, and compact gold-dagger plans work because they can end fights with fewer exact grabs. A bloated deck with ten cute synergies usually dies because the one item you need is under a spike ball when the boss is already swinging.
Comments will load when you reach this part of the walkthrough.