

Chapter Five: Feast
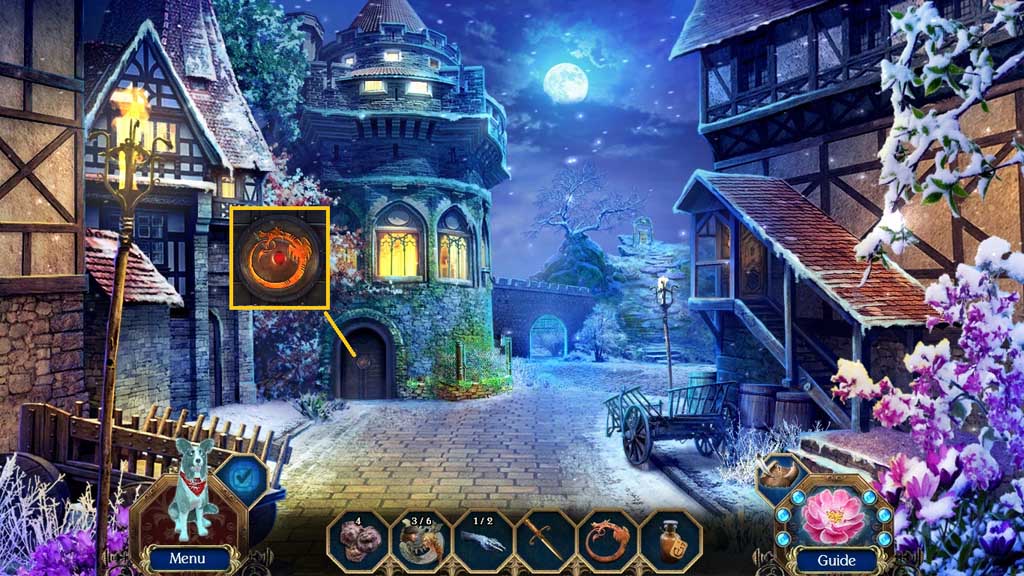
- Insert the ouroboros.
- Move into the Apothecary.
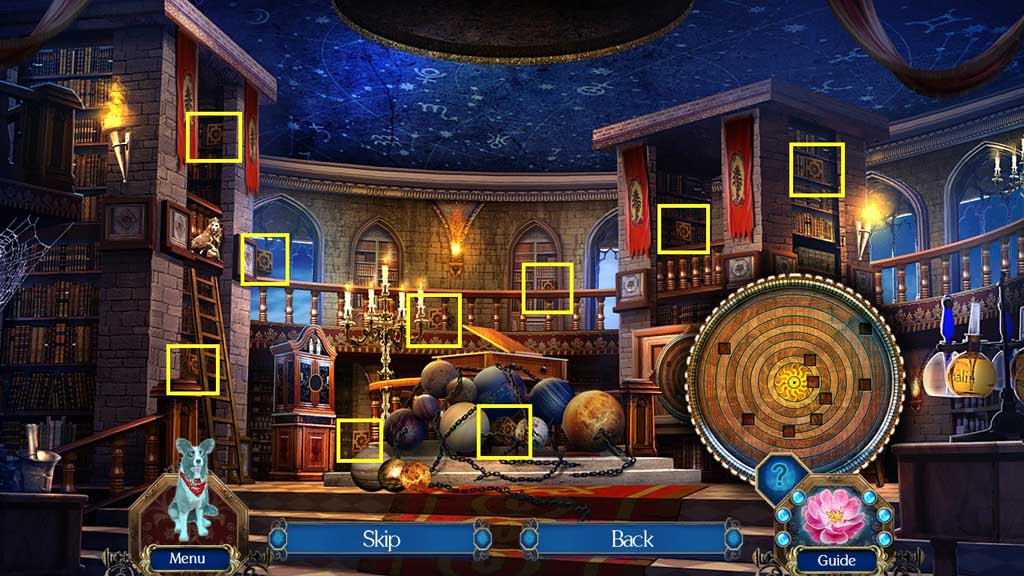
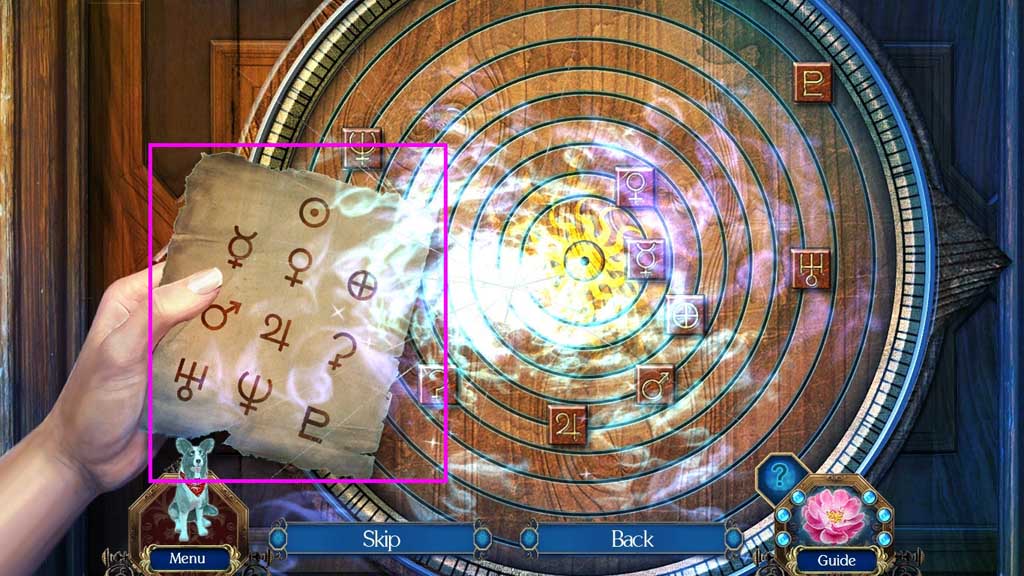
- Zoom into the board to trigger a mini game.
- Find and collect the board pieces.
- Then, adjust the tile pieces based on the clue to solve the game.
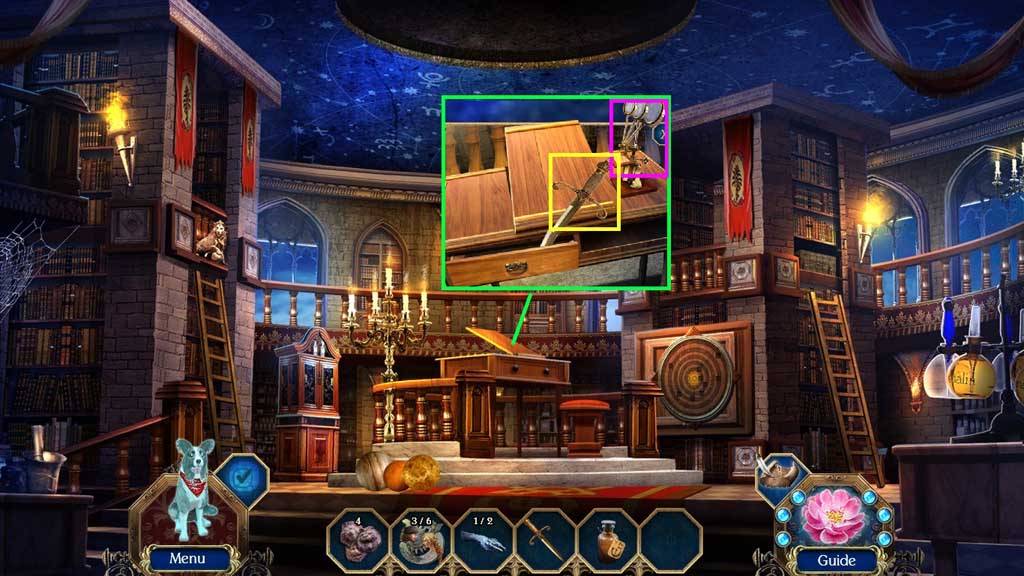
- Collect the crude microscope.
- Select Lucian’s dagger to attempt to open the drawer; receive the blade handle.
- Move to the Maze Center.
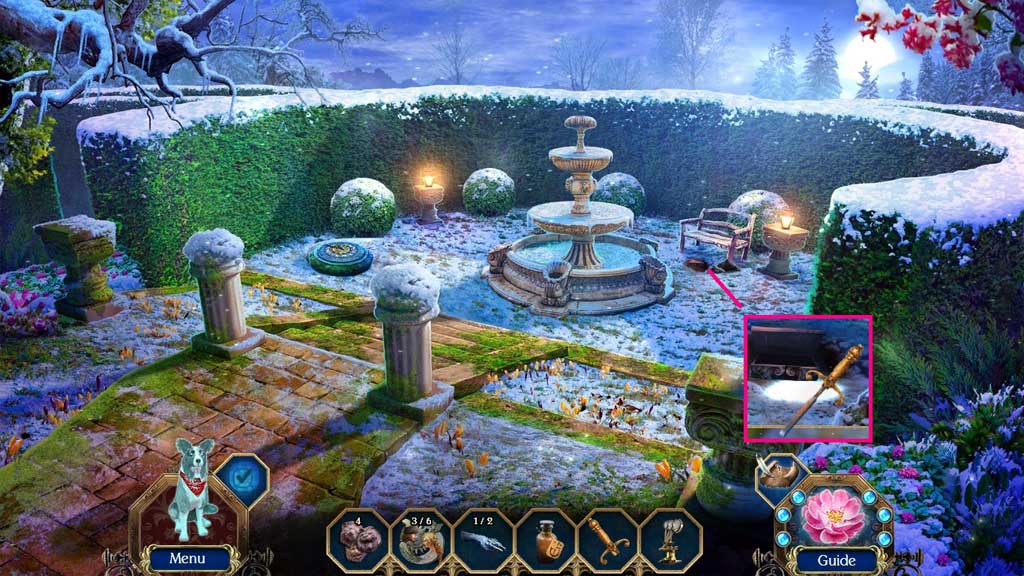
- Attach the blade handle; receive the chisel.
- Move to the Apothecary.
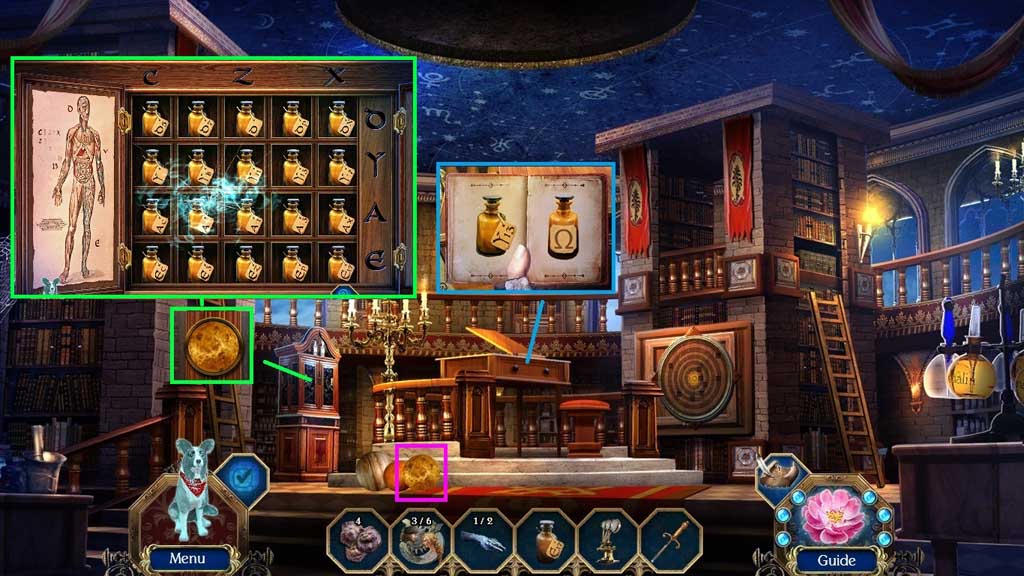
- Select the chisel to open the drawer.
- Examine the Apothecary’s journal and click it 3x’s.
- Collect the planet and insert it into the slot.
- Click the cabinet and zoom inside to trigger a mini game.
- Solve the game by arranging the bottles based on the clues on their labels.
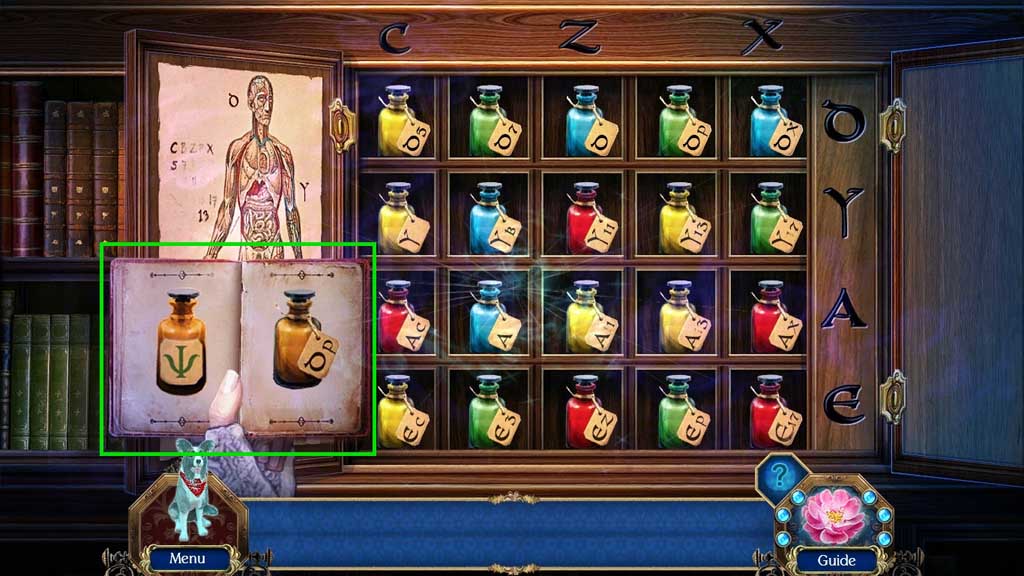
- Place the apothecary’s journal to trigger a mini game.
- Solve the game by matching the bottles and the labels as shown in the book.
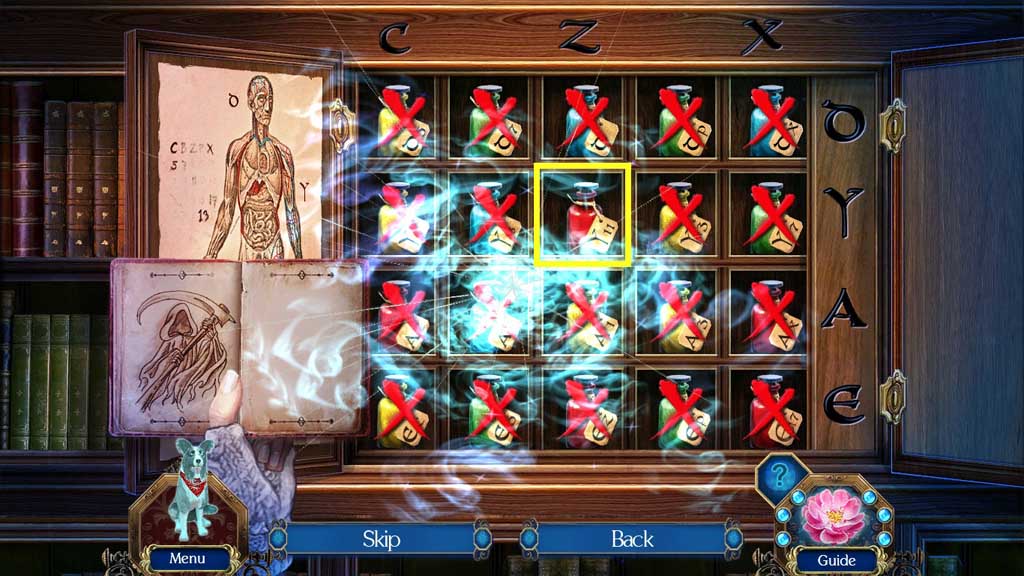
- Another mini game will trigger.
- Solve this game by eliminating the formulas based on the clues.
- Collect the reapers touch.
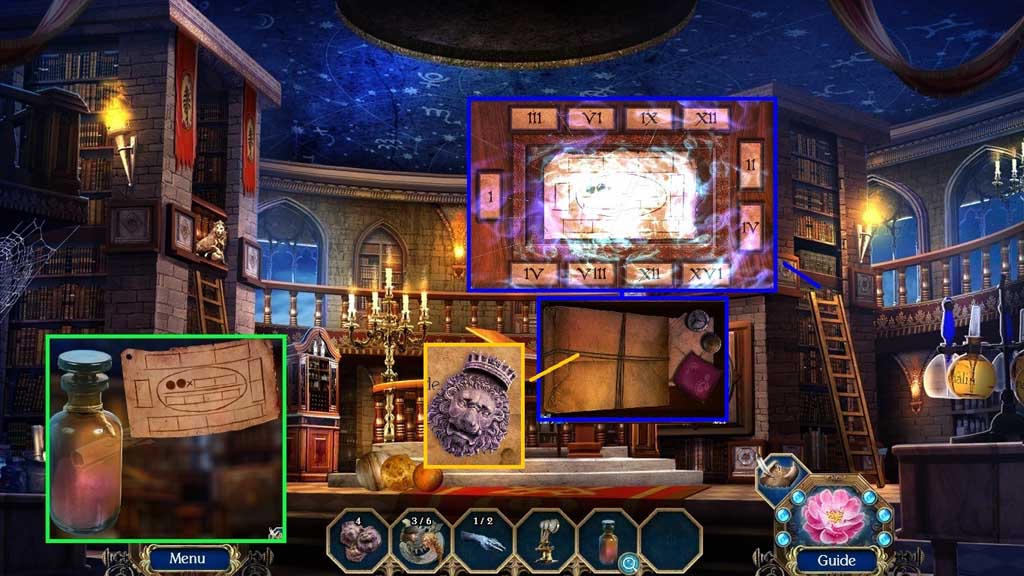
- Click the reaper’s touch 2x’s; click the note.
- Click the bookcase to trigger a mini game.
- Solve the game by adjusting the tiles to reflect the image depicted on the clue.
- Click the package; collect the lion emblem.
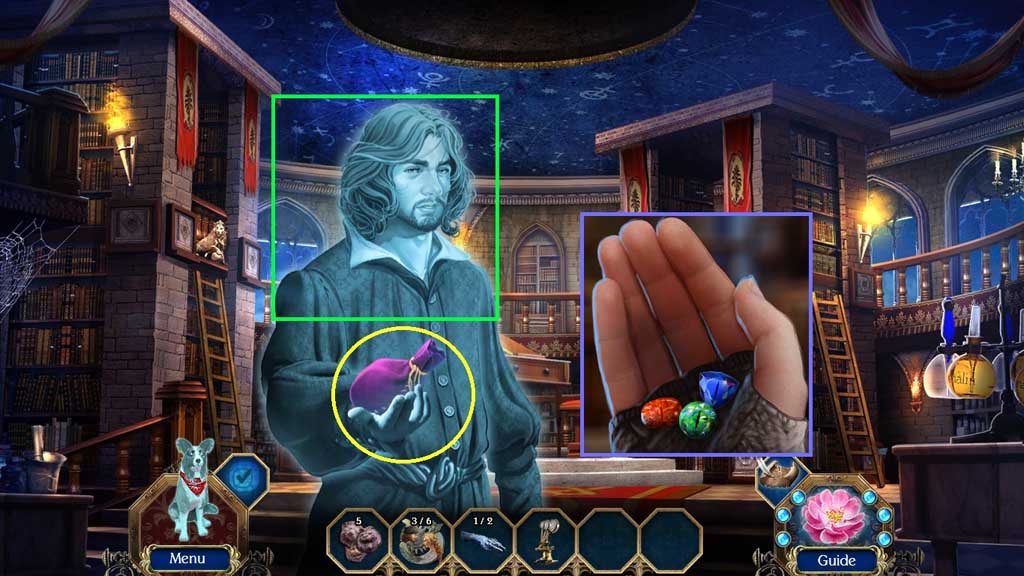
- Speak to Lucian.
- Collect the velvet pouch and click it 2x’s.
- Collect the blue, green and red lion gems.
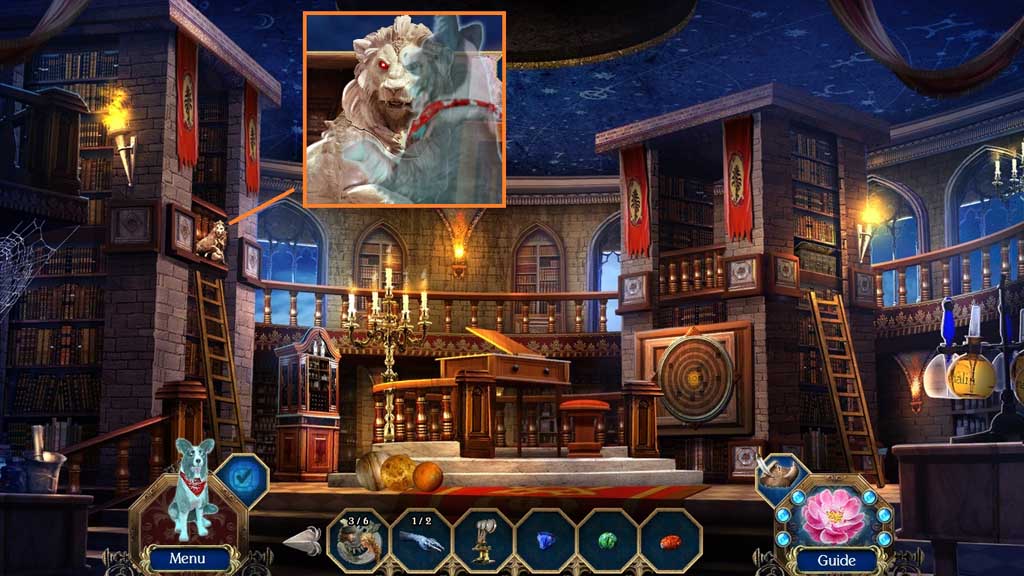
- Select Bandit to collect the lion emblem.
- Move to the Maze Center.
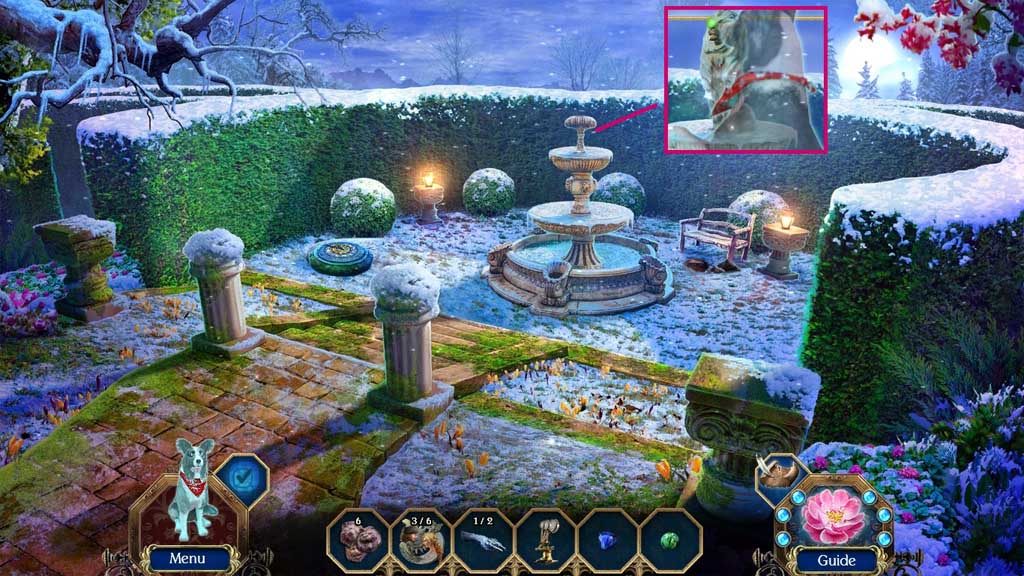
- Select Bandit to collect the lion emblem.
- Move to the Cliff.
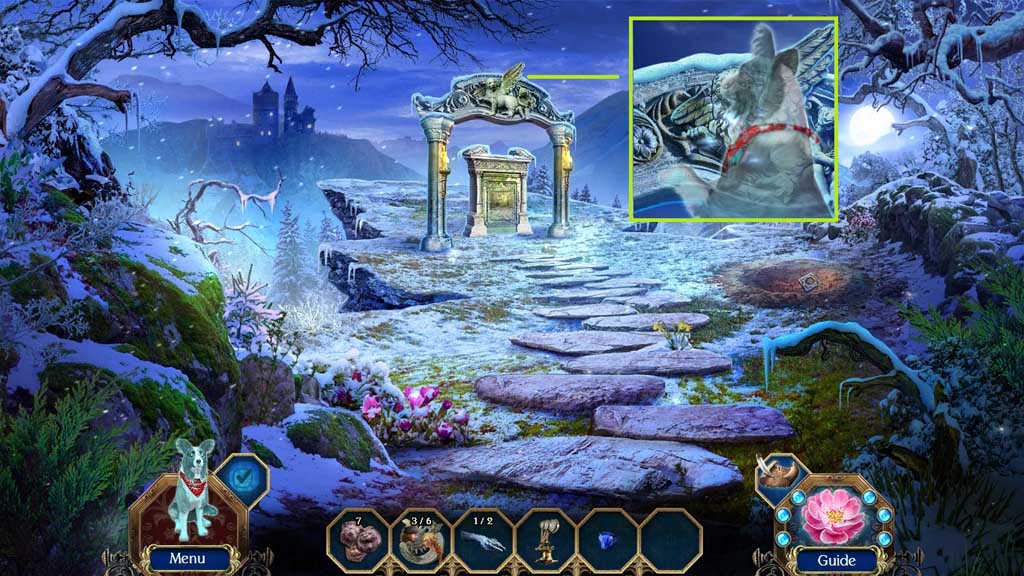
- Select Bandit to collect the lion emblem.
- Move to the Main Courtyard.
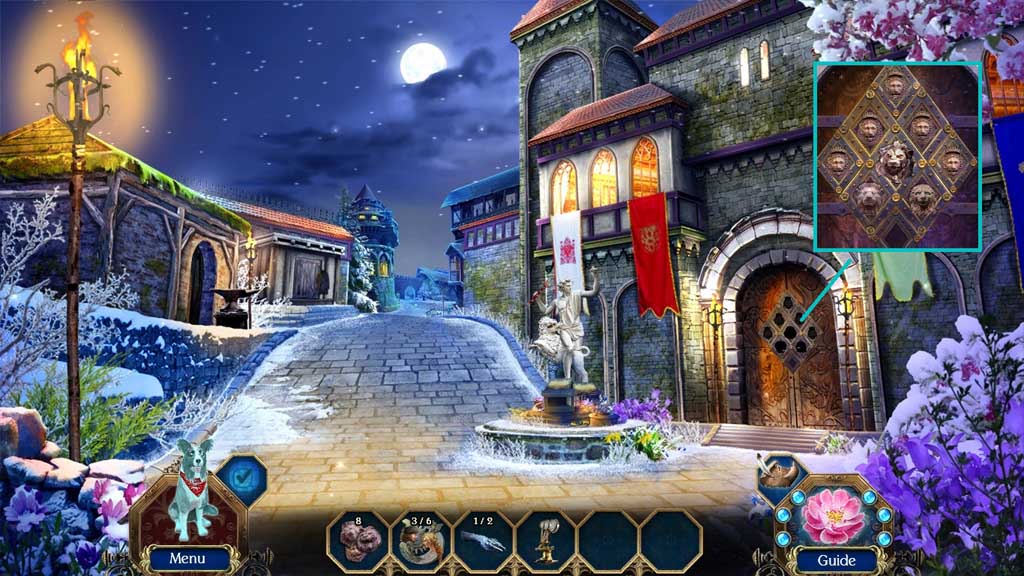
- Insert the lion emblems; receive the lion head note.
- Move to the Castle Hallway.
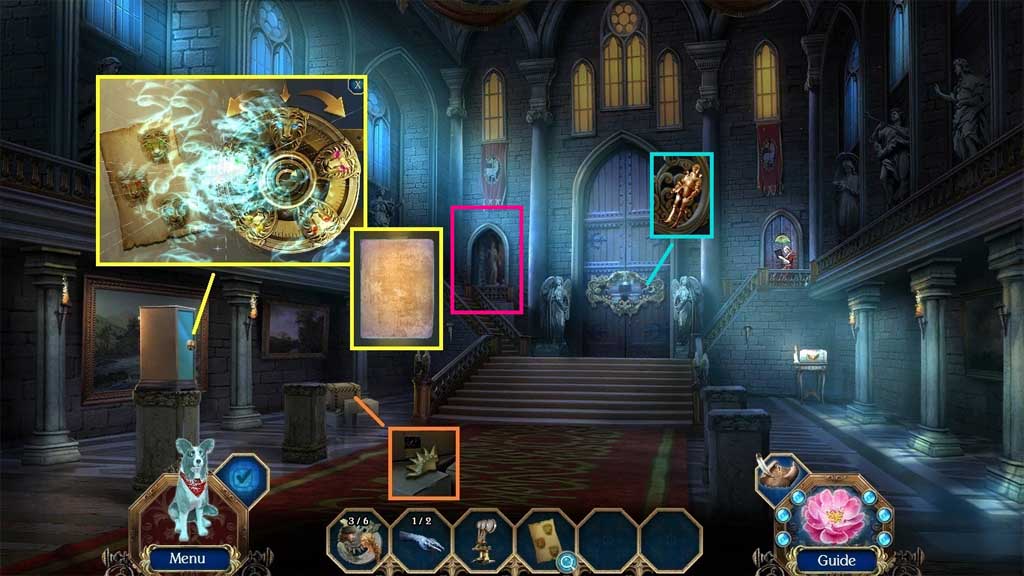
- Collect the trinket.
- Place the lion head note to trigger a mini game.
- Solve the game by adjusting the dial as shown on the diagram right to the green lion- left to the red lion and right to the blue lion.
- Collect the blank sheet.
- Collect 1 /3 knight figurines.
- Move up the stairs to the Art Gallery.
- Collect the trinket.
- Collect the hidden objects area.
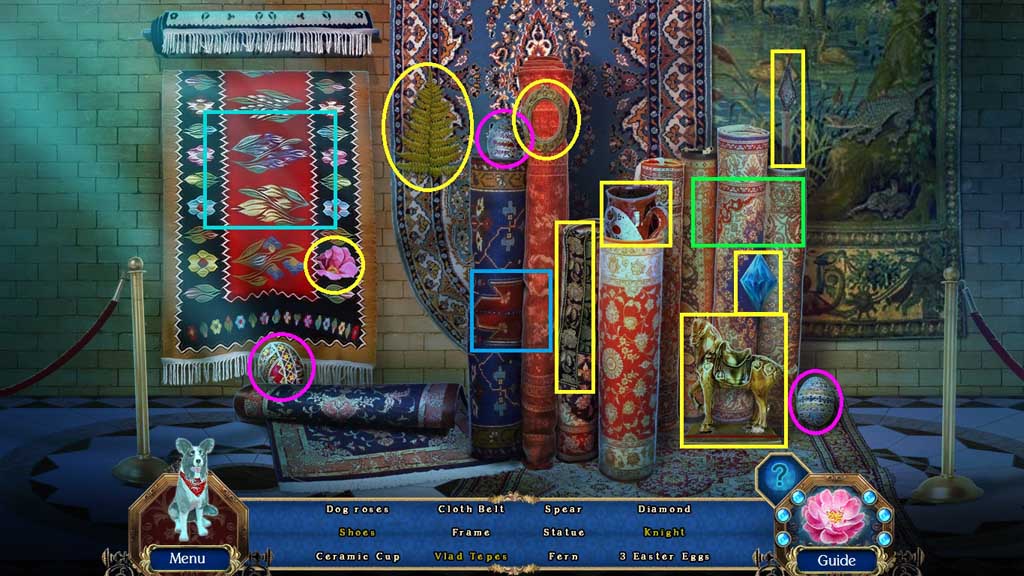
- Find the items.
- Click the rug; collect the shoes.
- Click the rugs; collect the Vlad Tepes.
- Click the rugs; collect the knight.
- Collect 2 /3 knight figurines.
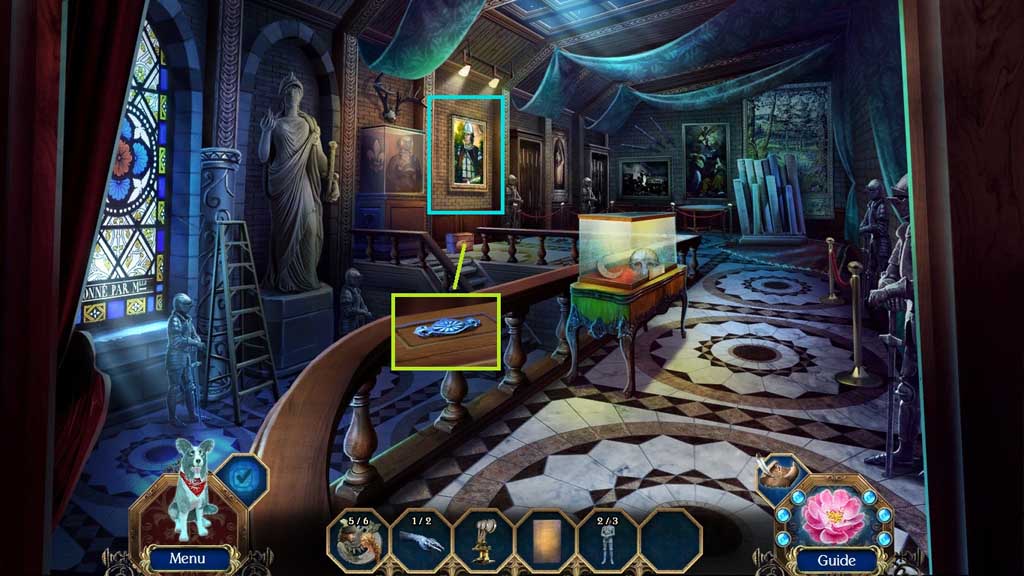
- Collect the handle.
- Click the painting; collect the torn painting.
- Move down once.
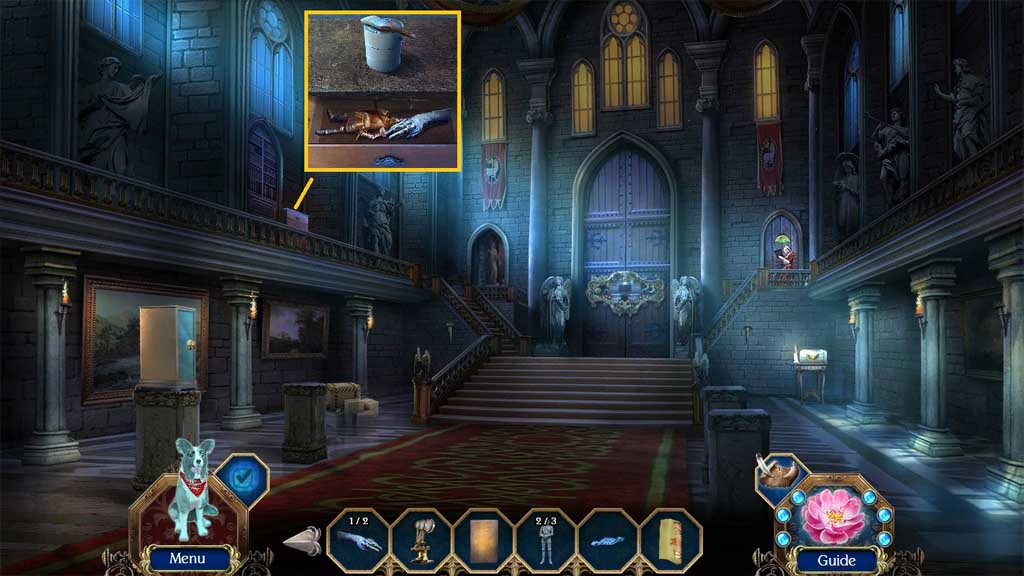
- Collect the lacquer varnish.
- Attach the handle and click it once.
- Click the items 2x’s; collect 3 /3 knight figurines and 2 /2 gauntlets.
- Move to the Armory.
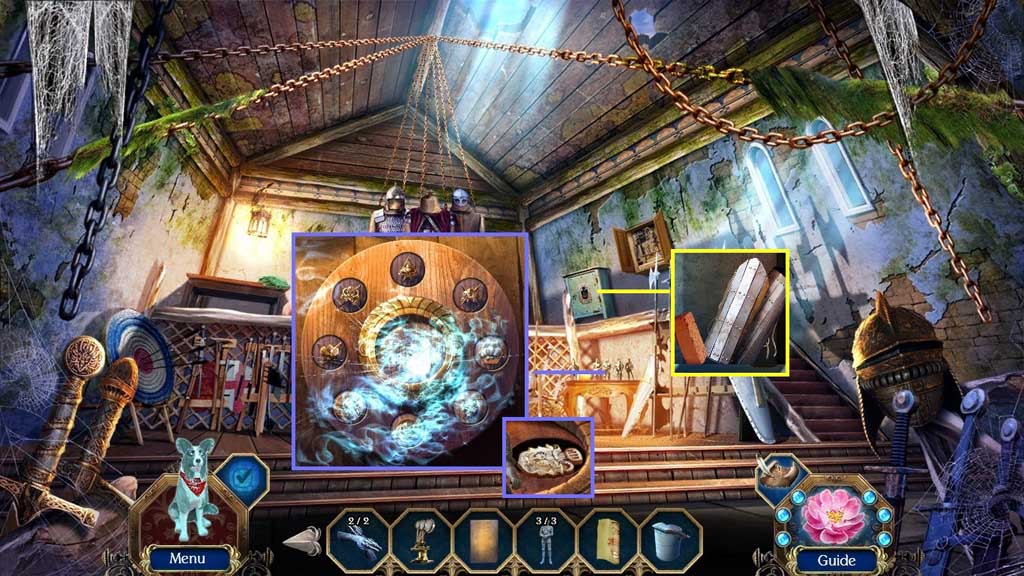
- Insert the knight figurines to trigger a mini game.
- Solve the game by arranging the tokens correctly.
- Collect the soldier’s token.
- Insert the soldier’s token; collect the brick and the greaves.
- Move down once.
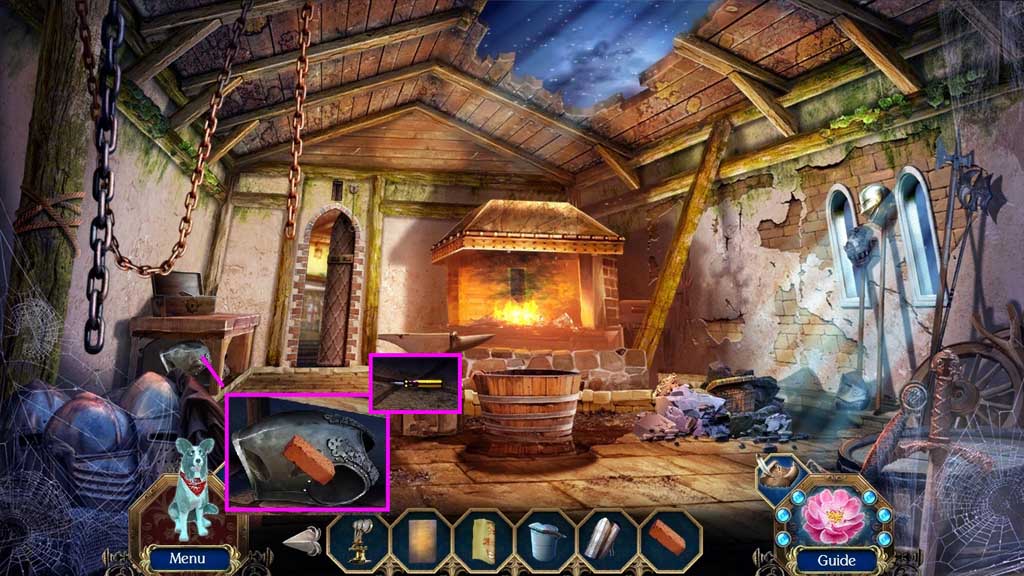
- Select the brick to use on the breast plate 3x’s.
- Collect the breast plate.
- Collect the screwdriver.
- Move to the Art Gallery.
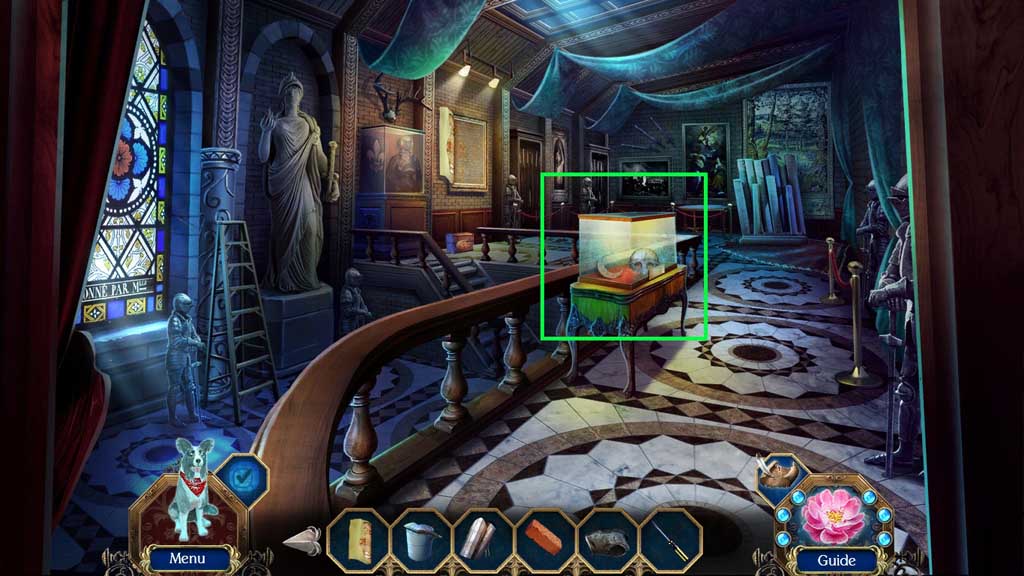
- Select the brick to smash the glass; collect 6 /6 trinkets and the helmet.
- Move to the Armory.
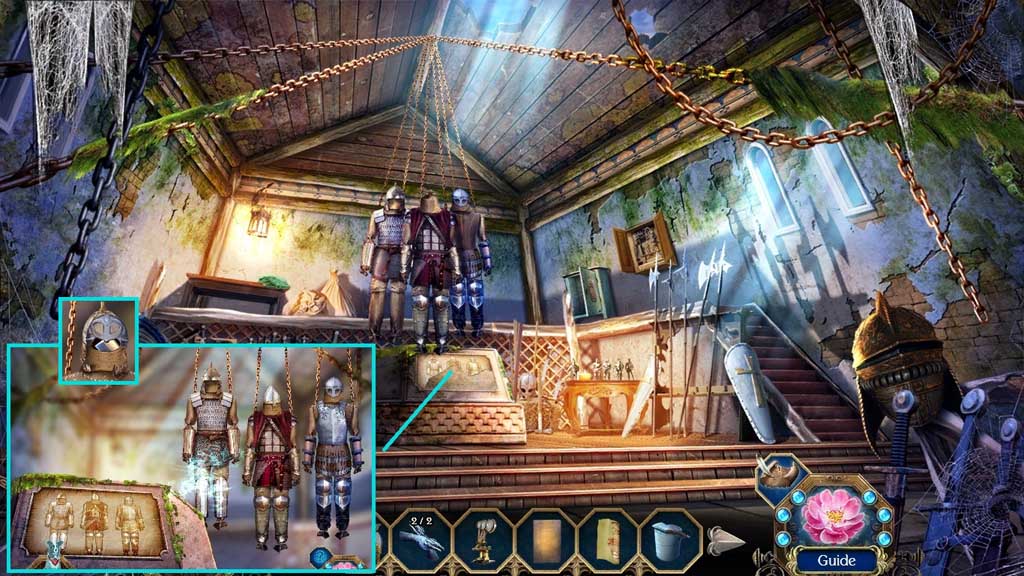
- Place the torn painting, the gauntlets, the breast plates, the greaves and the helmet to trigger a mini game.
- Solve the game by arranging the armor correctly.
- Collect the book token.
- Move to the Castle Hallway.
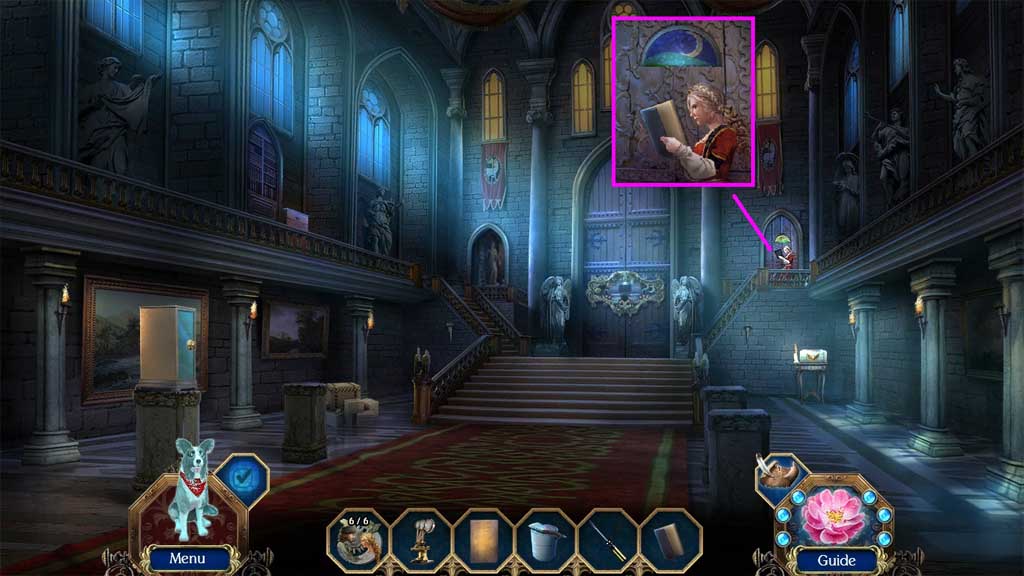
- Insert the book token.
- Move into the Reading Room.
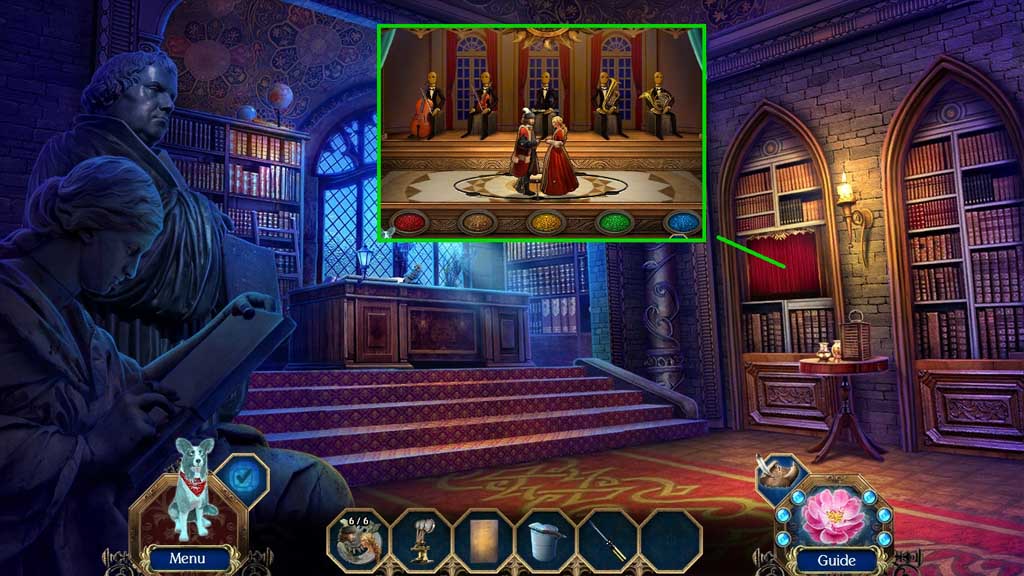
- Click the bookcase to trigger a mini game.
- Solve the game by clicking the tokens in the correct sequence.
- Collect the Alexandra figurine.
- Move to the Cliff.
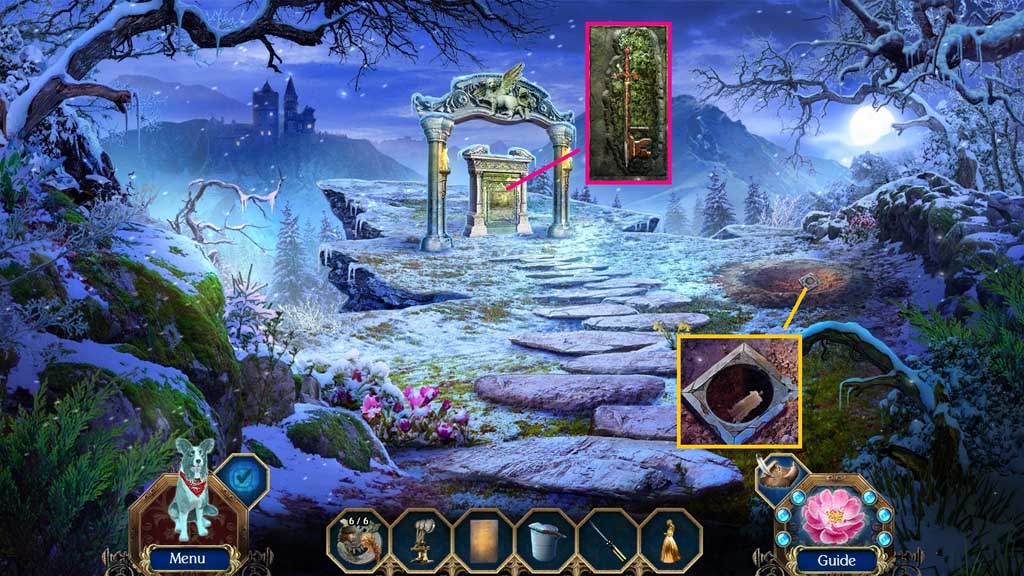
- Insert the Alexandra figurine; collect the sword key and place it into the lock.
- Collect the candle.
- Move to the Reading Room.
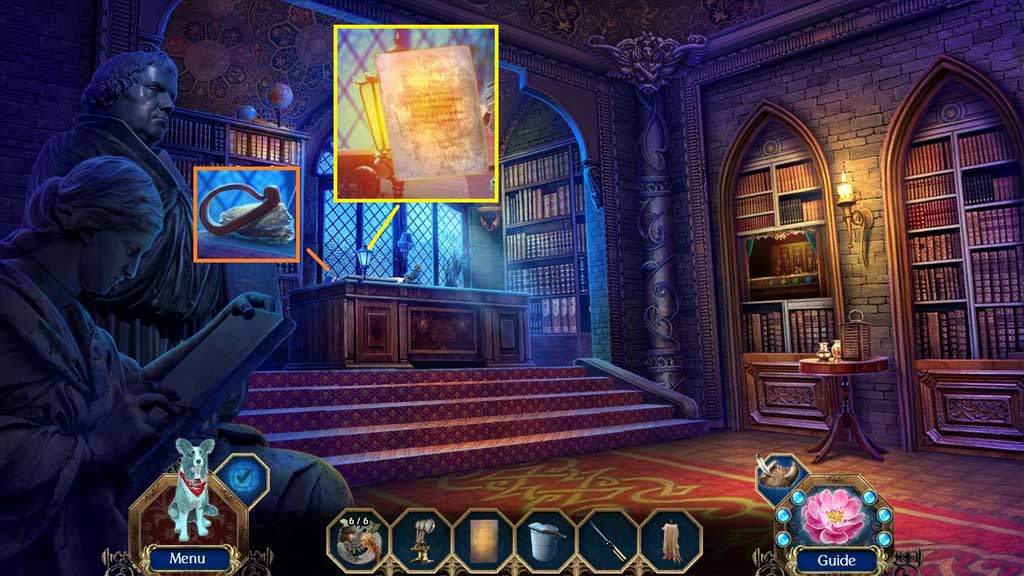
- Collect the fire striker.
- Click the lamp, insert the candle and light it using the fire striker.
- Insert the blank sheet and collect the mysterious note.
- Move down once.
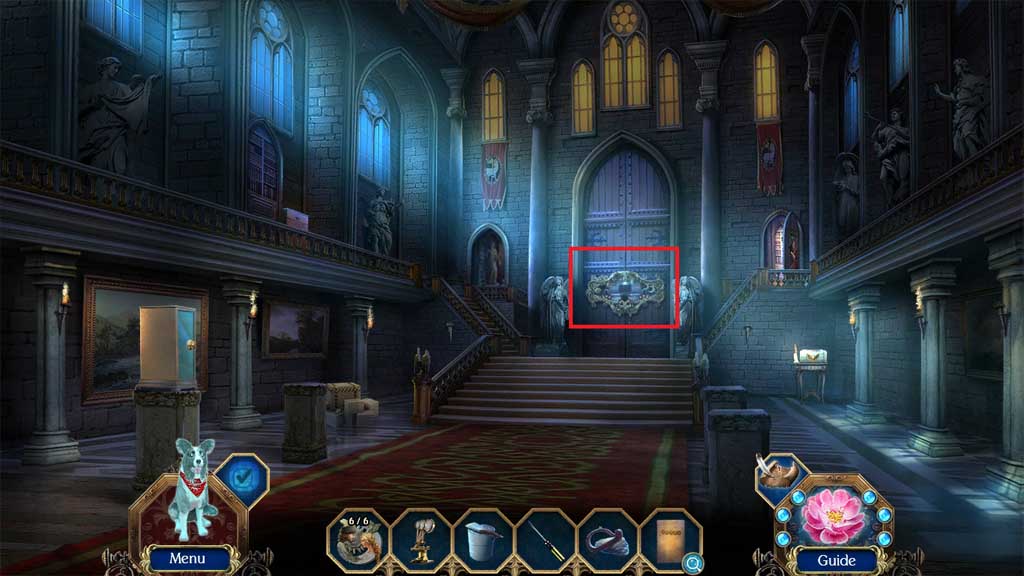
- Insert the trinkets down to trigger a hidden objects area.
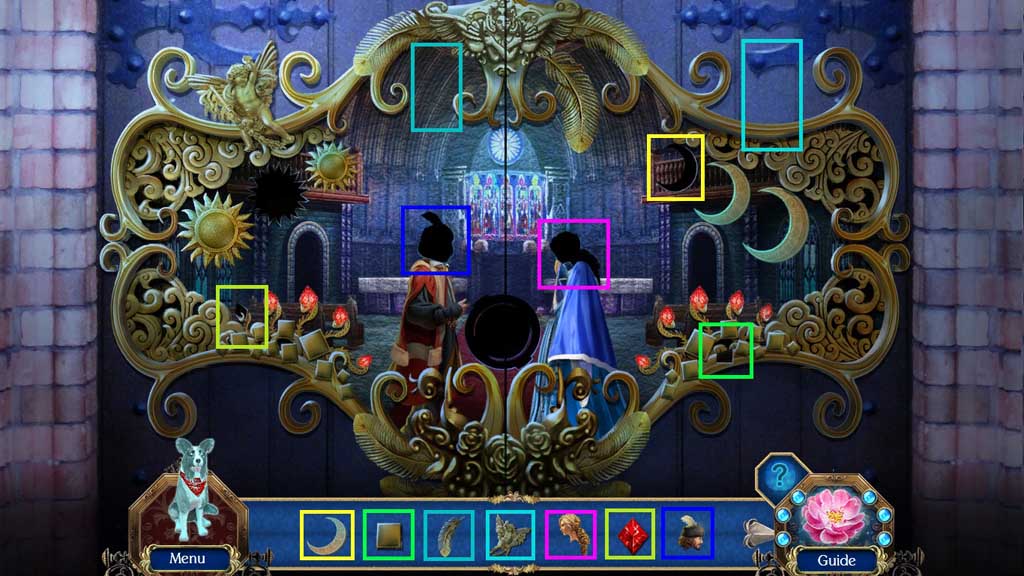
- Place the items correctly.
- Move to the Great Hall.
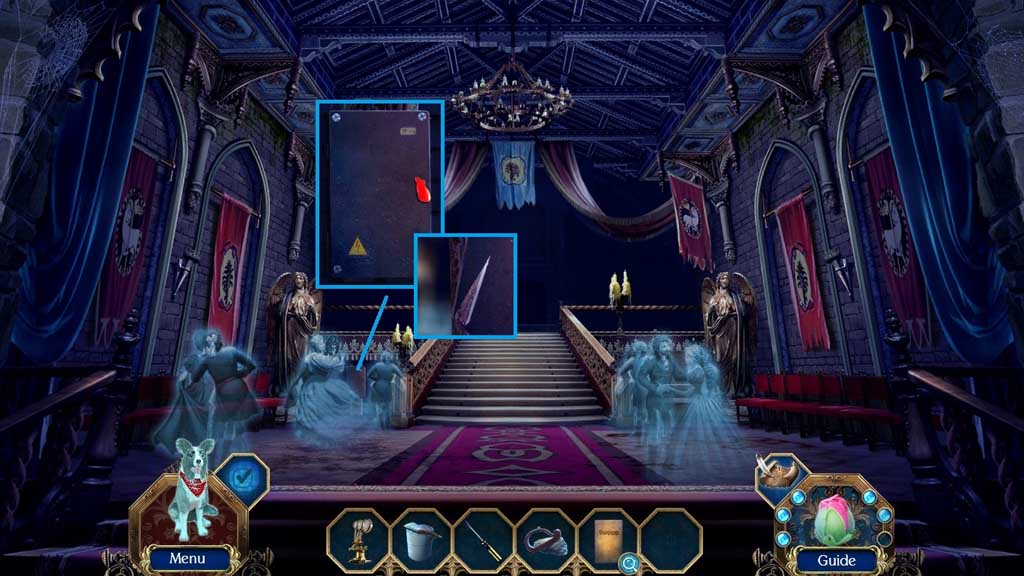
- Collect 1 /3 colored knobs.
- Use the screwdriver to remove the cover; collect the metal shrapnel.
- Move down once.
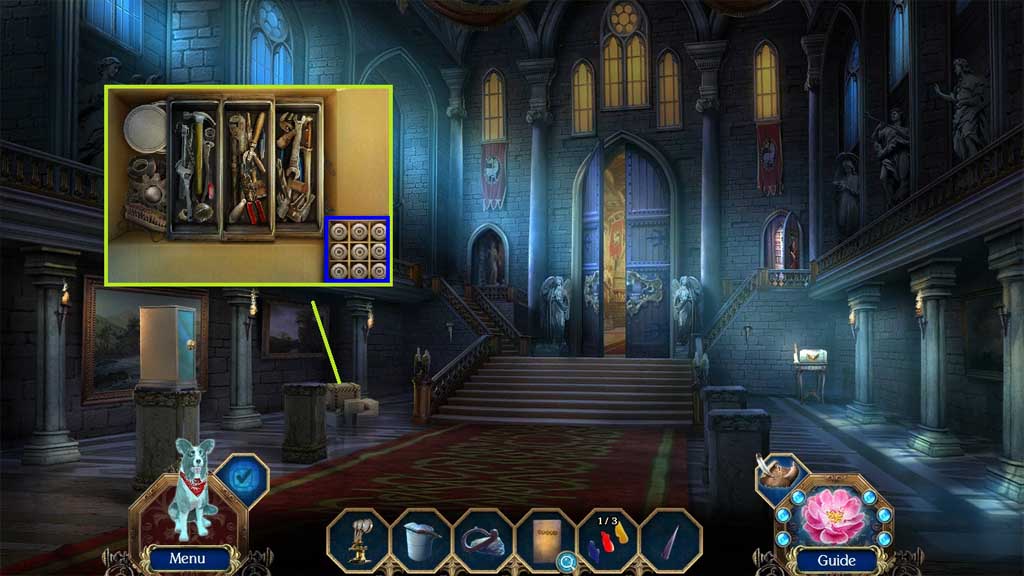
- Select the metal shrapnel to open the box and zoom in to trigger a mini game.
- Find and collect the fuses to solve the game.
- Move to the Great Hall.
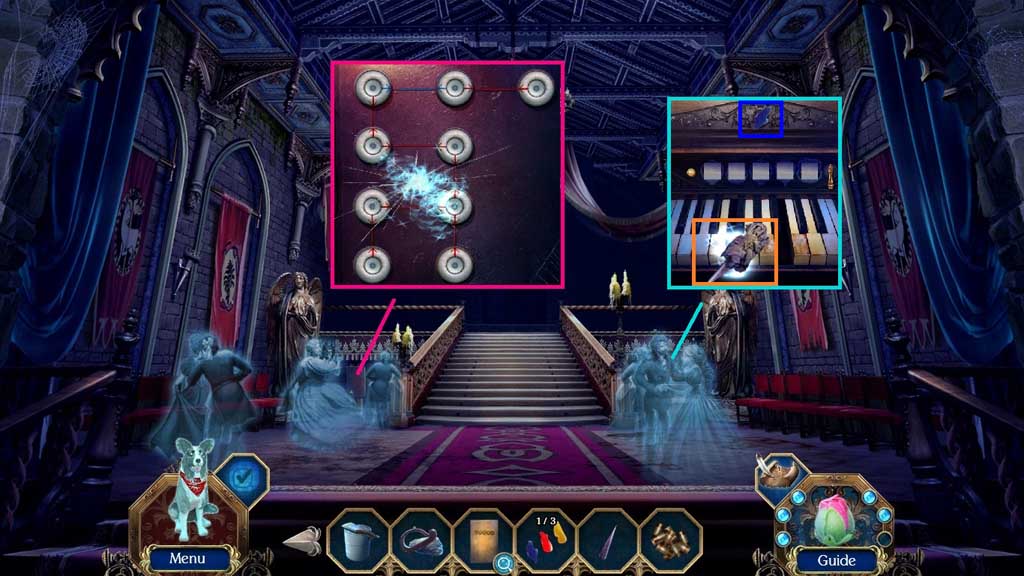
- Insert the fuses to trigger a mini game.
- Solve the game by aligning the fuses to create a continuous circuit.
- Collect 2 /3 colored knobs.
- Wrap the metal shrapnel in the rag; receive the improvised knife.
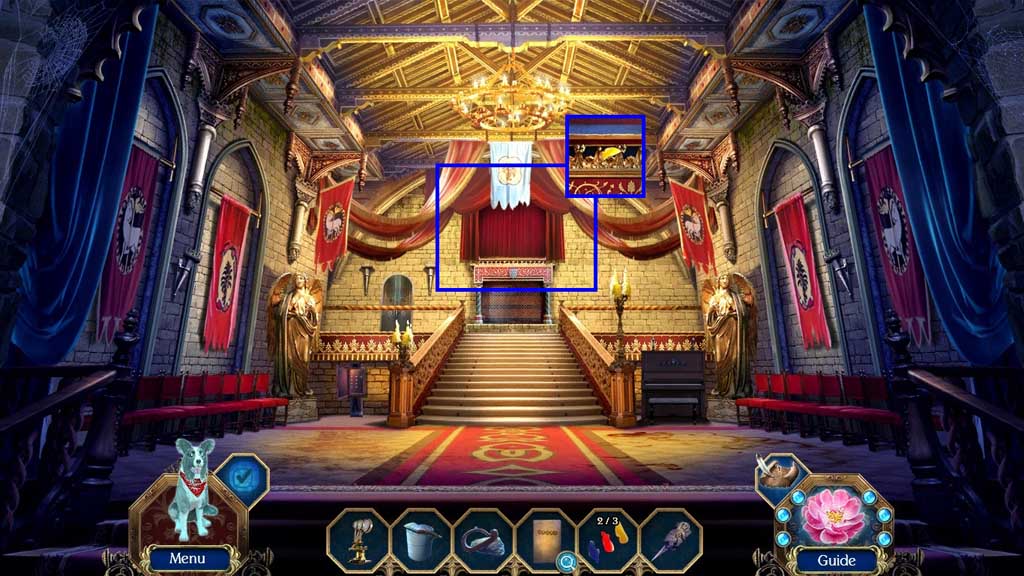
- Use the improvised knife to cut down the sandbag.
- Collect 3 /3 colored knobs.
- Move to the Art Gallery.
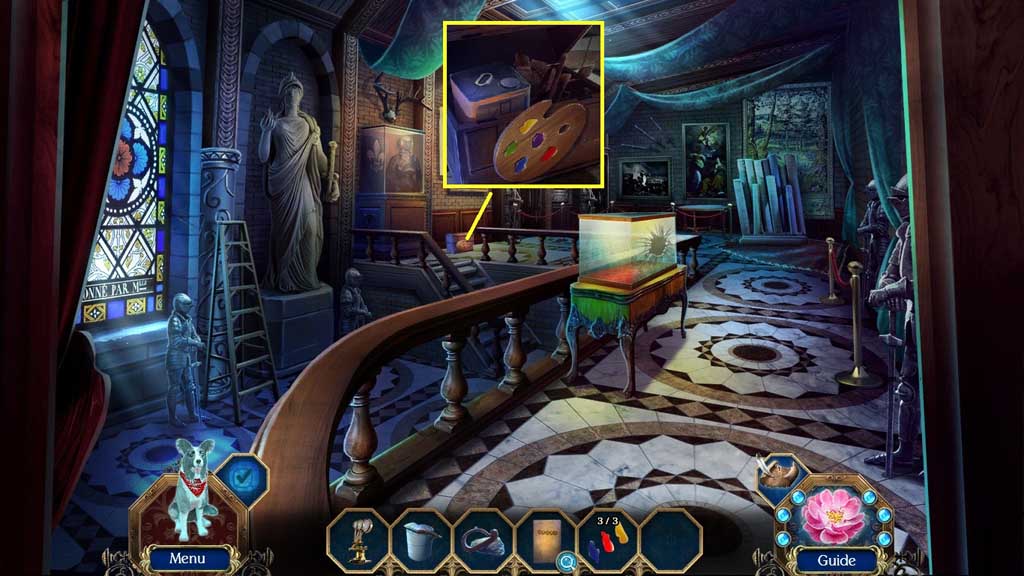
- Attach the colored knobs.
- Collect the brush and the solvent.
- Move to the Great Hall.
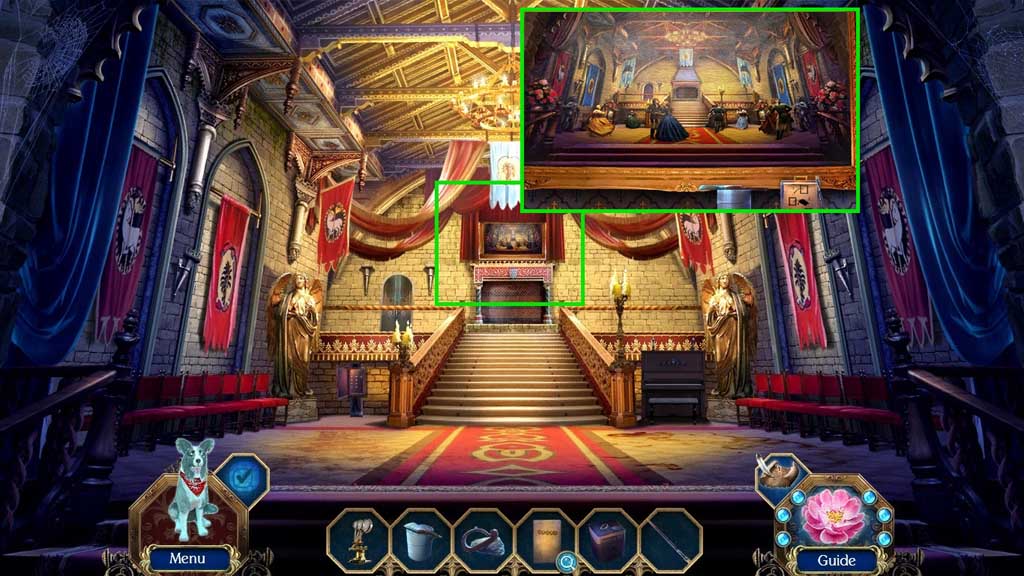
- Place the brush, the solvent and the lacquer varnish down to trigger a mini game.
- Solve the game by restoring the image.
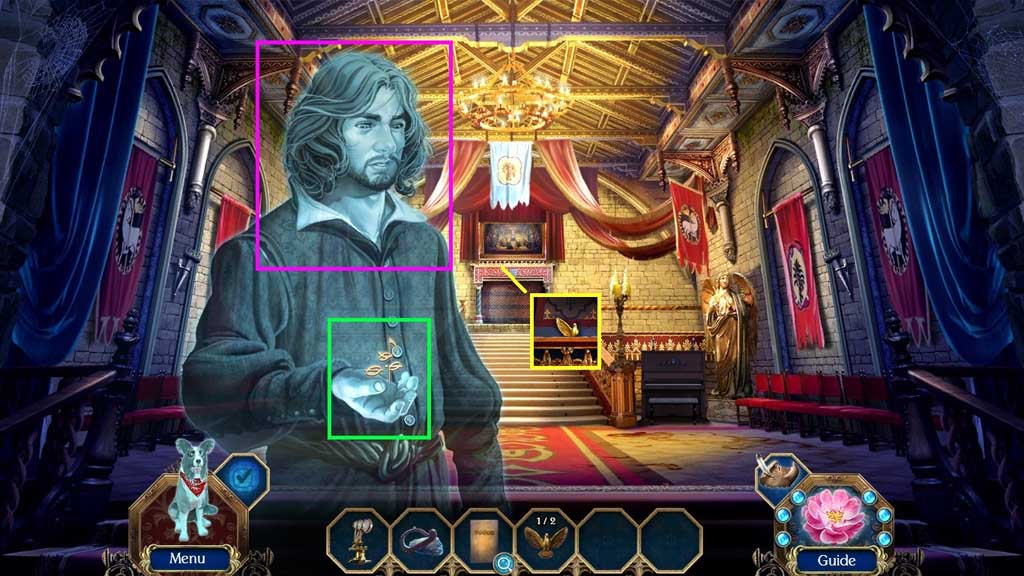
- Speak to Lucian; collect the music notes.
- Collect 1 /2 dove insets.
- Move to the Reading Room.
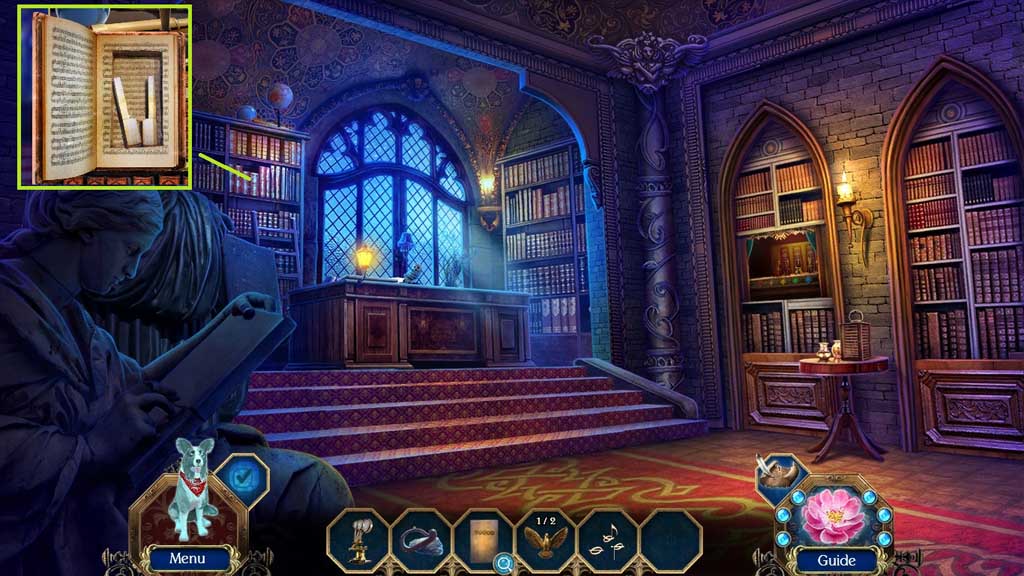
- Insert the music notes.
- Arrange the music notes correctly.
- Collect the piano keys.
- Move to the Great Hall.
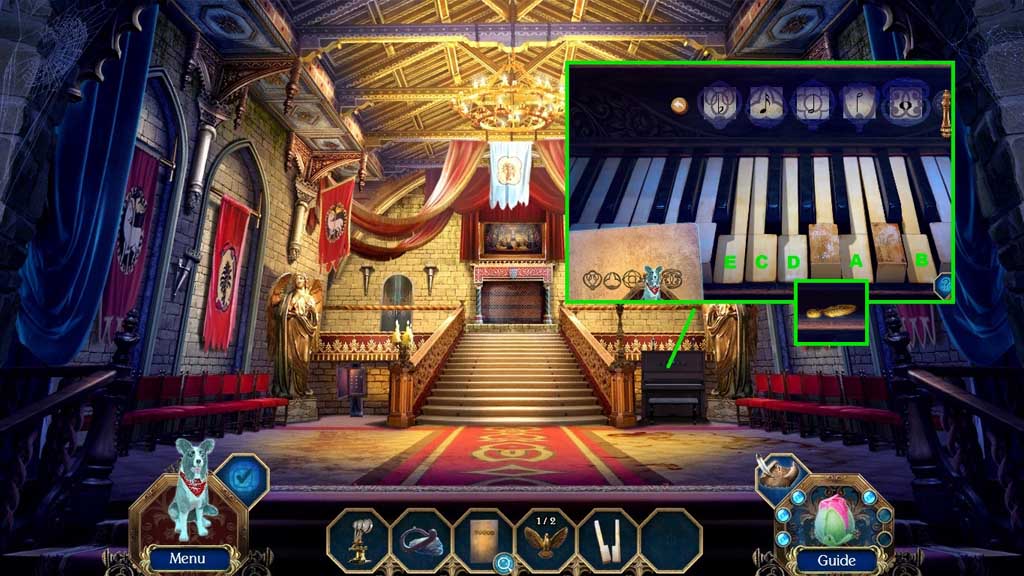
- Place the piano keys to trigger a mini game.
- Solve the game by clicking the keys in the correct sequence.
- Collect 2 /2 dove insets.
- Move down once.
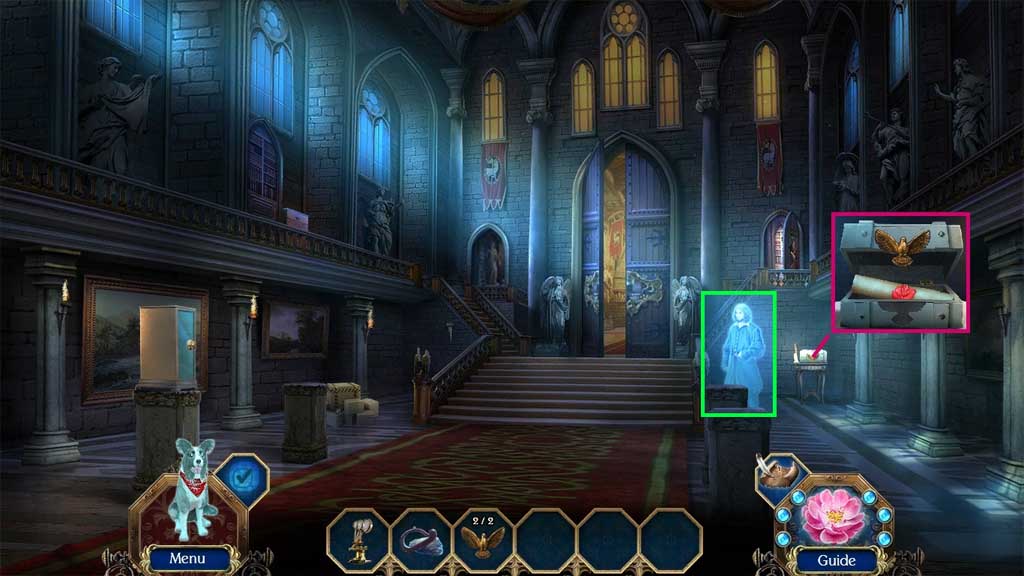
- Insert the dove insets; collect the invitation letter and give it to Lucian.
- Speak to Lucian.
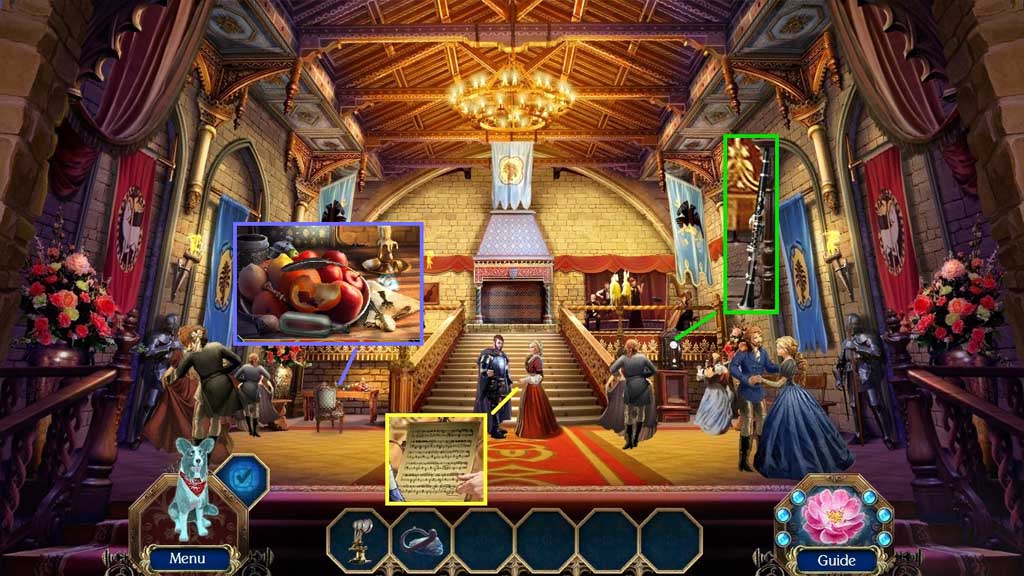
- Collect 1 /2 sheets of music and the flute.
- Click the table to trigger a mini game.
- Solve the game by finding the pieces of 1 /5 dance figurines.
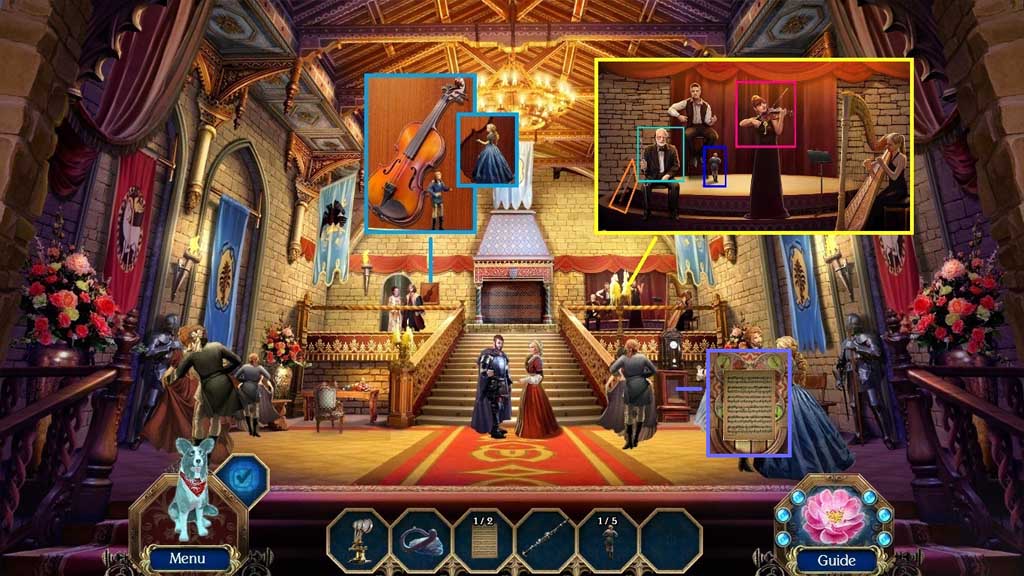
- Collect 2 /5 dance figurines and give the musician the flute.
- Collect the bow.
- Collect 3/ 5 dance figurines and place the bow with the violin.
- Collect the violin.
- Collect 4 /5 dance figurines and give the violin to the musician.
- Collect the clock key and place it into the clock; collect 2 /2 sheet music sheets.
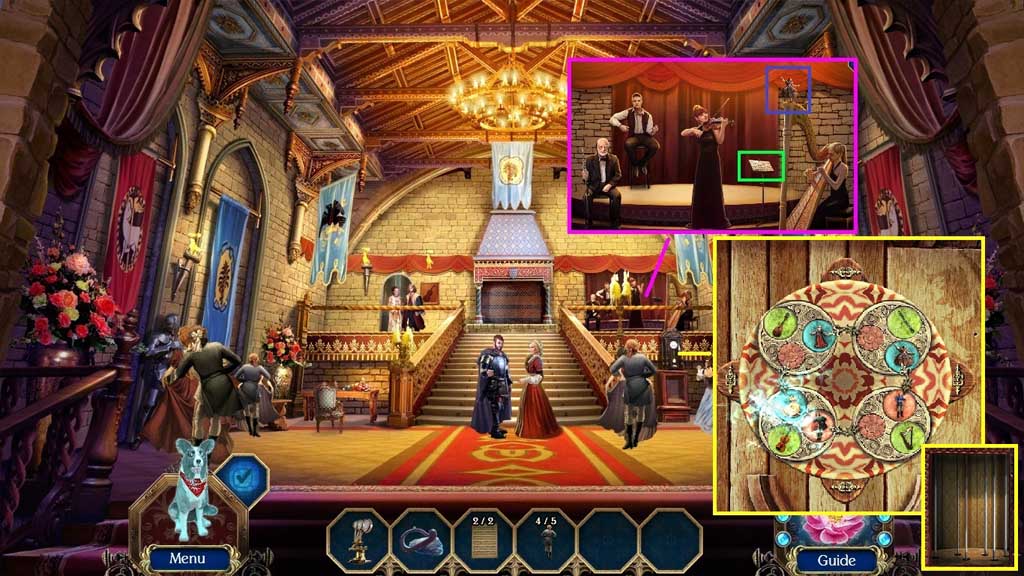
- Place the sheet music onto the stand; collect 5 /5 dance figurines.
- Place the dance figurines into the clock to trigger a mini game.
- Solve the game by arranging the dials correctly.
- Collect the strings.
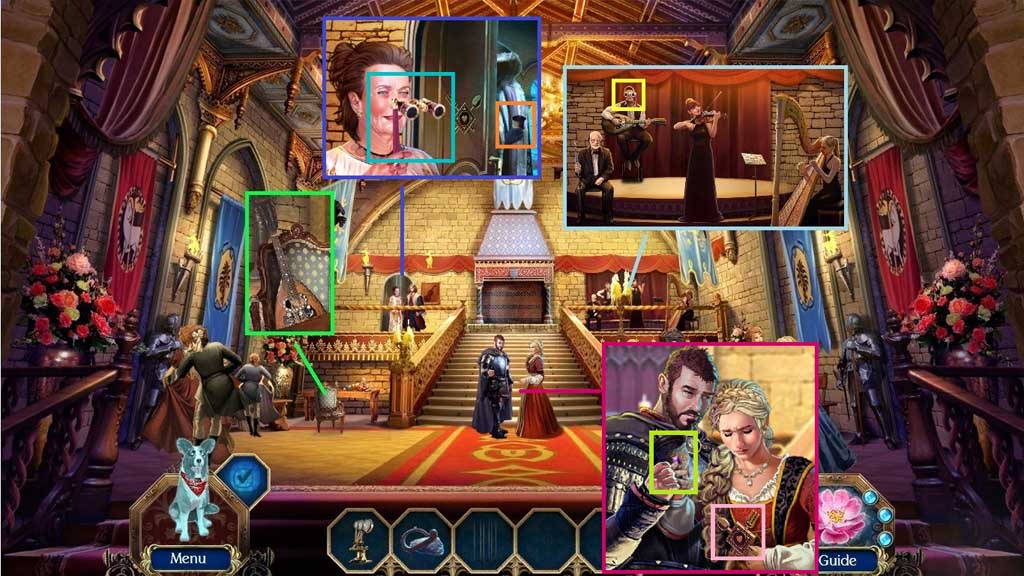
- Place the strings onto the lute; collect the lute and give it to the musician.
- Collect the opera glasses and give them to the noblewoman; collect Nicolae’s goblet and give it to Nicolae.
- Collect the dining emblem.
- Speak to Nicolae.
- Move to the Great Hall.
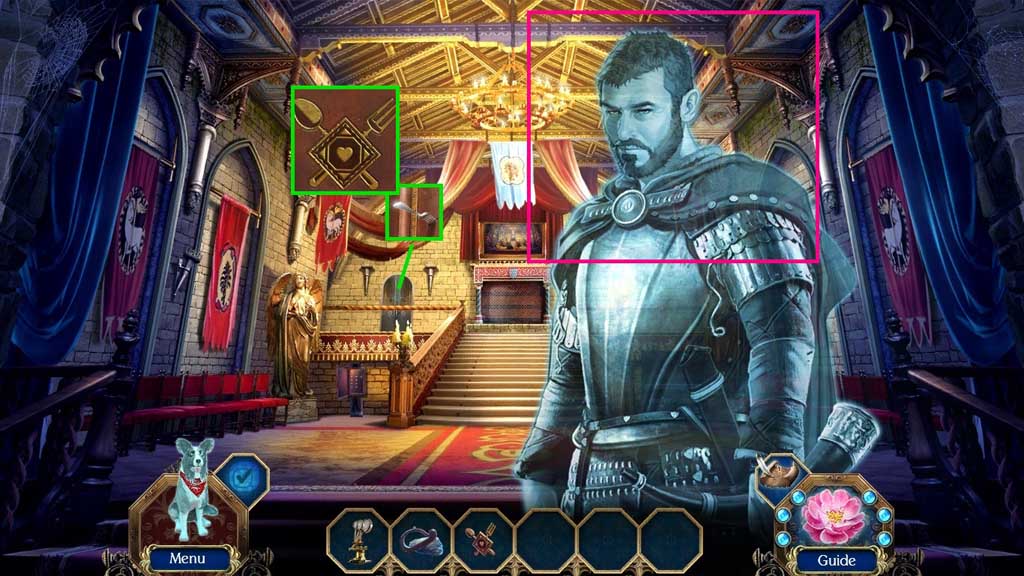
- Speak to Nicolae.
- Collect the silver fork; insert the dining emblem.
- Move into the Dining Room.
Comments will load when you reach this part of the walkthrough.