
Chapter 7 Lava Portal
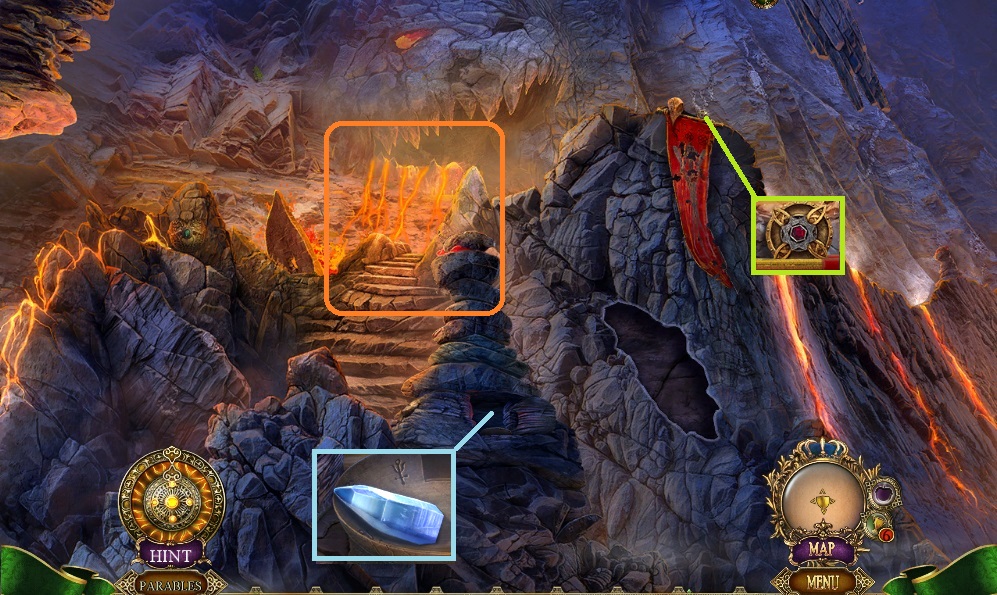
- Collect the blank amulet & the crystal.
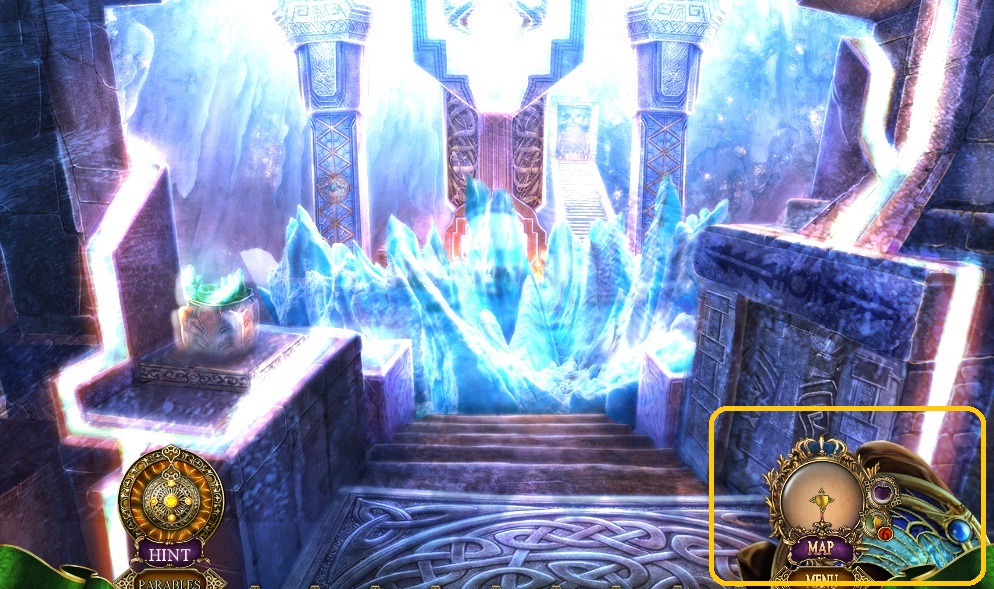
- Move to the Lava Portal.

- Collect the gate plate.
- Move to the Forge.
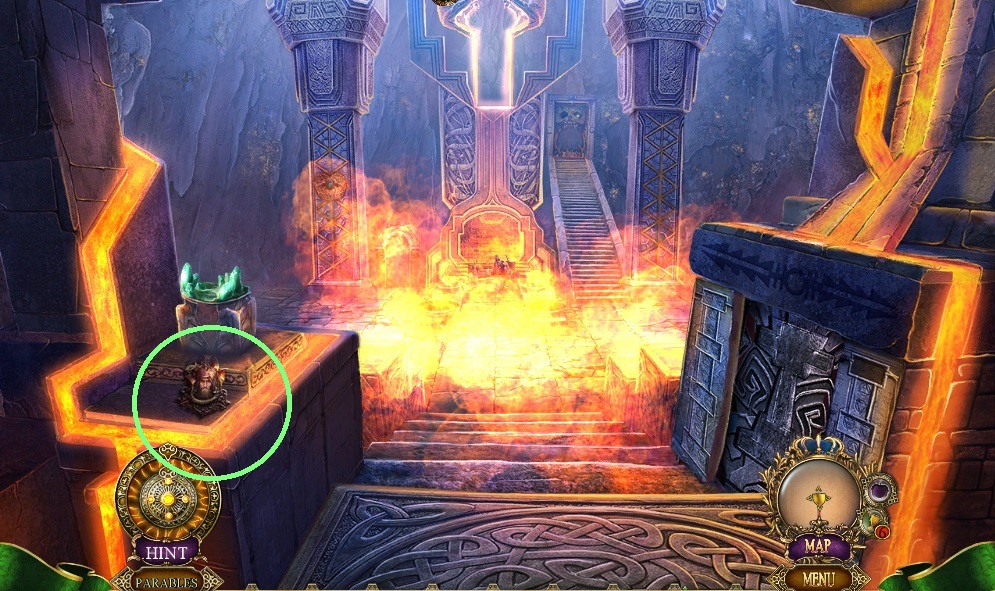
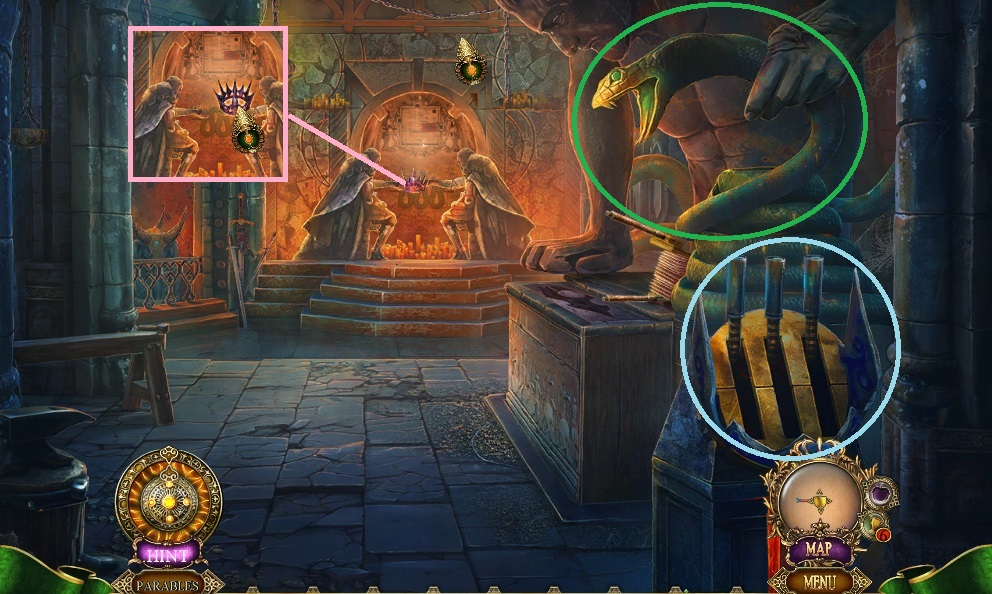
- Collect the Rasputin emblem.
- Move down once.
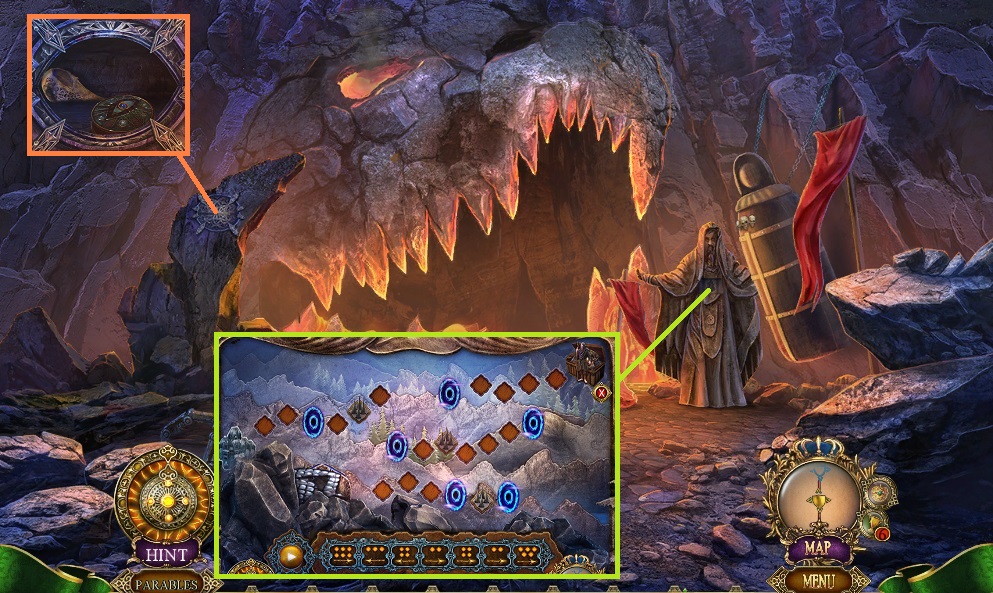
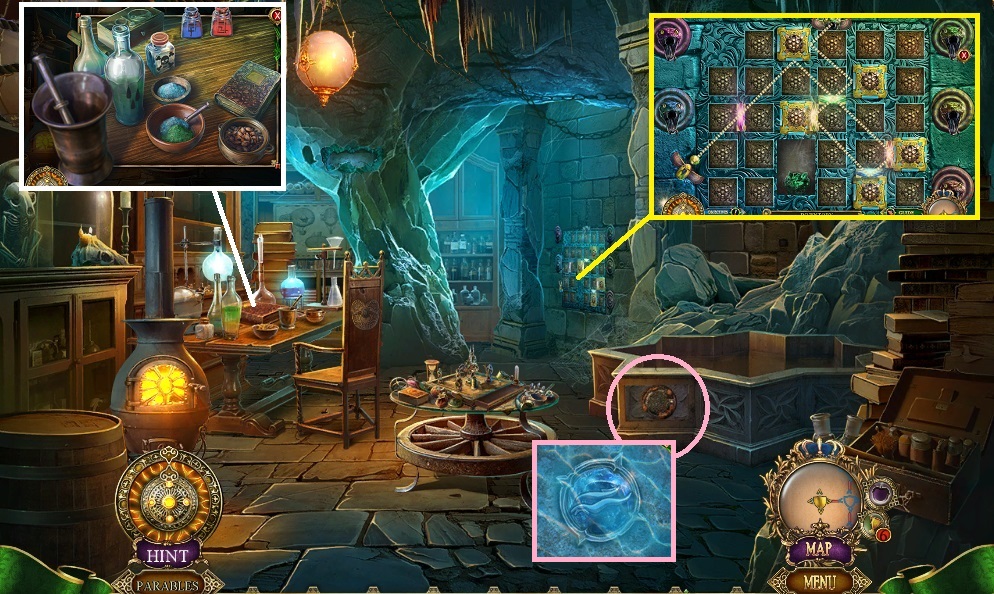
- Insert the Rasputin emblem to trigger a mini game.
- Solve the game by placing the token correctly; click the button.
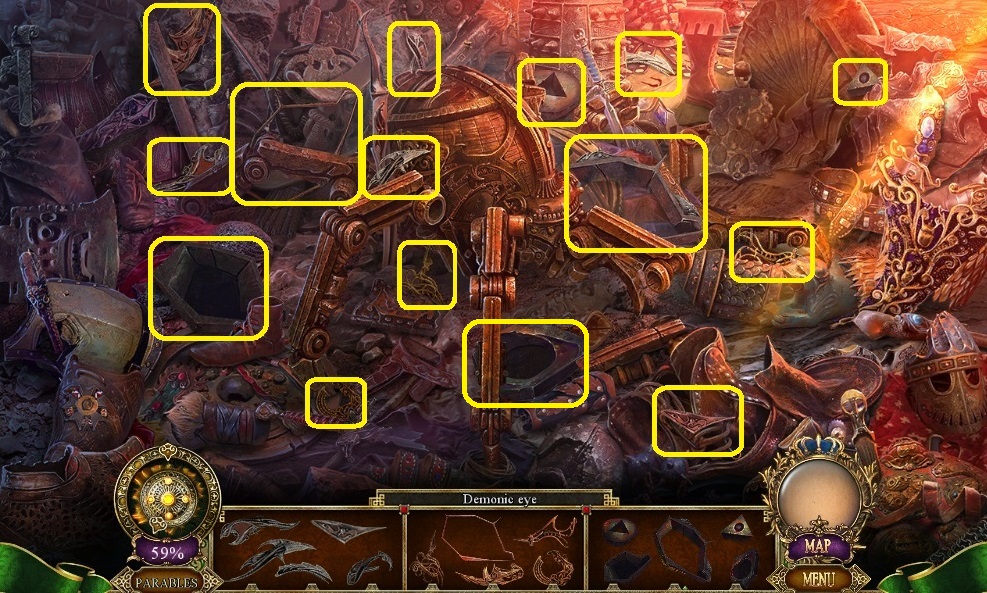
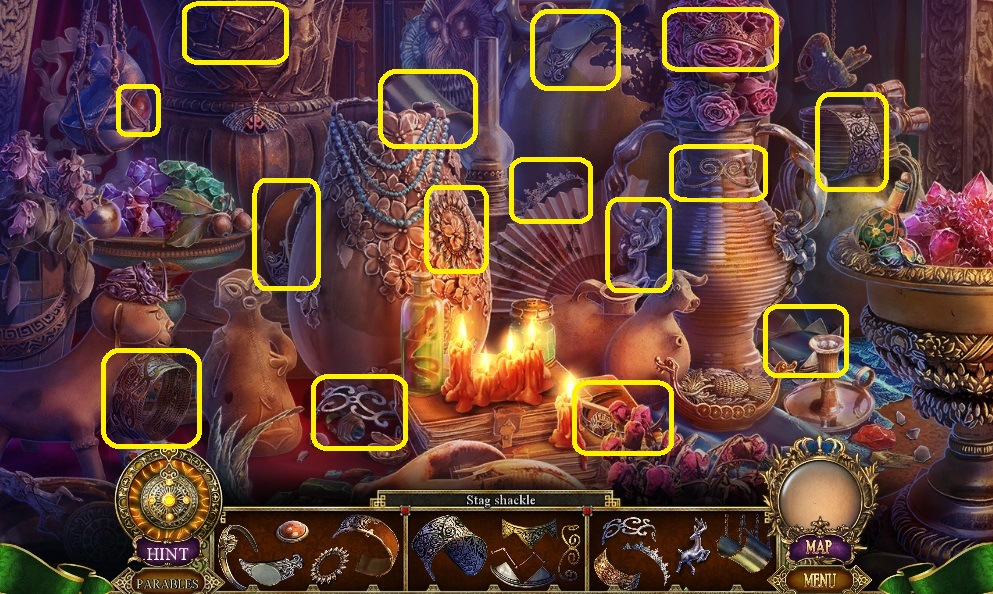
- Collect the serpent scales & the eye part.
- Insert the eye part; collect the alchemy kit & skull.
- Move down once.
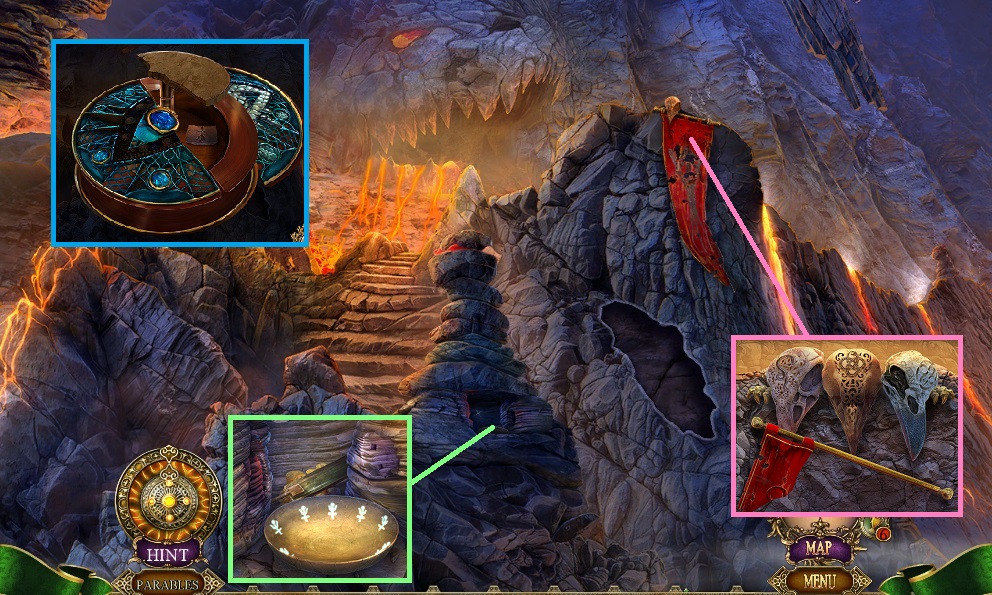
- Attach the serpent scales onto the alchemy kit; click it once.
- Collect the bowl piece and place it into the bowl; collect the bellows & the gold coins.
- Place the 2 skulls; arrange them correctly.
- Collect the improvised torch.
- Move to the Forge.
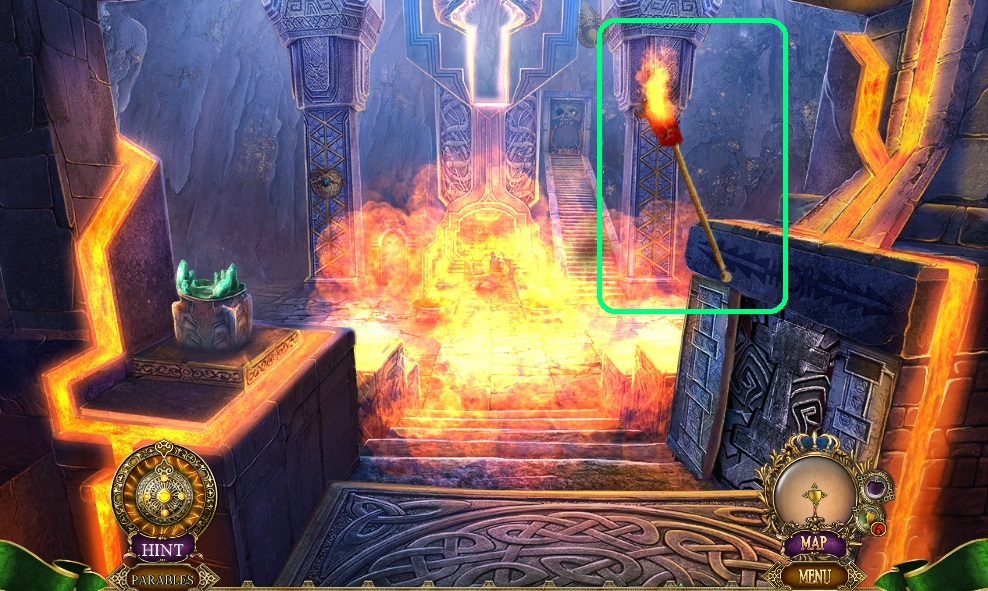
- Place the improvised torch in the fire.
- Move down once.
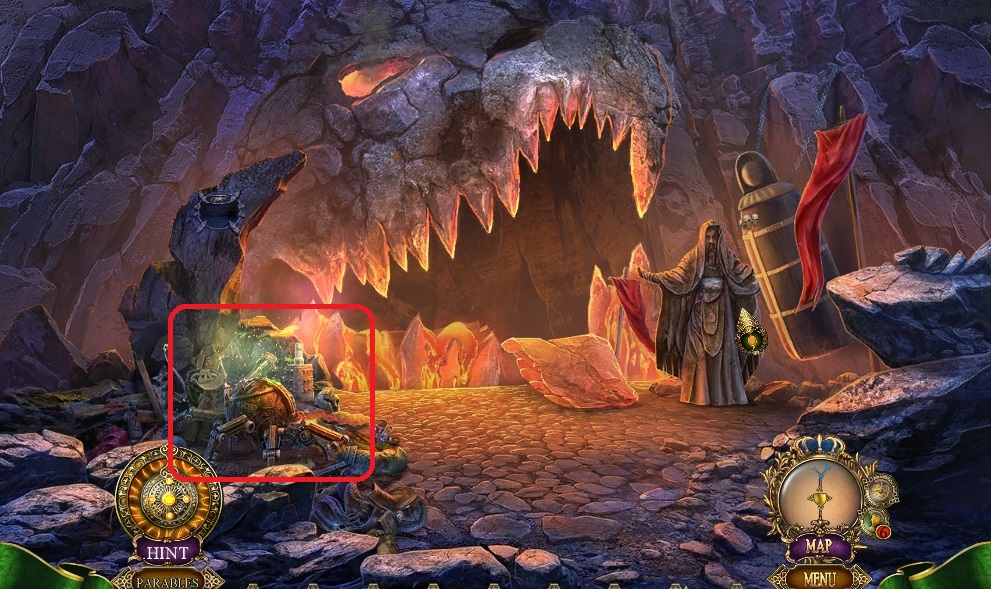
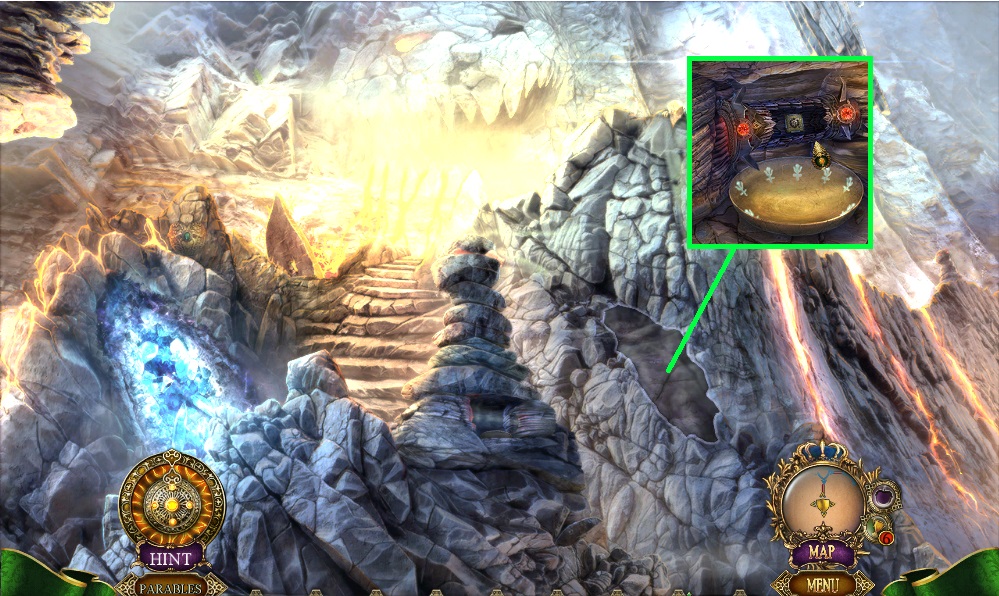
- Use the torch to illuminate the hidden objects area.
- Find the items.
- Collect the lava.
- Place the lava onto Rasputin’s book; collect the water sorcery.
- Move to the Forge.
- Select the water sorcery to douse the flame.
- Move down once.
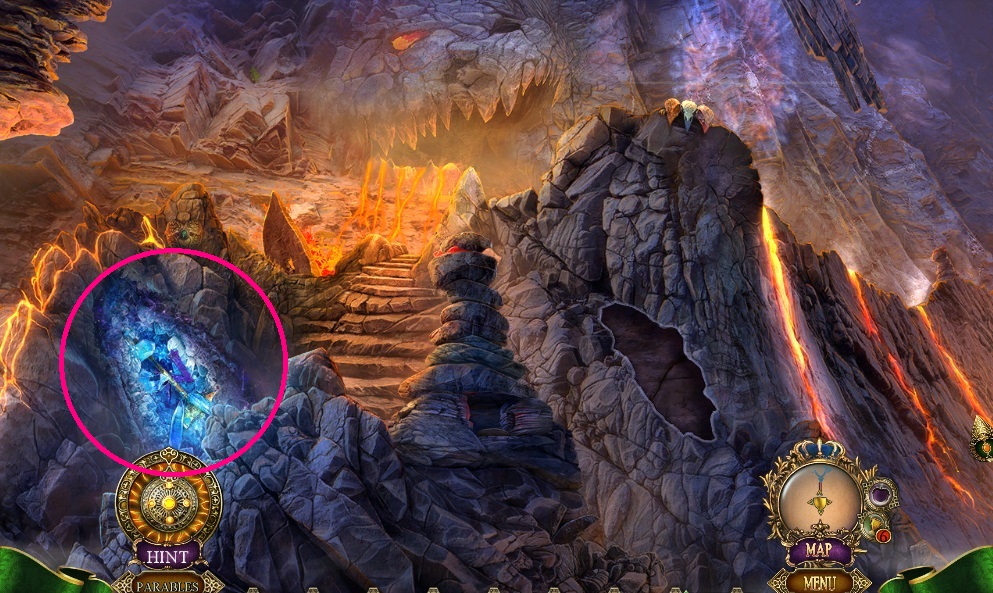
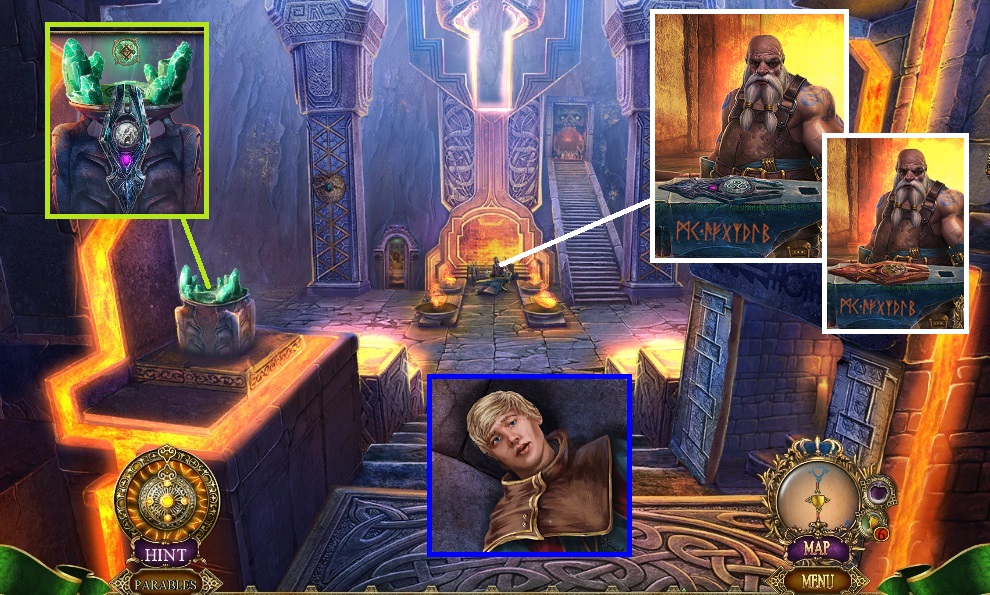
- Collect the king’s hammer & the crystal.
- Move to the Forge.
- Collect the silver bar by using the King’s hammer.
- Insert the crystal into the alchemy kit; click it once.
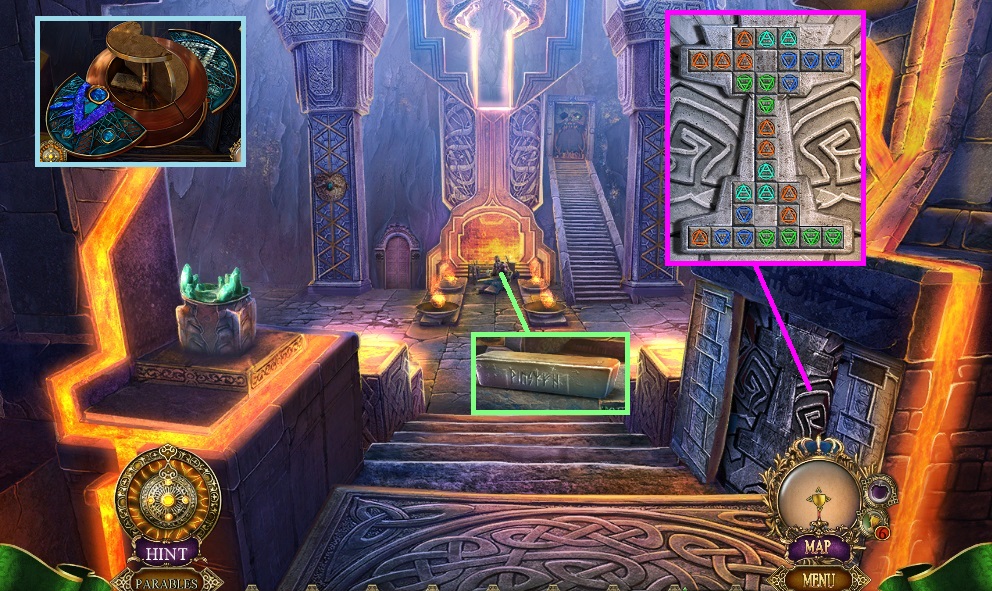
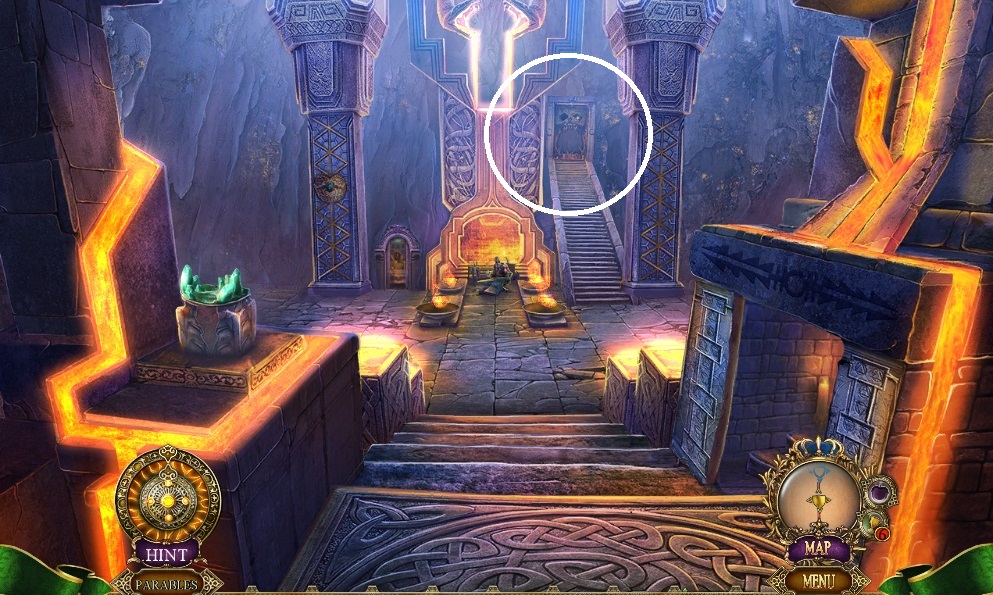
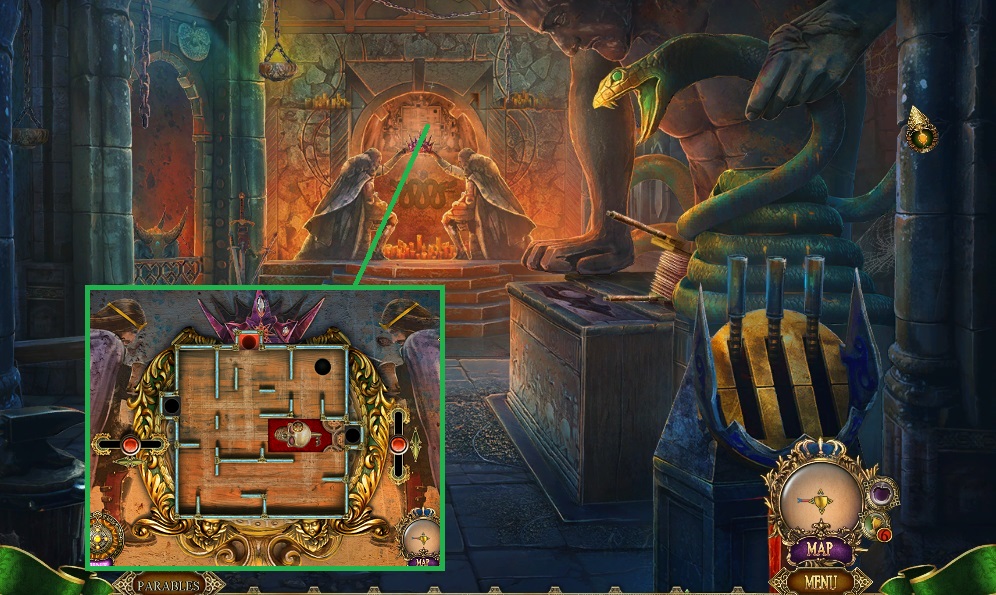
- Collect the door plate & insert it to trigger a mini game.
- Solve the game by aligning the dominoes correctly.
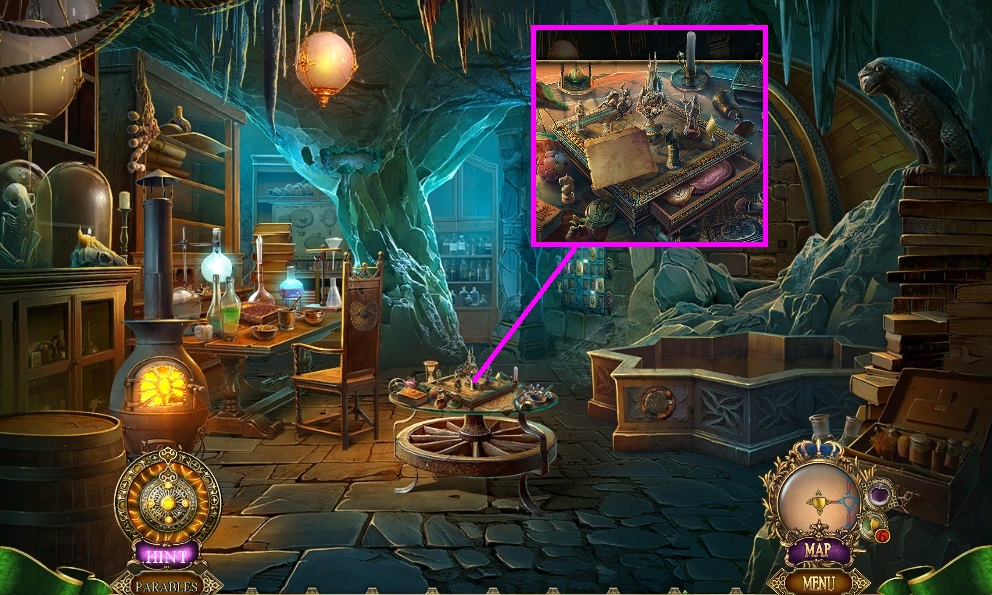
- Move to the Alchemy Lab.
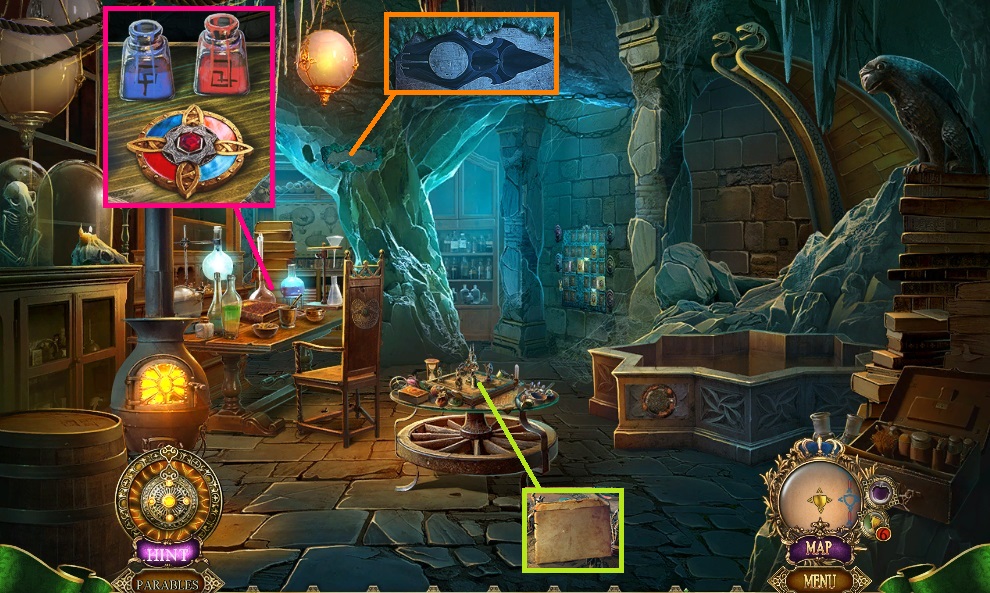
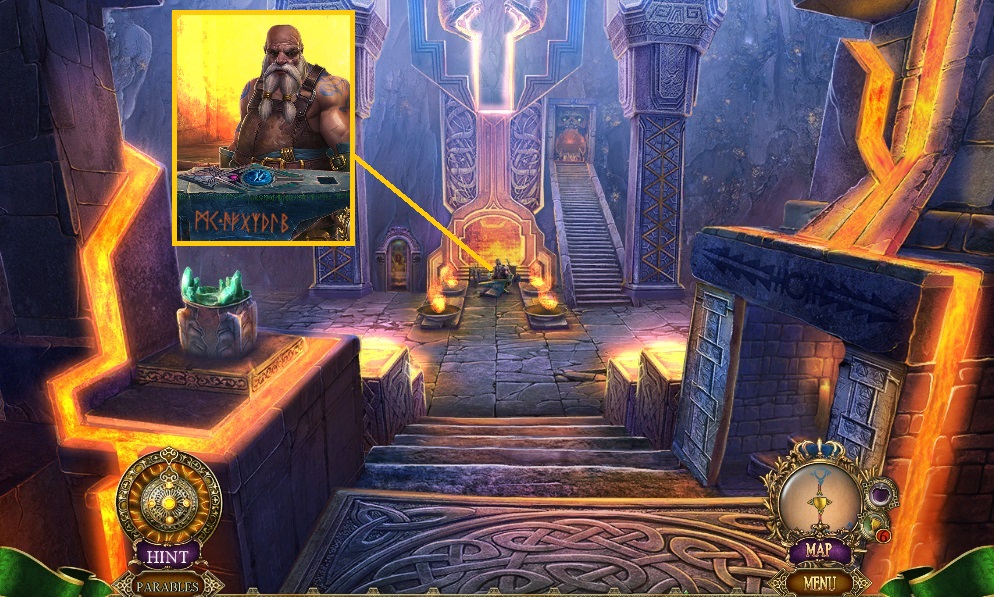
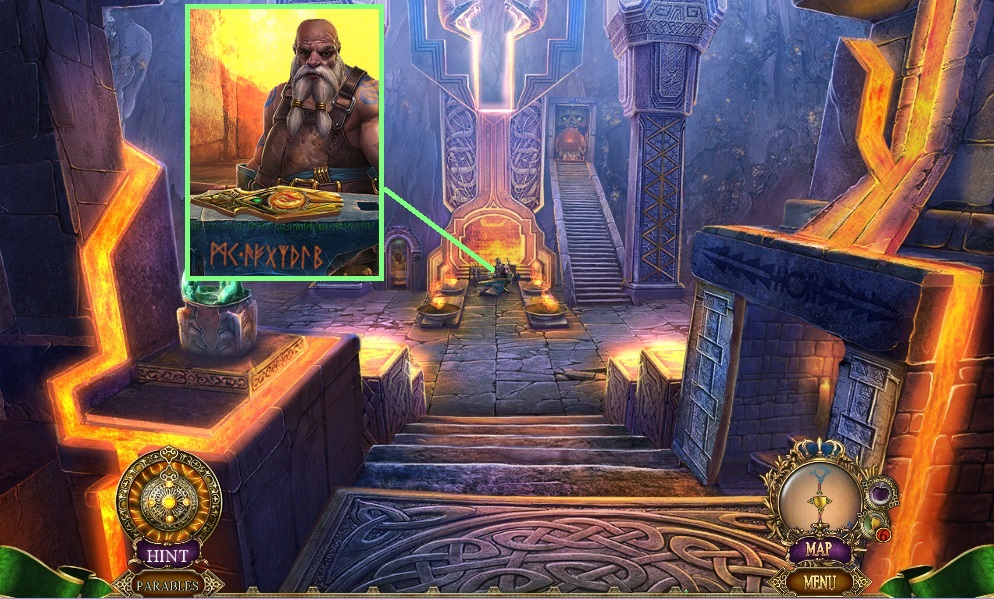
- Examine the note.
- Click the crevice 2x’s; collect the mold.
- Place the blank amulet down and use the color to collect the colored amulet.
- Move to the Artifact Room & click the hidden objects area.
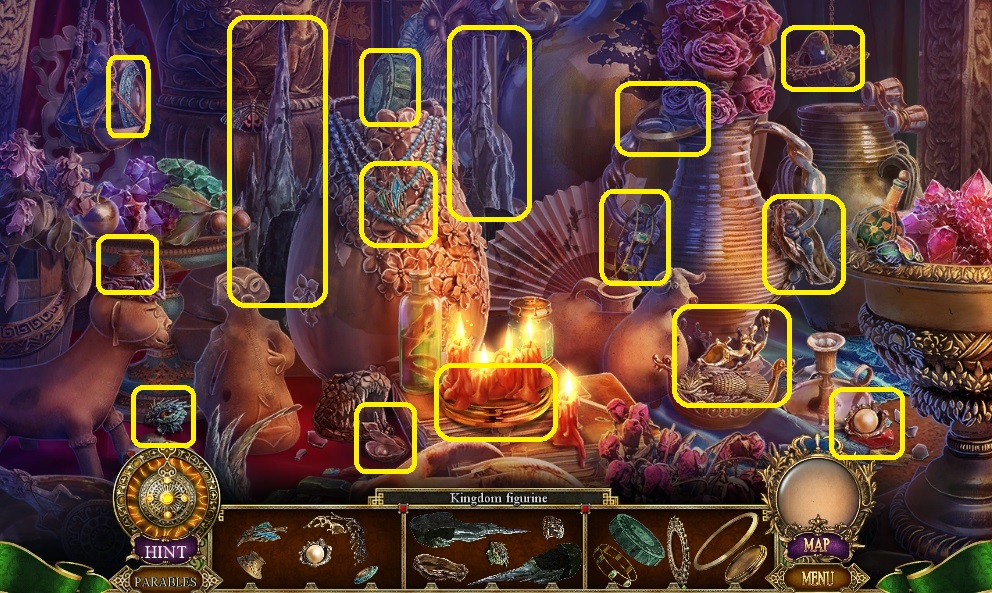
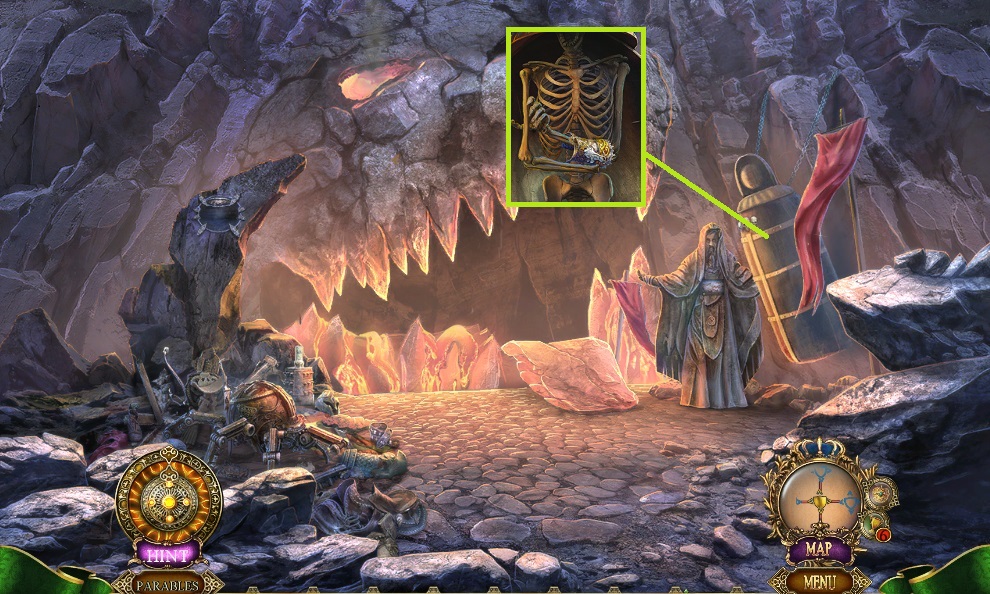
- Find the items.
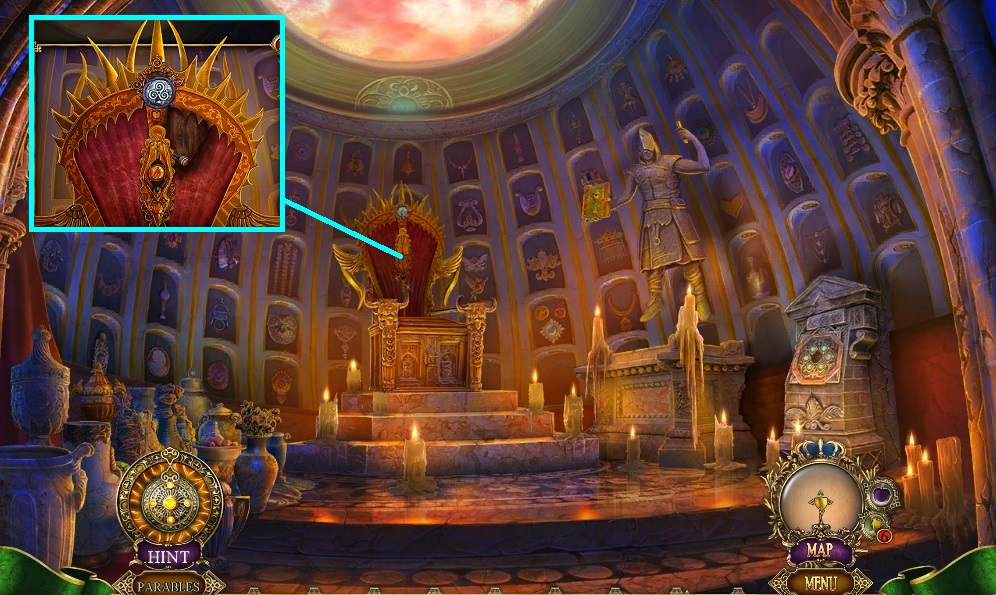
- Collect the kingdom figurine.

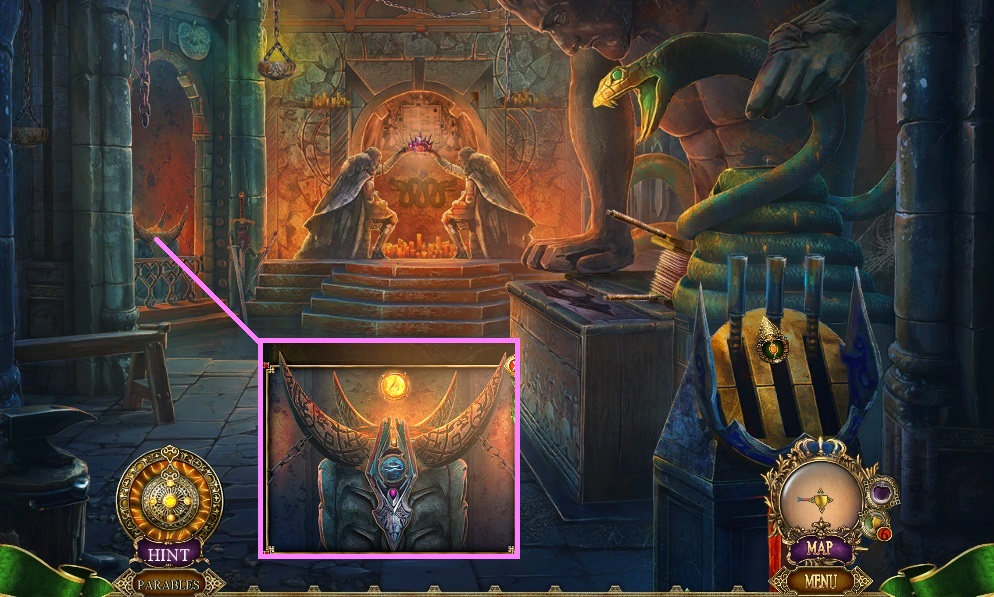
- Collect the sealed offering.
- Click the wax 2x’s & the book 2x’s.
- Move to the Alchemy Lab.
- Place the kingdom figurine; collect the alchemy tile & copper plate.
- Move to the Artifact Room.
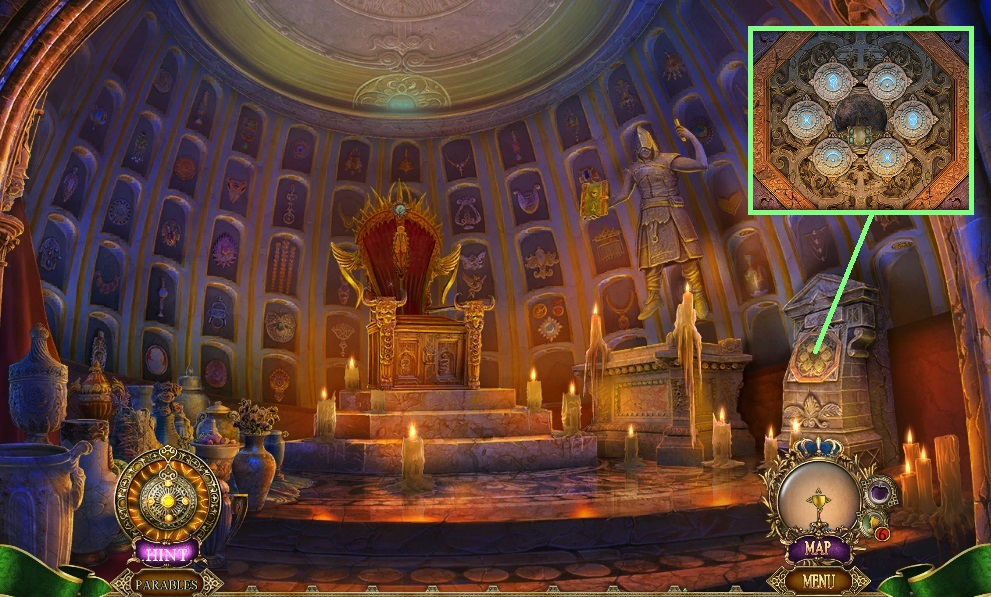
- Insert the alchemy tile.
- Click the pairs; click the center tile & collect the double skull key.
- Move to the Lava Portal.
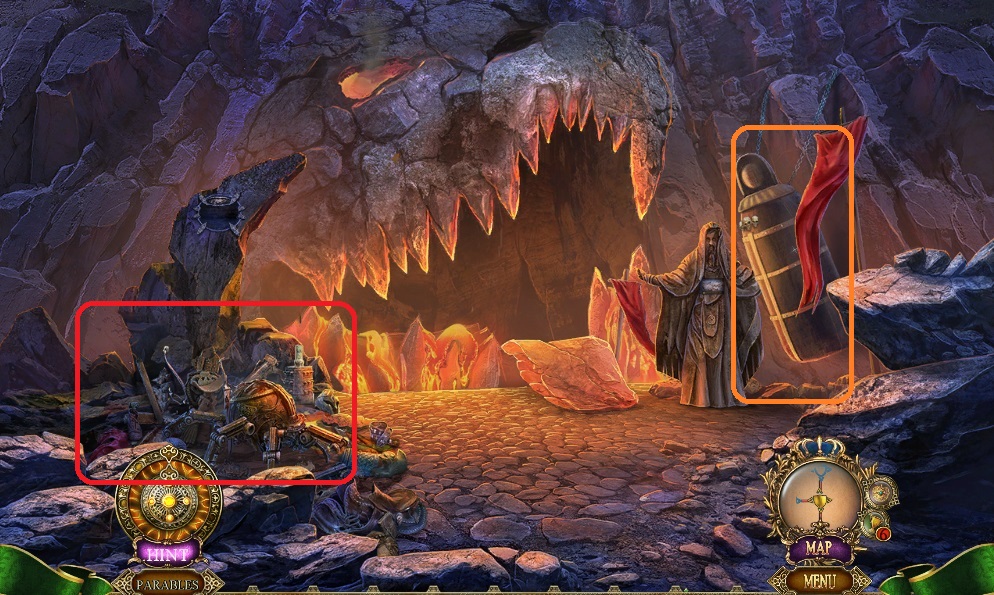
- Insert the double key.
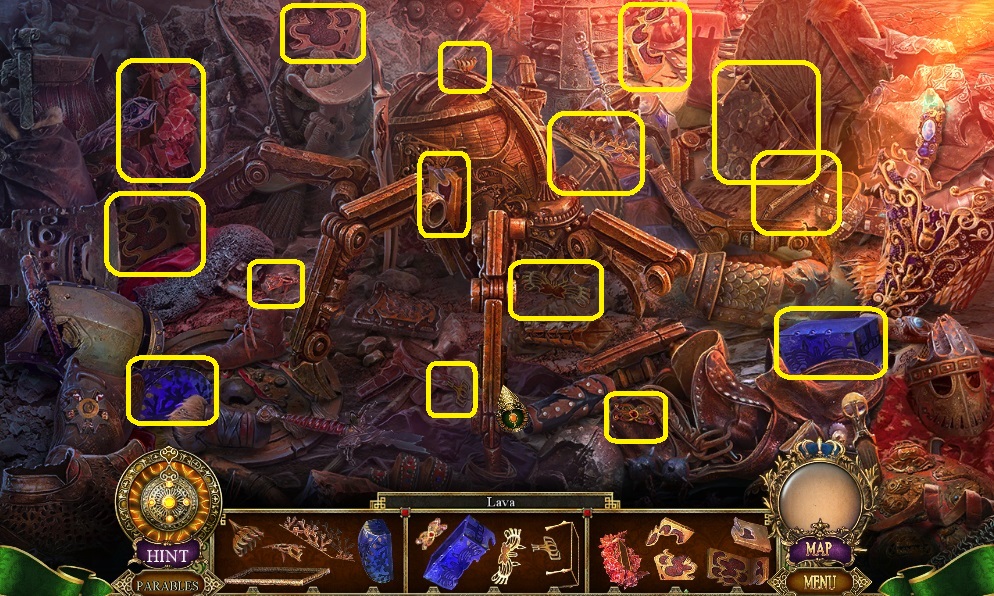
- Click the hidden objects area.
- Find the items.
- Collect the demonic eye.
- Move down once.
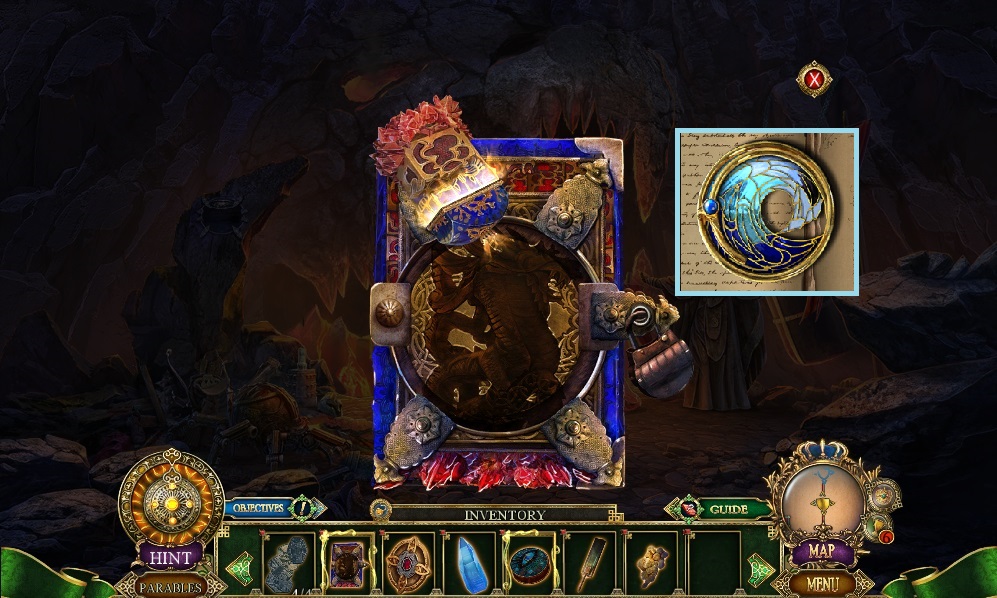
- Insert & click the sealed offering; collect the reflective square.
- Move to the Forge.
- Insert the demonic eye.
- Move to the Smeltery.
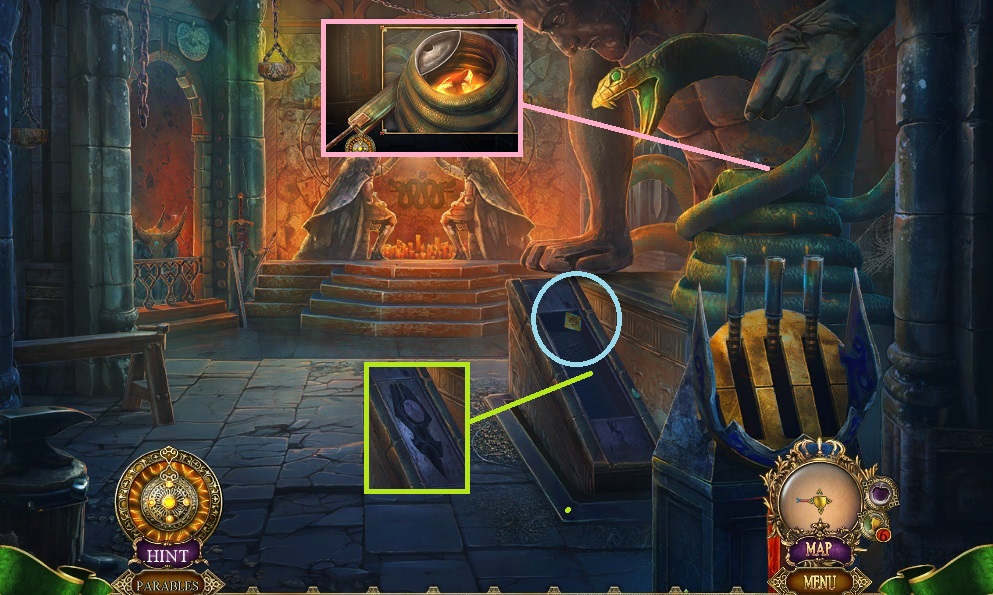
- Collect the reflective square.
- Place the mold and use the bellows to stoke the fire – insert the coins & click the levers.
- Collect the gold seal.
- Insert the silver bar & click the levers; collect the silver seal.
- Place the copper plate & click the levers; collect the copper seal.
- Move to the Alchemy Lab.
- Insert the reflective squares to trigger a mini game.
- Solve the game by arranging the crystals correctly.
- Collect the malachite.
- Insert the crystal; click the pestle then place the malachite & repeat.
- Click the crystal powder, the bottle & the bowl; collect the corrosive liquid & use it to remove the rust.
- Click the stone; collect the water stone.
- Move down once.
- Place the water stone & silver seal; collect the water seal.
- Move to the Smeltery.
- Insert the water seal; collect the fire stone; collect the water seal.
- Move down once.
- Insert the fire stone & gold seal; collect the fire seal.
- Move to the Artifact Room & click the hidden objects area.
- Find the items.
- Collect the shackle.
- Insert the fire seal; collect the knob & air stone.
- Collect the fire seal.
- Move to the Smeltery.
- Attach the knob to trigger a mini game.
- Solve the game by guiding the ball correctly.
- Collect the skull key.
- Move to the Lava Portal.
- Insert the skull key; collect the shackle.
- Move to the Smeltery.
- Attach the shackles; collect the azurite crown & place it into the tray.
- Click the levers to collect the azurite seal.
- Move down once.
- Place down the air stone & azurite seal; collect the air seal & place it into the groove.
- Collect the earth stone & air seal.
- Place down the earth stone & copper seal; collect the earth seal.
- Speak to Hansel.
Comments will load when you reach this part of the walkthrough.