

Chapter 6 The Labyrinth
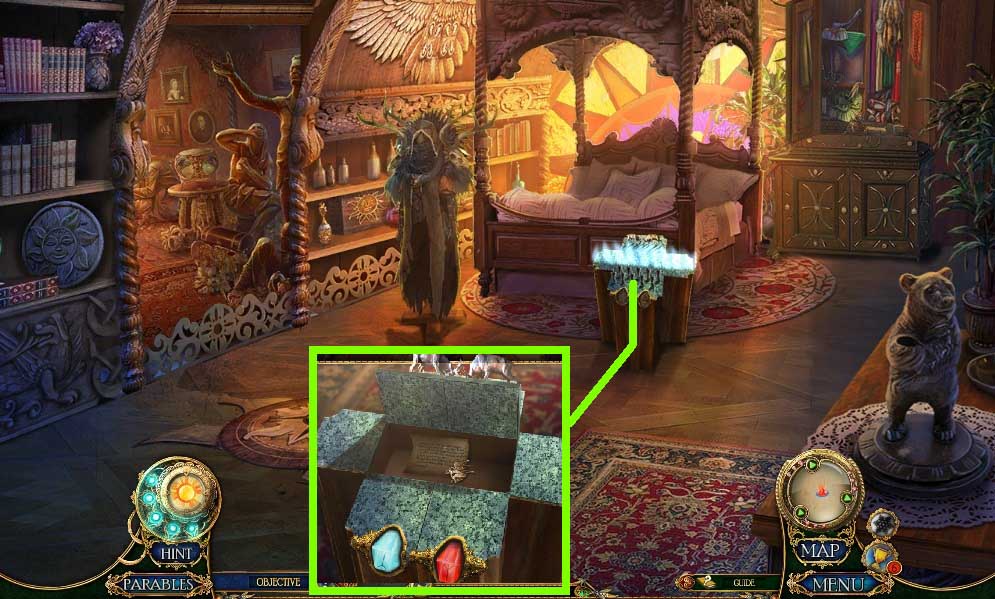
- Insert the blessed and cursed stones; click the figurines.
- Read the note; collect the knight.
- Move to the left.
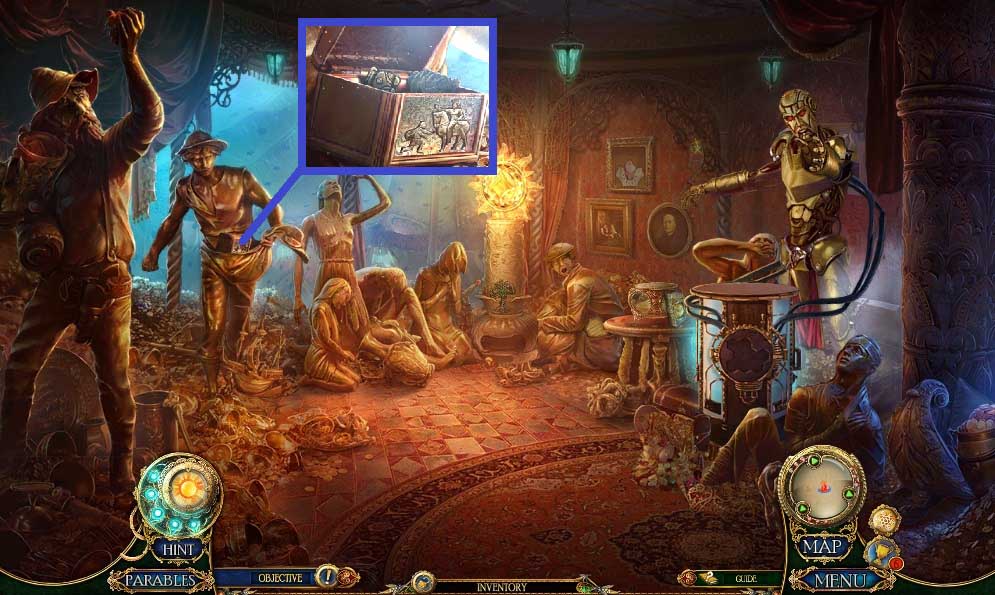
- Insert the peasant relief and the knight.
- Collect the bear totem part and the rooster carving.
- Move down 2x’s.
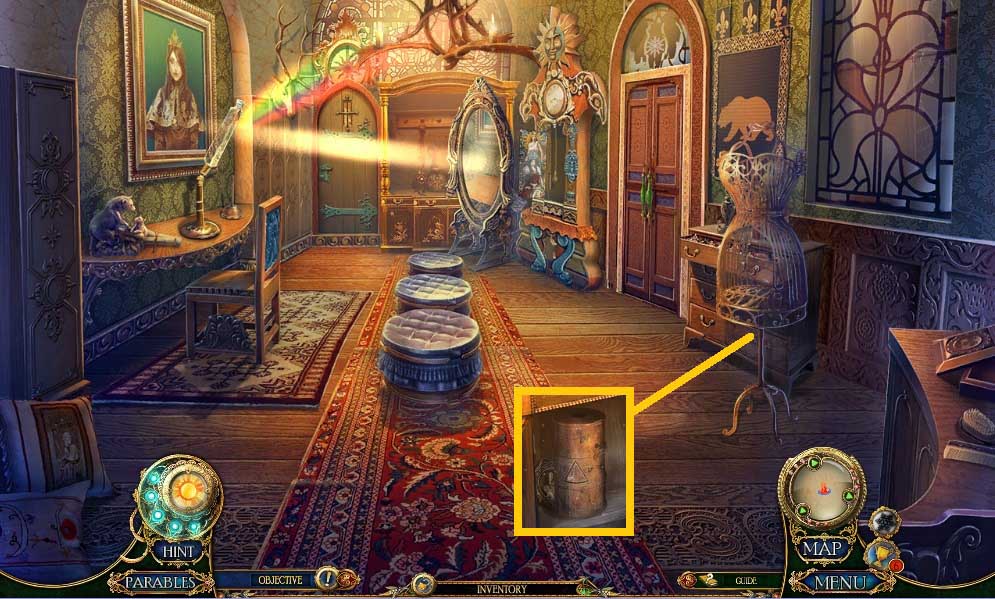
- Insert the rooster carving.
- Collect the brass cylinder and the fortress relief.
- Move down once.
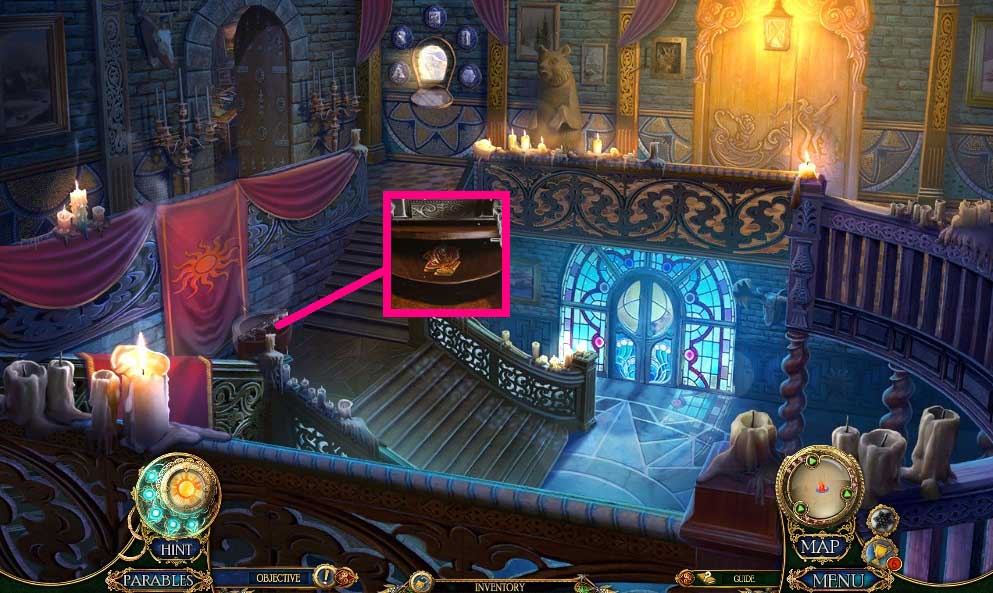
- Insert the fortress relief; collect the rosebud.
- Move down once.
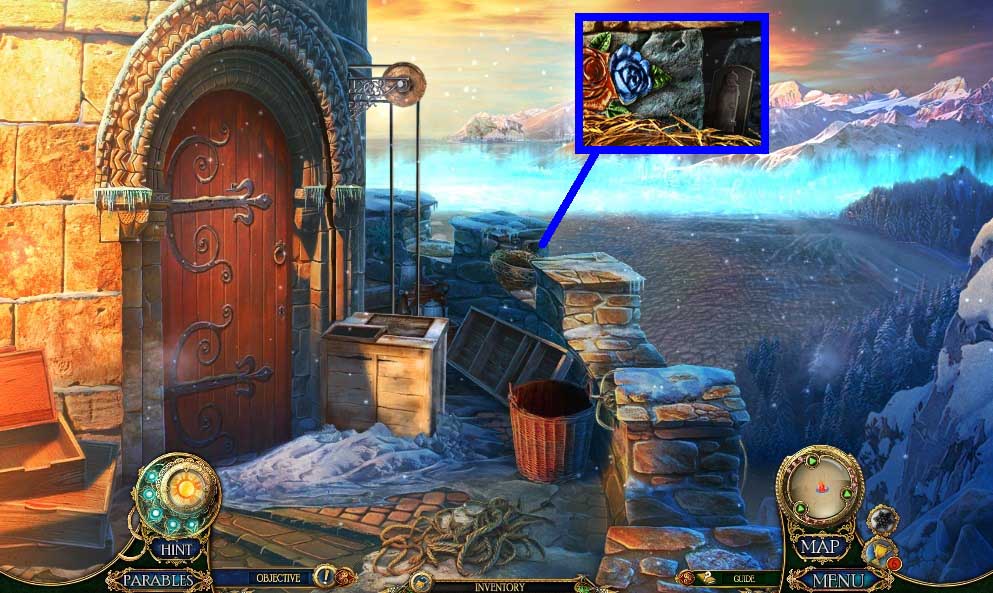
- Insert the rosebud.
- Collect the torture chamber insignia.
- Move down 2x’s.
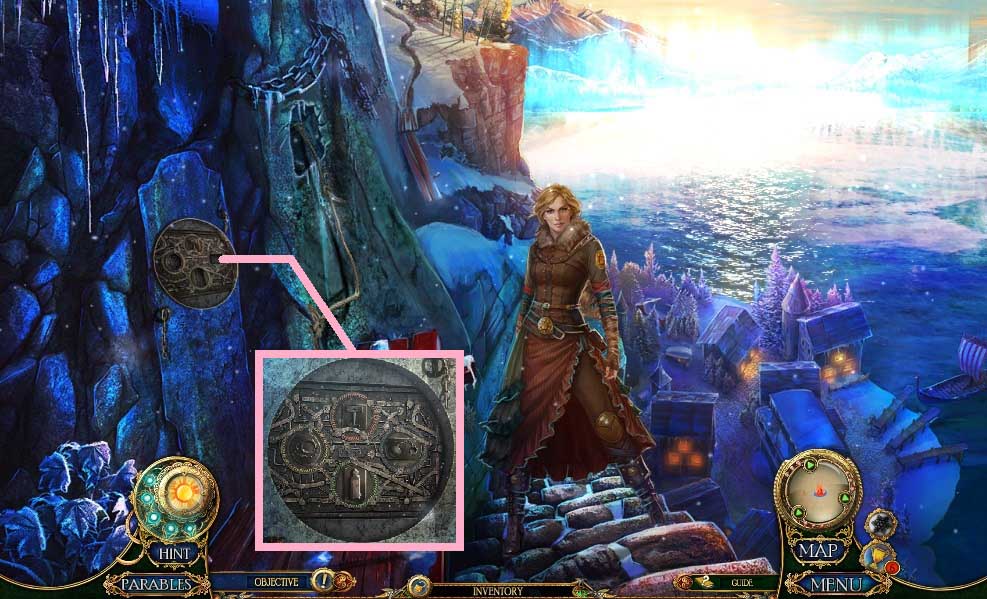
- Insert the shackles, torture chamber and prison insignias.
- Move into the Ancient Dungeon.
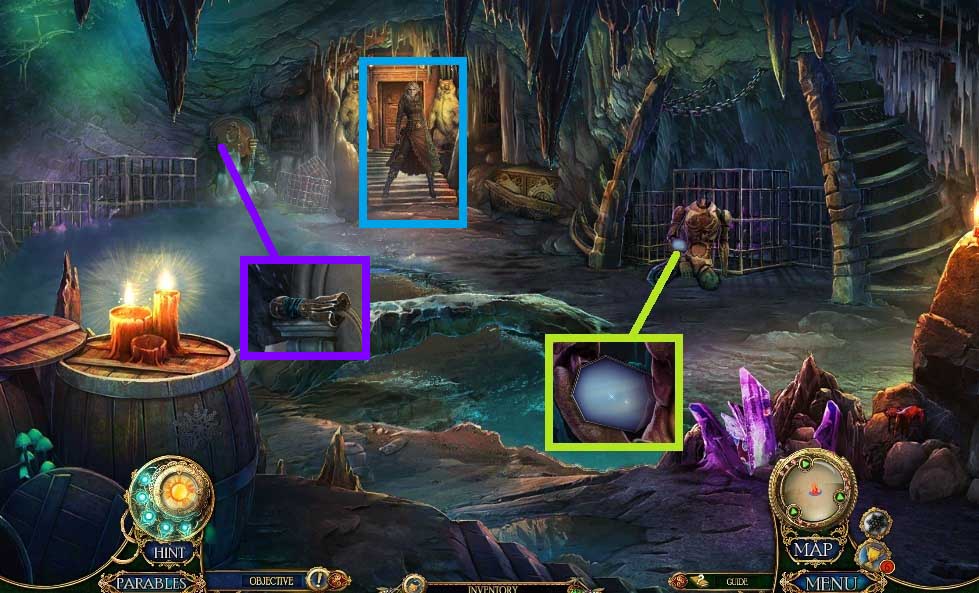
- Collect the chisel handle.
- Click the headless body 2x’s; collect the mirror.
- Speak to Princess Leda.
- Move to the Cave Hall.
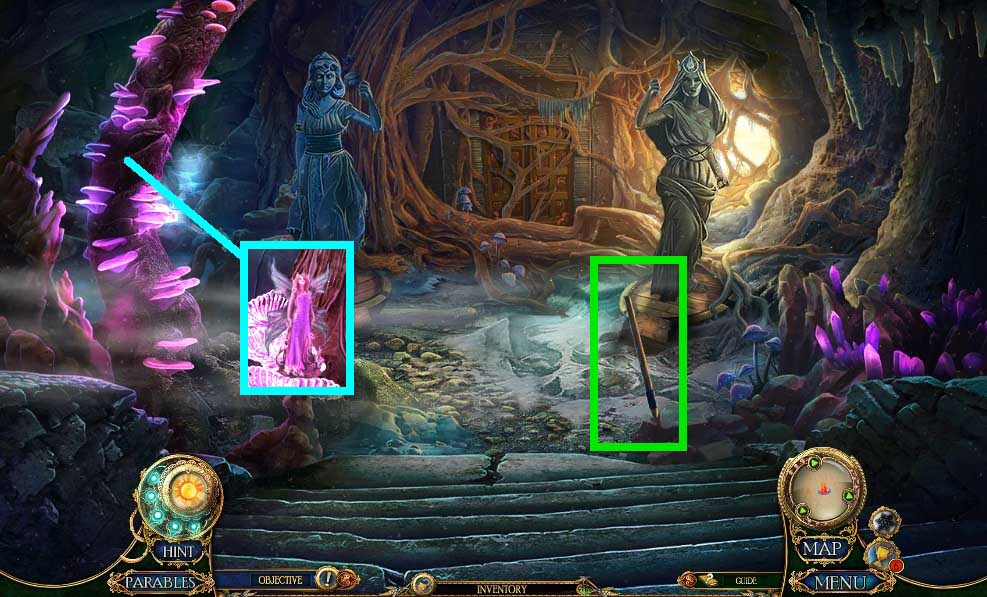
- Collect the fairy figurine.
- Collect the improvised crowbar.
- Move down once.
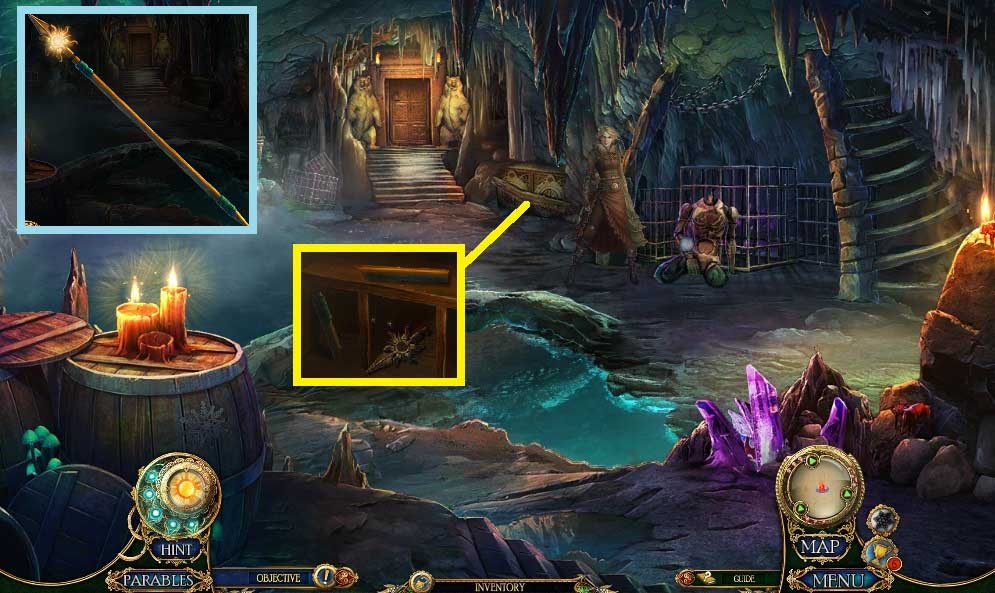
- Use the improvised crowbar 2x’s on the barrier.
- Click the cabinet; collect the sun spear head and attach it onto the improvised crowbar.
- Move ahead into the Cave Hall.
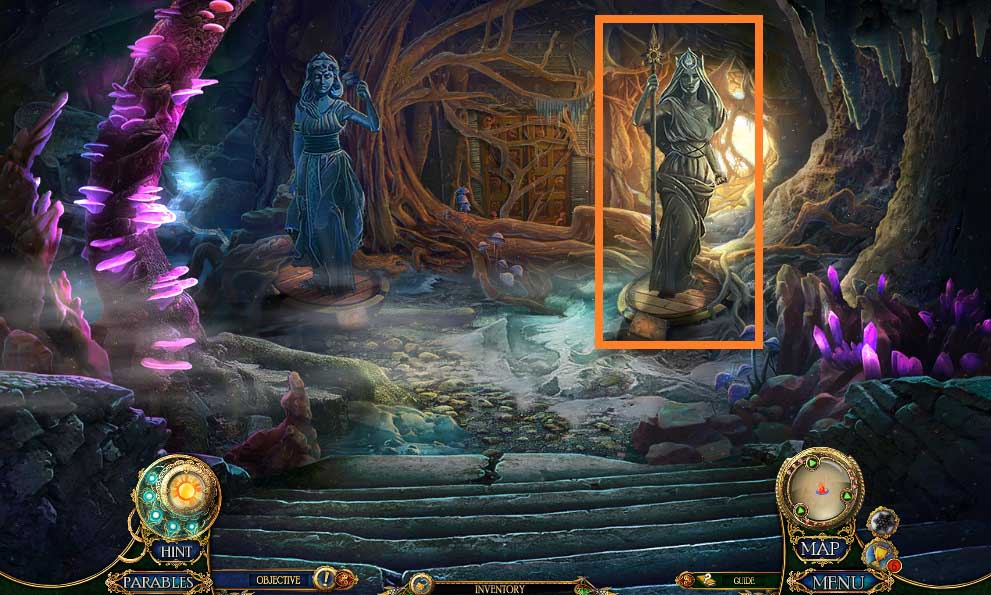
- Place the sun spear into the statue’s hand.
- Move to the right to the Lakeside Cliff.
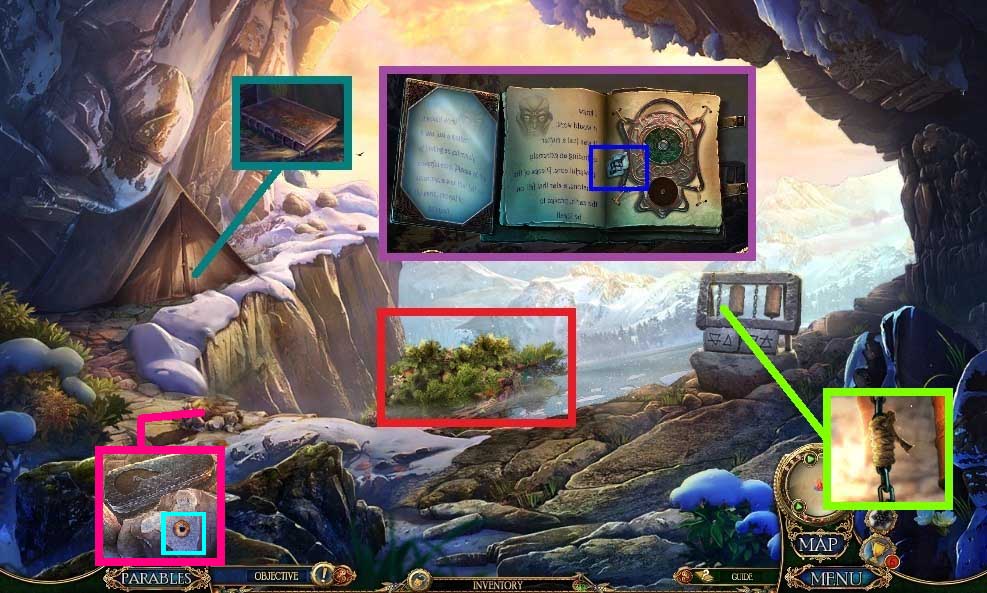
- Click the tent; collect the craftsman diary and place it with the mirror.
- Collect the blue core.
- Collect the twine.
- Collect the owl’s eye.
- Click the ashes 3x’s.
- Click the branches to trigger a hidden objects area.
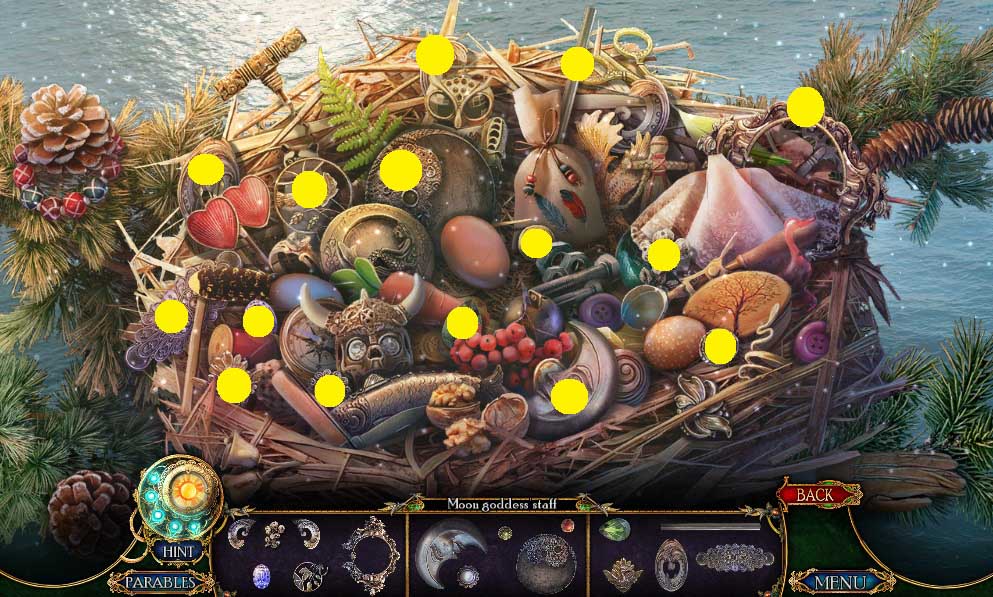
- Find the items.
- Collect the moon goddess staff.
- Move down once.
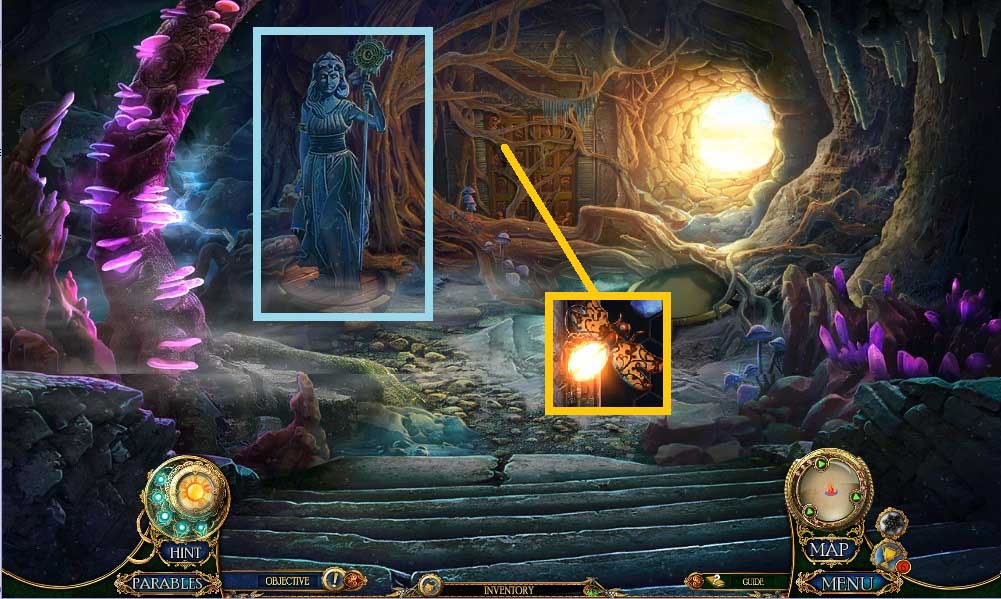
- Place the moon goddess staff into the statue’s hand.
- Collect the firefly.
- Move to the right.
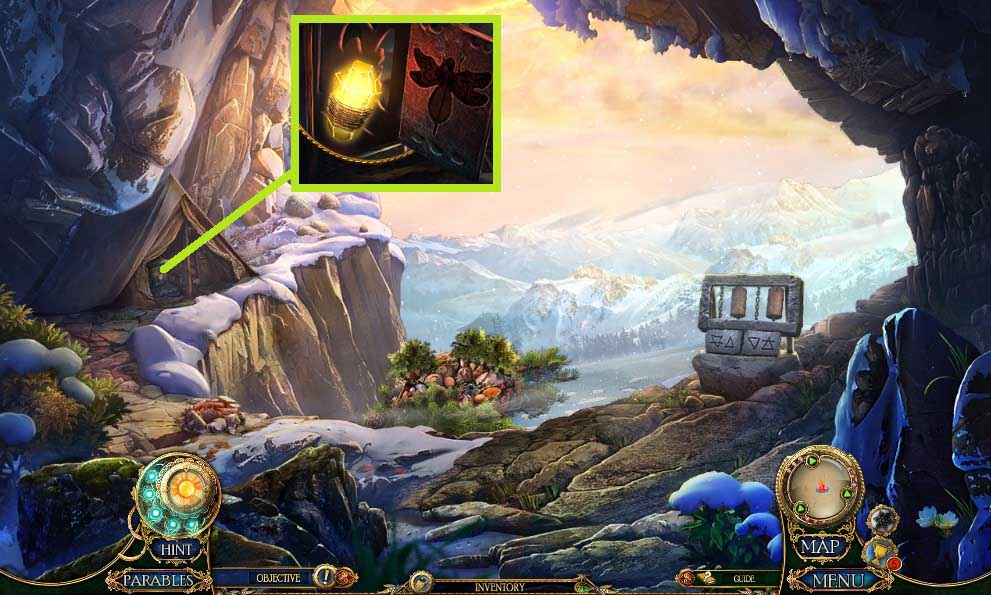
- Insert the firefly.
- Collect the illuminating stone.
- Move down once.
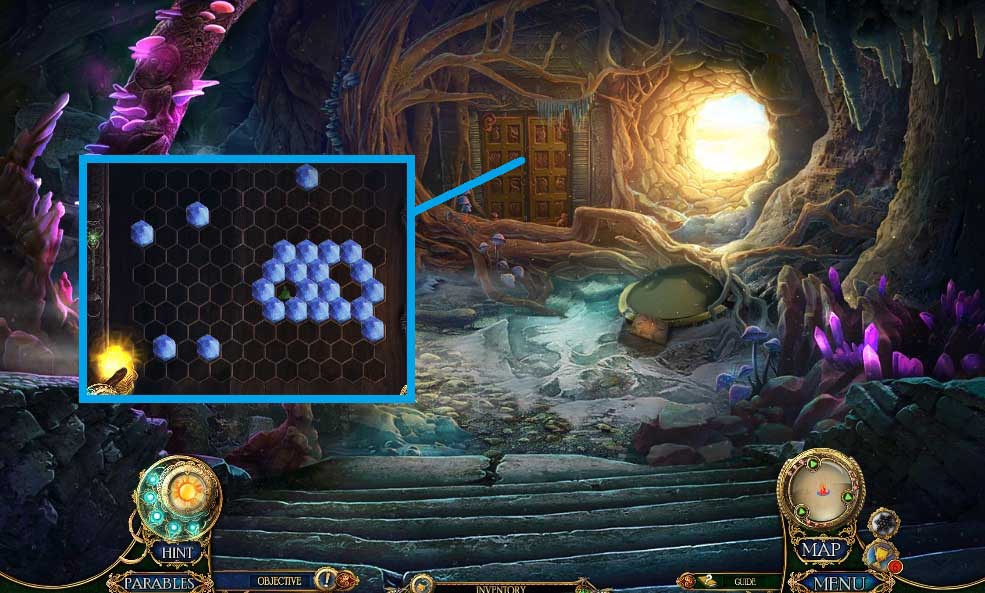
- Click the door.
- Select the illuminating stone to trigger a mini game.
- Solve the game by surrounding the keyhole in the correct sequence.
- Move ahead to the Cave Waterfall.
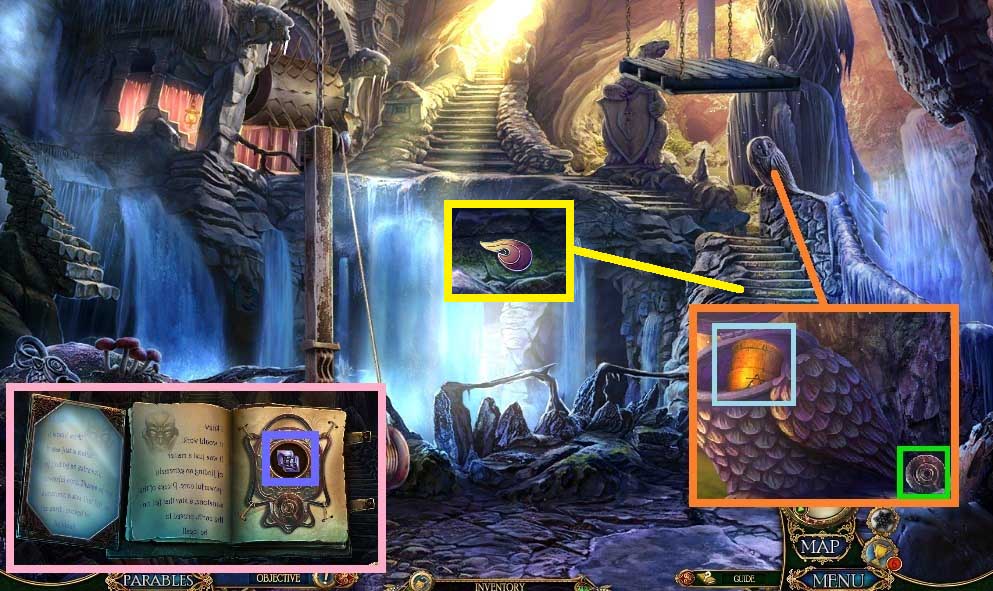
- Insert the owl’s eye.
- Collect the 2nd brass cylinder and the craftsman diary component; place the component onto the diary.
- Collect the purple core.
- Collect the fire ornament.
- Move down once and to the right.
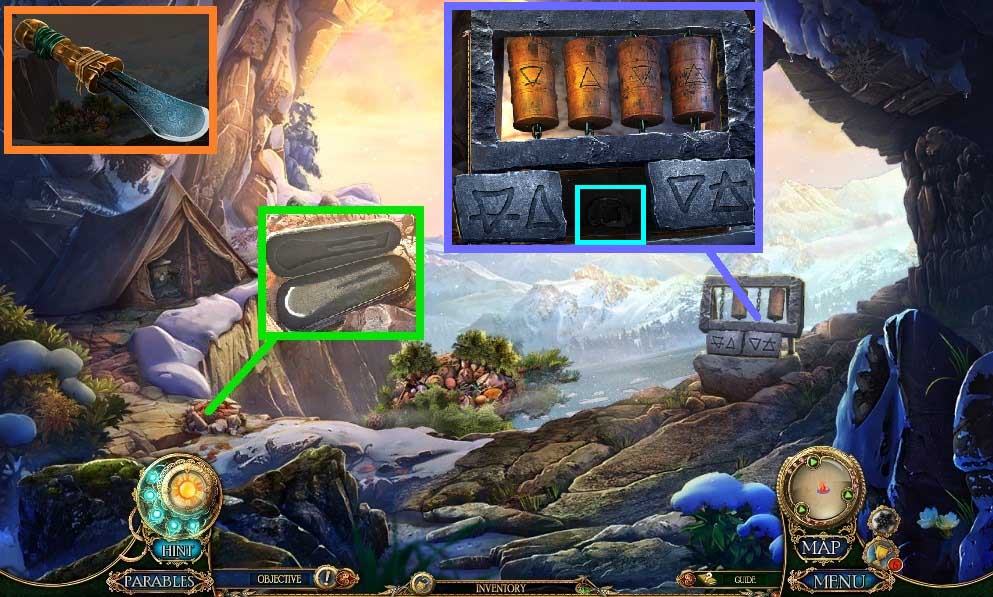
- Insert the fire ornament; collect the chisel blade and connect it to the chisel handle using the twine.
- Insert the brass cylinders; arrange the barrels correctly.
- Collect the Aquarius ornament.
- Move down once.
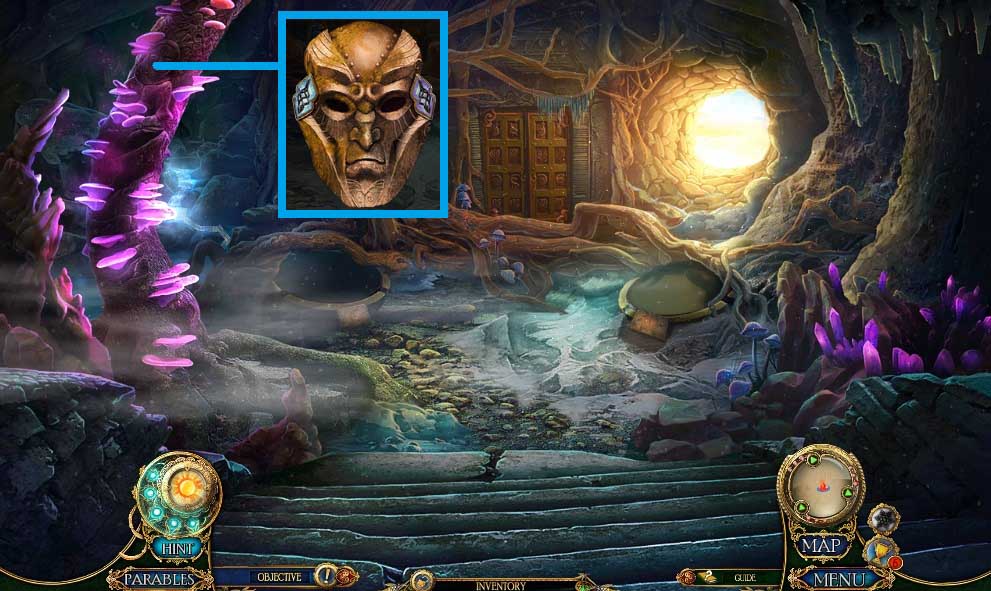
- Collect the automation head using the chisel.
- Place the blue and purple cores into the automation head.
- Move down once.
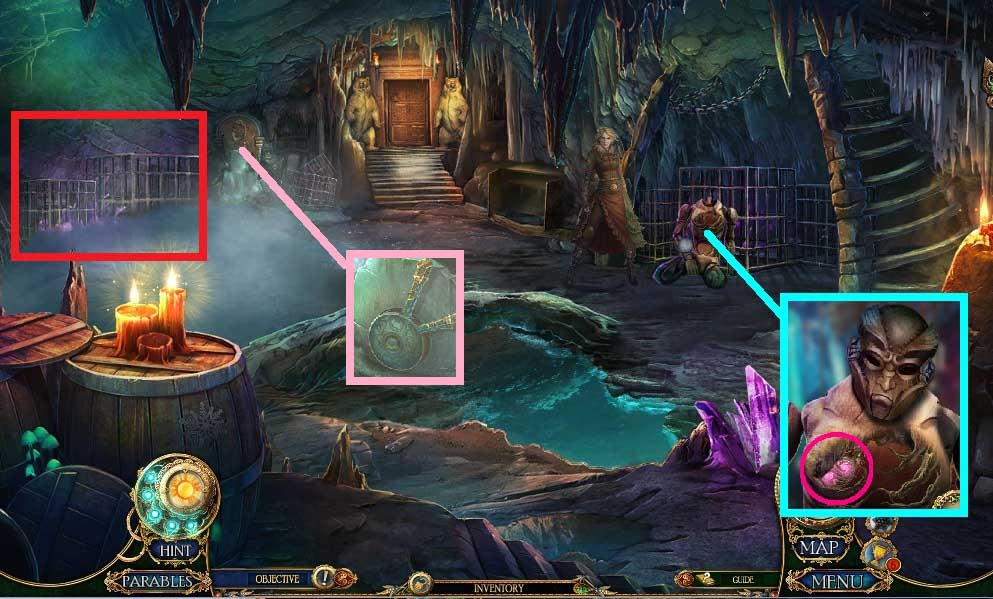
- Attach the automation head and speak to the automation.
- Collect the wave ornament and insert it along with the Aquarius ornament.
- Click the lever to trigger a hidden objects area.
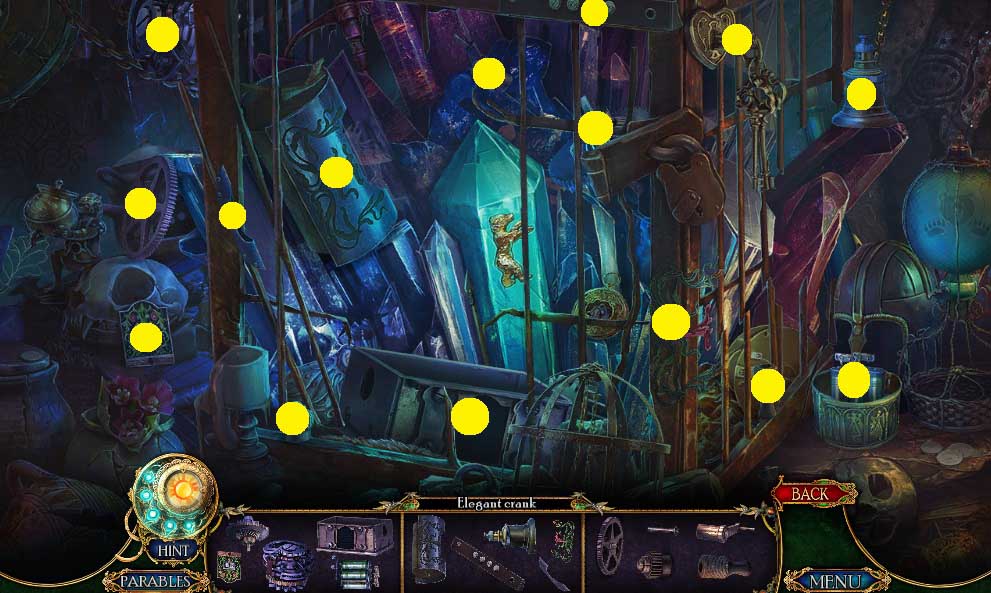
- Find the items.
- Collect the elegant crank.
- Move ahead 2x’s.
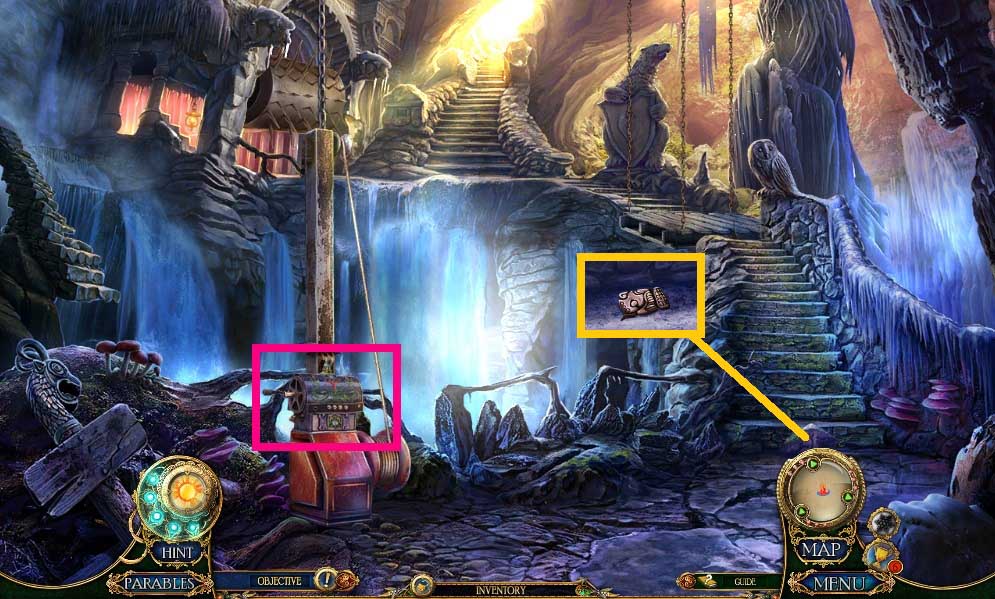
- Place the elegant crank.
- Select the chisel to collect the bird totem part.
- Move ahead once.
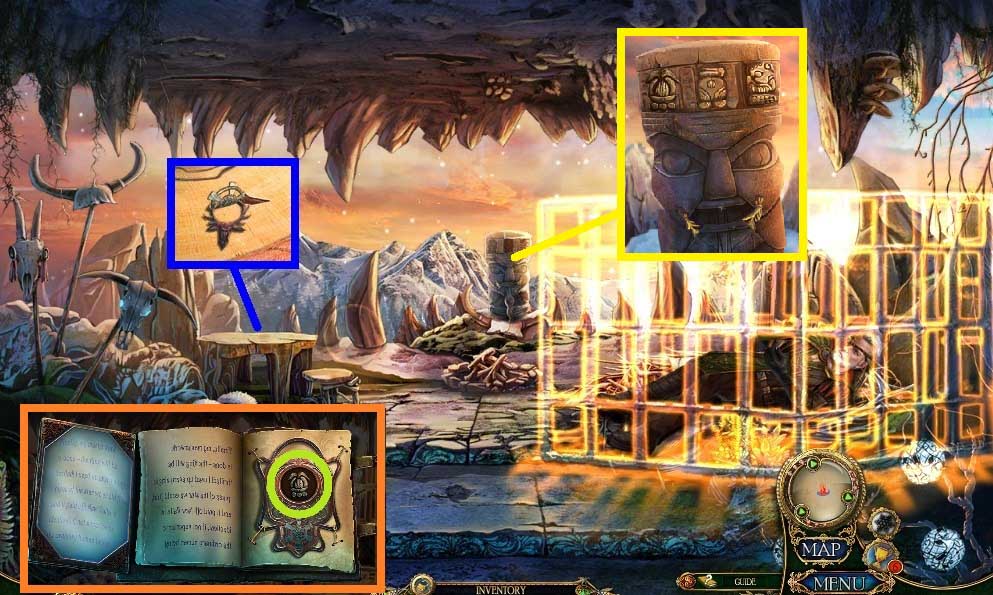
- Click the bucket; collect the stag.
- Select the chisel to collect the craftsman diary component and place it onto the diary.
- Collect the plant totem part and insert it along with the bear and bird totem parts into the grooves; collect the laurel wreath.
- Move down once.
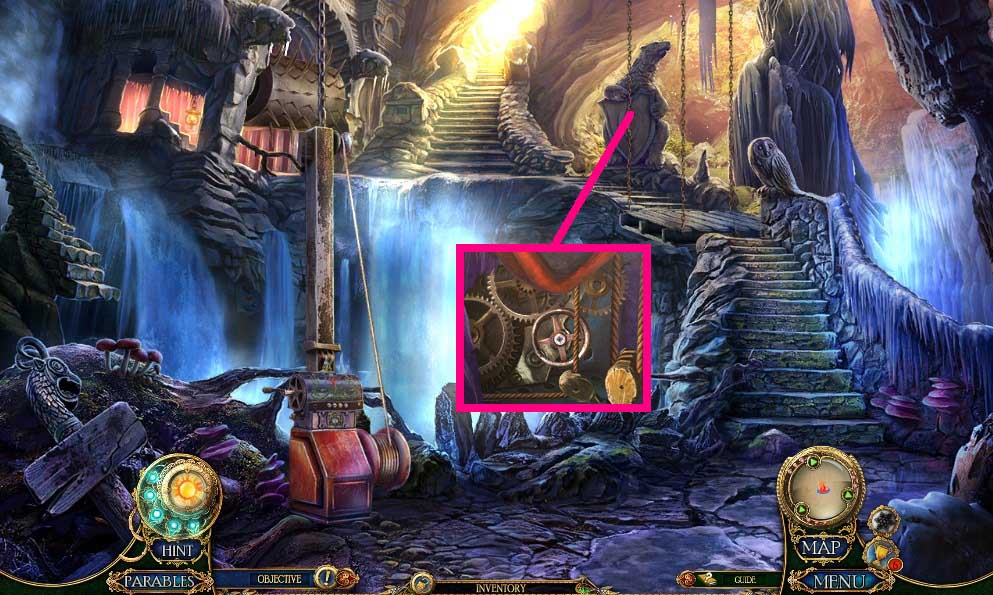
- Insert the laurel wreath and click the valve.
- Move to the Labyrinth Entry.
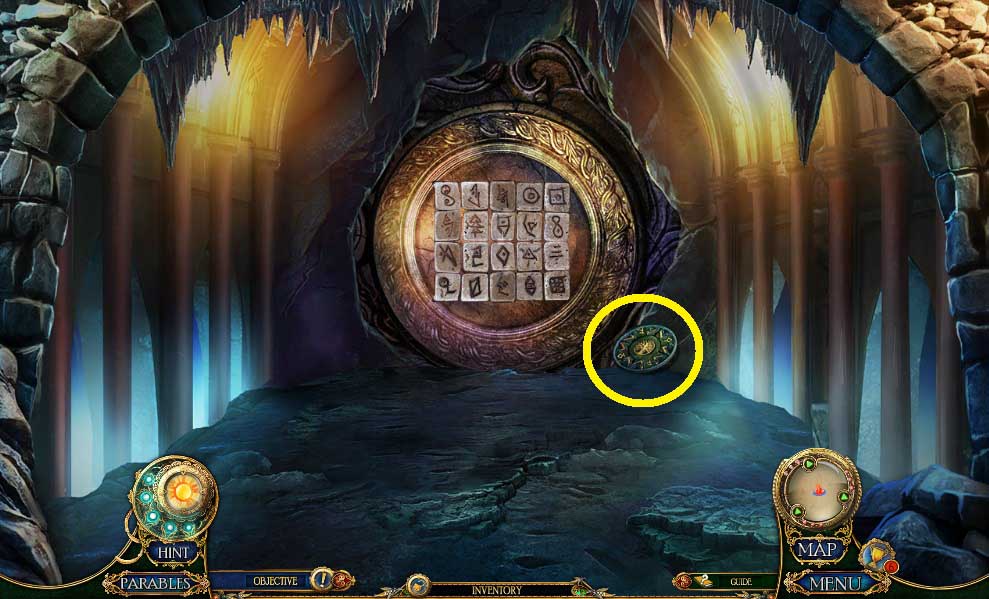
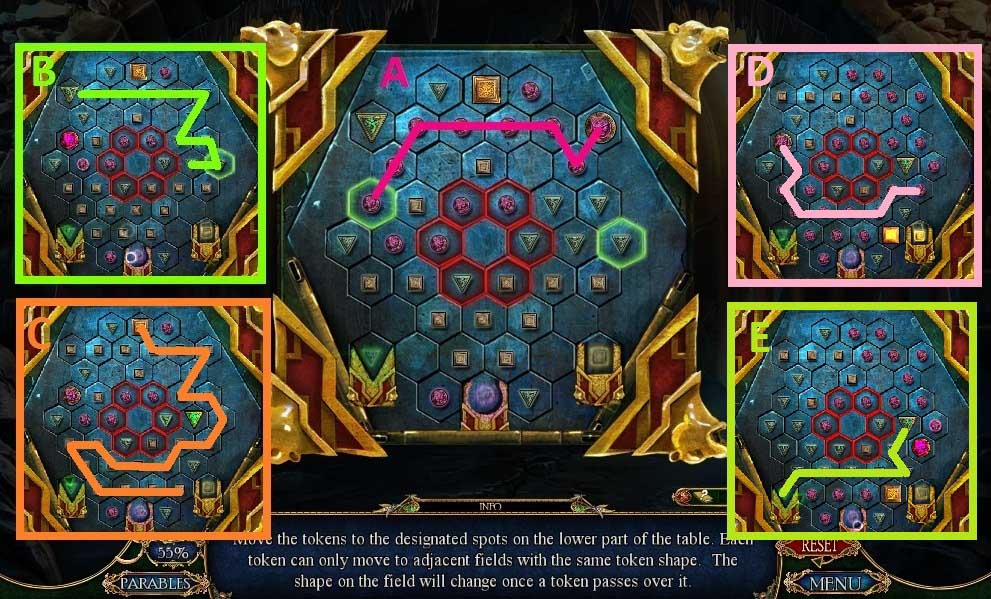
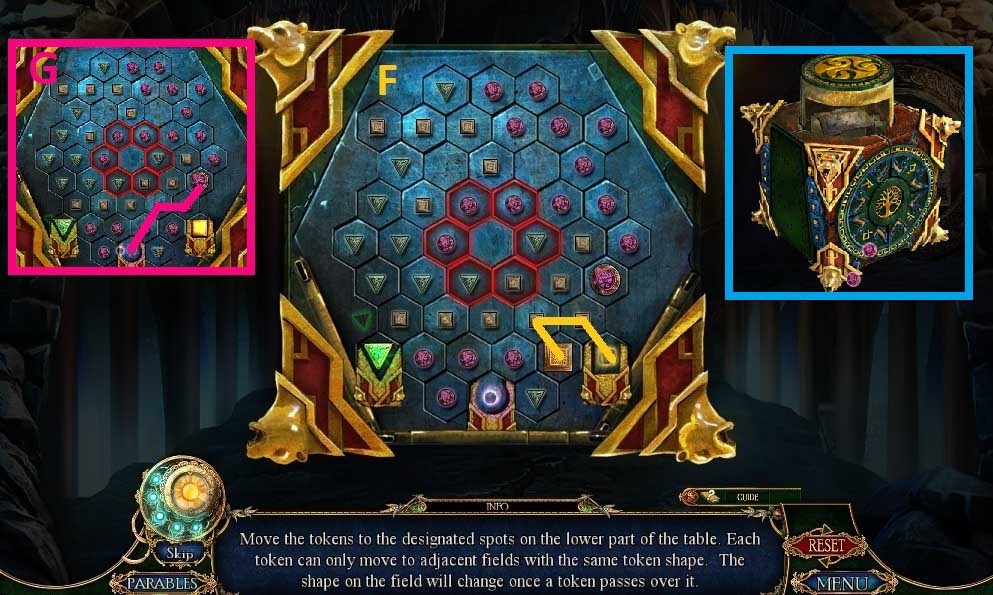
- Collect the artifact part and insert it into the artifact to trigger a mini game.
- Solve the game by guiding the tokens correctly.
- Collect the labyrinth key and use to move into the Labyrinth.
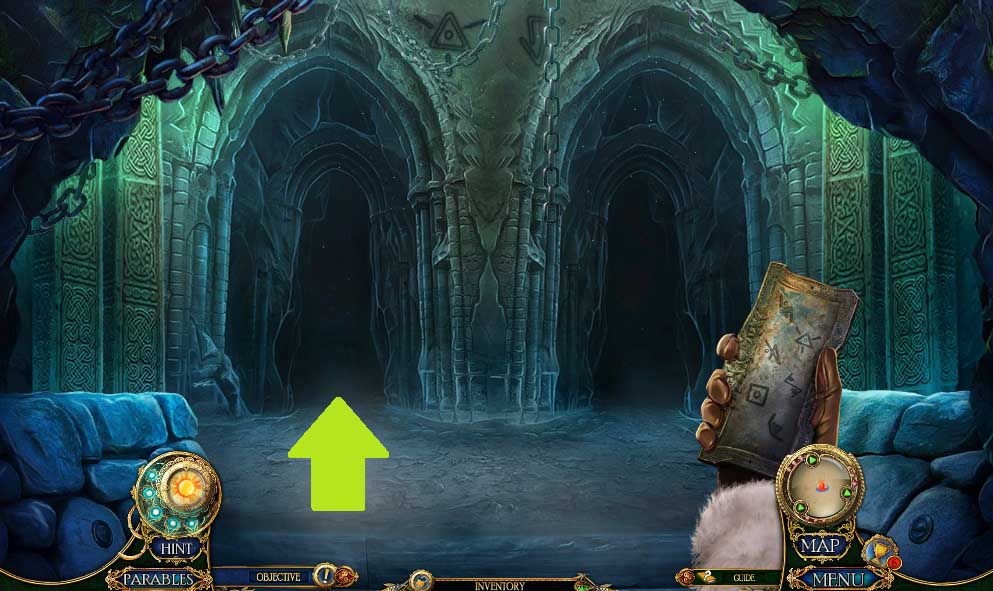
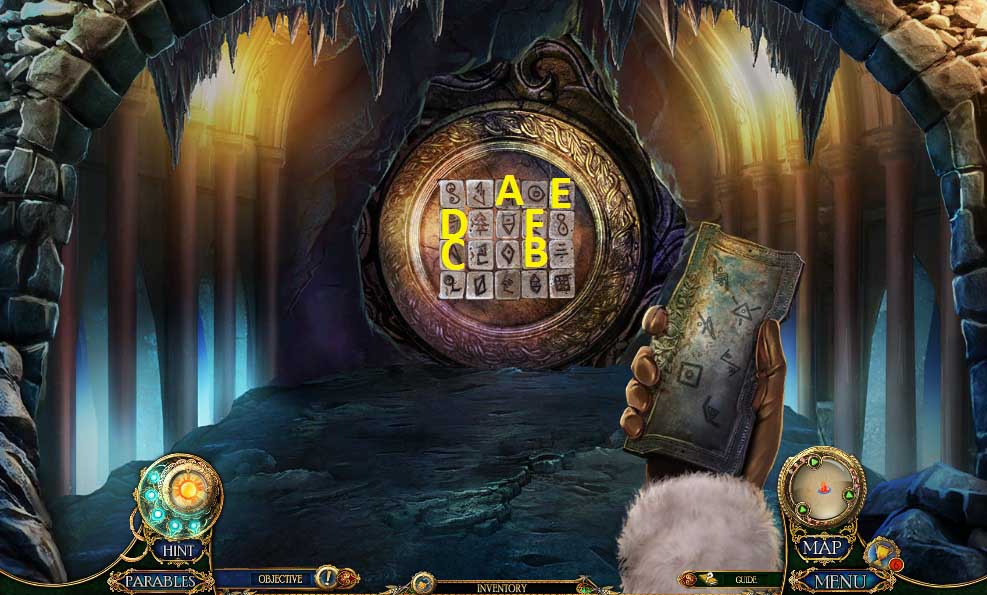
- Move through the labyrinth.
- Move to the left, then to the right and click the left lever to move left.
- Move to the right and left once more.
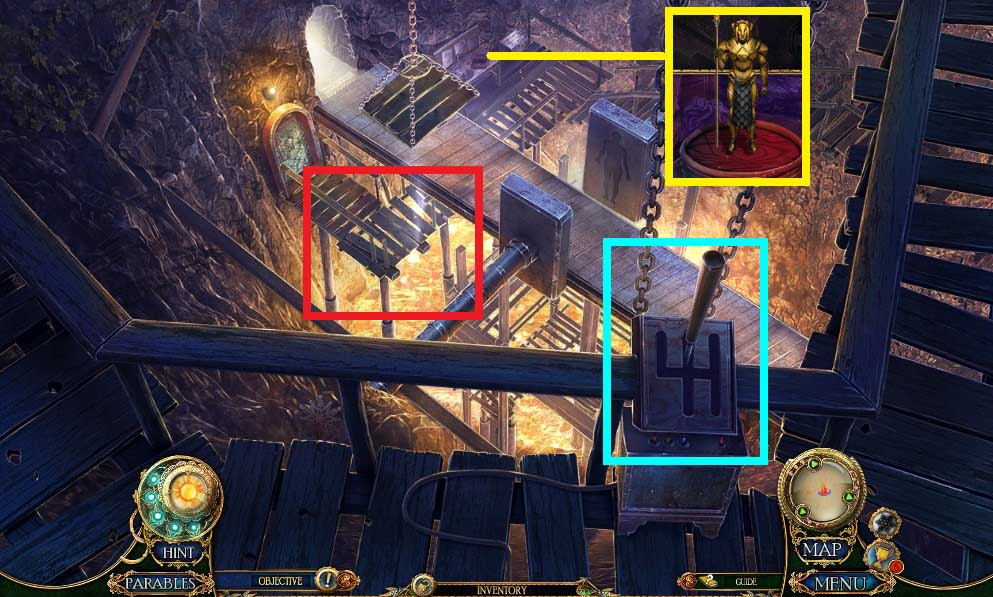
- Click the glass; collect the automation figurine.
- Click the lever to trigger a hidden objects area.
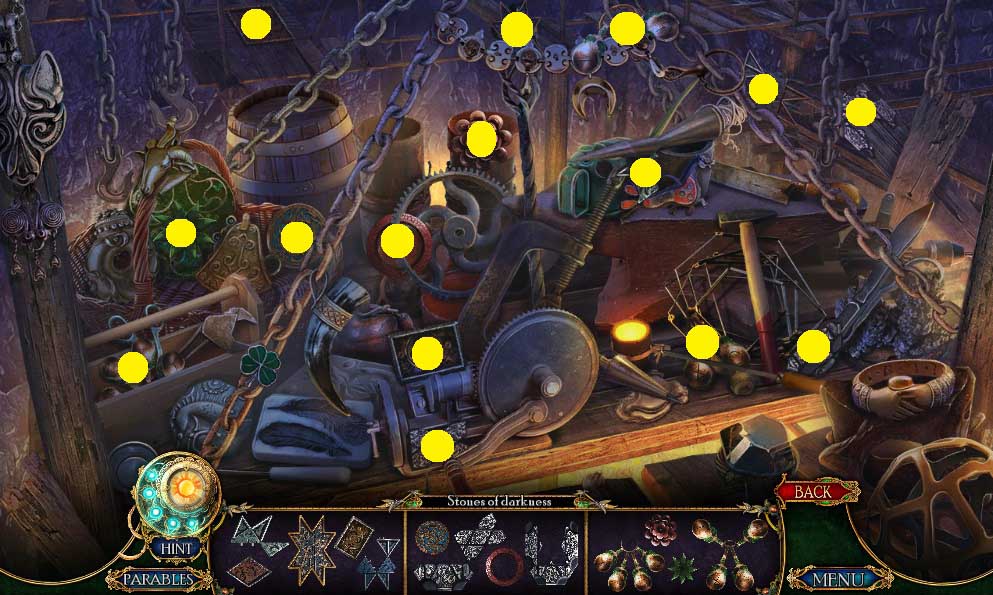
- Find the items.
- Collect the stone of darkness.
- Move down 2x’s and ahead once.
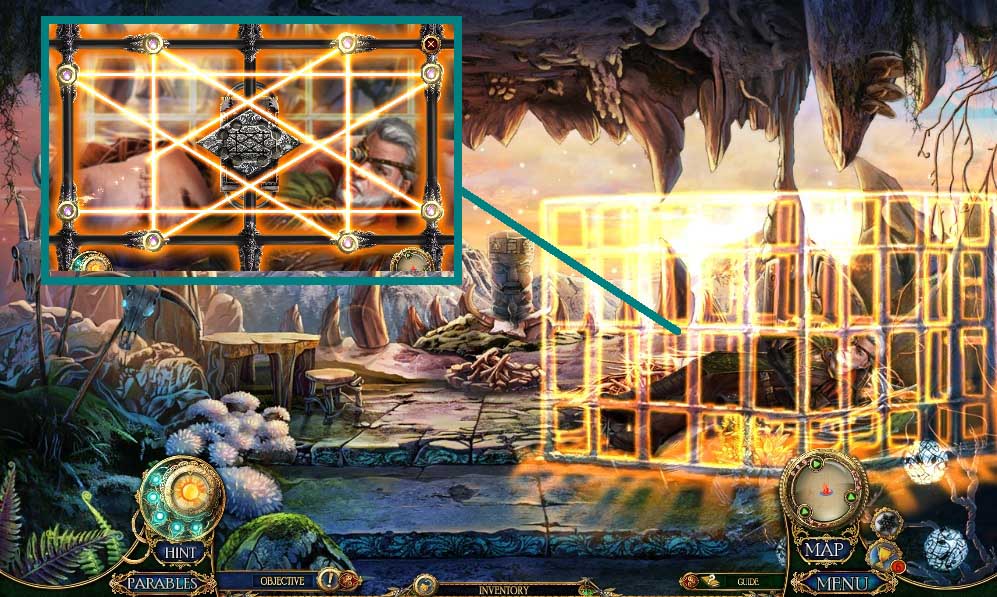
- Insert the stones of darkness.
- Insert the center stone into the node to trigger a mini game.
- Solve the game by placing the spheres correctly.
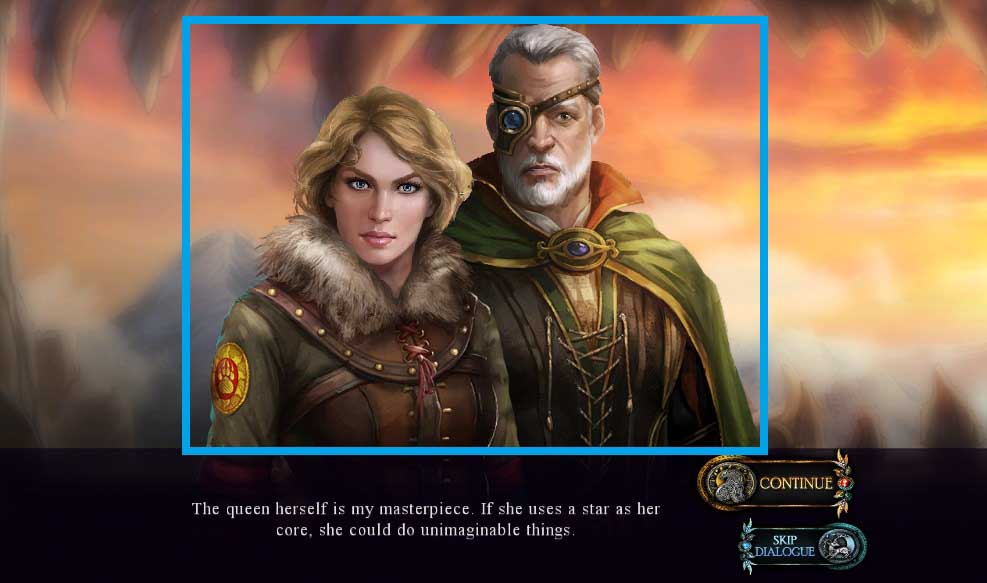
- Speak to the craftsman and Princess Leda.
Comments will load when you reach this part of the walkthrough.