
Chapter Four: Sins
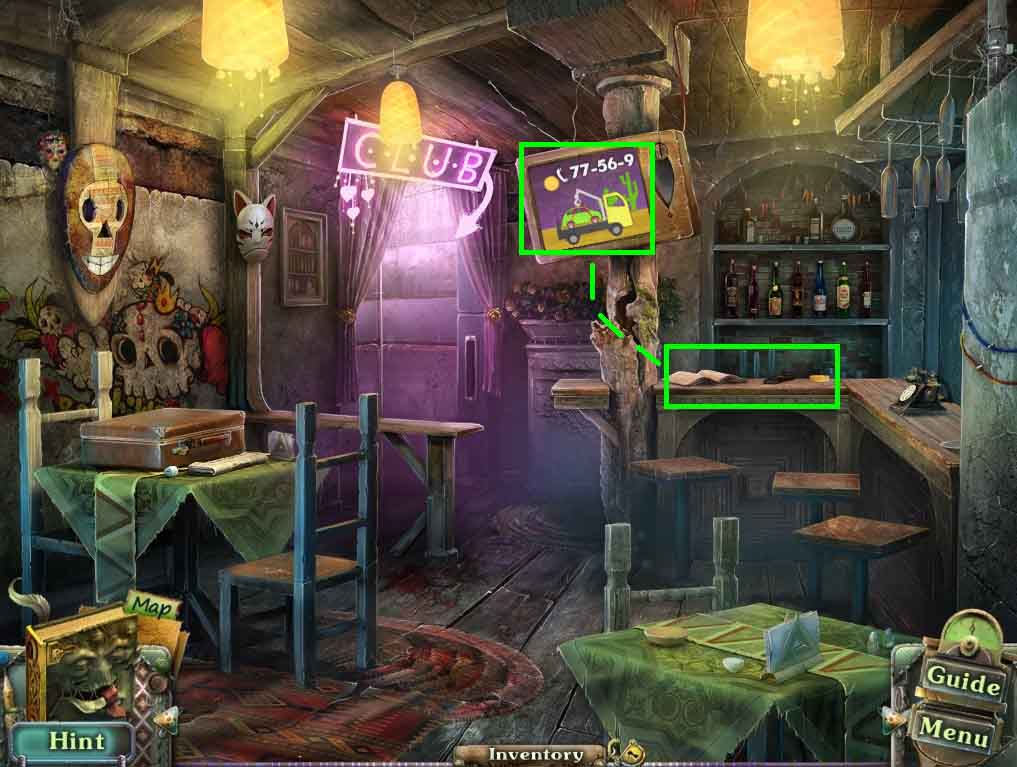
- Click the bar; collect the matches.
- Click the remote and insert the batteries; collect the remote control.
- Use the remote on the TV until you get a phone number.
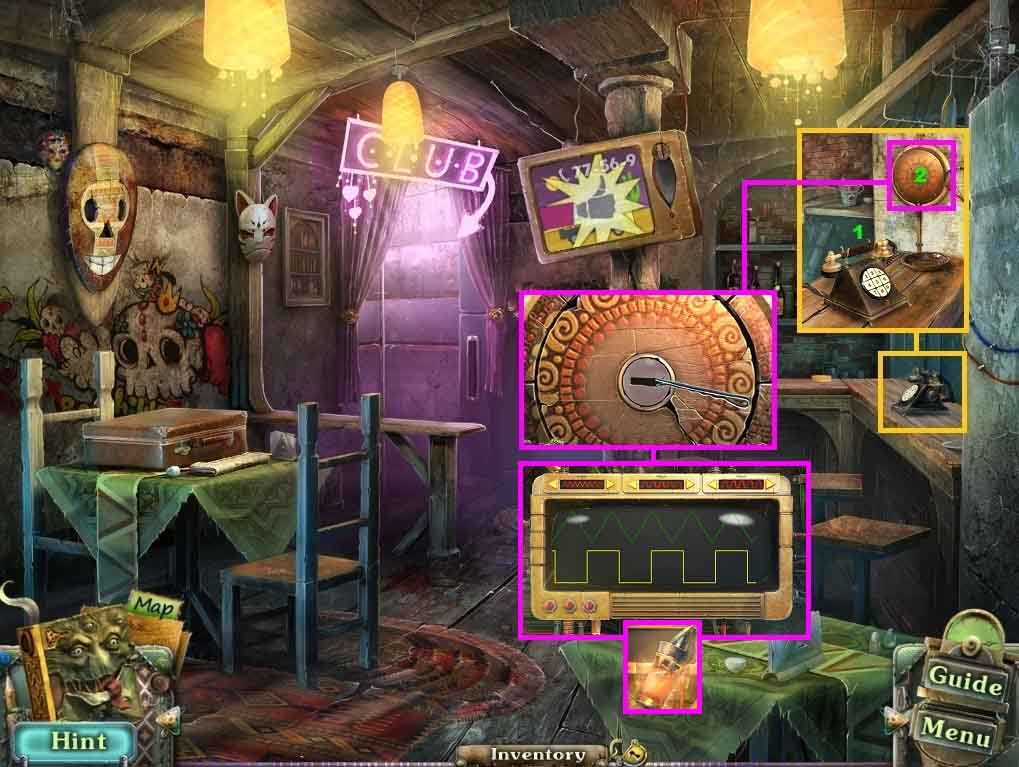
- Click the phone and then the power box.
- Insert the hairpin to trigger a puzzle.
- Solve the puzzle using the hairpin to open the lock.
- A new mini-game will trigger.
- Select the buttons at the top to make the top lines match the bottom lines to solve this mini-game.
- Collect the gluttony vial.
- Click the phone and dial 77 – 56 – 9
- Move to the Transformation Altar.
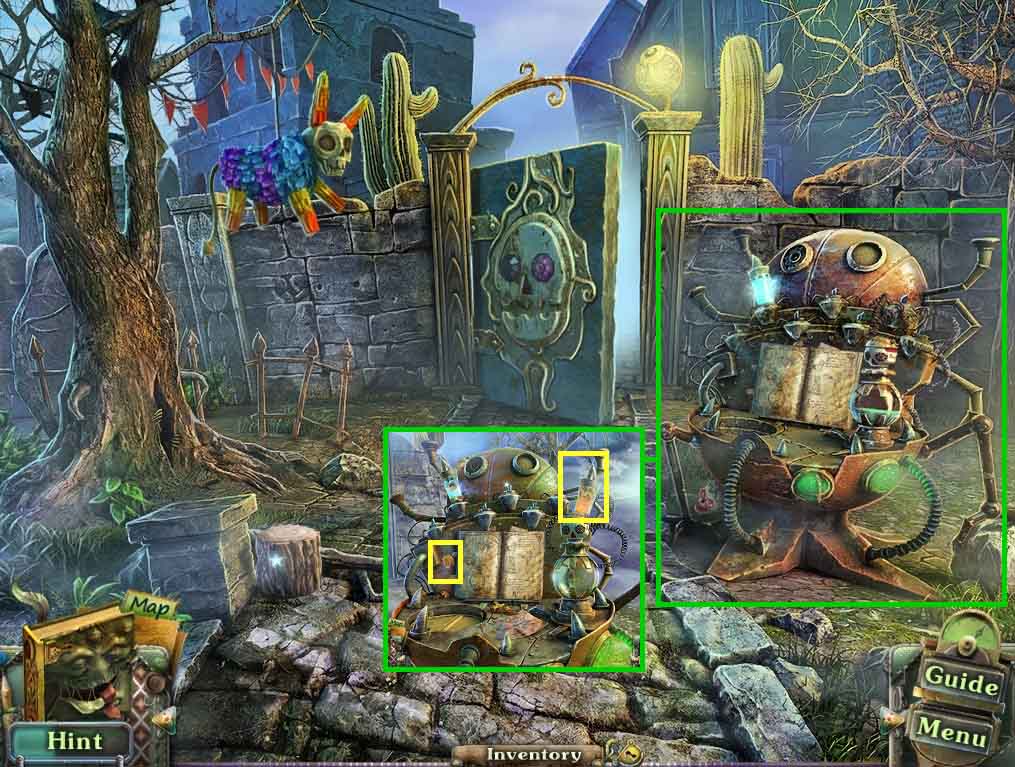
- Click the altar and insert the gluttony vial onto one of the pins.
- Collect the combination lock gear.
- Move to the Bar.
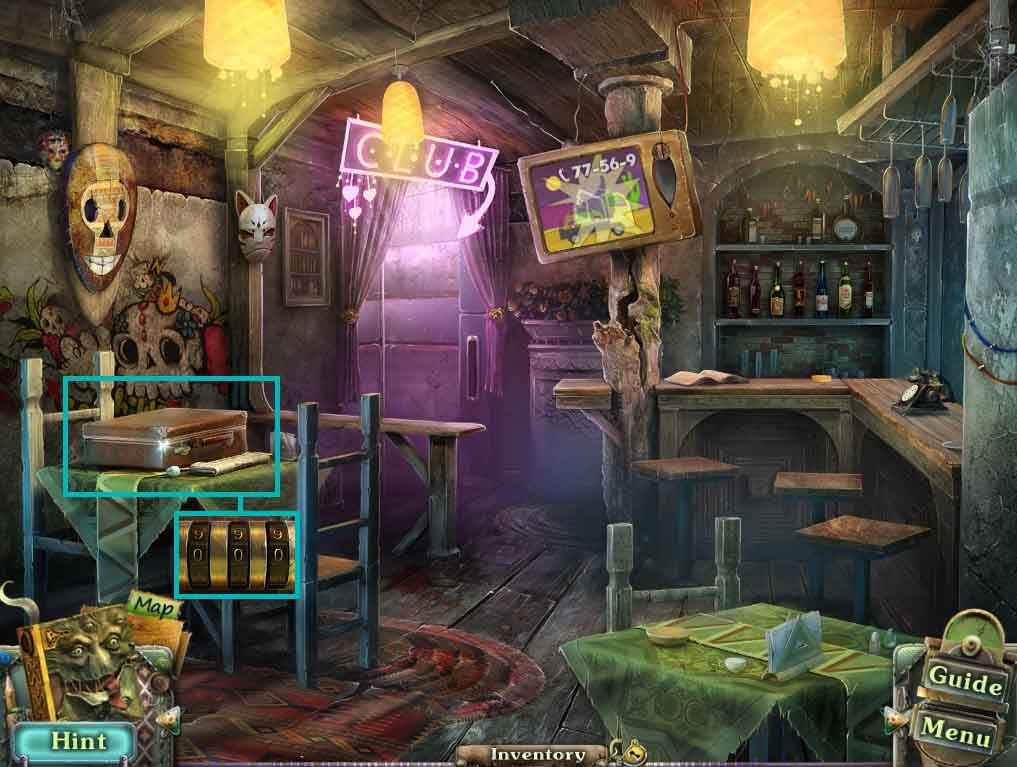
- Click the suitcase and read the newspaper.
- Click the lock and place the combination lock gear onto the suitcase.
- Move to Street No. 1.
- Click the fountain to access a hidden objects area.
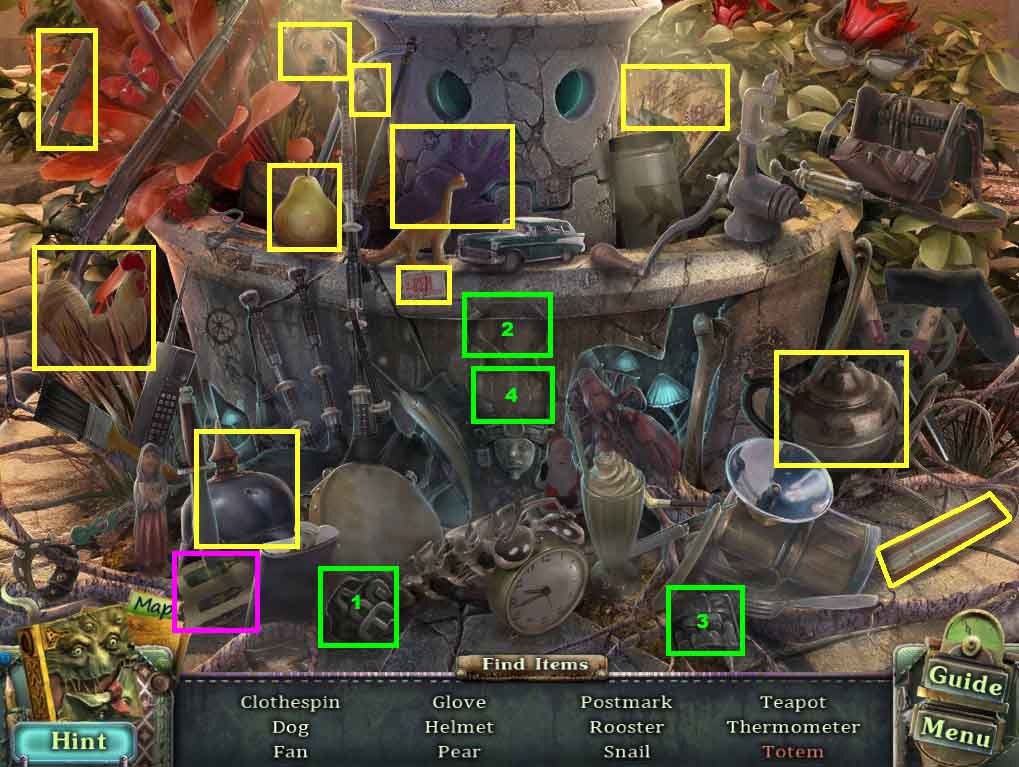
- Find the listed items.
- Select the 2 totem pieces and insert them into the fountain; collect the totem.
- Collect the page.
- Move to the Bar.
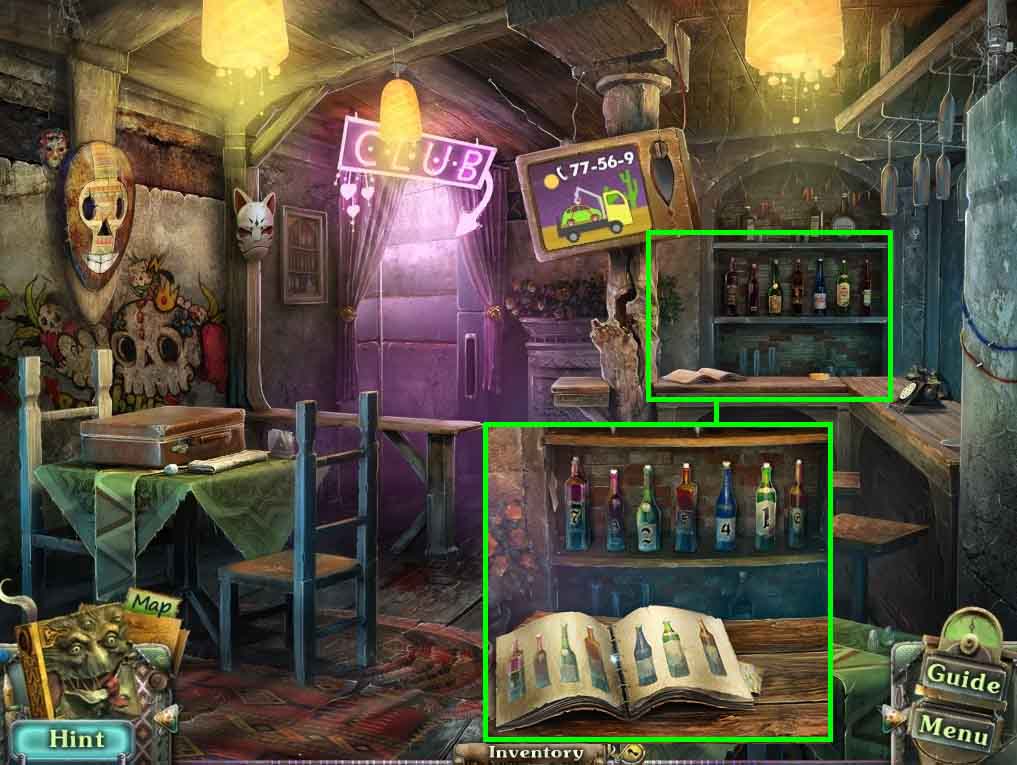
- Click the bar and insert the page into the book.
- Arrange the bottles according to the page.
- Move to the Clock Tower Top.
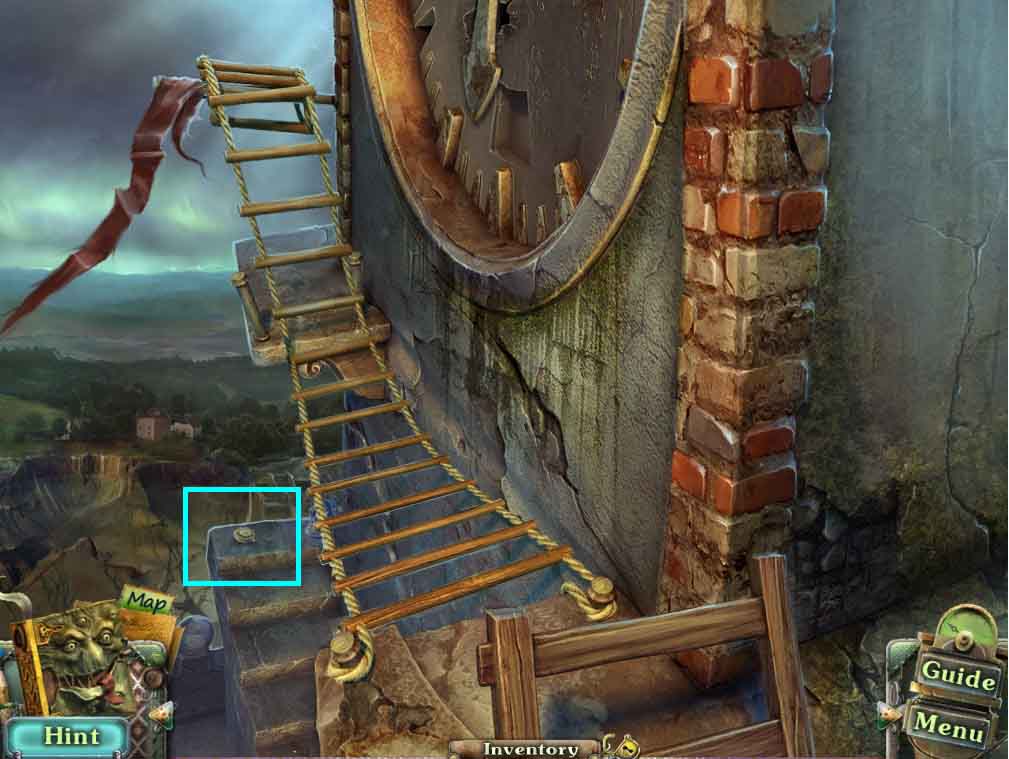
- Click the ledge and select the grabber to collect the safe dial.
- Move to Street No. 2 and enter the Pecados Hotel.
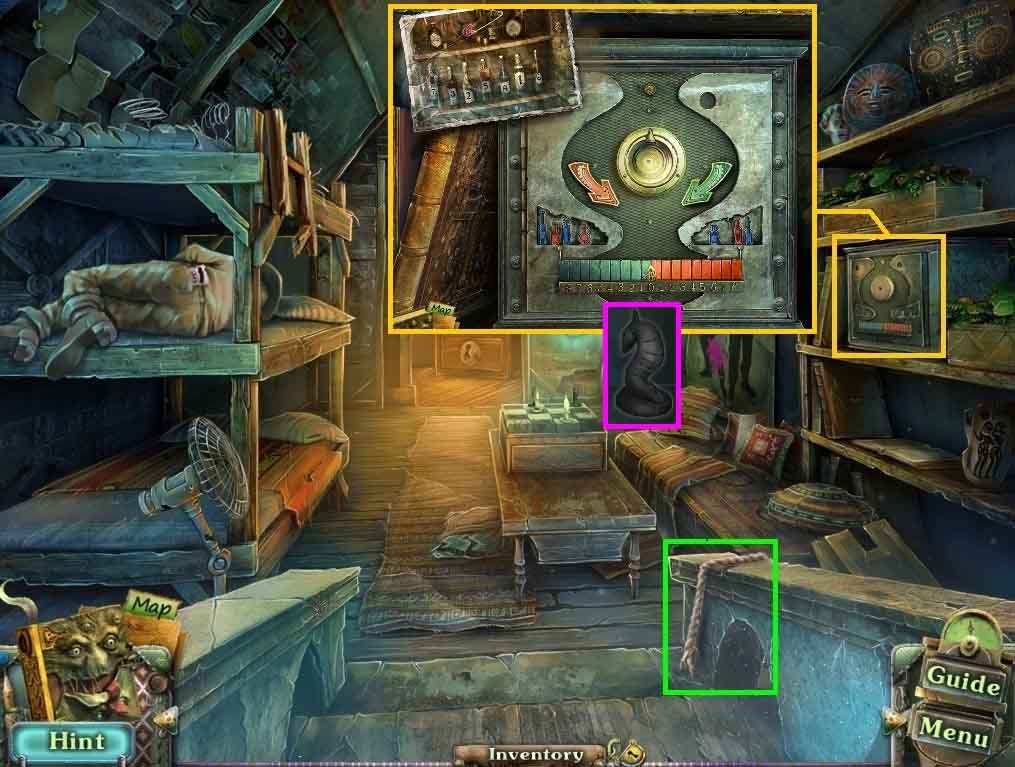
- Collect the lace.
- Click the safe and attach the safe dial to trigger a mini-game.
- Use the safe combination according to the number pattern on the bottles, click the arrows as follows:
- Green 7 – red 3 – green 2 – red 5 – green 4 – red 1 – green 6.
- Collect the knight.
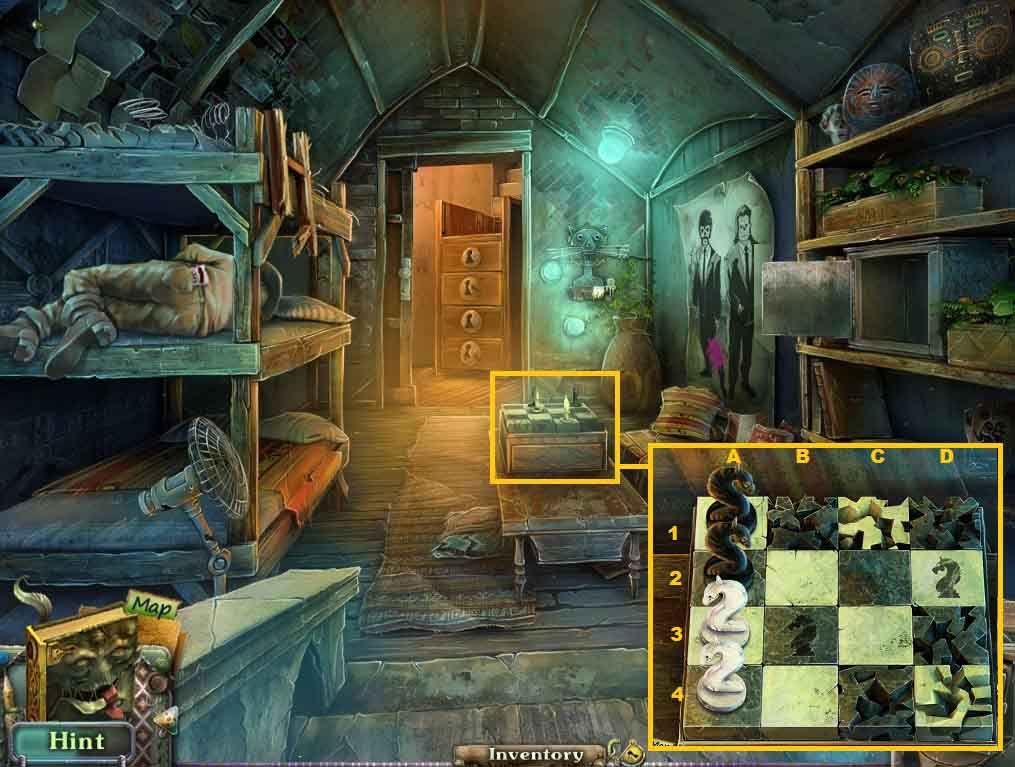
- Click the chess board and place the knight down to trigger a puzzle.
- Arrange the chess pieces to the squares with pictures of knights of the same color.
- Move the knights as follows to solve the puzzle.
- Move the black knight that is on A1 as follows: B3 – D2
- Move the black knight that is on A2 as follows: B4 – C2 – A1 – B3
- Move the white knight that is on A4 as follows: C3 – A2 – B4 – C2 A1
- Collect the Amethyst and the Sloth vial.
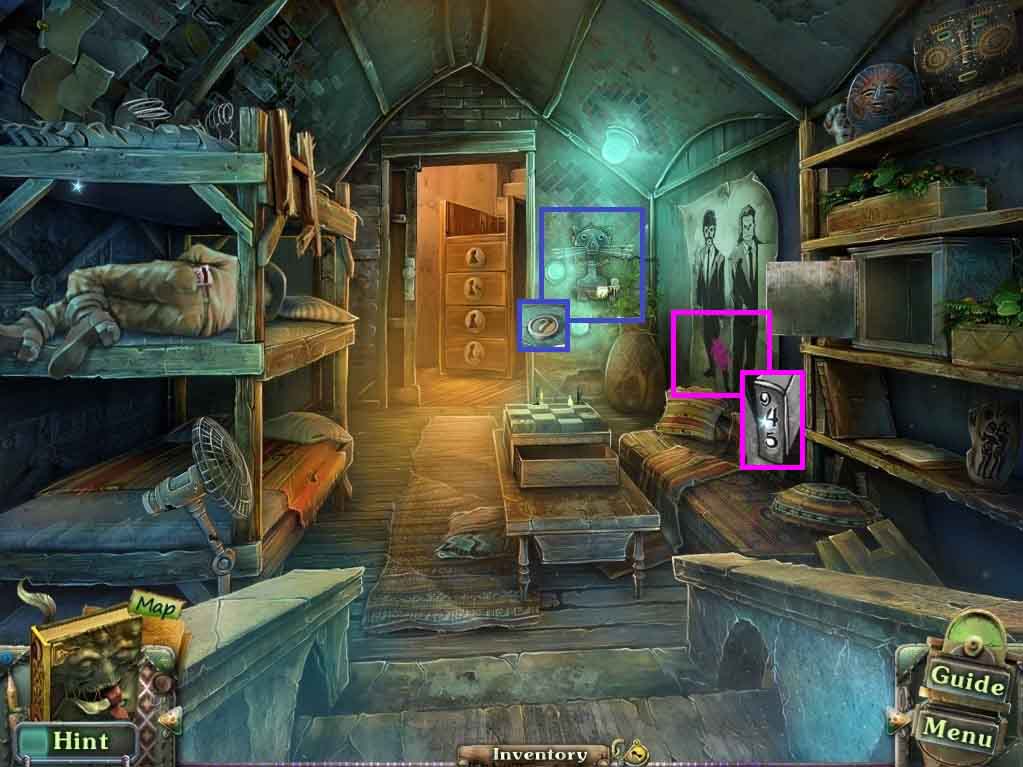
- Click the shrine; collect the cash register button.
- Click the poster.
- Select the solvent and use it to remove the stain with the brush.
- Notice the combination.
- Move to the Transformation Altar.
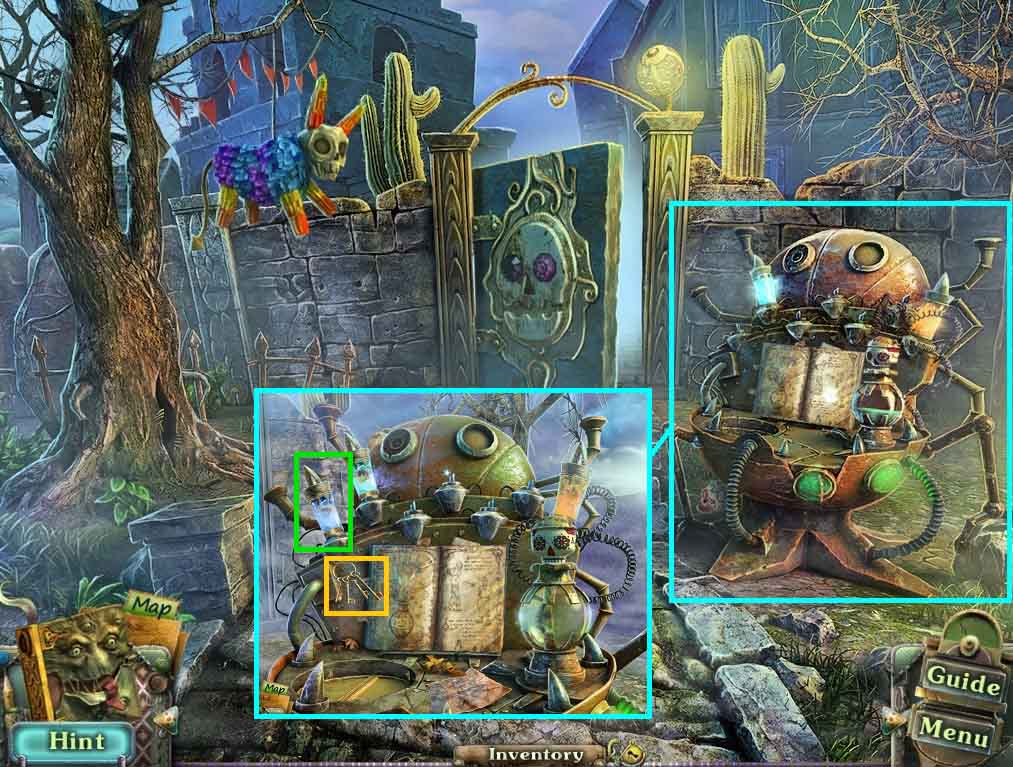
- Click the altar.
- Place the Sloth vial onto the pin and collect the keys.
- Move into the Pecados Hotel.
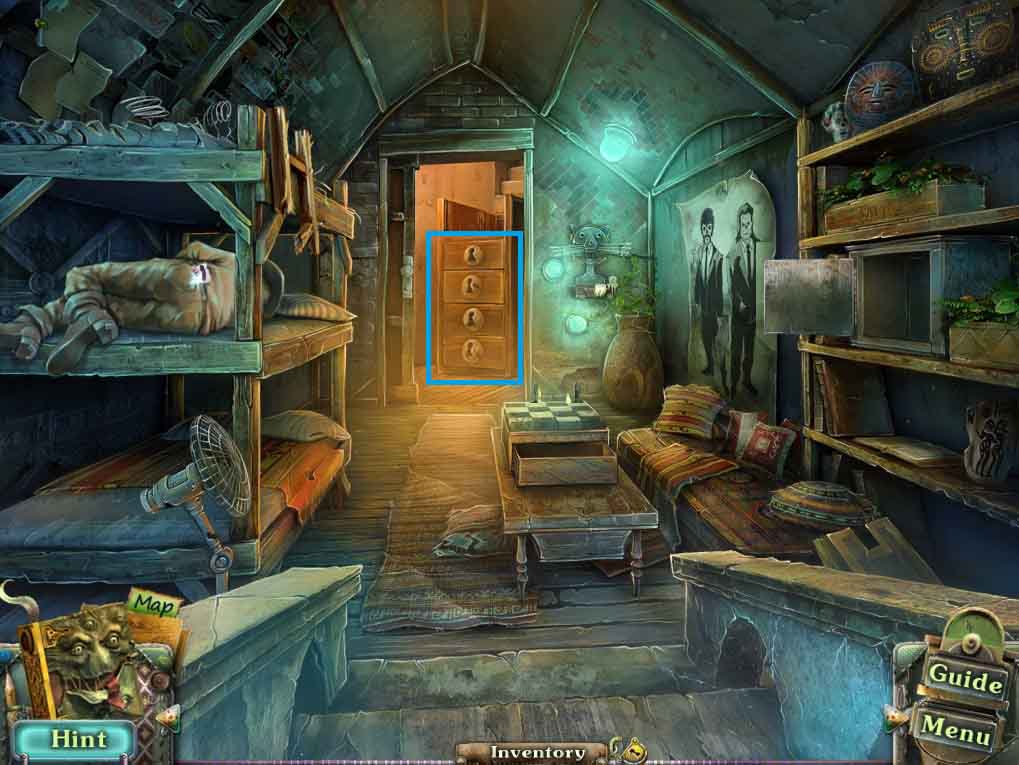
- Select the keys to unlock the drawers.
- Move up the steps to the Fight Club.
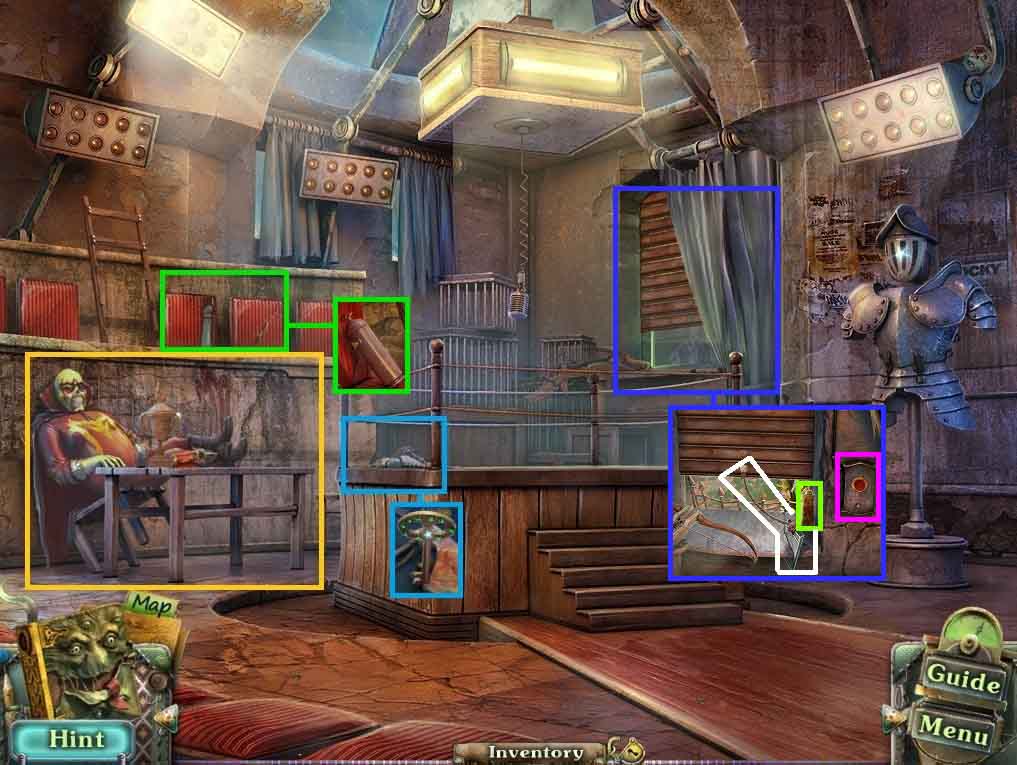
- Speak to the Champion and attempt to take his trophy.
- Click the ring; collect the small key.
- Click the seats; collect the air tank.
- Click the window; collect the fuel.
- Place the lace onto the silver plate and click the red button.
- Collect the silver plate.
- Move to the Bar.
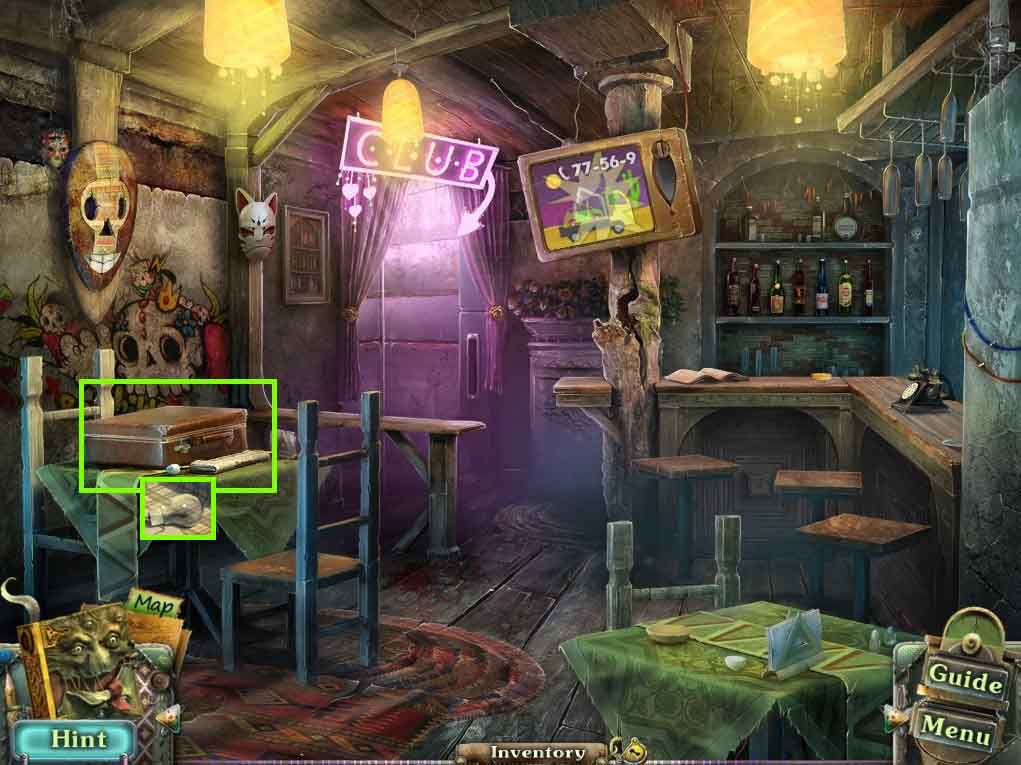
- Click the suitcase.
- Use the code 945 to unlock the suitcase and collect the light bulb.
- Move to Street No.2
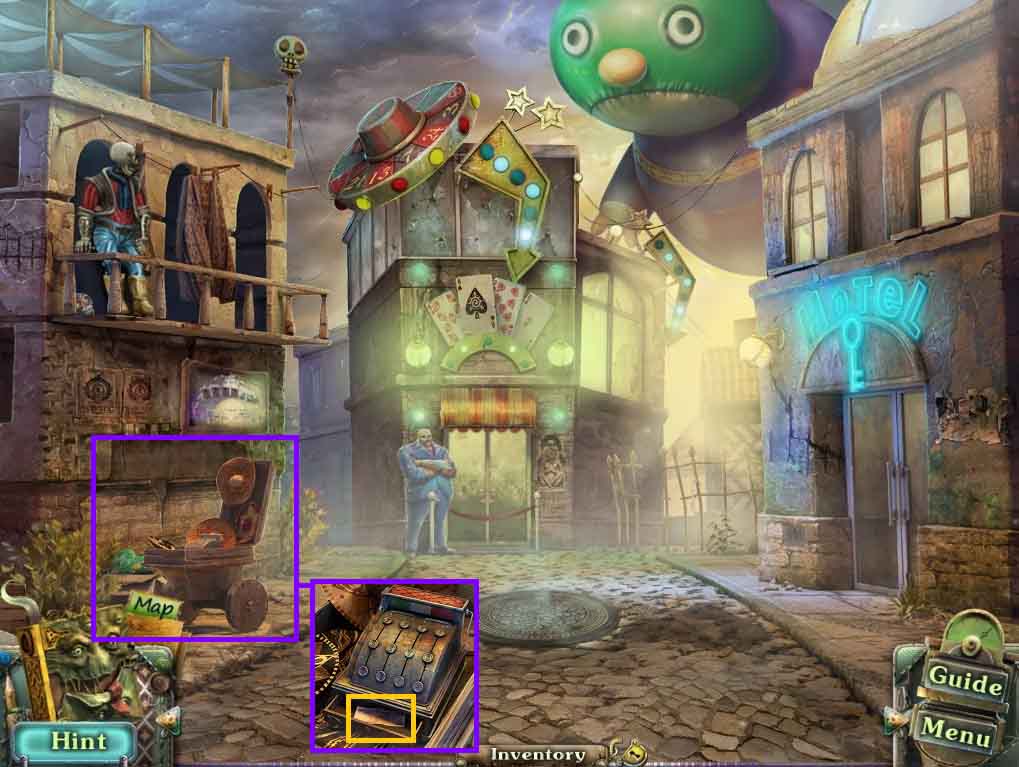
- Click the cart.
- Place the cash register button onto the register; collect the paper money.
- Move to the Gateway.
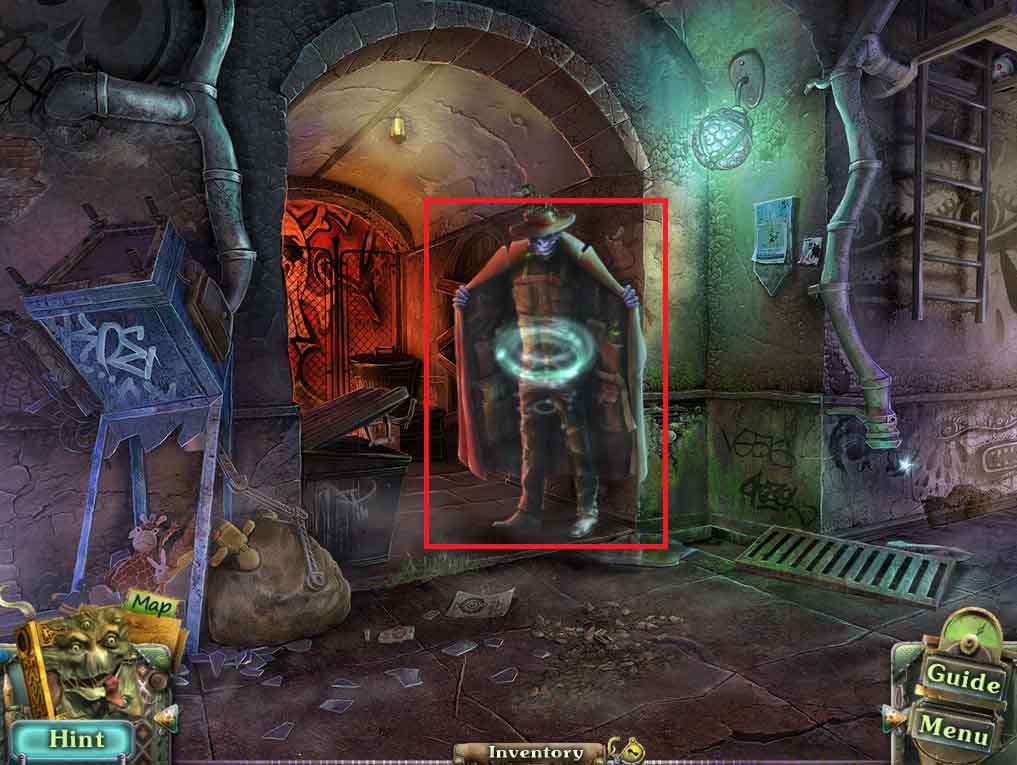
- Give the vendor the paper money.
- Click the hidden objects area.
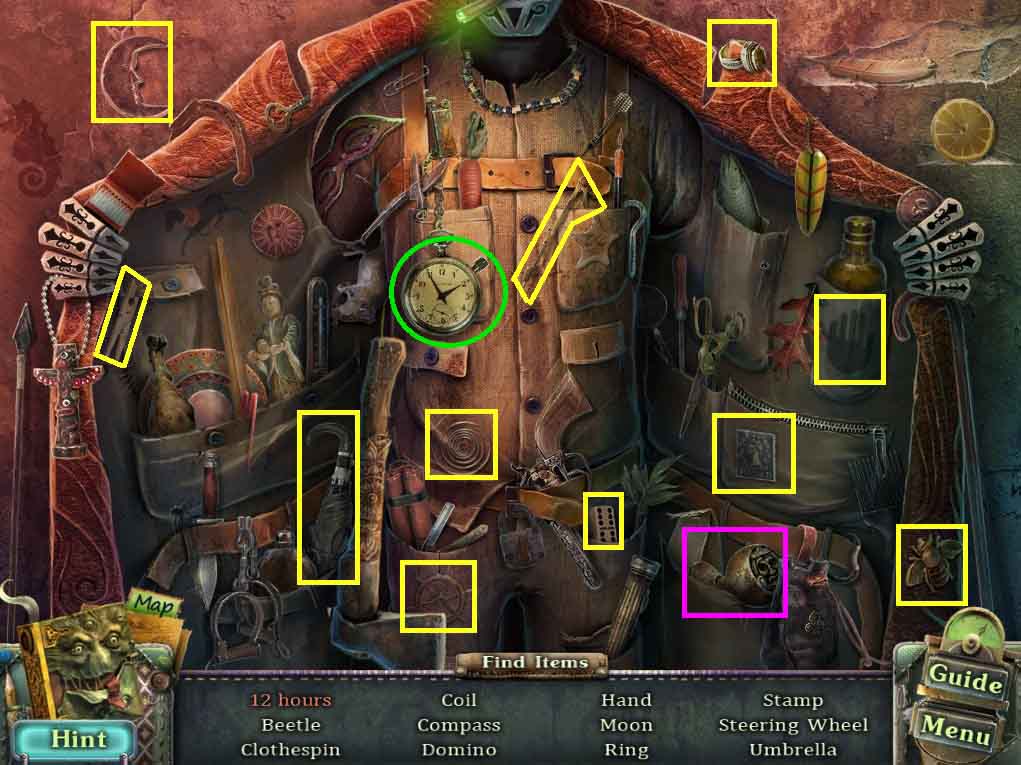
- Find the listed items.
- Click the button on the side of the watch to move the hands to 12 hours.
- Collect the door handle.
- Move to the Hair Salon.
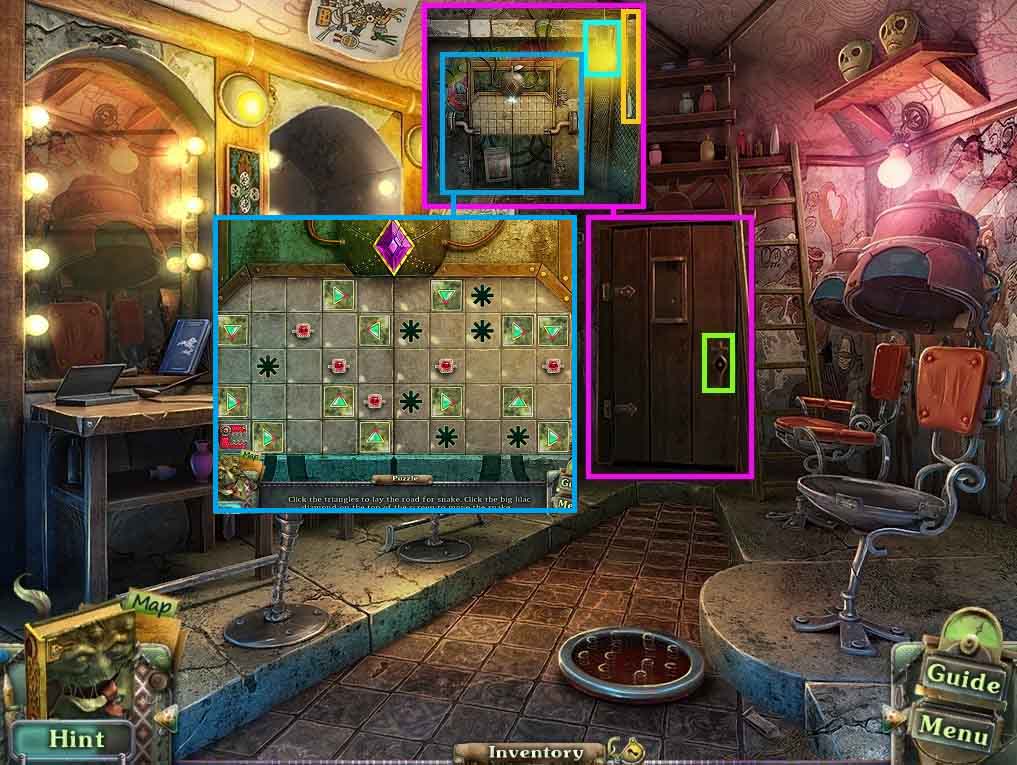
- Click the back door and attach the door handle.
- Click the handle.
- Click the door remove and replace the light bulb then click the cord.
- Insert the amethyst onto the door to trigger a mini-game.
- Arrange the arrow tiles as shown to create a path for the snake collecting all rings and avoiding the stars.
- Move through the doorway into the Jewelry Store.
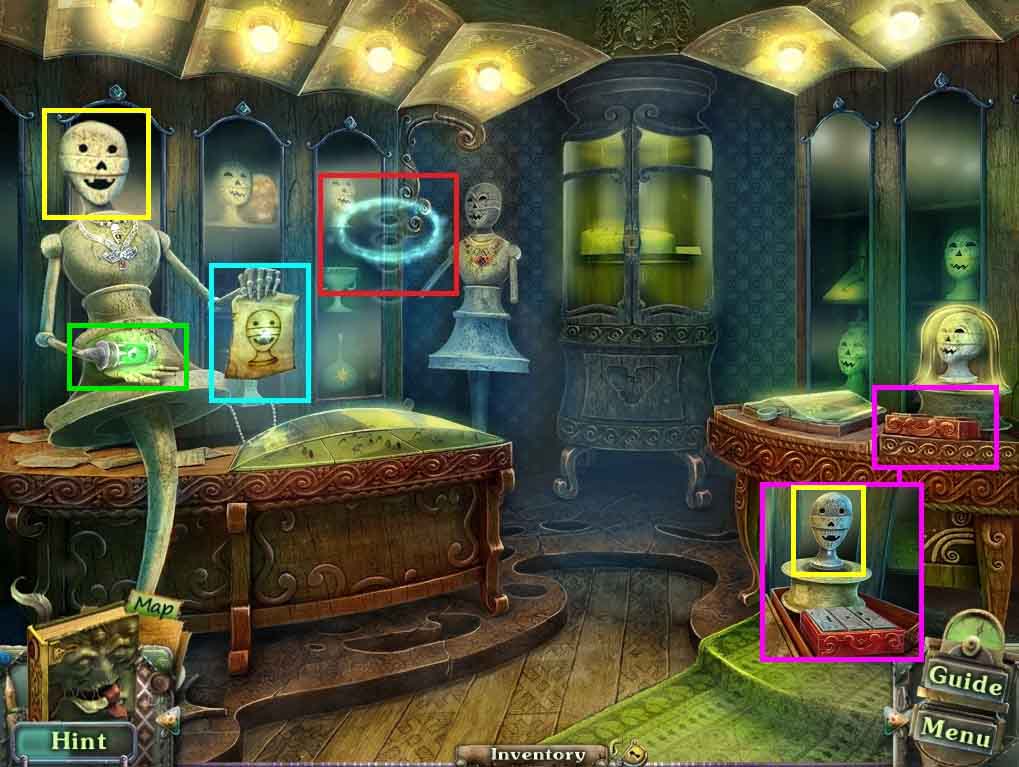
- Examine the paper in the dummy’s hand.
- Click the table and place the silver plate onto the red box.
- Click the plates until the heads looks like the one in the picture; collect the dummy head.
- Attach the dummy head onto the dummy; collect the envy vial.
- Click the hidden objects area.
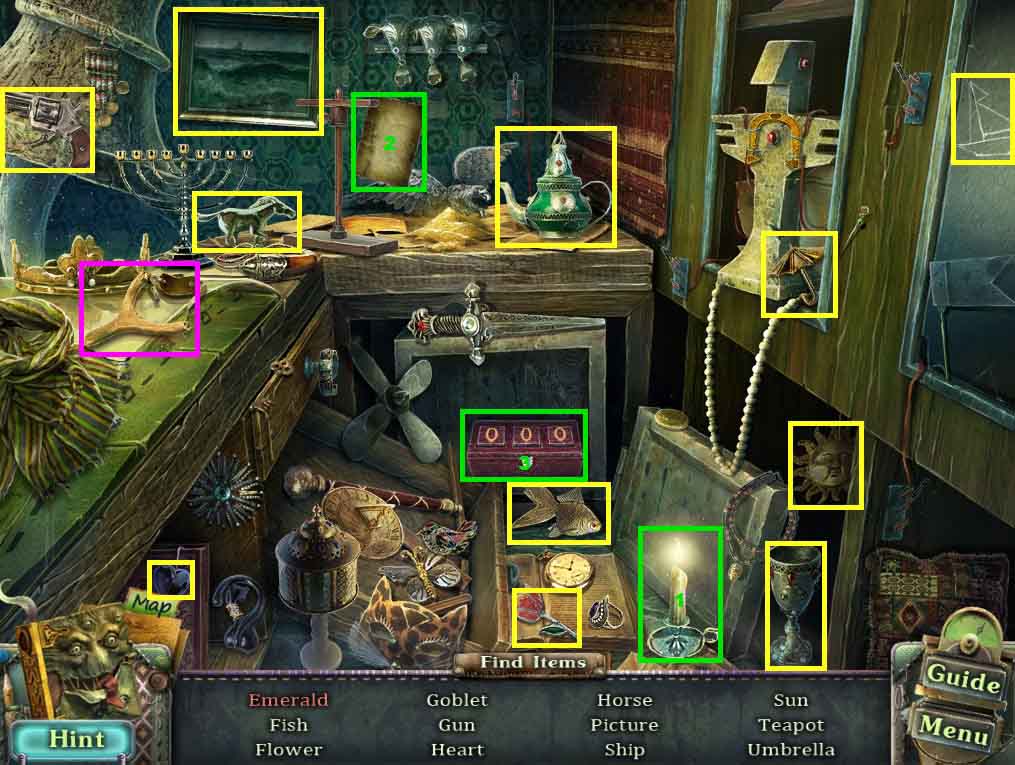
- Find the listed items.
- Place the candle behind the piece of paper; collect the code 516.
- Enter the code 516 into the lock box; collect the emerald.
- Collect the slingshot.
- Move to the Transformation Altar.
Comments will load when you reach this part of the walkthrough.