
Bonus Game
- Collect the jack.
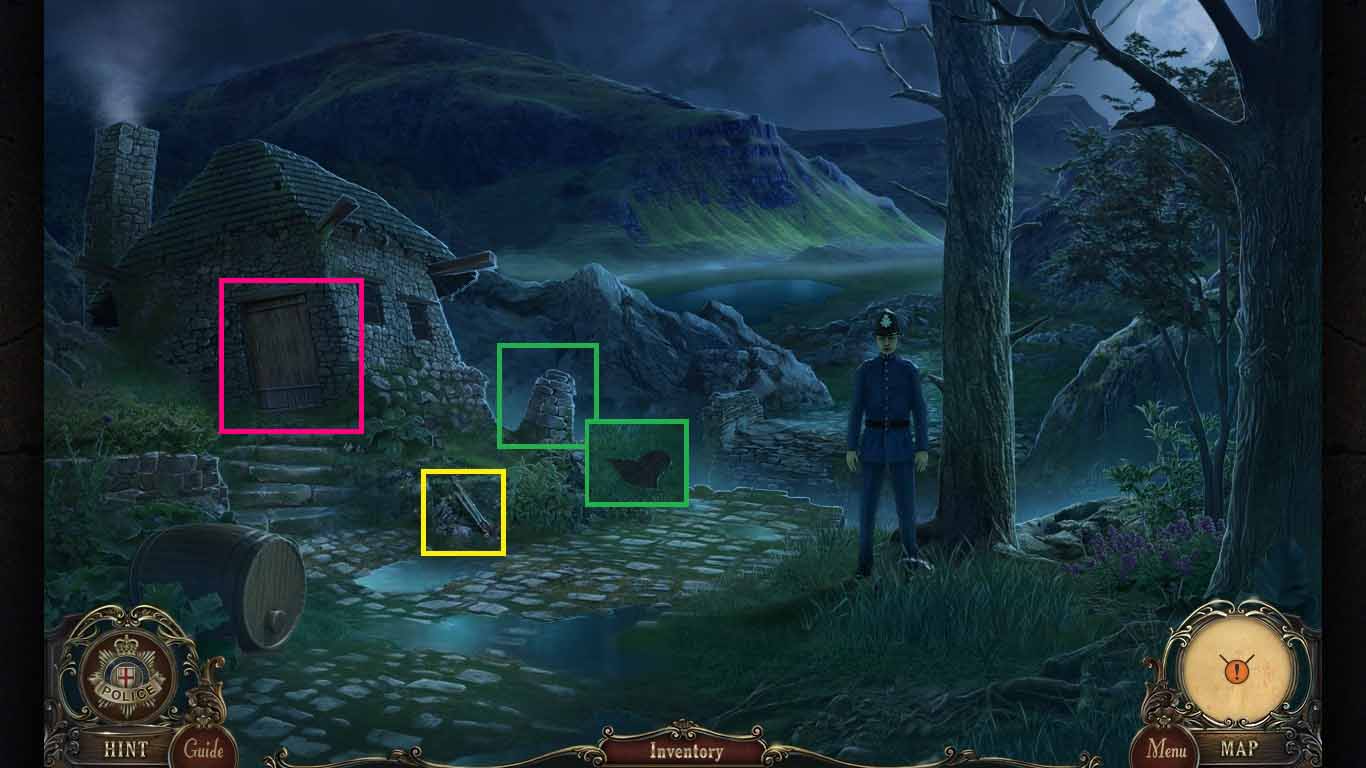
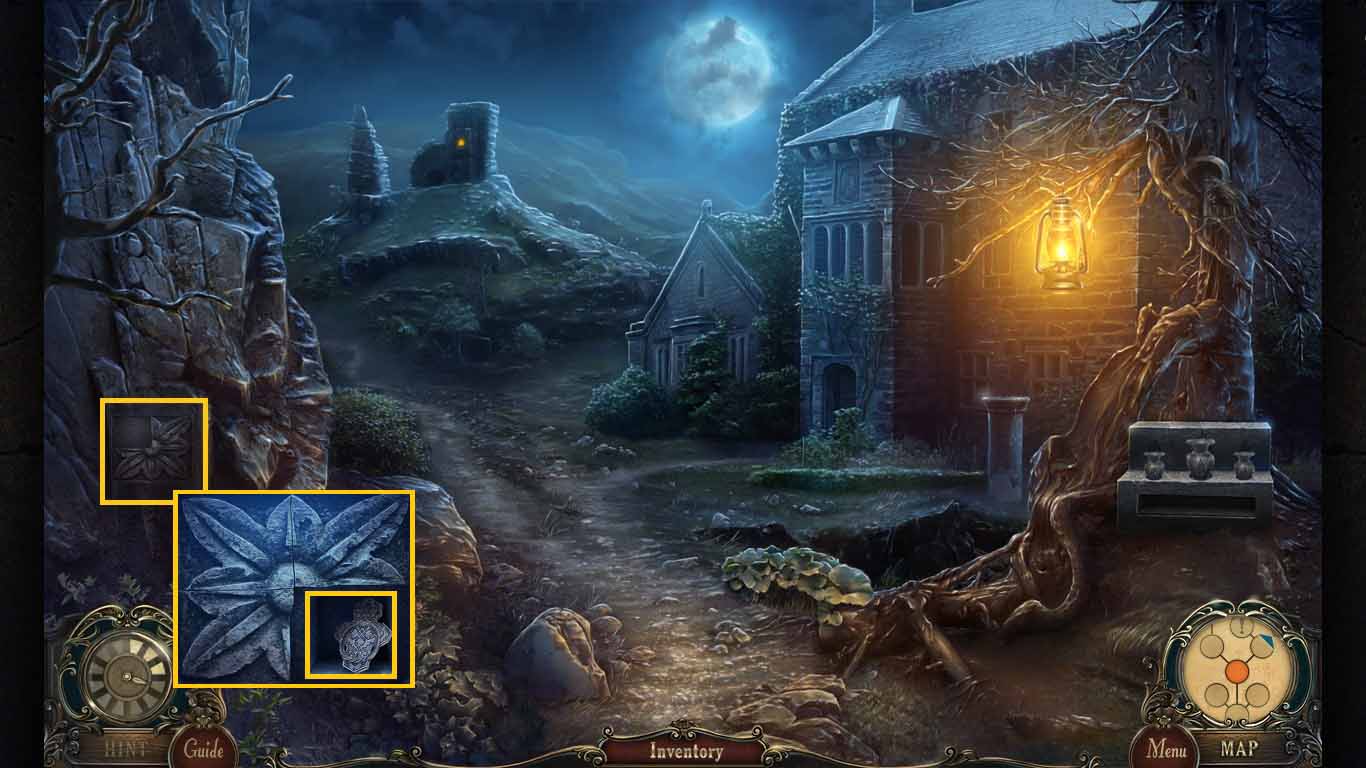
- Zoom into the windmill; collect the 1st mosaic piece.
- Go into the shack.
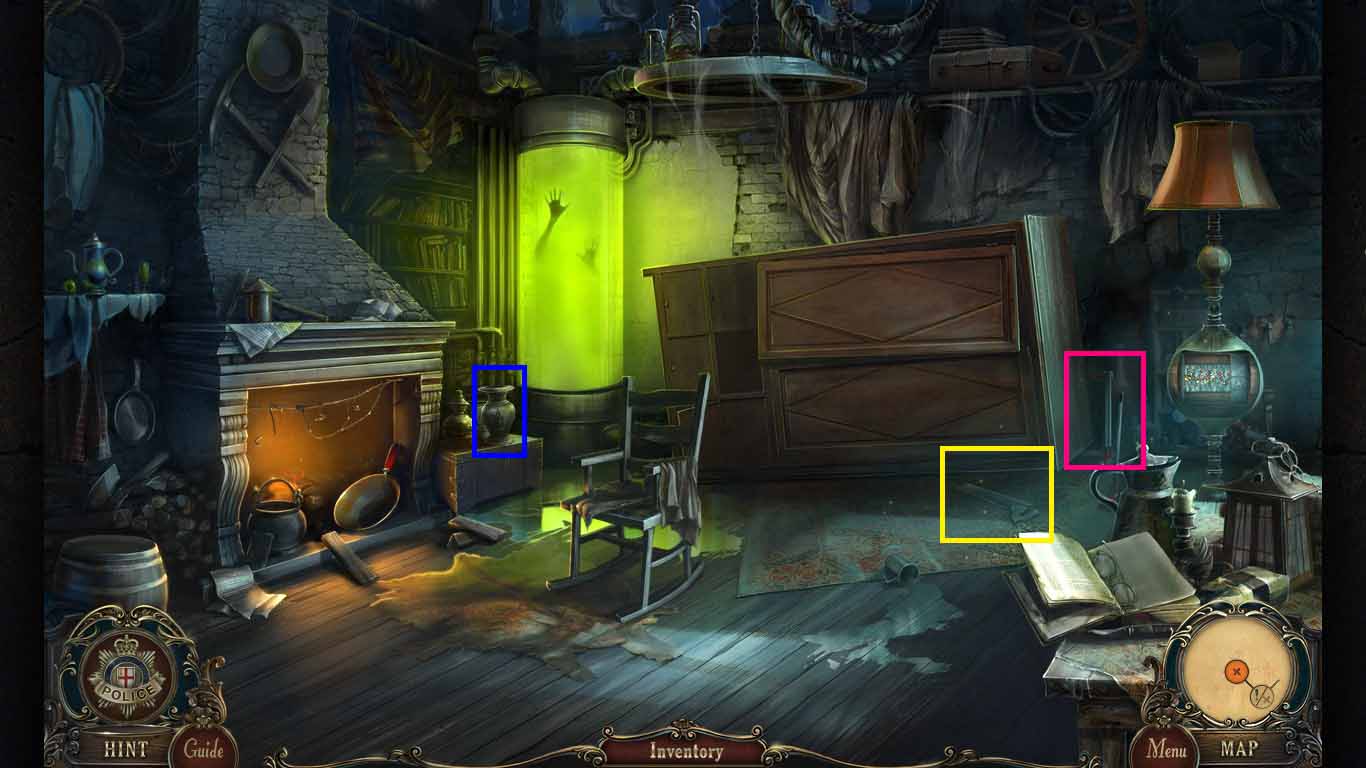
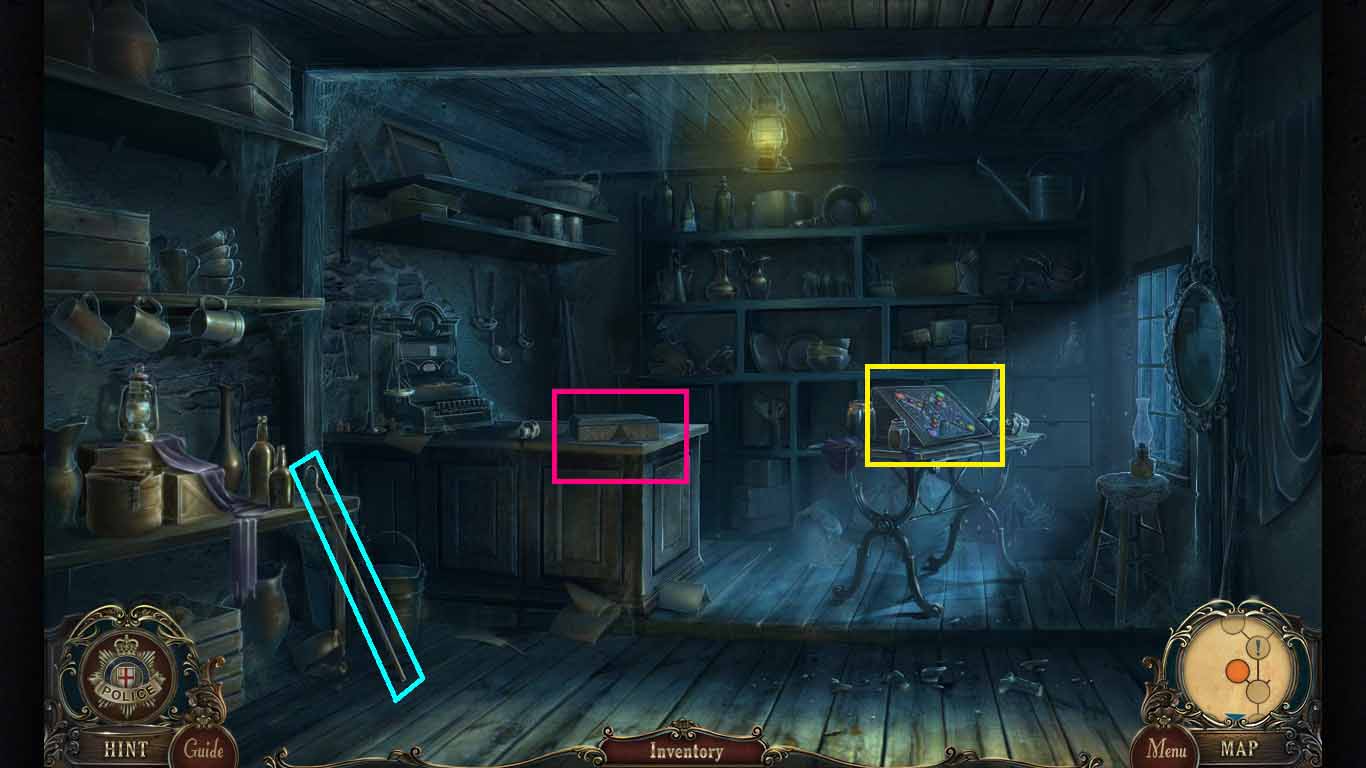
- Collect the small jar.
- Zoom into the cabinet and put the jack under it.
- Click the jack handle; collect the saw.
- Walk down once.
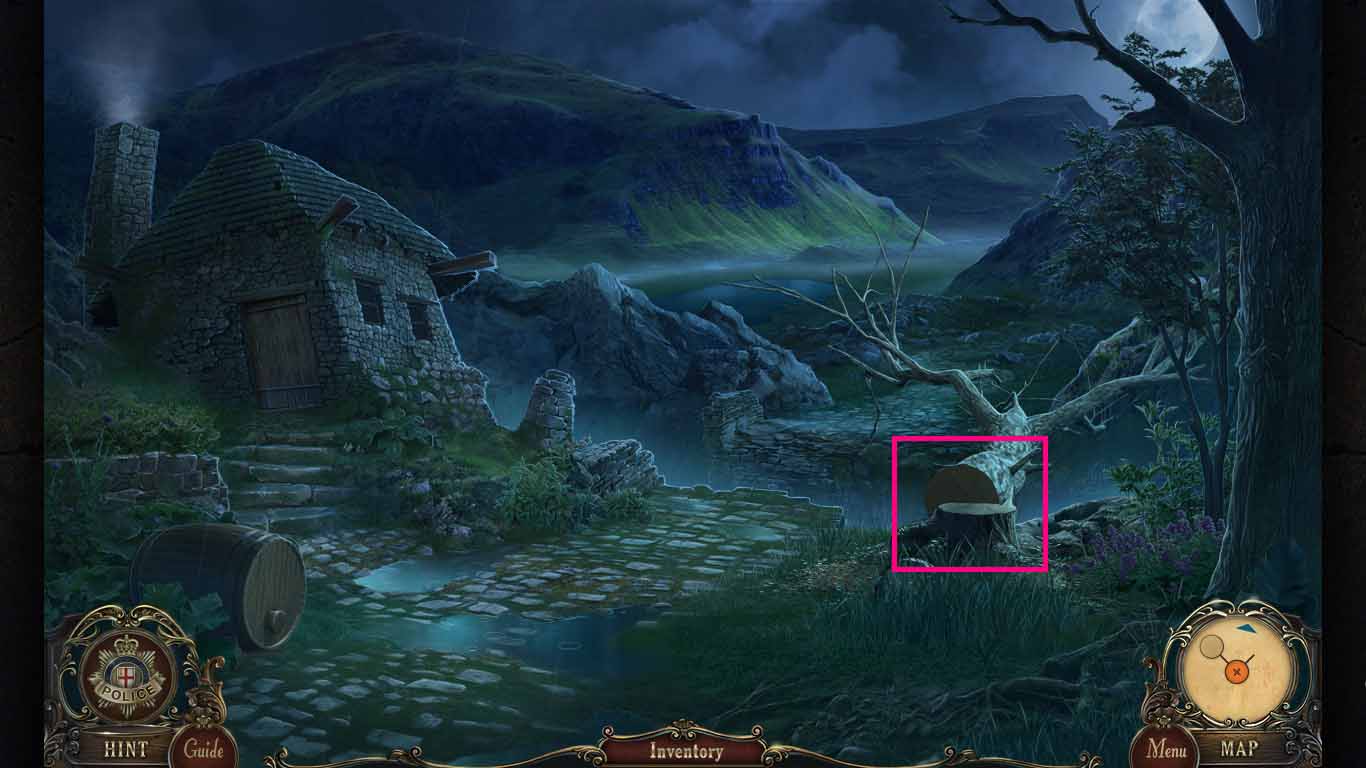
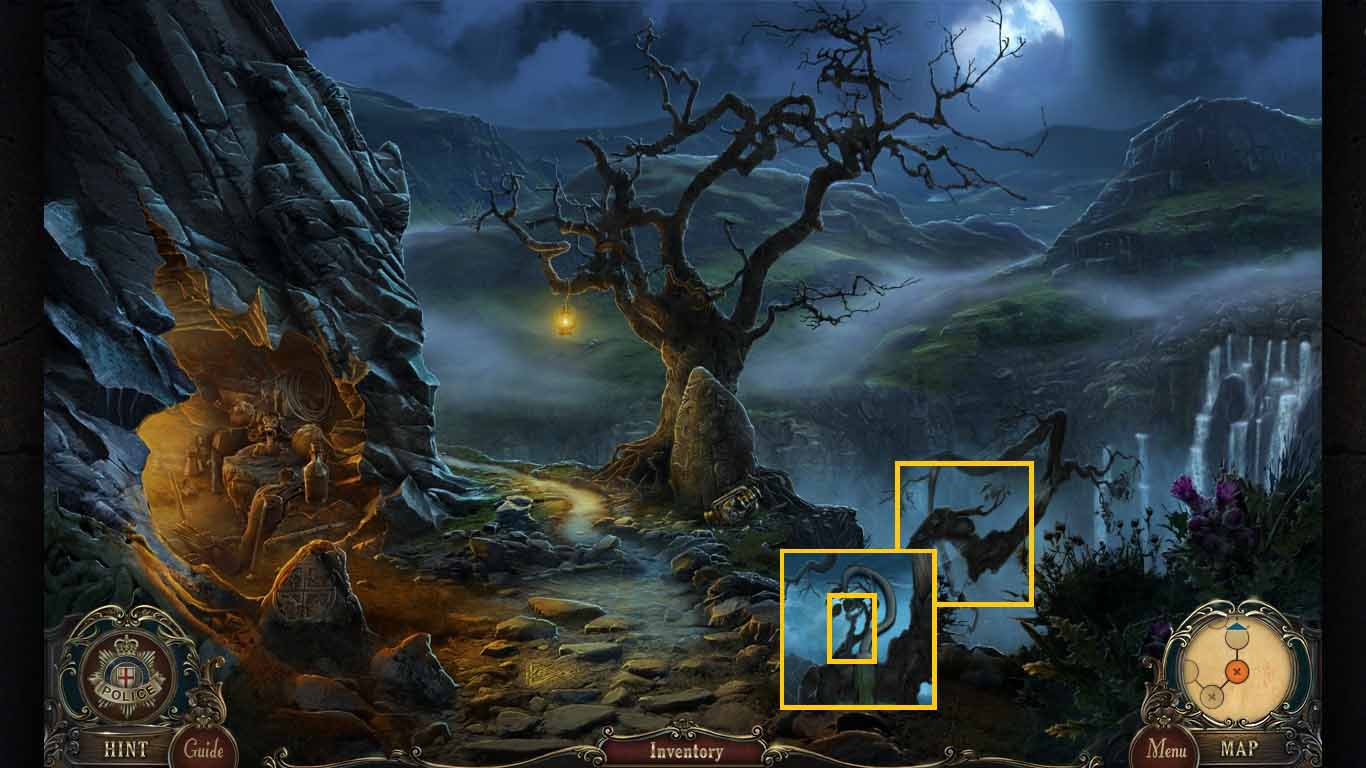
- Zoom into the tree; saw the base.
- Move forward across the tree.
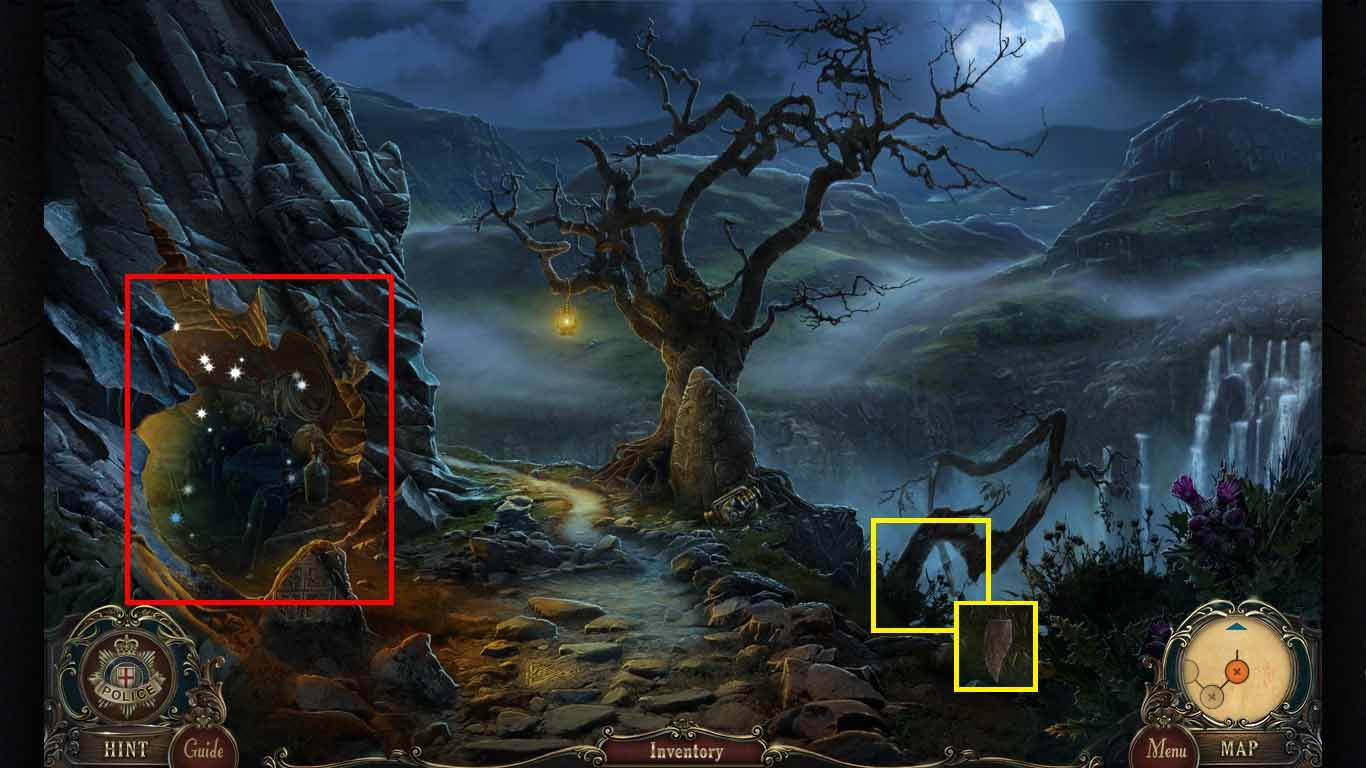
- Zoom into the tree and collect the 2nd mosaic piece.
- Click the cave to access a hidden objects area.
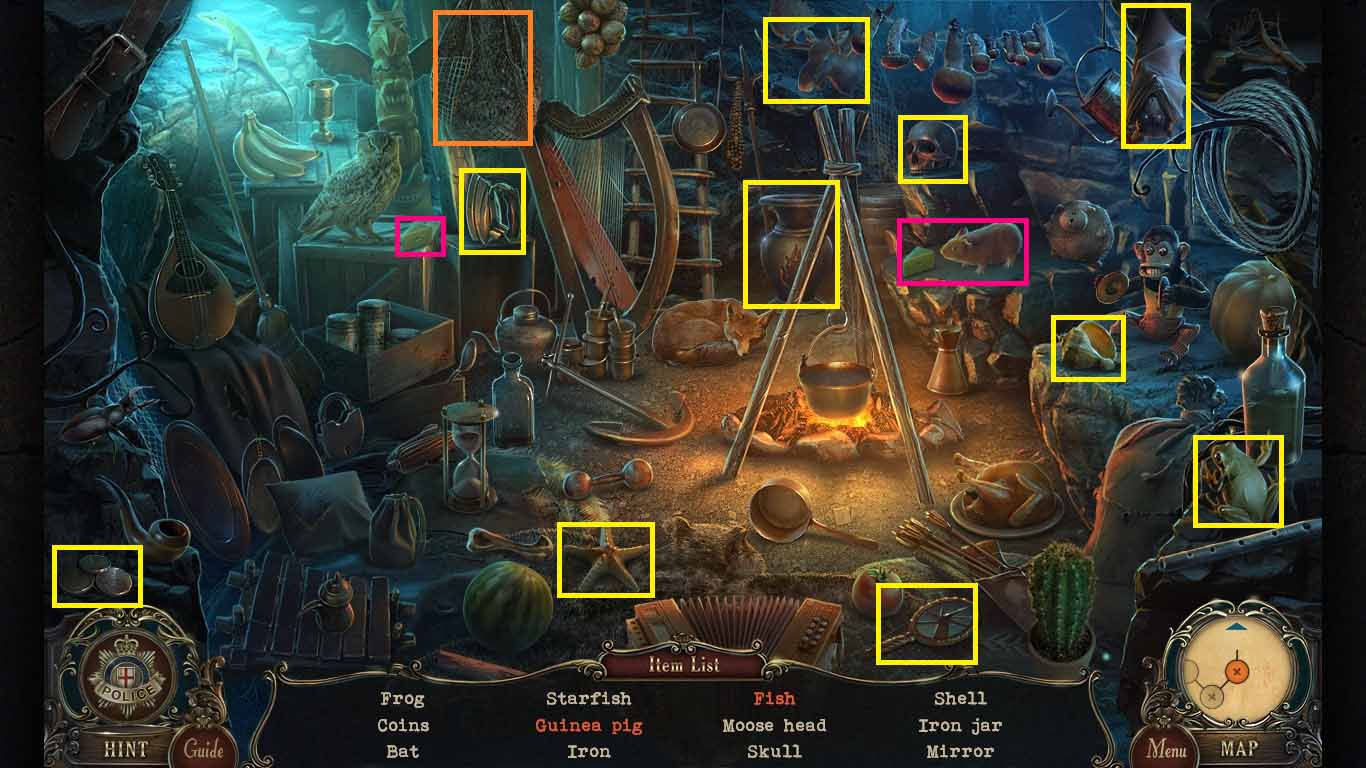
- Find the listed items.
- Lure the guinea pig by putting the cheese on the ledge.
- Find the fish by swinging the bag.
- Collect the large jar.
- Move forward.
- Collect the 1st iron torch.
- Notice the mini-game on the door.
- Move forward one time.
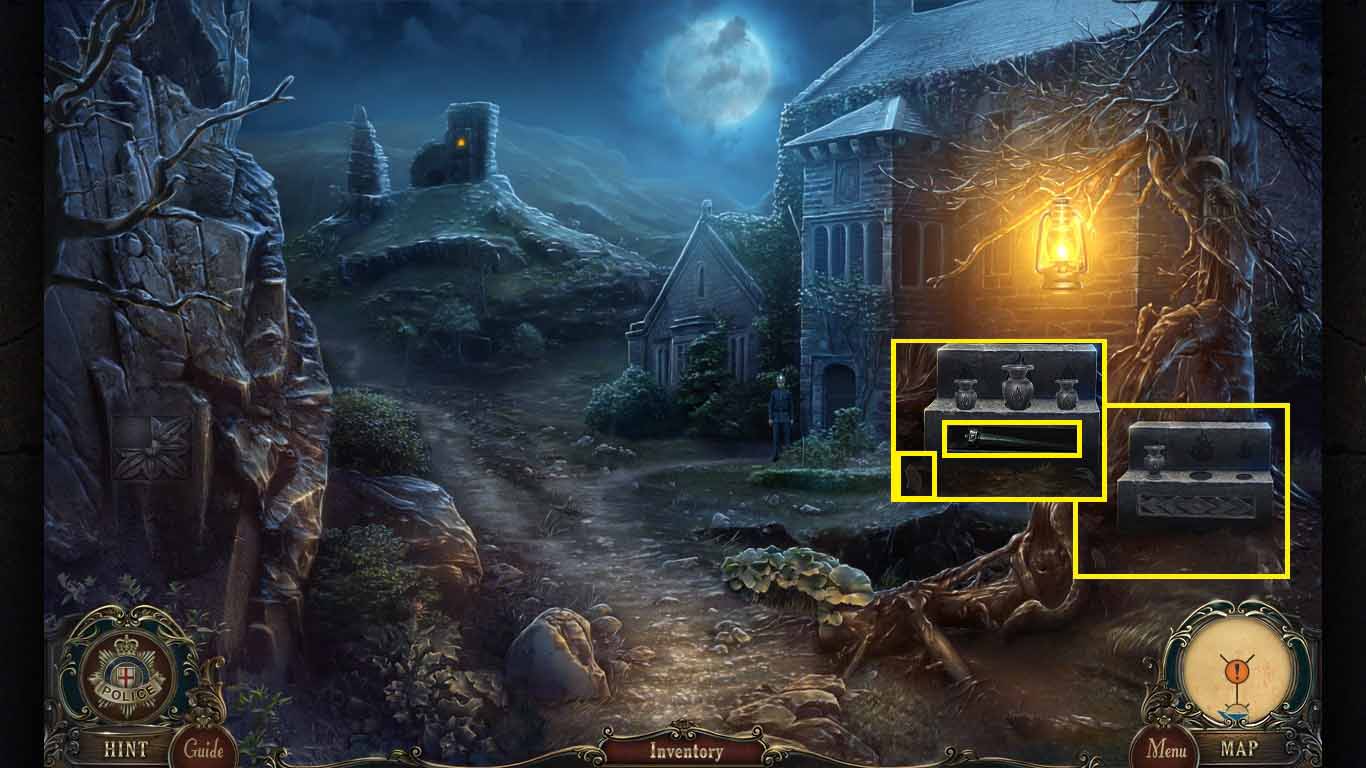
- Zoom into the pedestal; collect the 3rd mosaic piece.
- Put both the large and small jars on the pedestal.
- Collect the 2nd iron torch.
- Move forward.

- Zoom into the alcove and put the 2 iron torches into the holders.
- Collect the puzzle pieces.
- Walk down two times.
- Zoom into the door on the right to access a mini-game.
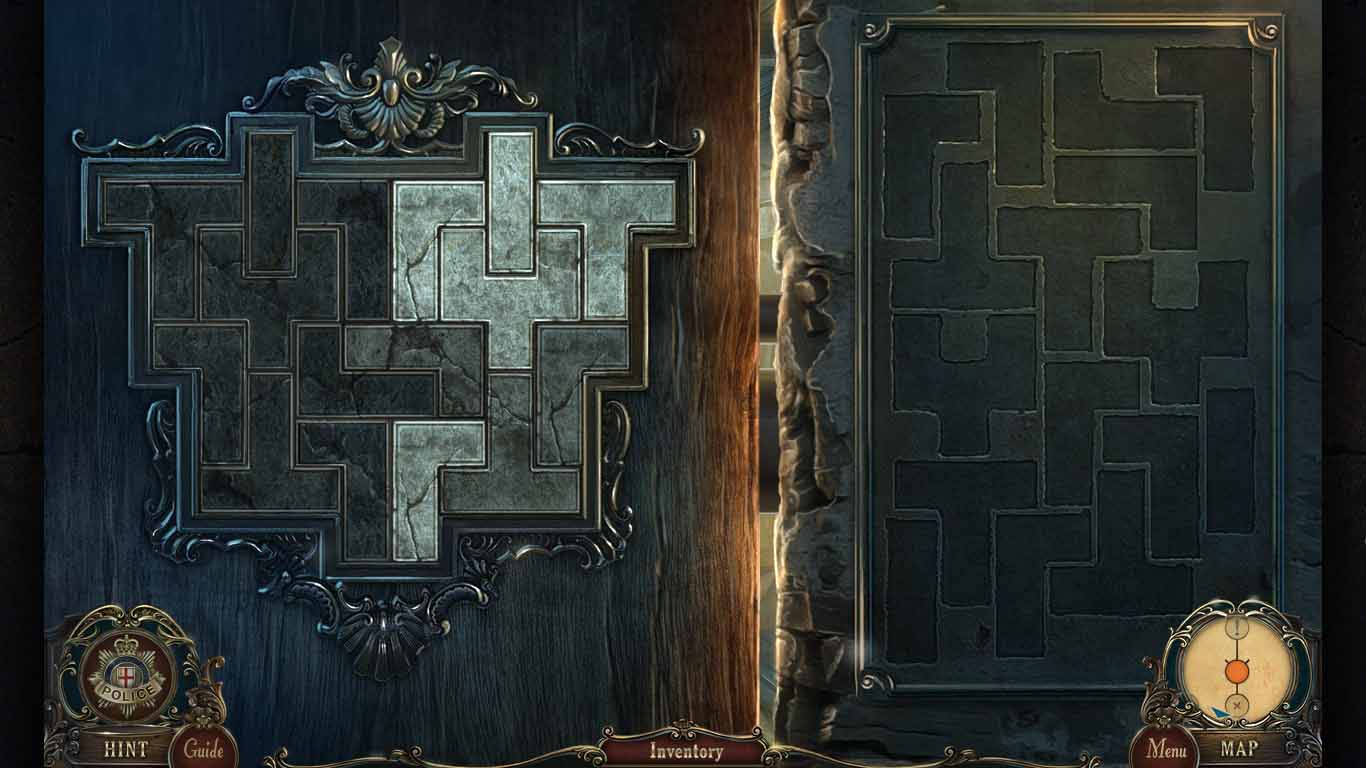
- Put the puzzle pieces into the right side to trigger the game.
- Solve as shown.
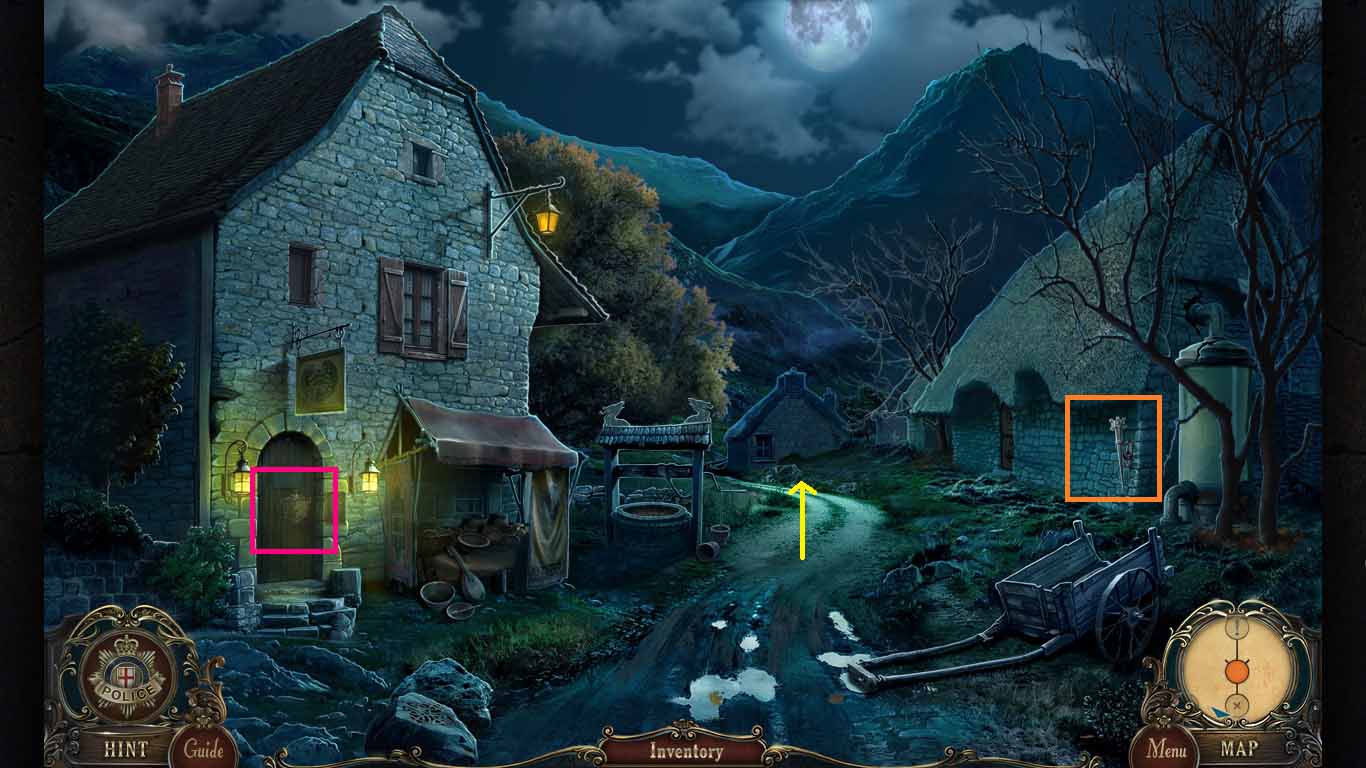
- Go into the general store.
- Collect the hook.
- Zoom into the counter; collect the 4th mosaic piece.
- Notice the mini-game on the table.
- Walk down two times.
- Zoom into the tree.
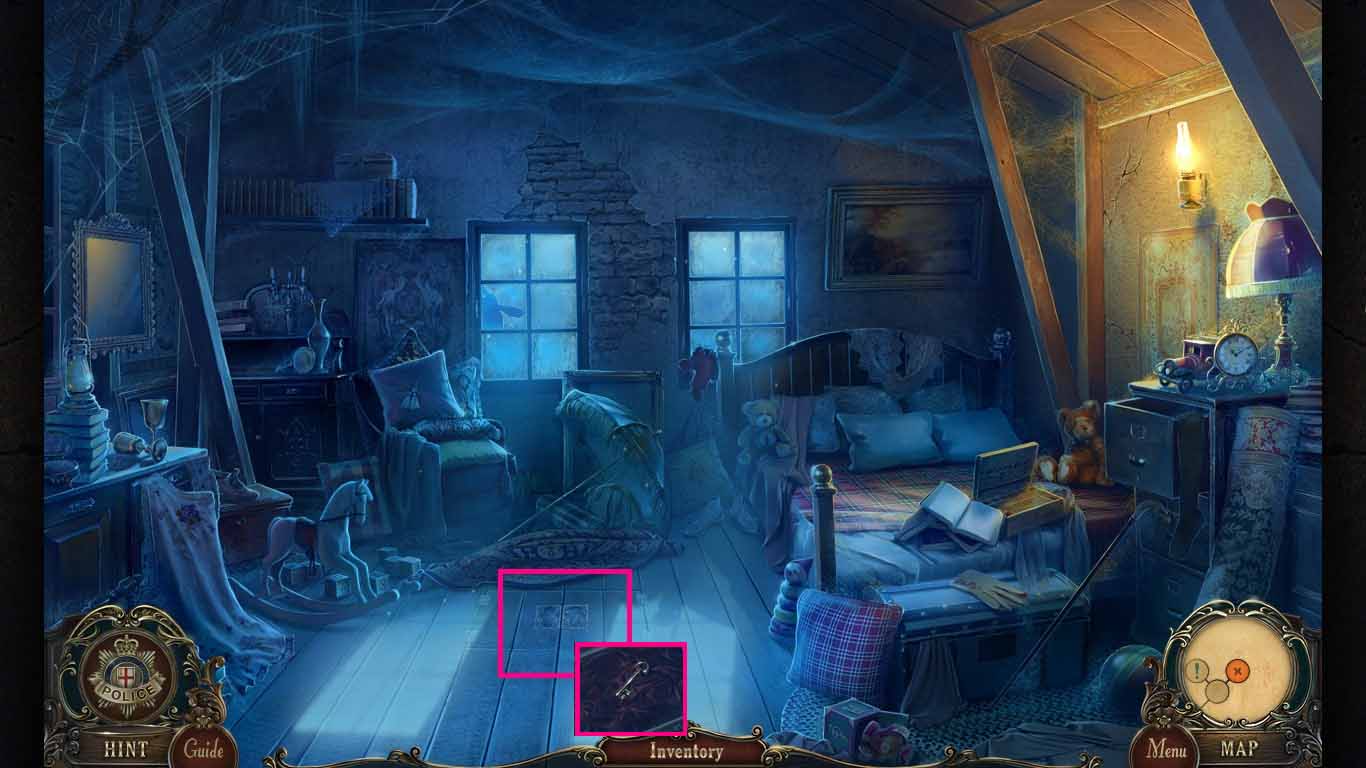
- Use the hook to retrieve the key to the mansion.
- Move forward two times.
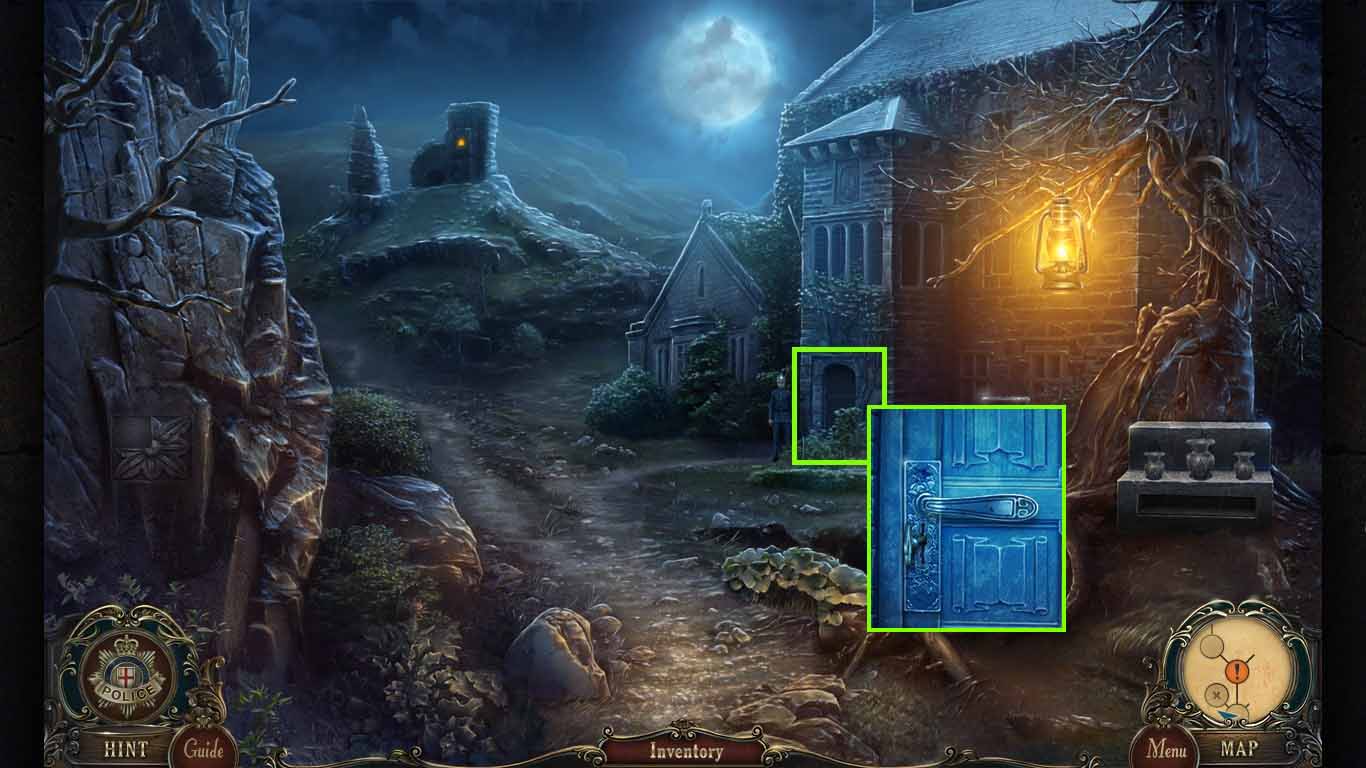
- Zoom into the door; unlock the door using the key to the mansion.
- Enter the mansion.
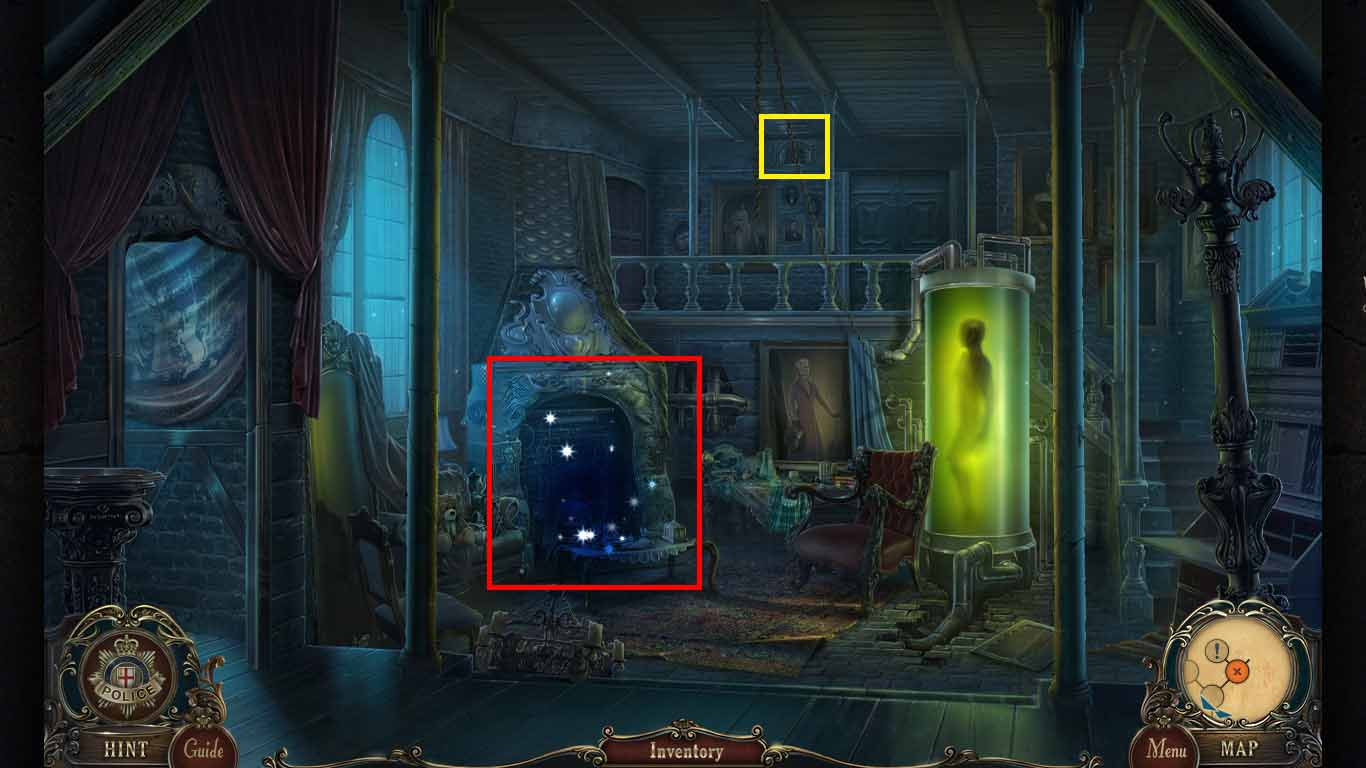
- Notice the attic door.
- Click the fireplace to access a hidden objects area.
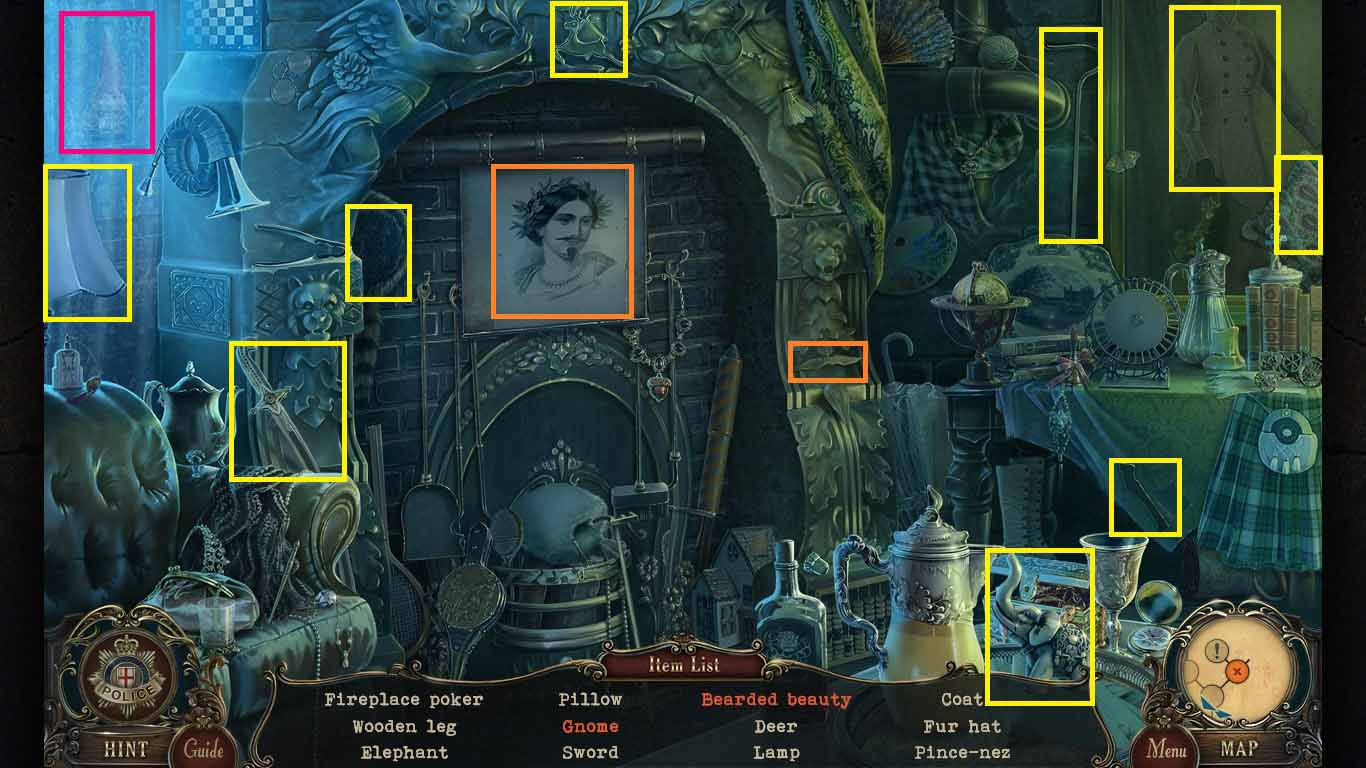
- Find the listed items.
- Create the bearded beauty by pulling down the portrait and placing the beard on the face.
- Find the gnome by clicking the curtain and opening the window.
- Collect the 5th mosaic piece.
- Move to the left.
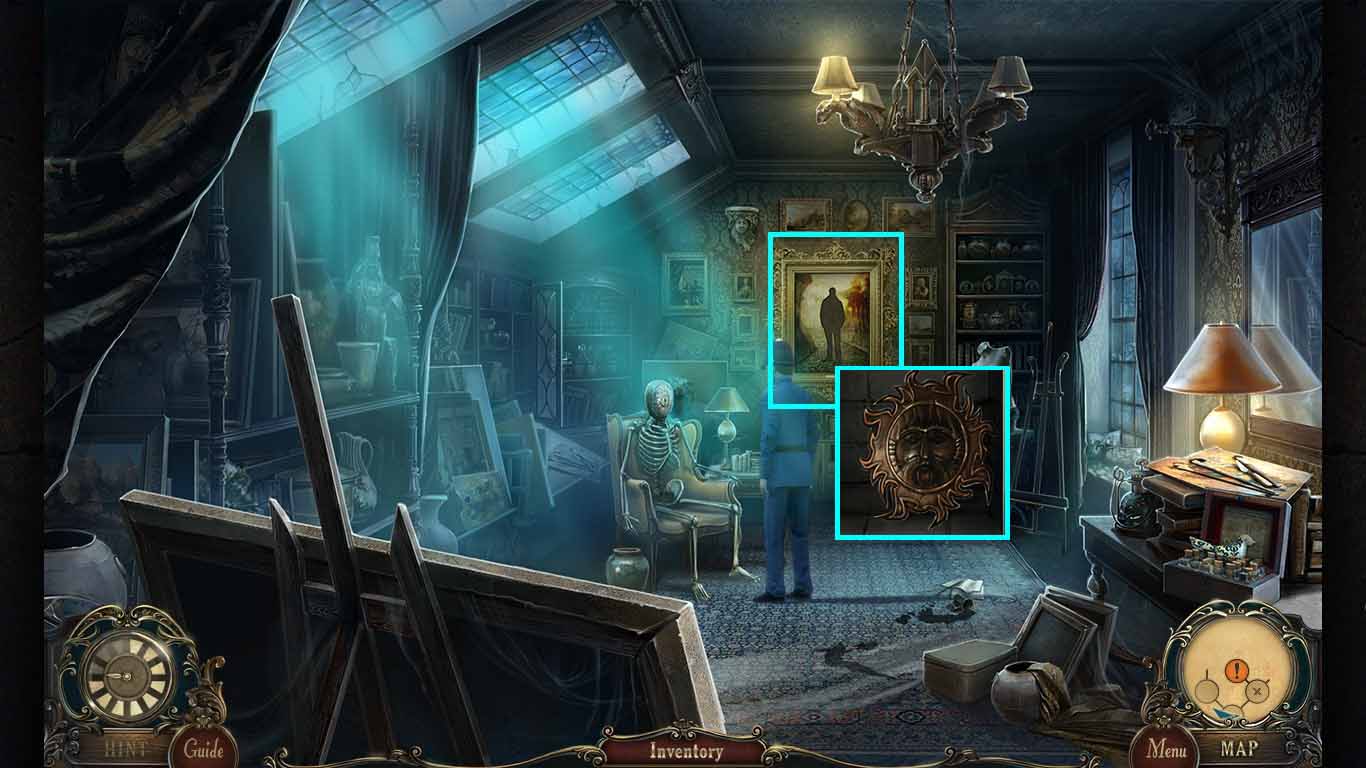
- Zoom into the frame.
- Insert the 5 mosaic pieces into the cut-out.
- Collect the dark sun.
- Walk down 3 times.
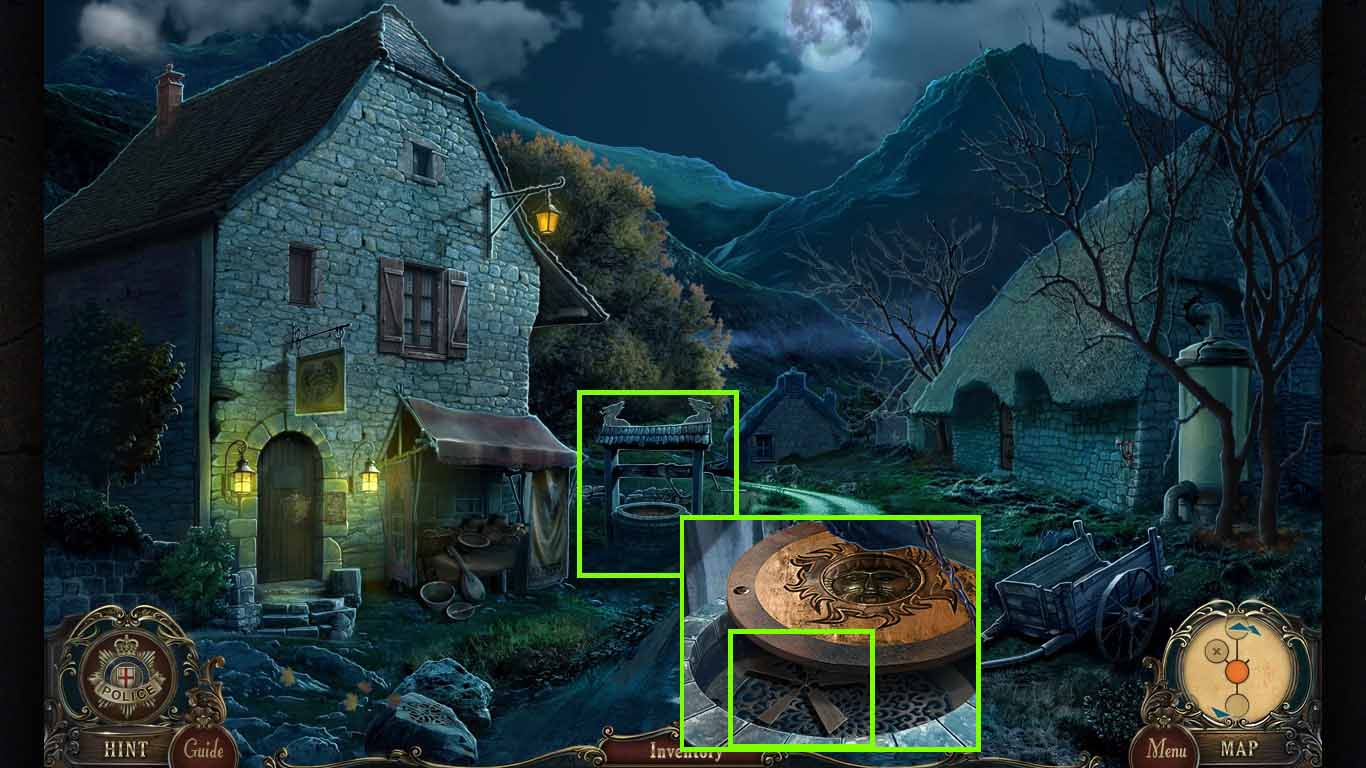
- Zoom into the well; insert the dark sun.
- Collect the windmill blades.
- Walk down two times.
- Zoom into the windmill; put the windmill blades onto the axle.
- Collect the picture tile.
- Go into the shack; zoom into the lamp to access a mini-game.
- Insert the picture tile onto the grid to trigger the game.
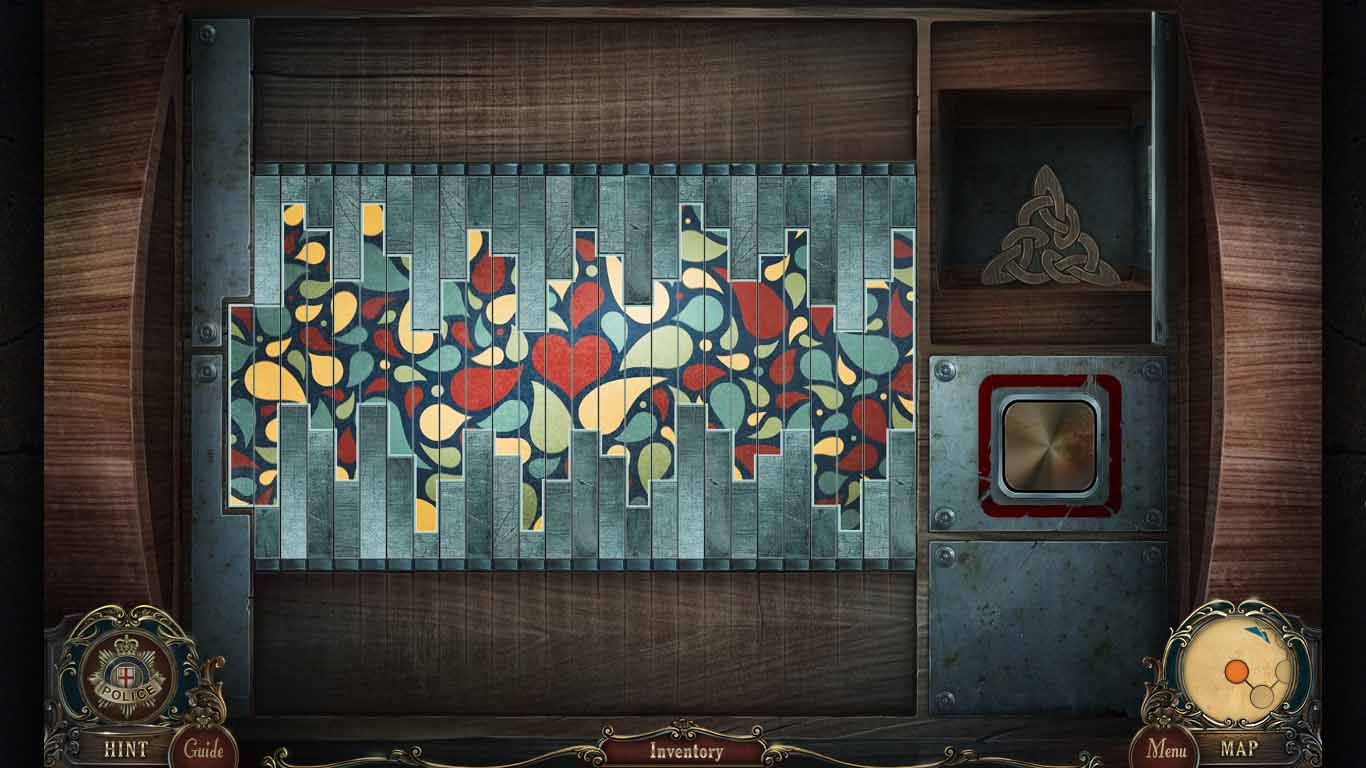
- Move the picture tiles to create a picture.
- Solve as shown.
- Collect the wooden triangle.
- Walk down one time, move forward two times and go into the store on the left.
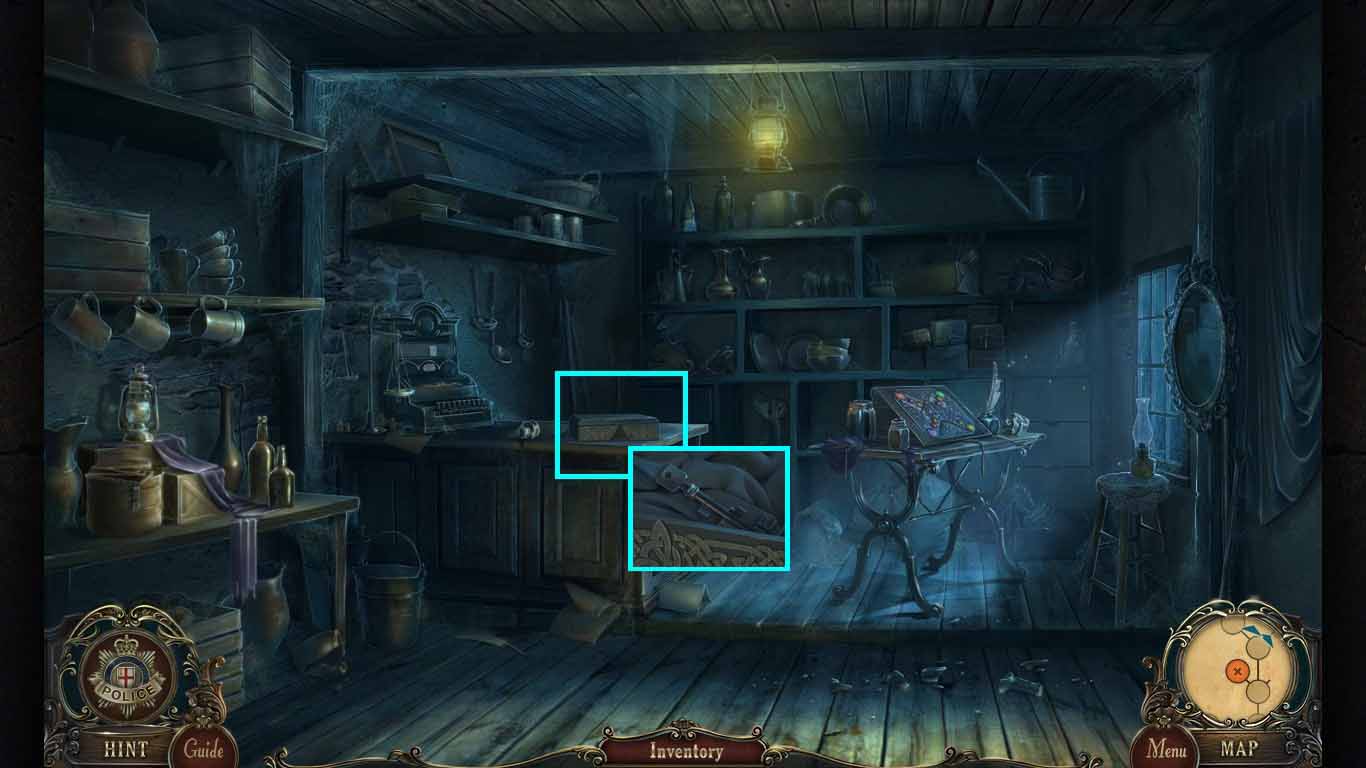
- Zoom into the counter.
- Insert the wooden triangle onto the box.
- Collect the unusual key.
- Move down one time.
- Zoom into the door on the right.
- Unlock it using the unusual key and go into the house.
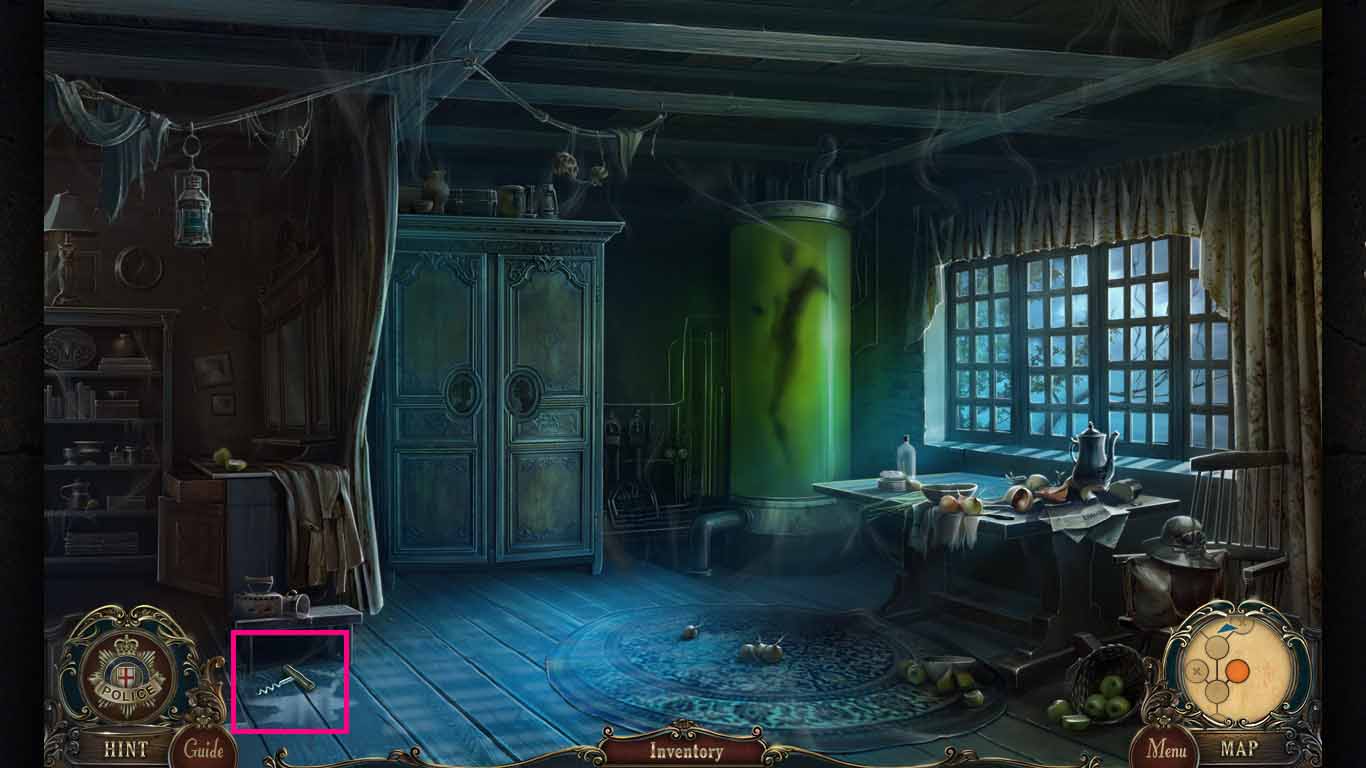
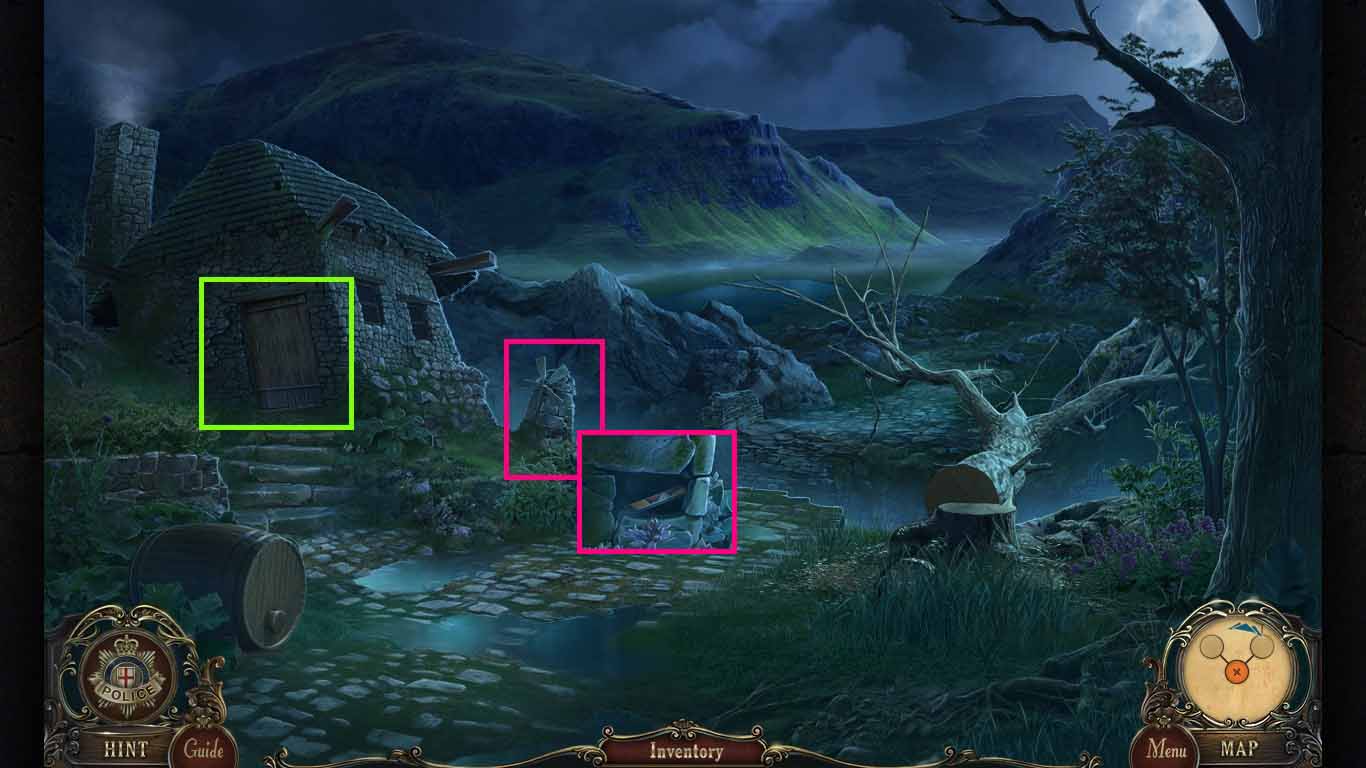
- Collect the corkscrew.
- Walk down 3 times.
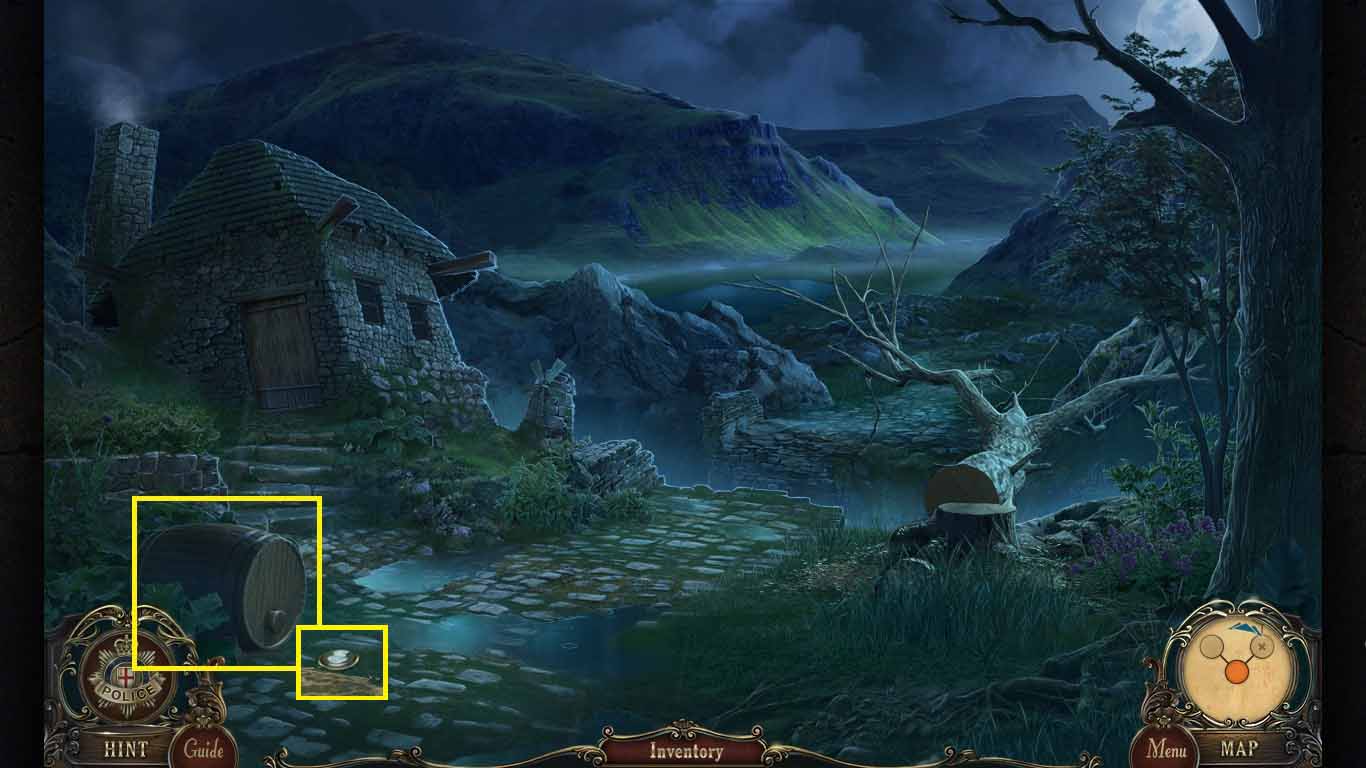
- Zoom into the barrel; use the corkscrew on the cork.
- Collect the 1st cameo.
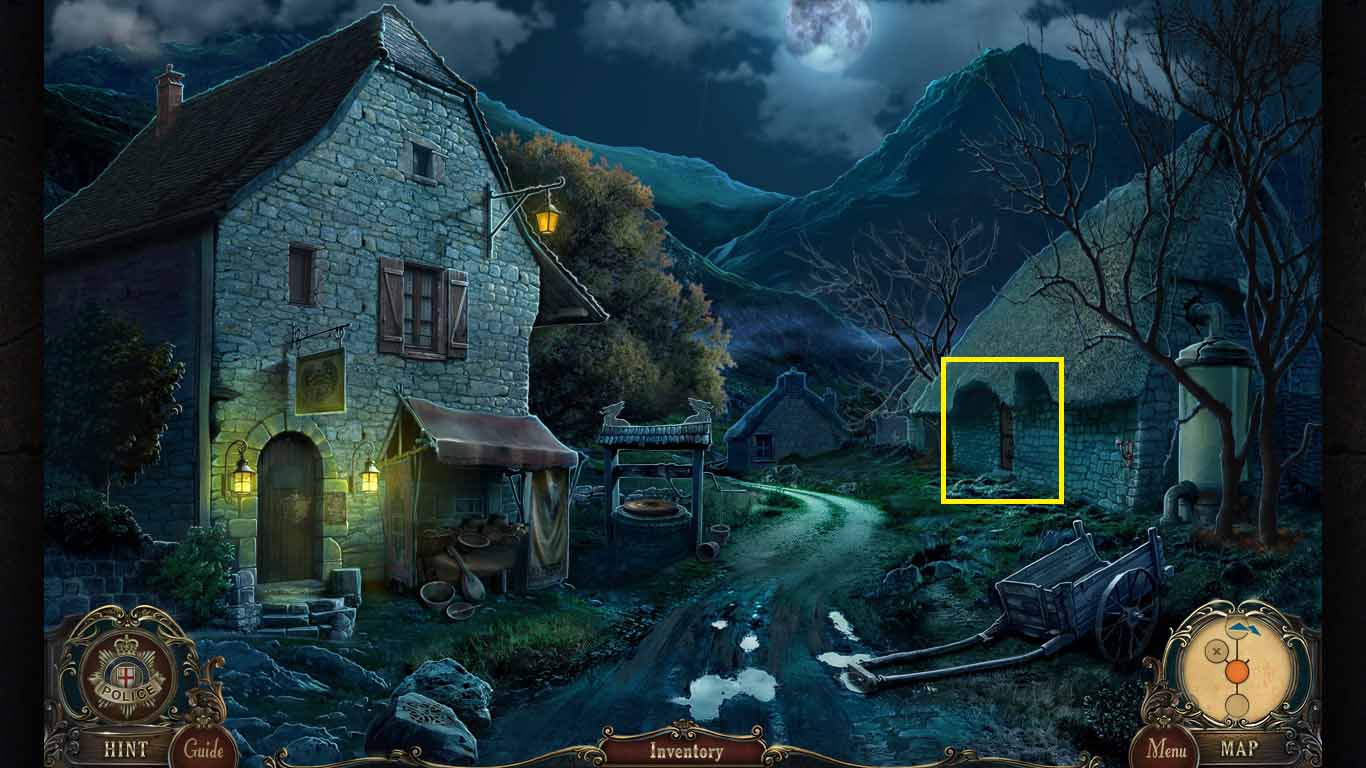
- Move forward and click the cave to access a hidden objects area.
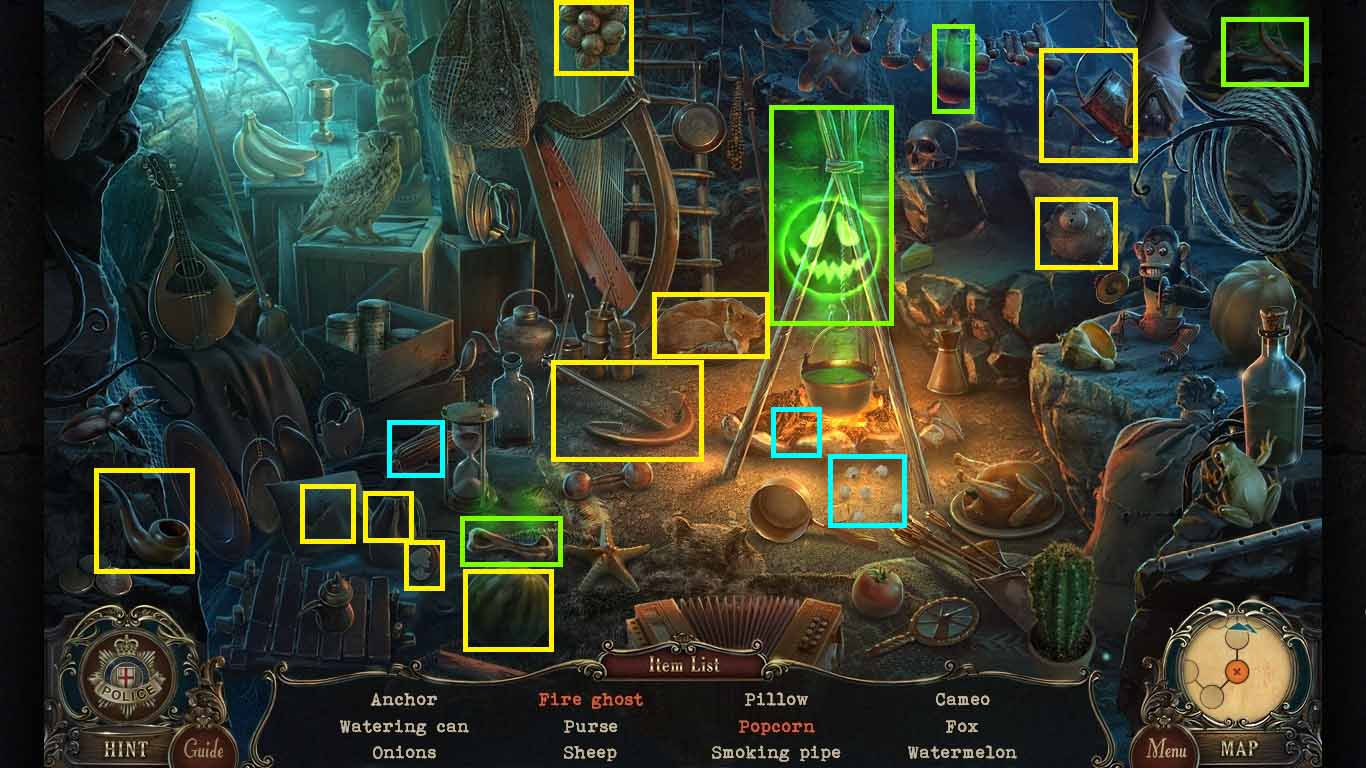
- Find the listed items.
- Make the popcorn by placing the corn into the fire.
- Make a fire ghost by putting the bone, mushroom and the root into the pot.
- Collect the 2nd cameo.
- Move forward and go into the house on the right.

- Zoom into the wardrobe; insert the 2 cameos.
- Collect the unicorn.
- Walk down one time and move forward two times.
- Zoom into the rock; put the unicorn on the pedestal.
- Collect the puzzle element.
- Walk down two times and go into the store on the left.
- Zoom into the mini-game on the table and insert the puzzle element to trigger the game.
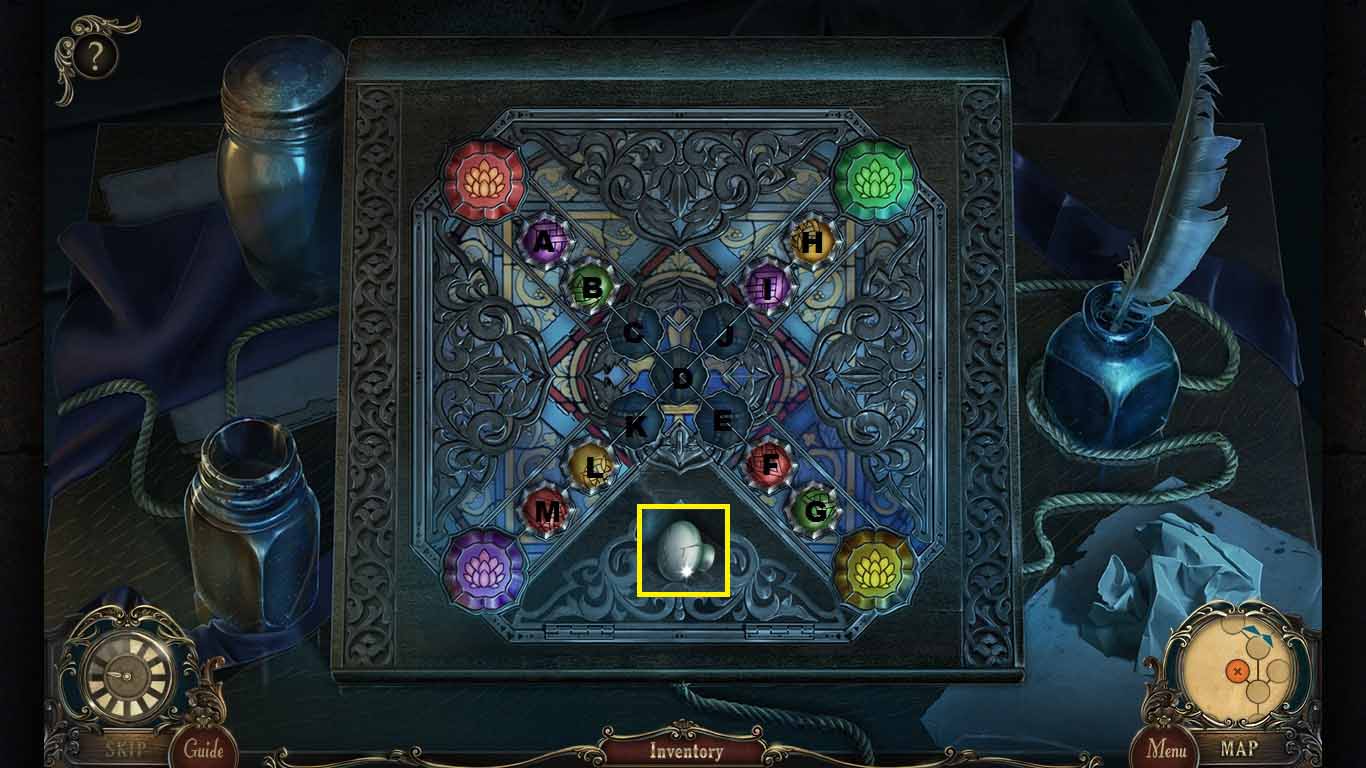
- Match the marble patterns.
-
Use the following sequence to solve the puzzle:
- (B, E)
- (A, J)
- (L, A)
- (M, B)
- (J, M)
- (I, L)
- (H, K)
- (E, H)
- (F, C)
- (G, I)
- (K, G)
- (C, J)
- (B, K)
- (A, F)
- (K, A)
- (J, B)
- Collect the drawer knob.
- Walk down one time move forward and go inside the mansion and go left.
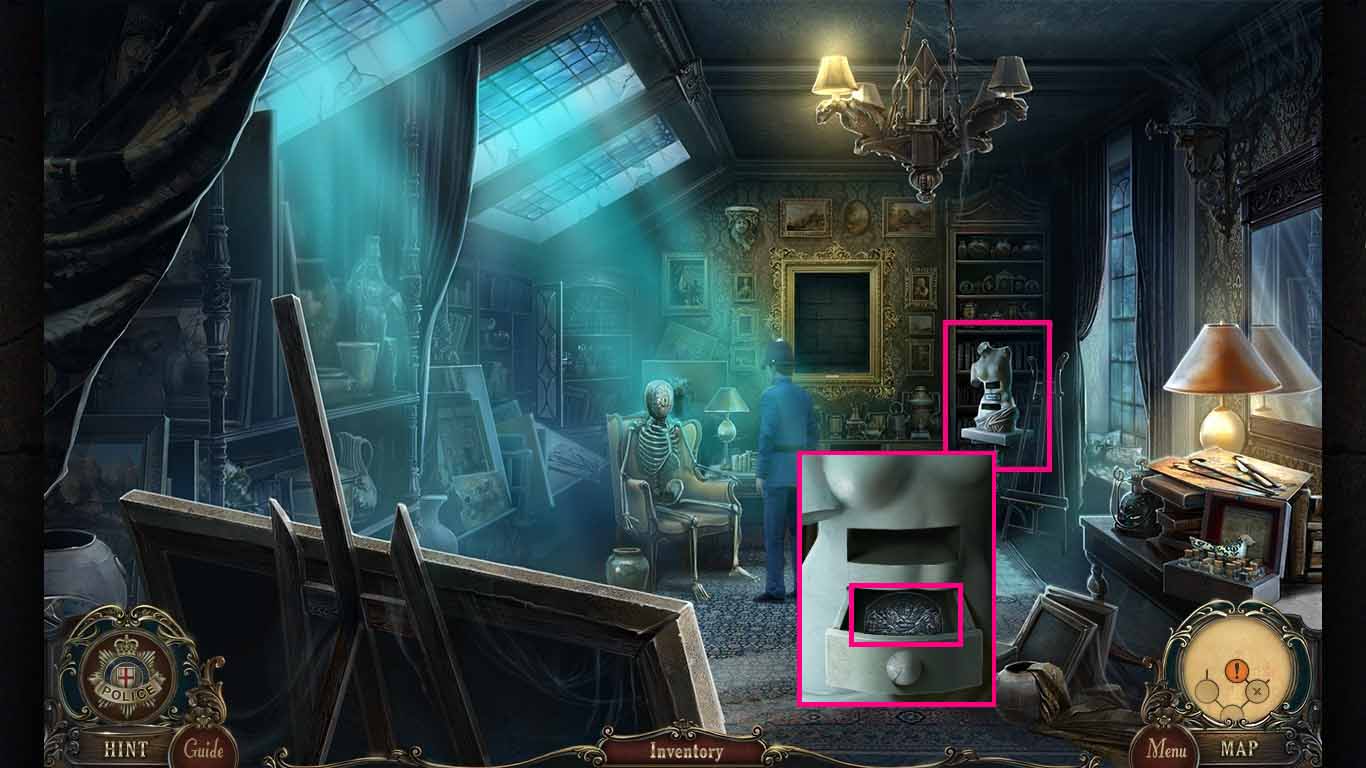
- Zoom into the torso; put the drawer knob onto the drawer.
- Click the drawer and collect the medallion.
- Walk down one time.
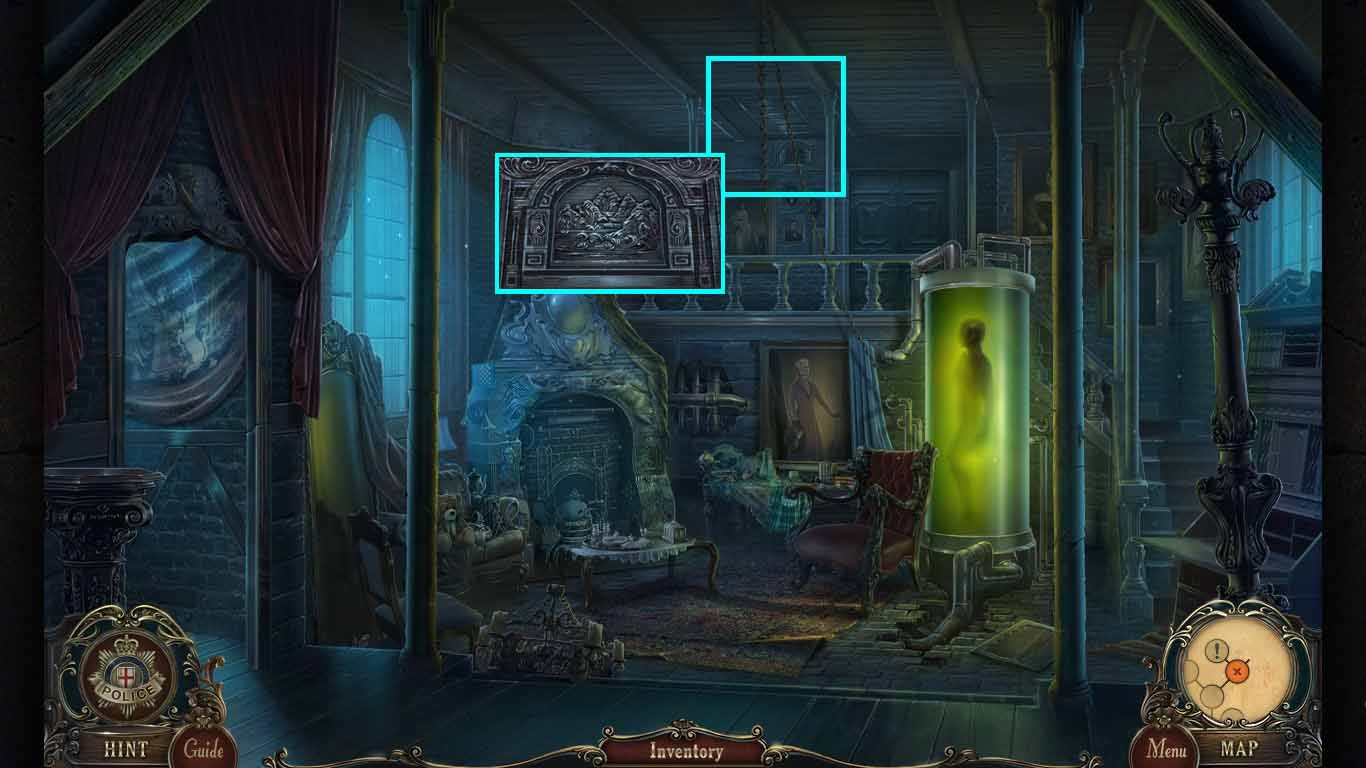
- Zoom into the ceiling and insert the medallion.
- Click the medallion and go up the ladder.
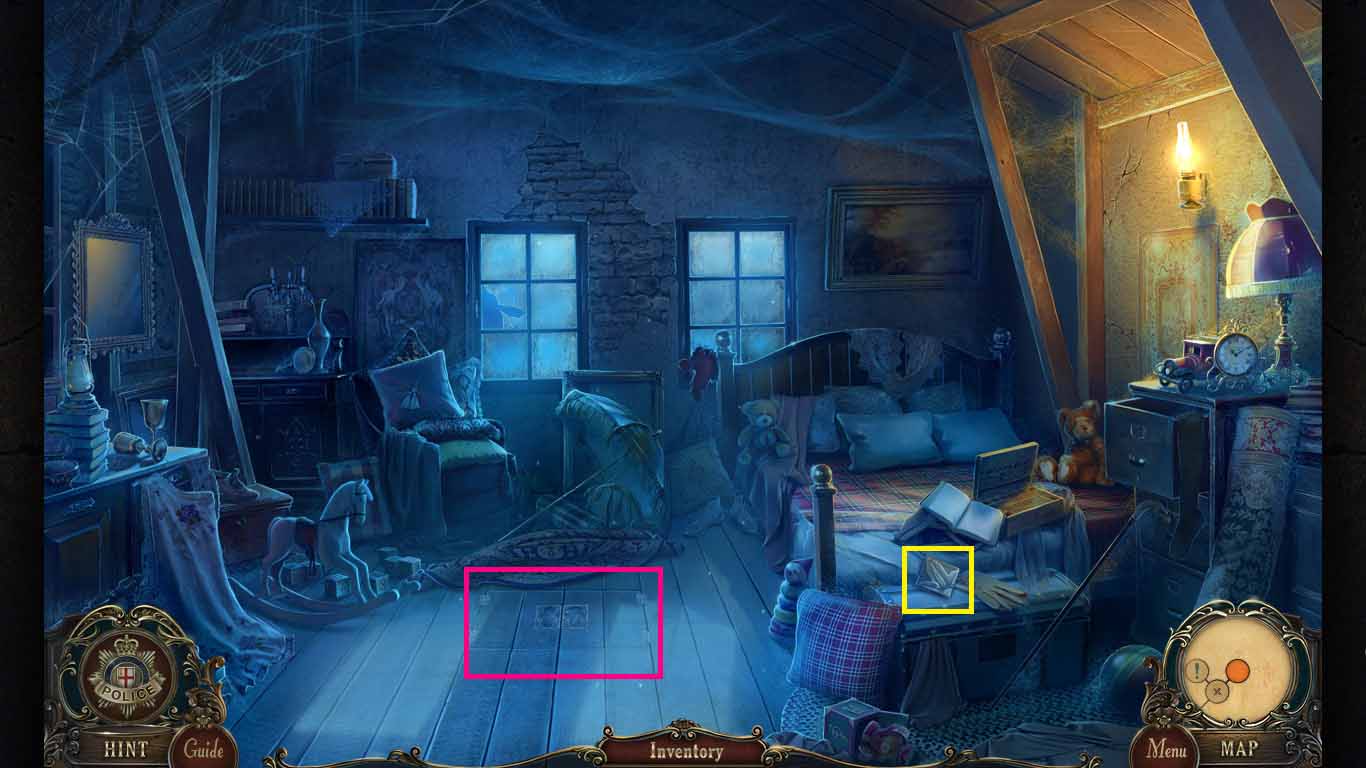
- Collect the stone flower piece.
- Move the rug and notice the trap door.
- Move down one time and click the fireplace to access a hidden objects area.
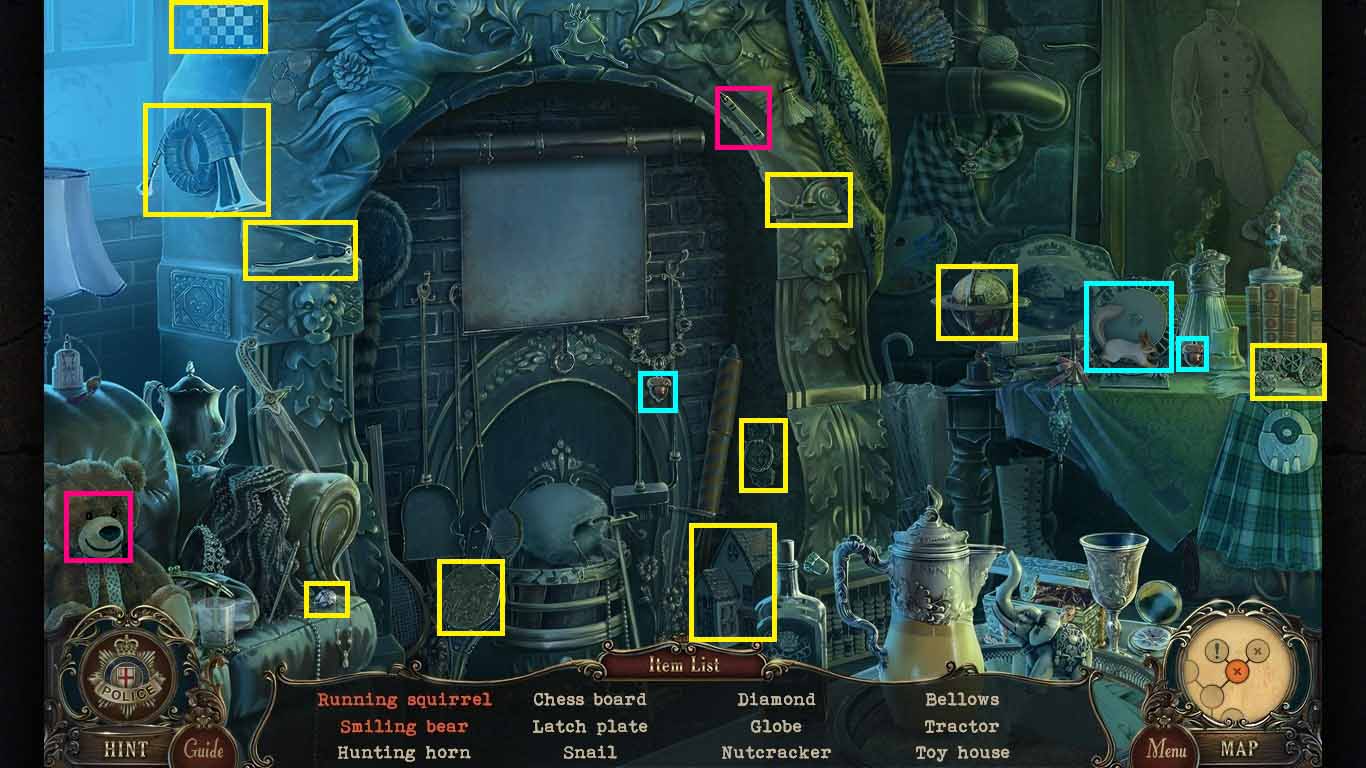
- Find the listed items.
- Make the smiling bear using the crayon on the bear.
- Make the squirrel run by putting the acorn in front of the wheel.
- Collect the 1st latch handle.
- Walk down one time.
- Zoom into the rock; insert the stone flower piece.
- Collect the 2nd latch handle.
- Go into the house and up the ladder to the attic.
- Zoom into the trap door; insert the 2 latch handles.
- Go inside and collect the helmet key.
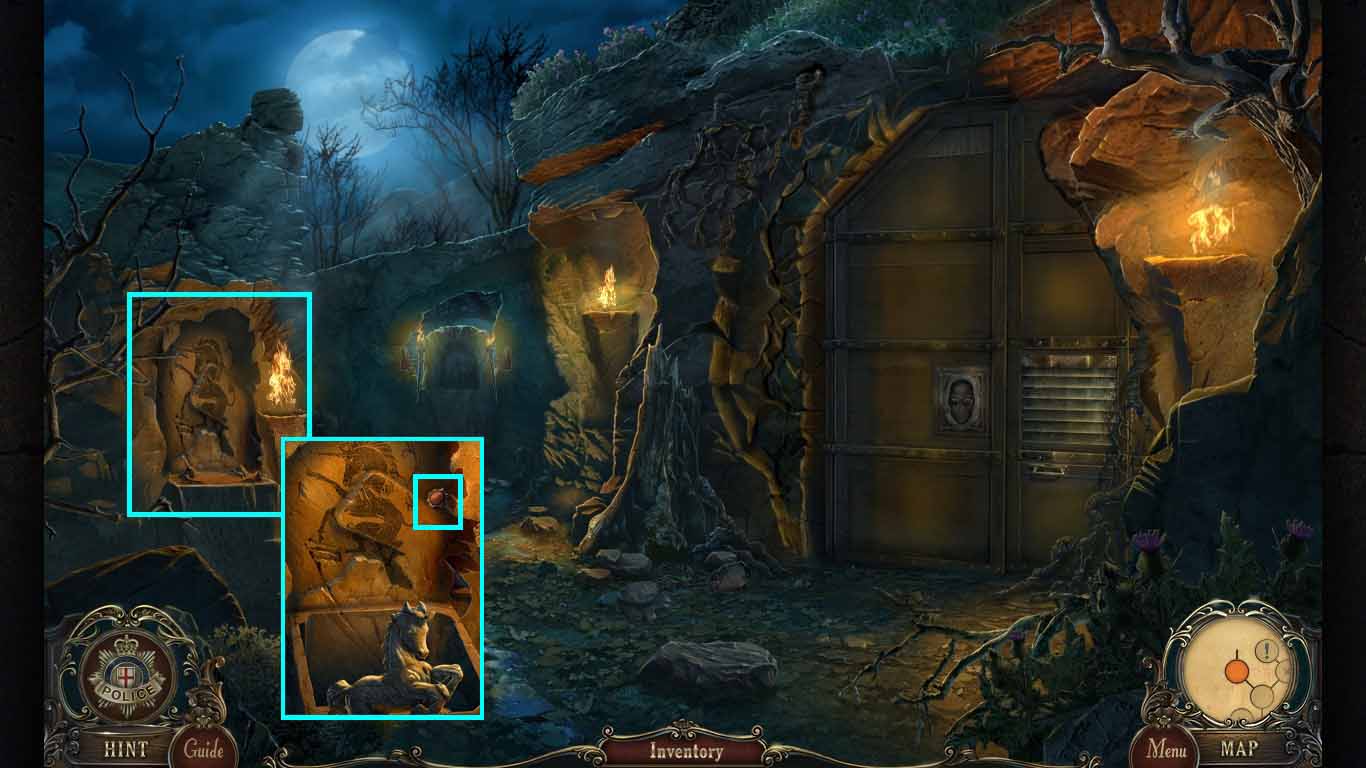
- Walk down one time and move left.
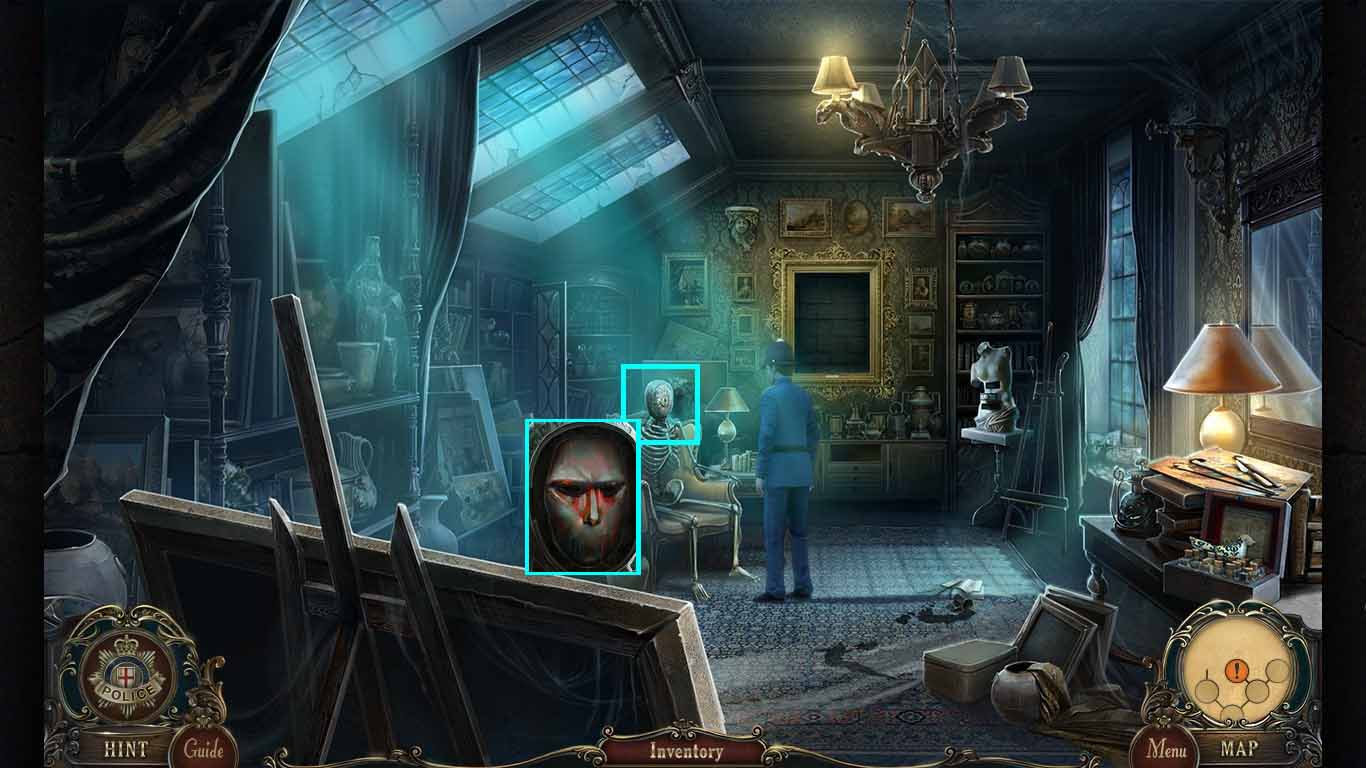
- Zoom into the skeleton; unlock it using the helmet key.
- Collect the mask.
- Walk down two times and move forward.
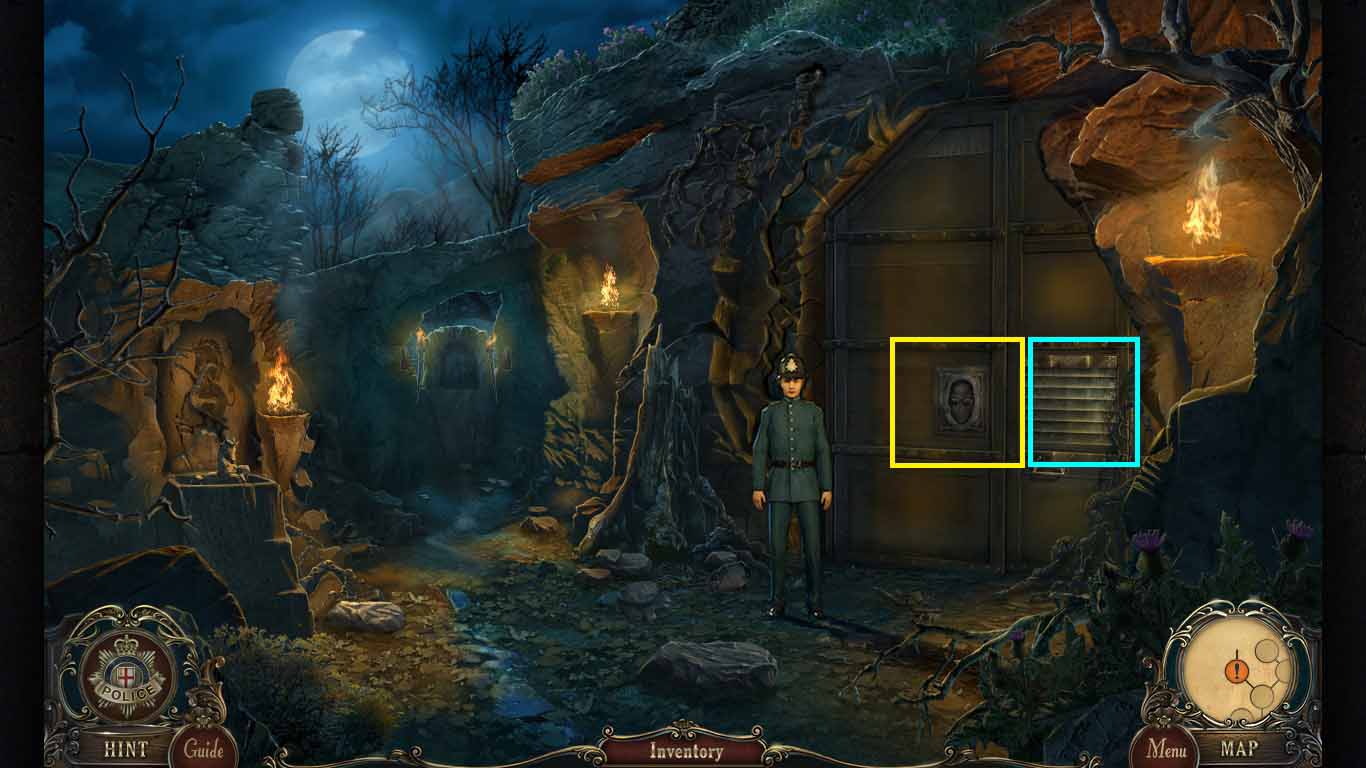
- Zoom into the door and insert the mask.
- After the cut-scene; zoom into the door to access a mini-game.
![]()
- Insert the arrows from the reservoir onto the circles.
- Use them to guide the lotus to the heart.
- Click the start button.
Congratulations! You have successfully completed Brink of Consciousness: The Lonely Hearts Murders.
Comments will load when you reach this part of the walkthrough.