
Chapter Two: Tour the Temple
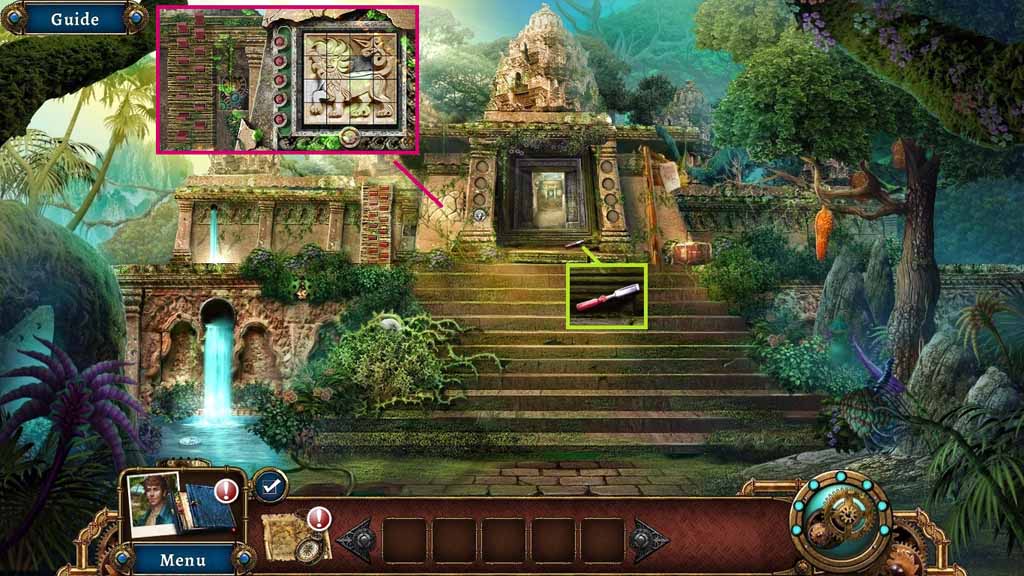
- Click the door two times and collect the chisel.
- Use the chisel four times on the cracks to trigger a puzzle.
- Solve the puzzle by completing the image.
- Move up the ledge.
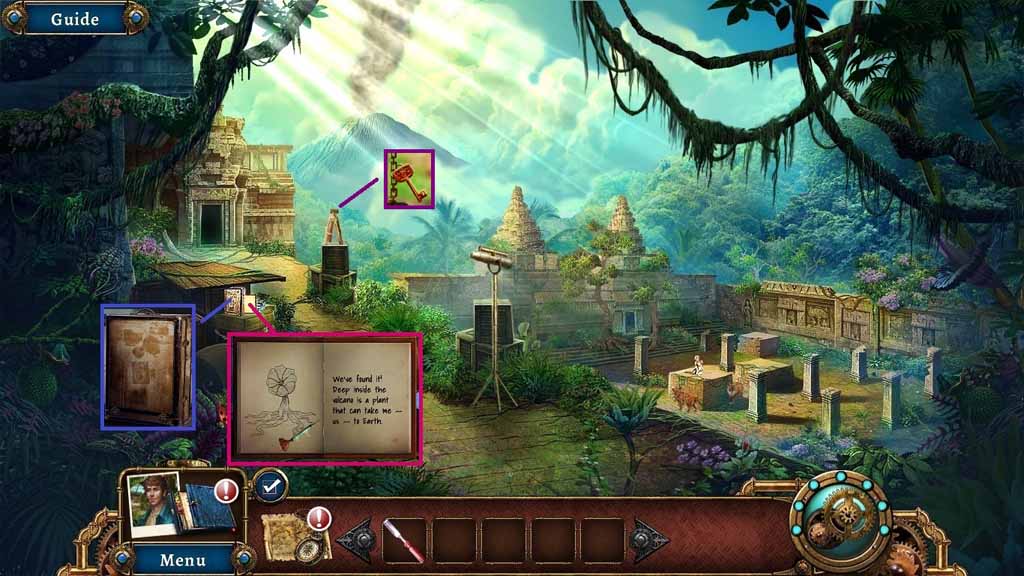
- Collect the chemist’s kit.
- Click the pages and collect the 1/2 empty darts.
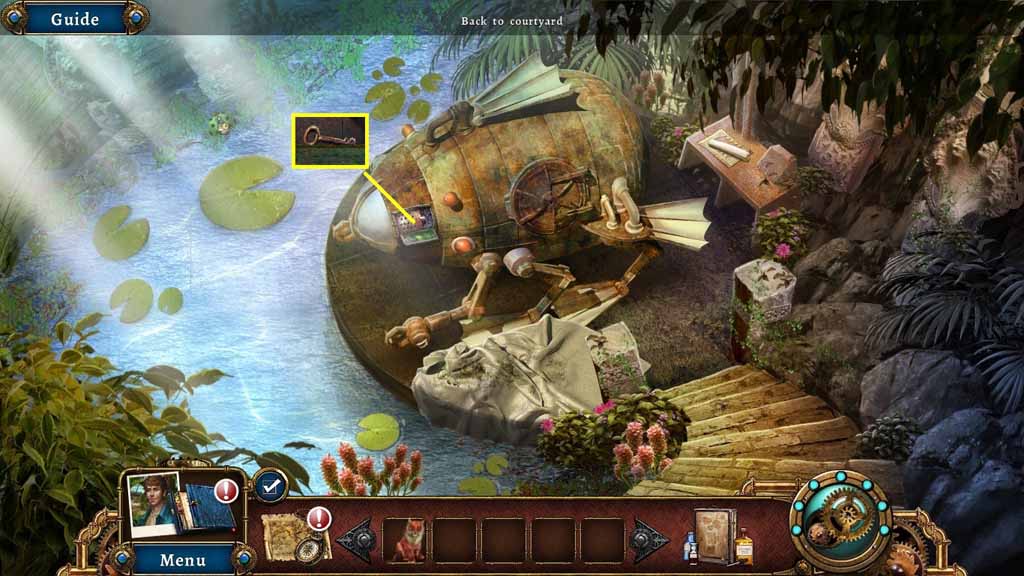
- Collect the key.
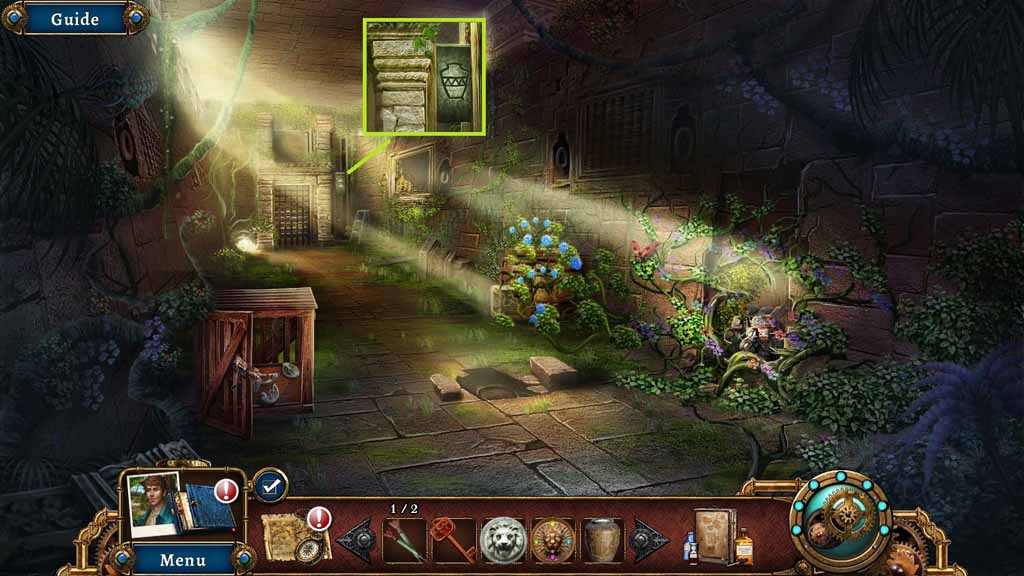
- Move ahead.
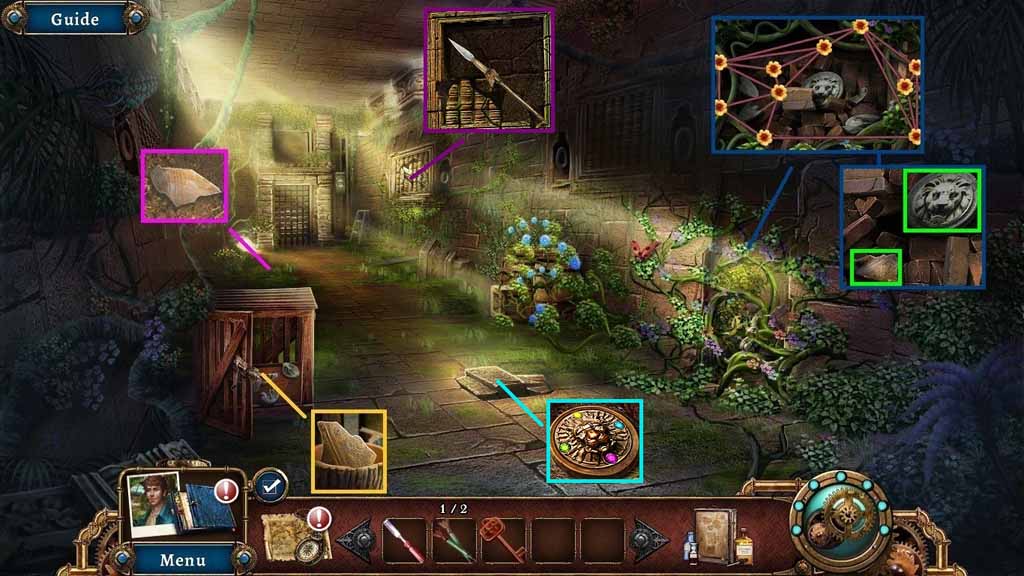
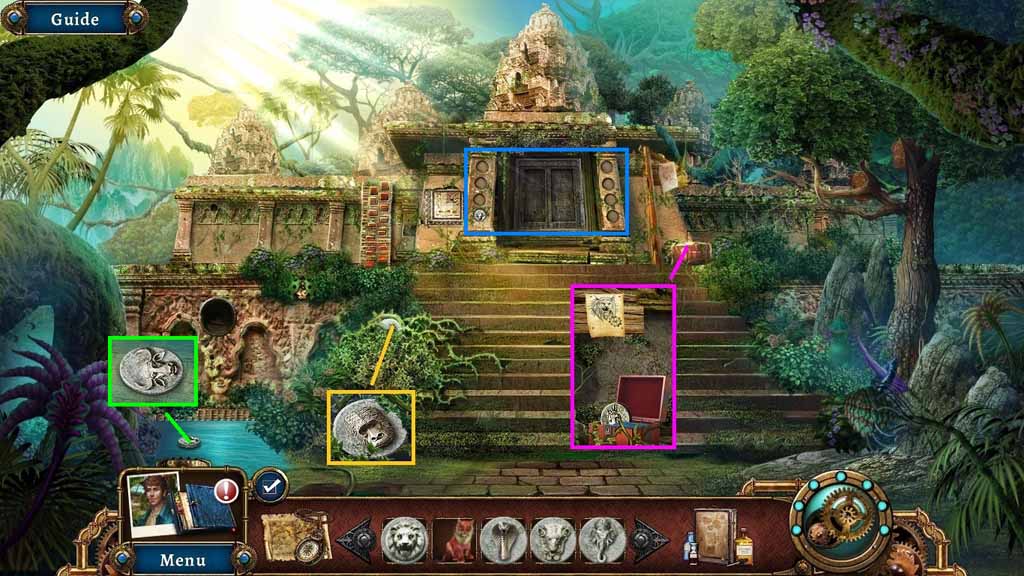
- Collect the first and second jar shards.
- Zoom into the vines to trigger a puzzle.
- Solve the puzzle by untangling the ropes.
- Click the bricks and collect the token and the third jar shard.
- Select the chisel to use four times on the wall and collect spear.
- Use the spear to remove the stones and collect the centerpiece.
- Move back once.
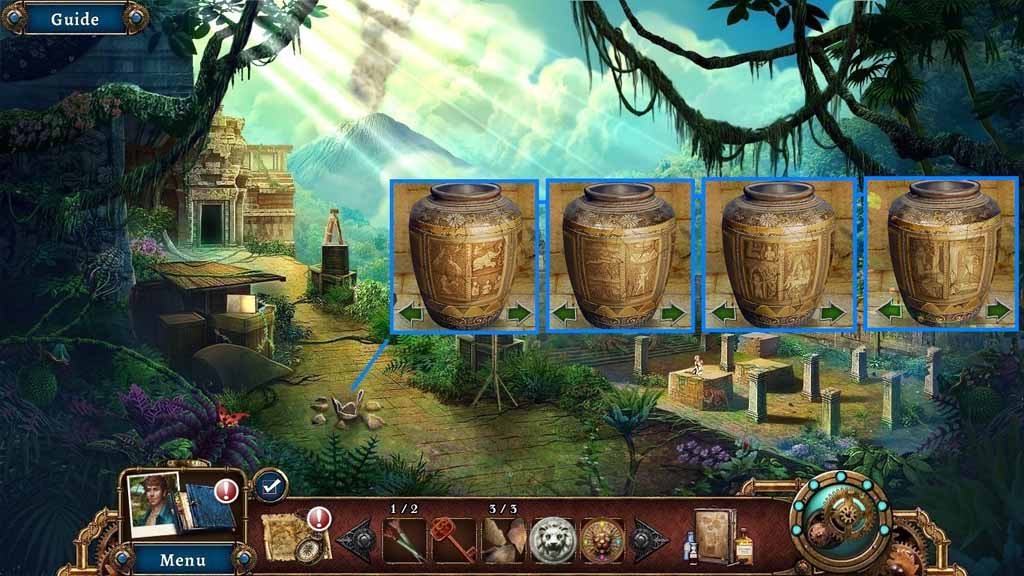
- Place the three jar shards onto the jar to trigger a puzzle.
- Solve the puzzle by correctly assembling the jug.
- Collect the empty jug.
- Move back once.
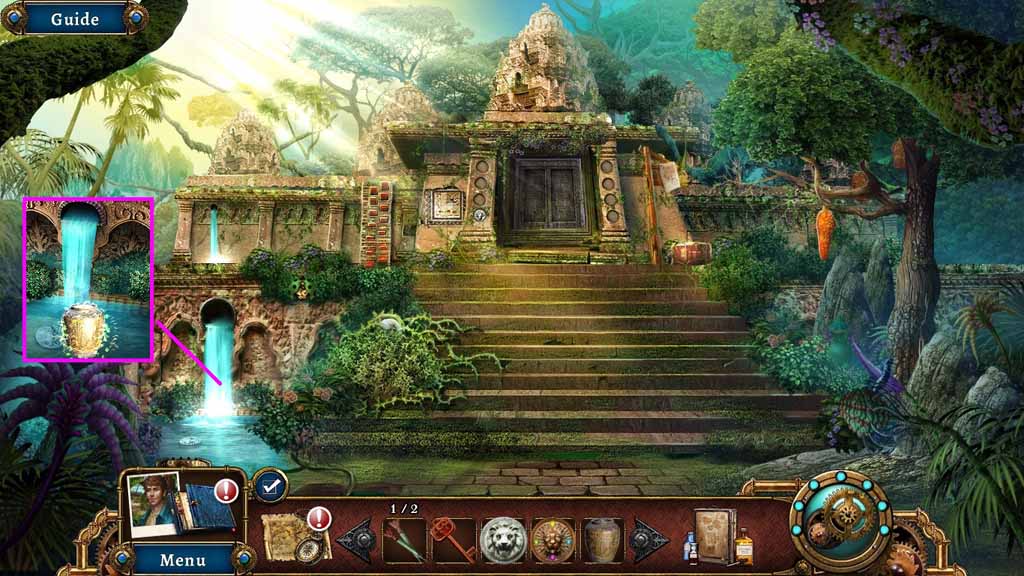
- Place the empty jug into the waterfall to collect the filled jug.
- Move to the Temple Hall.
- Place the filled jug onto the pulley.
- Move ahead.
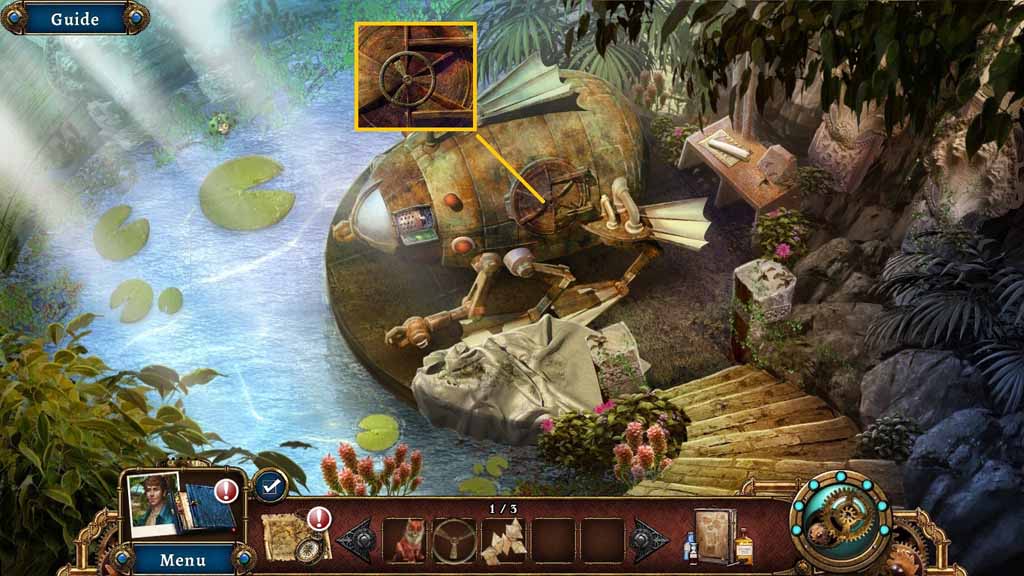
![]()
- Collect the University logo.
- Collect the rock.
- Collect the recipe and the needle and thread.
- Insert the key into the lock and collect the 2/2 empty darts.
- Click the desk to trigger a hidden objects area.
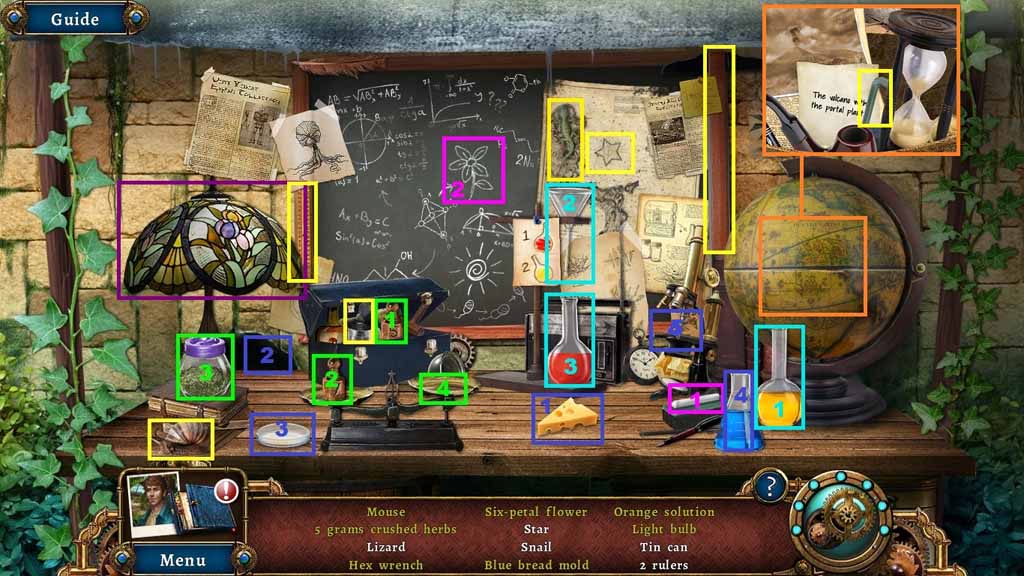
- Click the tool box to uncover and collect the tin can and the 5gm. weight; place the weight onto the scale.
- Select the herbs and place them onto the scale; collect the 5 grams of crushed herbs.
- Select the yellow beaker and pour it into the funnel; collect the orange solution.
- Select the chalk and use it on the flower; collect the six petal flower.
- Click and drag the lampshade up to collect the light bulb.
- Click the hat to uncover the cheese.
- Place the cheese in front of the mouse hole; collect the mouse and the bread.
- Place the bread into the dish and pour the blue liquid onto it; place it under the microscope and click it once then collect the blue bread mold.
- Click the globe and collect the hex wrench.
- Move back two times.
- Insert the University logo into the box.
- Use the needle and thread to mend the toy; collect the plush toy.
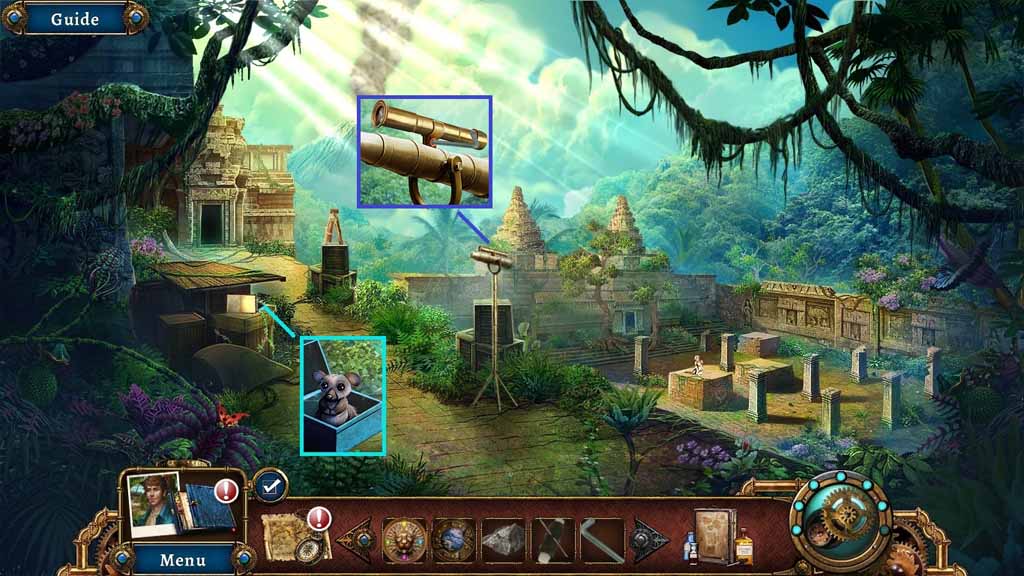
- Select the Allen wrench to remove the screw and collect the scope.
- Move back once.
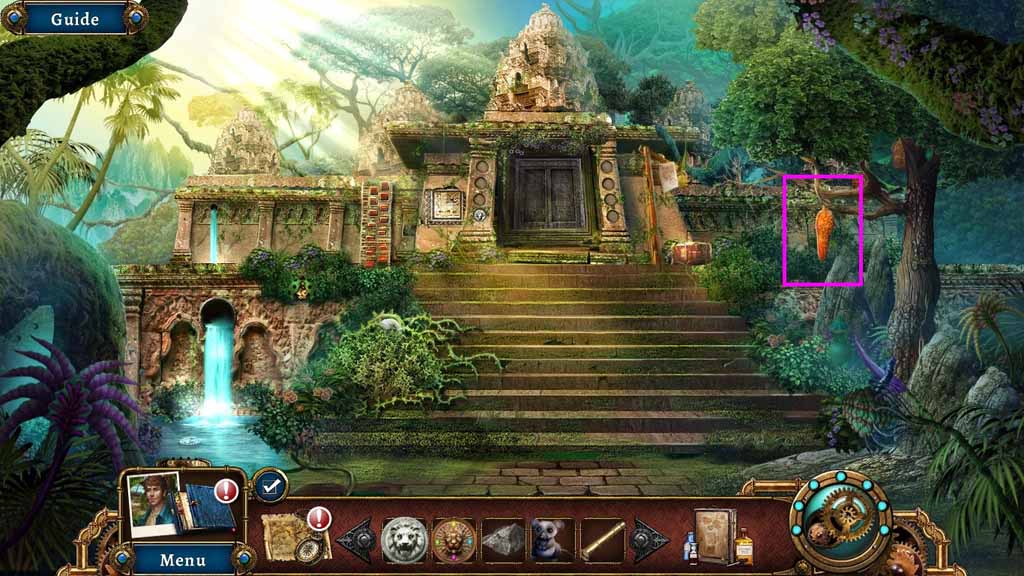
- Select the rock to toss toward and collect the thorn fruit.
- Move to the Abandoned camp.
- Attach the scope onto the rifle.
- Give the Tiger the plush toy and the thorn fruit; collect the spike Tiger.
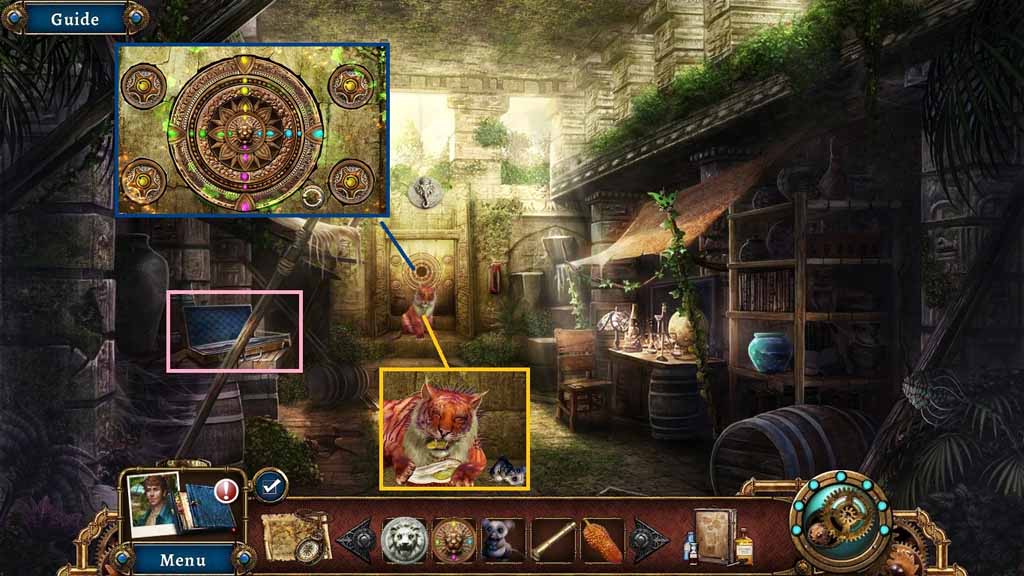
- Insert the centerpiece into the door to trigger a puzzle.
- Solve the puzzle by rotating the rings and completing the image.
- Select the spiked Tiger to clear the vines.
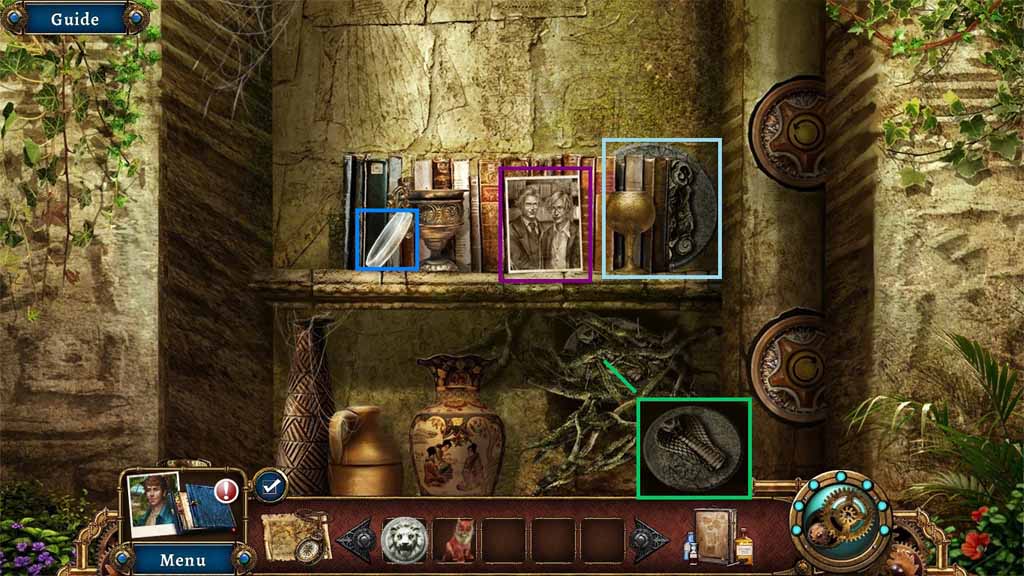
- Collect the second and third tokens, the petri dish and the photo.
- Select the spiked Tiger to use on the token and collect the fourth token.
- Click the lever.
- Move back once.
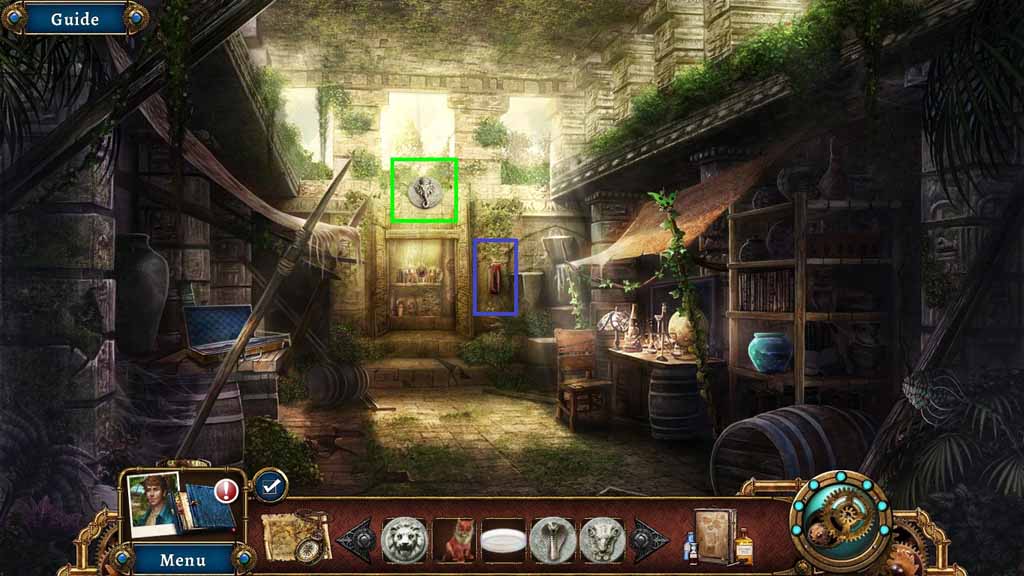
- Select the petri dish to use on the flowers.
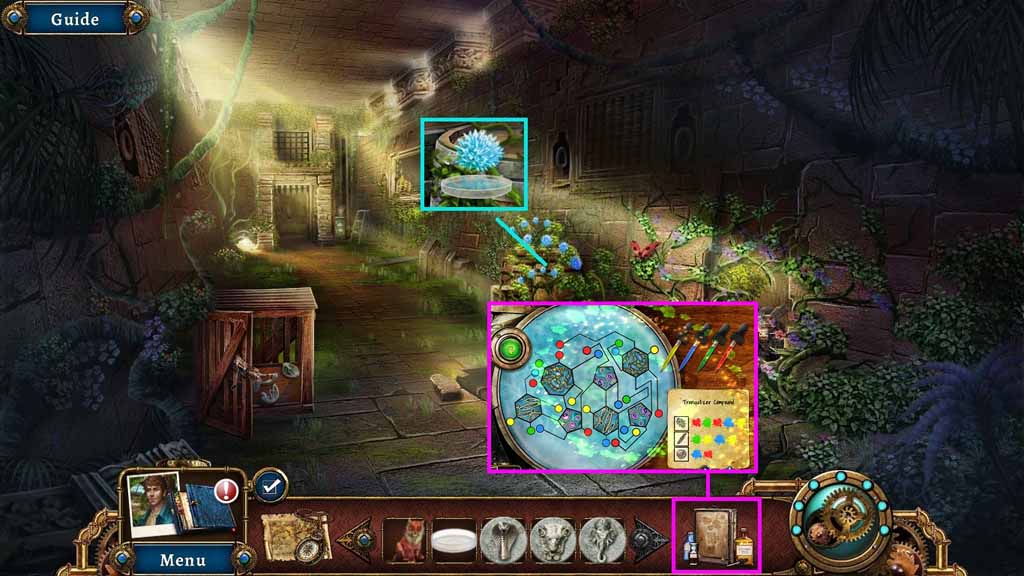
- Click the chemist’s kit to trigger a puzzle.
- Solve the puzzle by creating the correct combination of colors.
- Collect the tranquilizer rifle.
- Move back once.
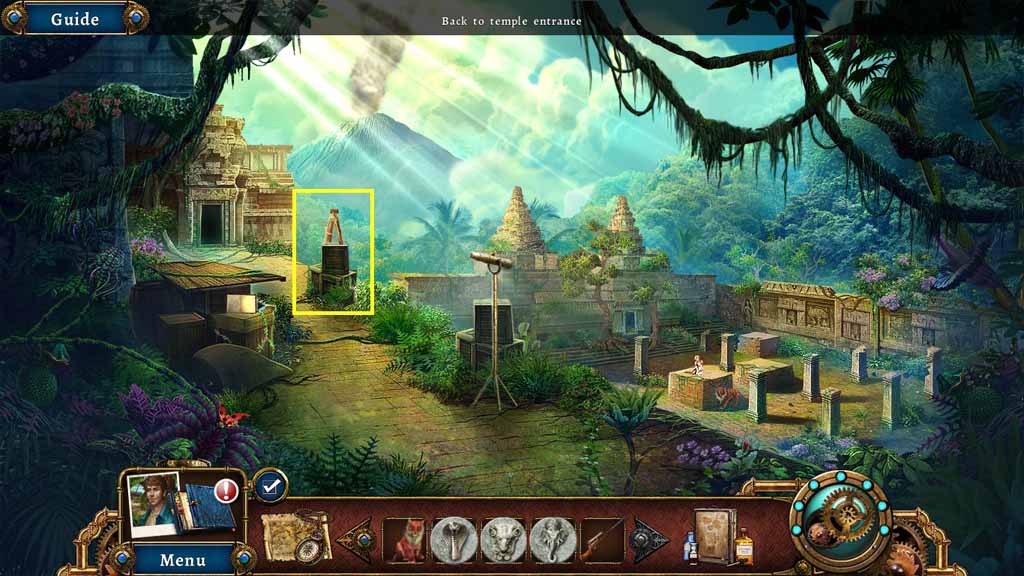
- Place the tranquilizer rifle onto the tripod.
- Move back once.
- Select the spiked tiger to clear the vines and collect the 5th token.
- Select the spiked tiger to clear the vines and collect the 6th token and the poster.
- Collect the 7th token.
- Zoom into the doorway and insert the seven tokens into the correct slots.
- Move ahead two times.
- Click the cover.
- Zoom in and collect the metal key.
- Move back one time.
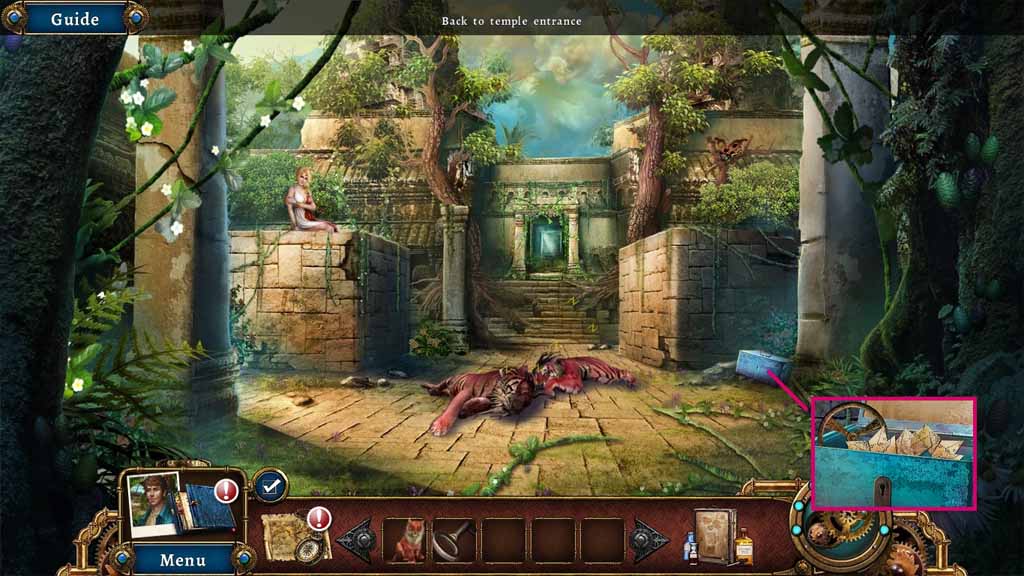
- Insert the metal key into the box lock and collect the 1/3 schematic pieces and the valve.
- Move ahead.
- Attach the valve onto the door and click it once.
- Move into the submarine.
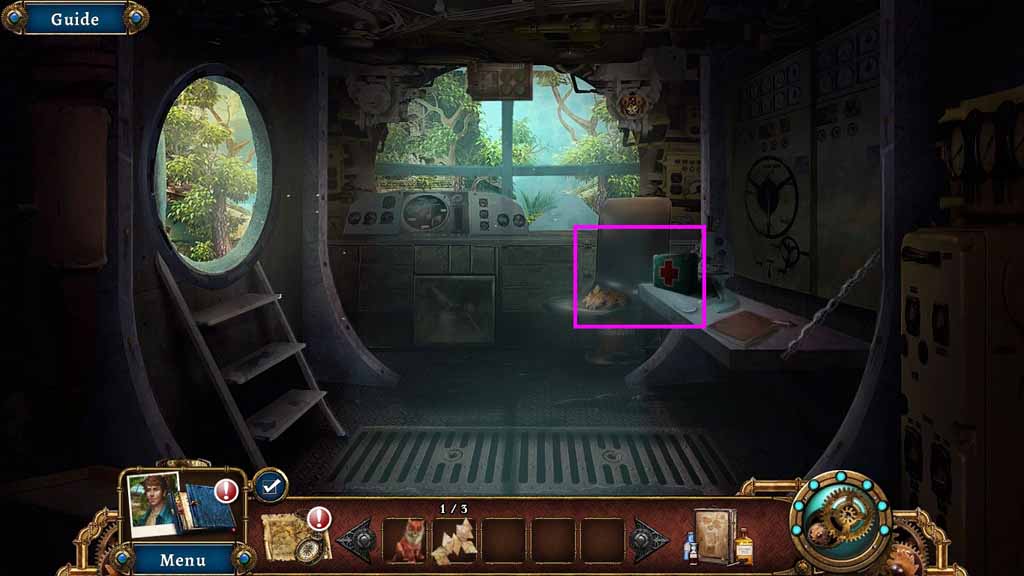
- Collect the 2/3 schematic pieces and the first aid kit.
- Move to the Temple courtyard.
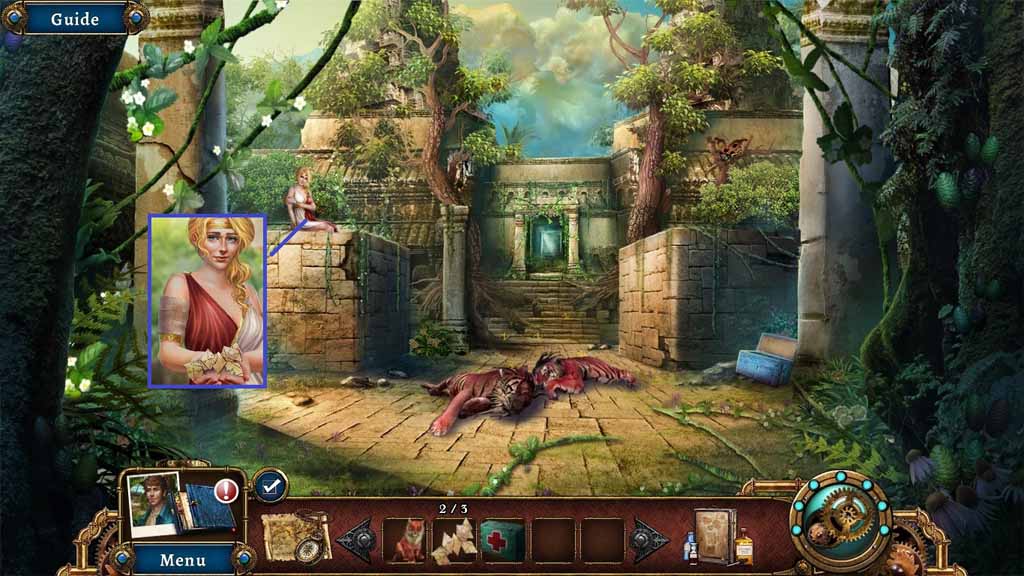
- Use the first aid kit on Kassandra; collect the 3/3 schematic pieces.
- Move ahead.
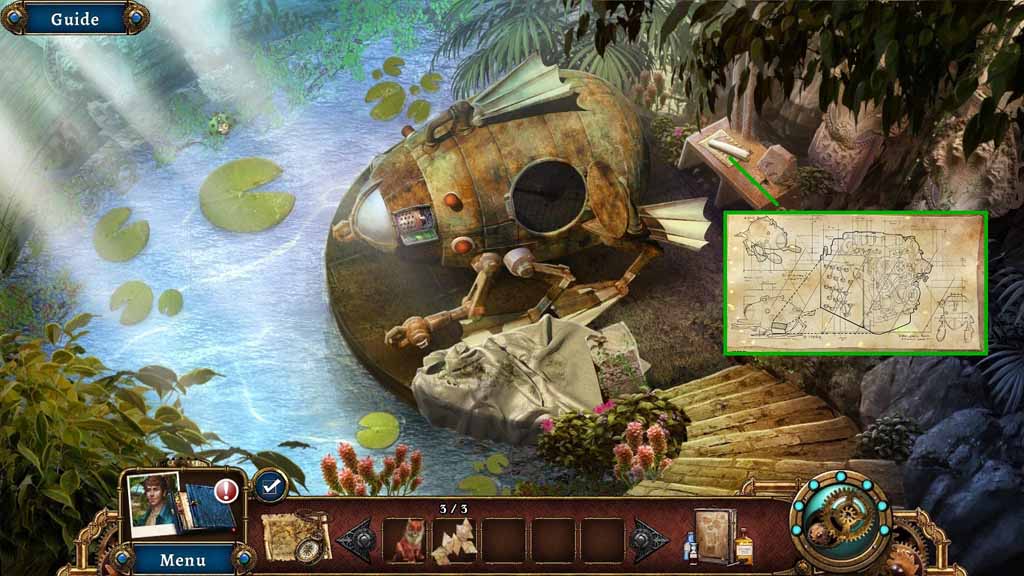
- Collect the note.
- Insert the three schematic pieces into the schematic to trigger a puzzle.
- Solve the puzzle by completing the schematic.
- Collect the submarine schematic.
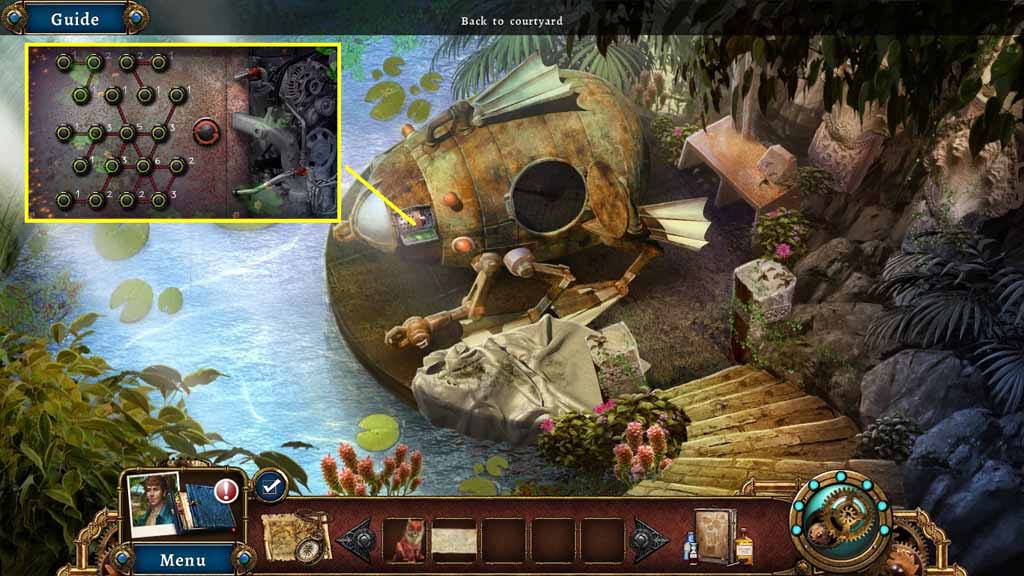
- Attach the submarine schematic onto the panel to trigger a puzzle.
- Solve the puzzle by connecting the nodes to the correct number of wires.
Comments will load when you reach this part of the walkthrough.