
Lost Lands: The Four Horsemen: Chapter One: Enter the Glades
Our Lost Lands The Four Horsemen Walkthrough will provide the backup you're going to need as you attempt to track down and face these nefarious horsemen who are searching for the key that will allow them to control parallel worlds! As the champion of the Lost Lands, it's up to you to face these dangerous men! Good thing you have our custom marked screenshots, detailed gaming instructions, and simple puzzle solutions to help you out along the way!
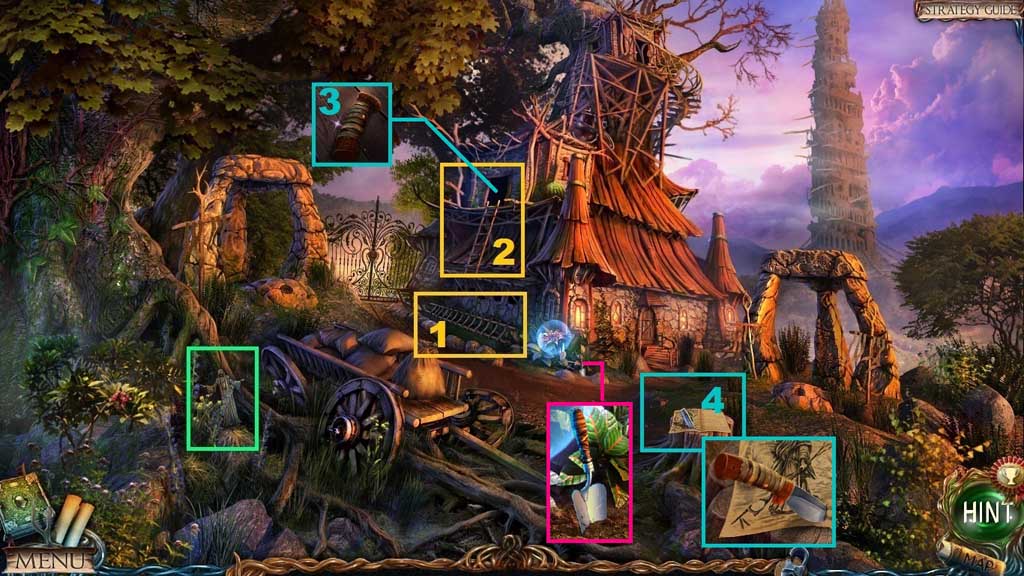
- Collect the ladder and place the ladder against the structure.
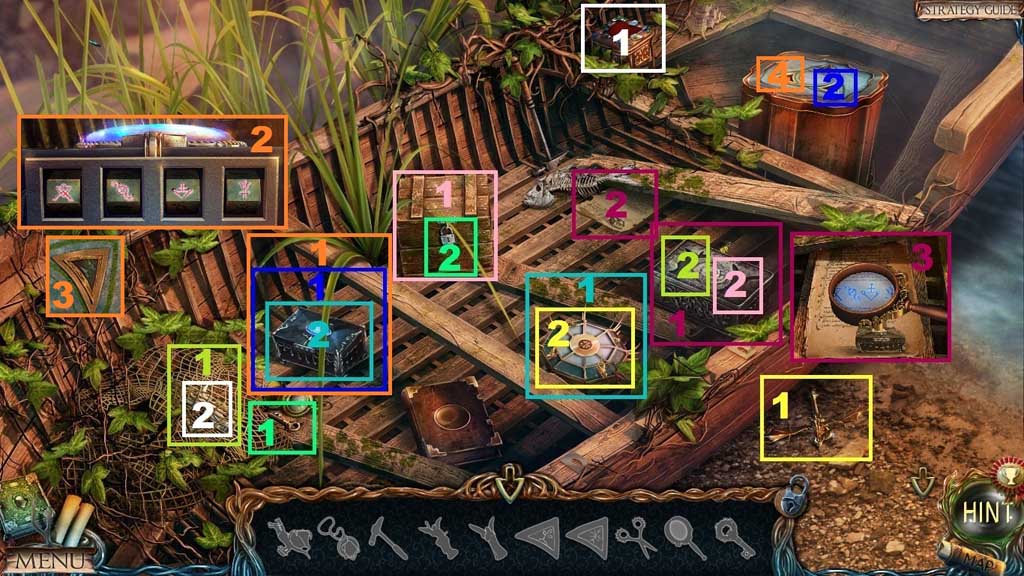
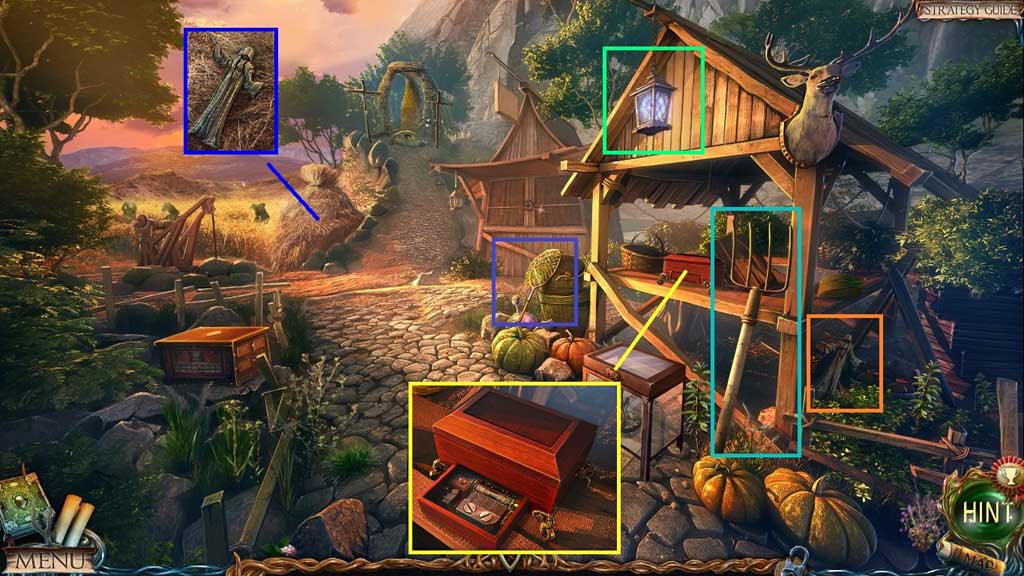
- Collect 1 / 8 monk figurines.
- Collect the knives handle and attach it to the blade; collect the knife.
- Collect the shovel.

- Select the knife to slice the sack.
- Collect the key and 2 /8 monk figurines.
- Insert and click the key.
- Move to Maaron’s Cottage.
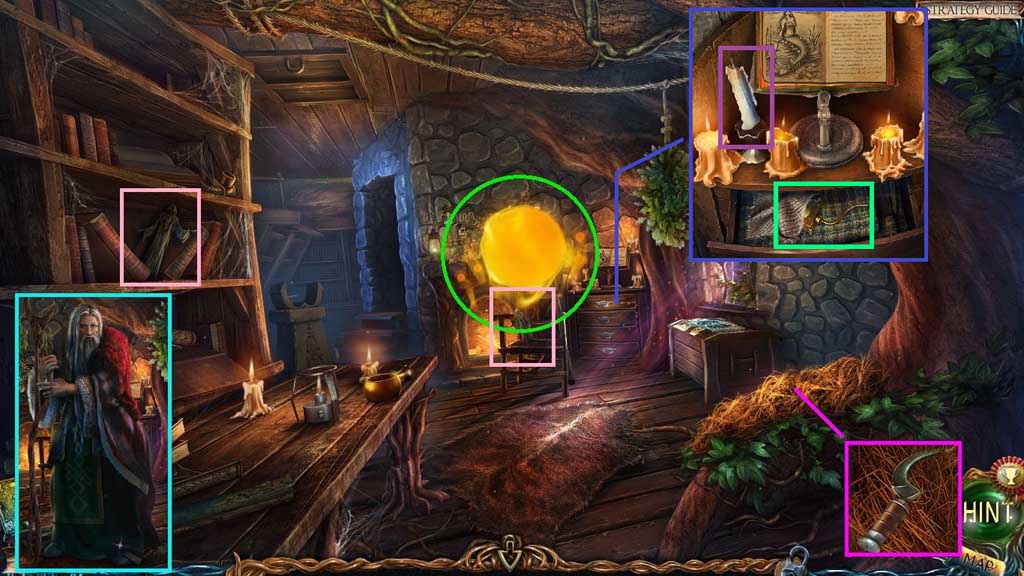
- Click the sphere.
- Speak to the man; receive the rune.
- Click the hay 2x’s; collect the sickle.
- Collect 3 /8 and 4 / 8 monk figurines.
- Click the drawer.
- Click the cloth aside and collect the full oil can and the candle.
- Move down once.
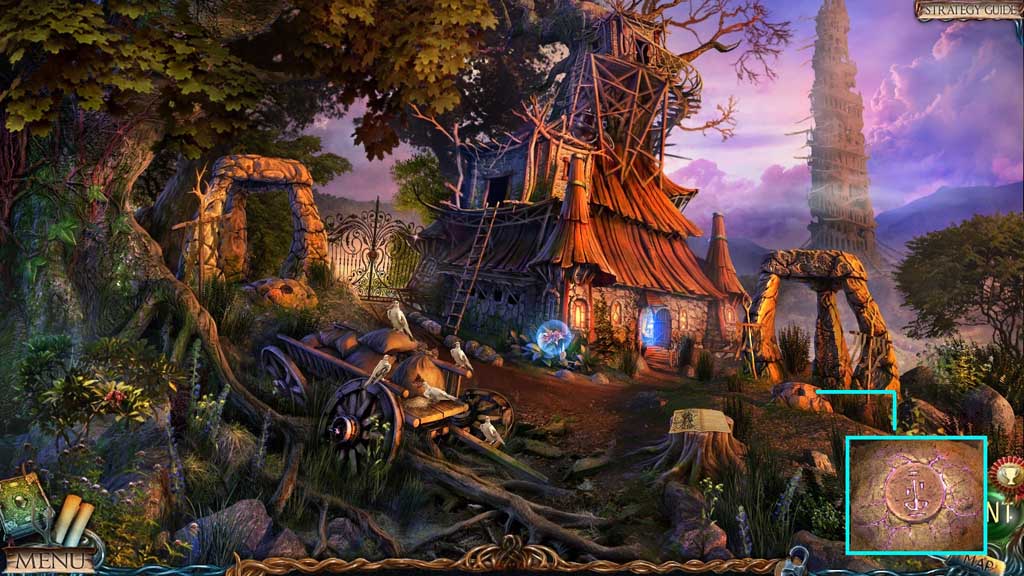
- Insert the rune.

- Collect the hammer.
- Move to the left.
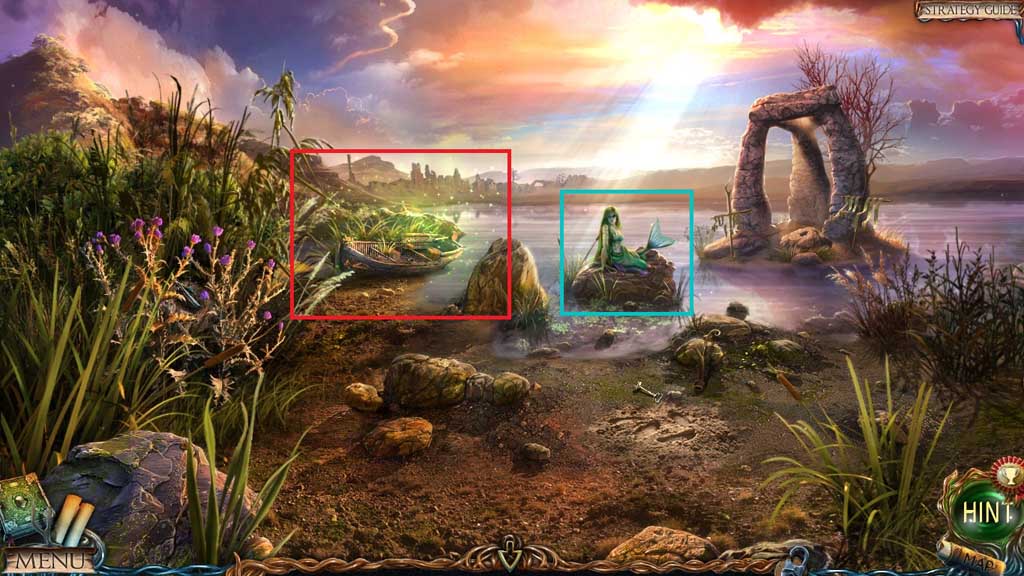
- Speak to the mermaid and click the hidden objects area.
- Find the items.
- Collect the stopcock.
- Collect the key.
- Select the shovel to uncover and collect the music box drum.
- Select the sickle to collect 5 /8 monk figurines.
- Move down 2x’s.
- Insert the key.
- Move to the left.
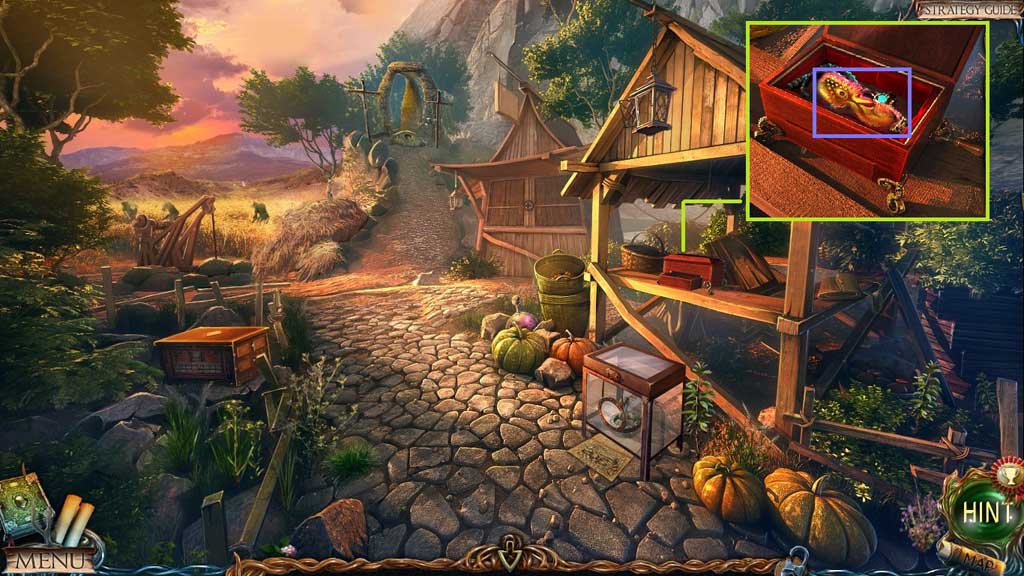
- Collect the net, the pitchfork and 6 /8 monk figurines.
- Select the pitchfork to use on the hay; collect 7 /8 monk figurines.
- Click the lantern; collect the energy sphere.
- Click the handle and attach the music box drum.
- Move to Maaron’s Cottage.
- Click the carpet; select the hammer and use it 2x’s to remove the nails.
- Click the board; collect the saw.
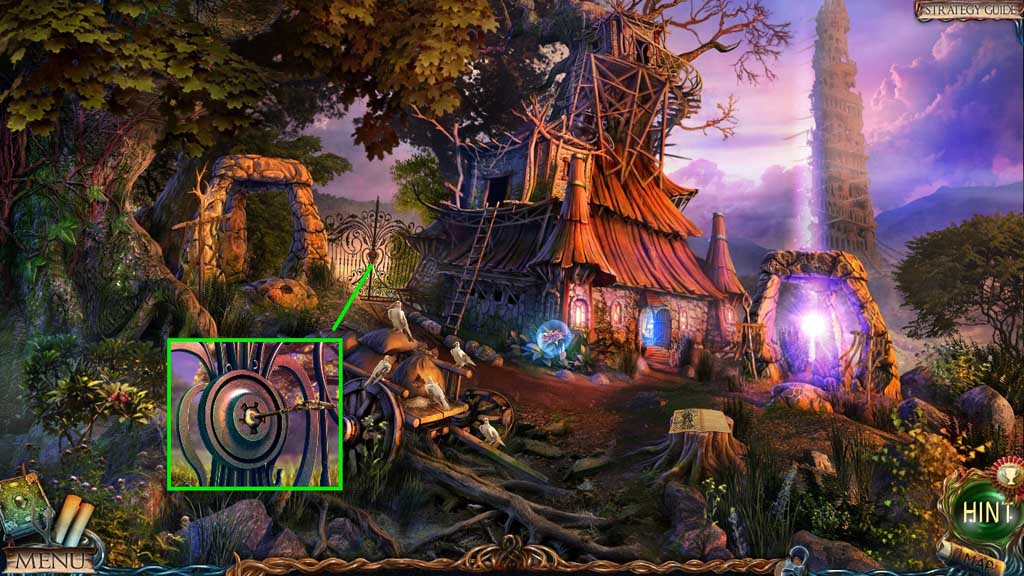
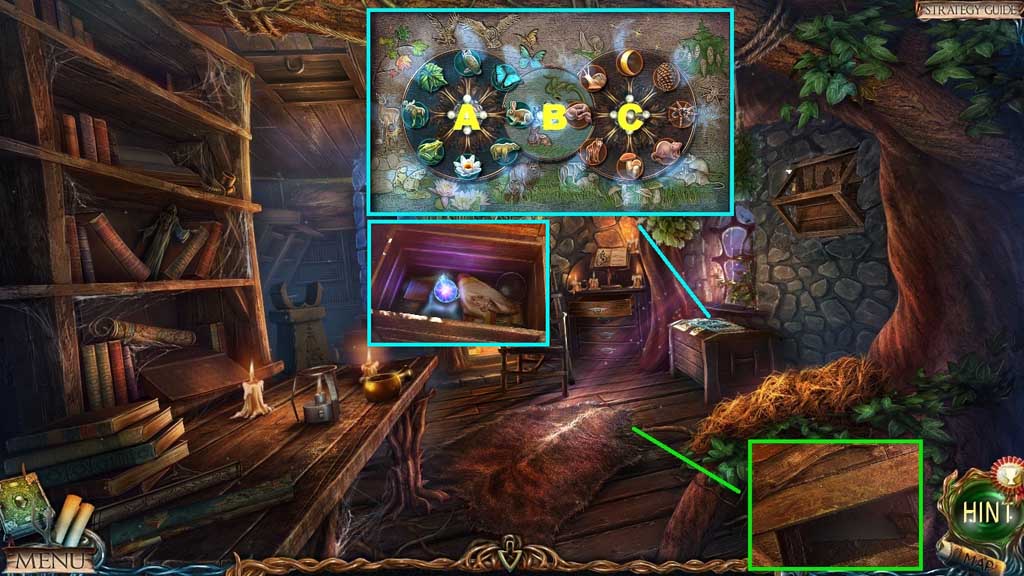
- Attach the stopcock to trigger a mini game.
- Solve the game by arranging the figurines to match the background.
- Use the following solution to solve: C x 4 – B - A – C x 3 – B – A – C x 5 – B – A - C x 2 – B – A – C x 3 – B - A – C x 4 – B – B – C x 2 – B – C x 7 – B – C – B – C
- Collect the energy sphere.
- Move down once and to the right.
- Insert the 2 energy spheres.
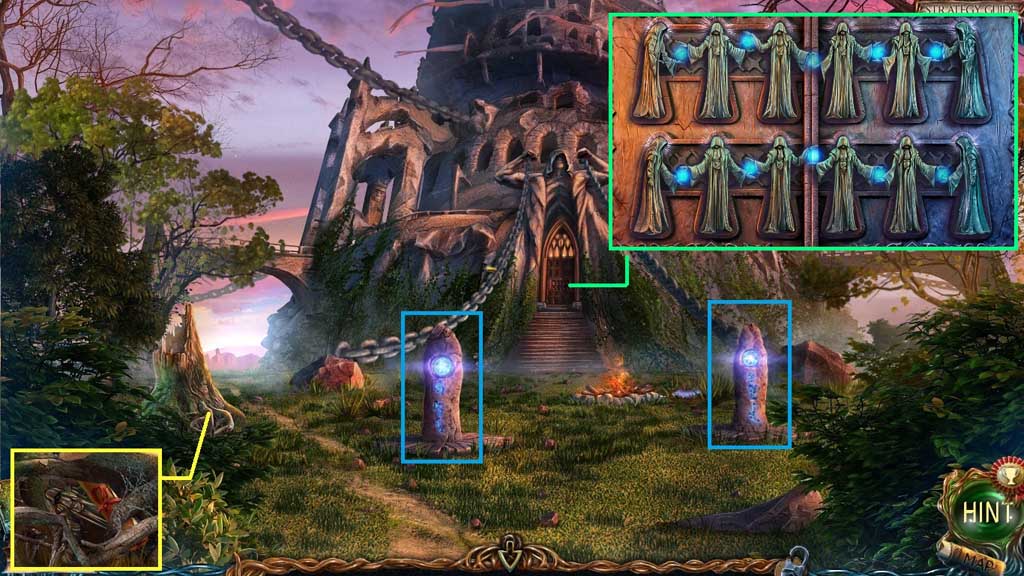
- Select the saw to cut the branches; collect the water portal activation and 8 /8 monk figurines.
- Place the 8 monk figurines to trigger a mini game.
- Solve the game by arranging the monks correctly to create a hand linked chain.
- Move ahead.
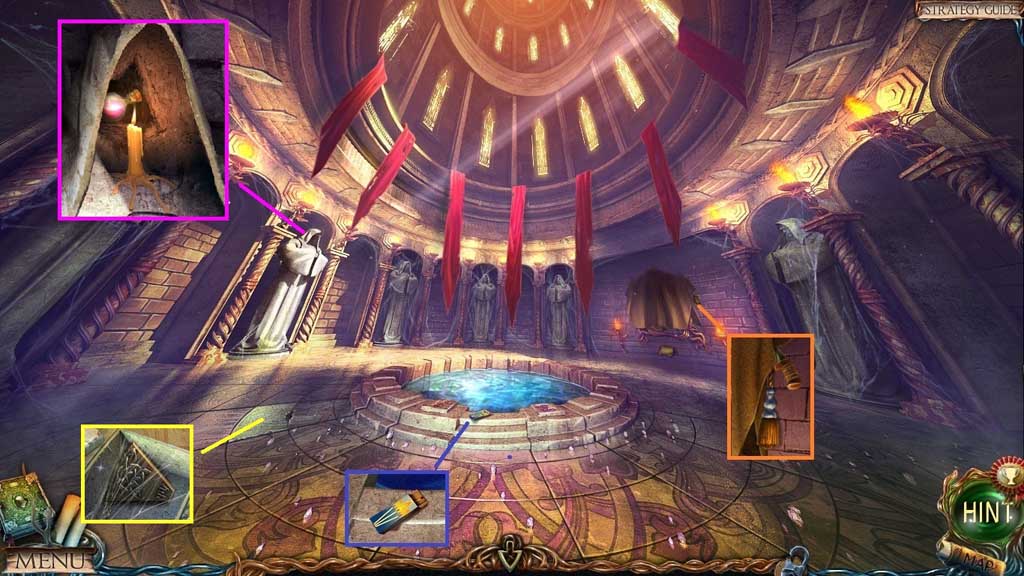
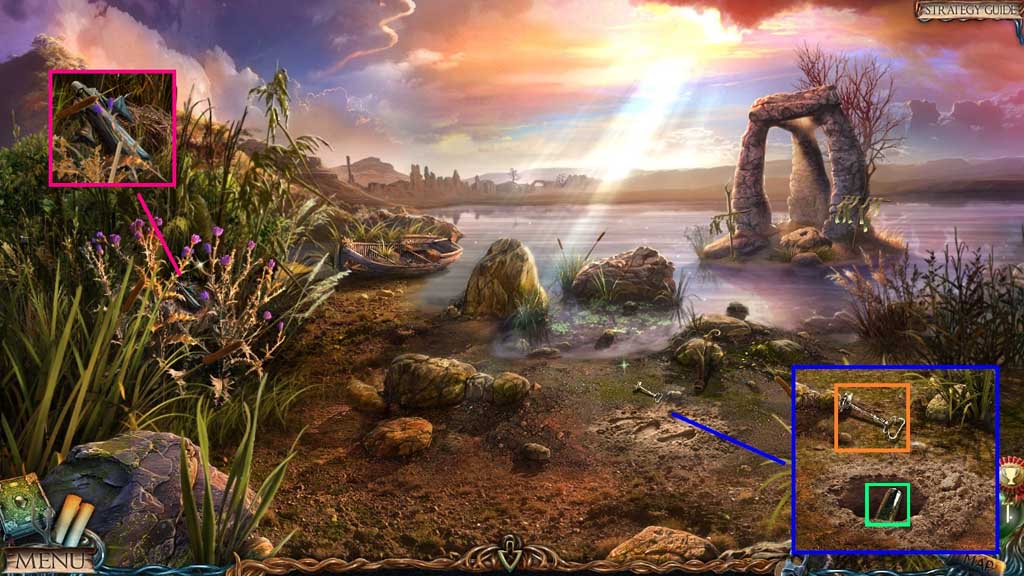
- Collect the matchbox.
- Select the knife to collect the tassel.
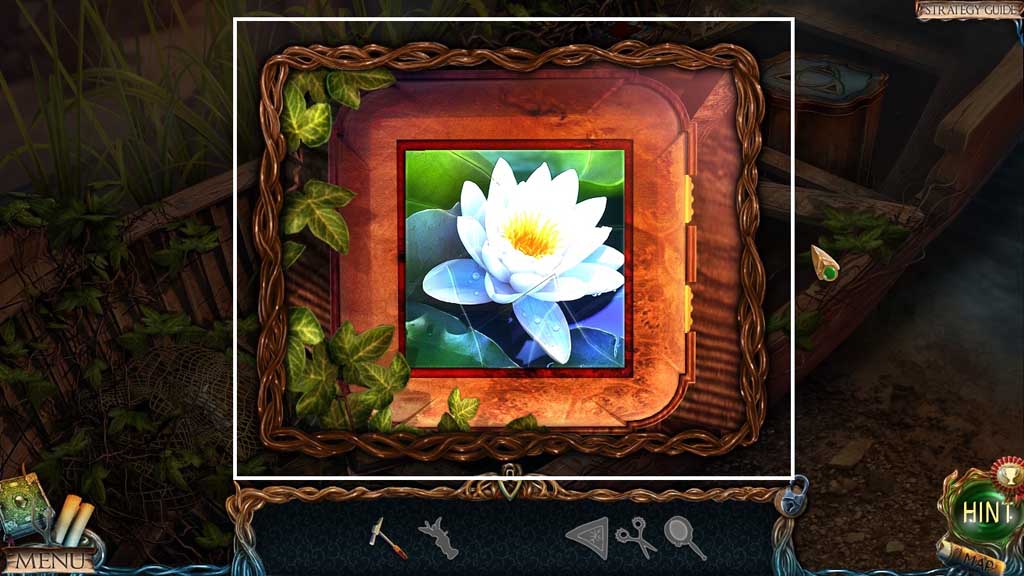
- Use the matchbox to ignite the candle; collect the purple essence.
- Select the knife to collect the mosaic fragment.
- Move down once and to the left.

- Select the net to collect the duckweed.
- Move to Maaron’s Cottage.
- Zoom into the table and place down the water portal activation.
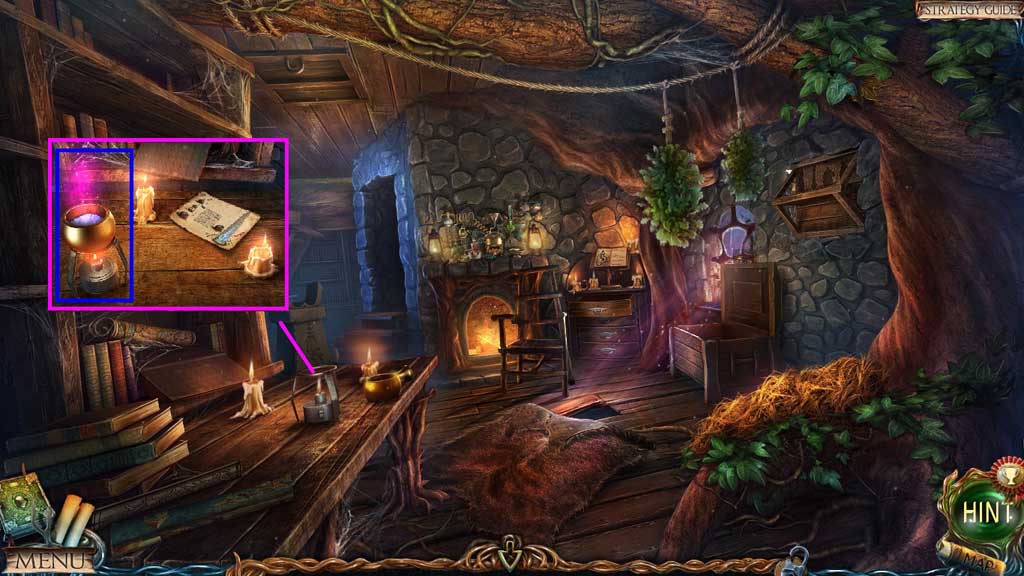
- Place the duckweed into the mortar; select the pestle to crush the ingredients.
- Place the mortar onto the burner and pour in the purple essence.
- Collect the powder of flying.
- Move down once and to the left.
- Select the tassel to clear the dust off of the music box; click the compartment closed.
- Click the handle; collect the Phoenix feather.
- Move to the Tower Hall.
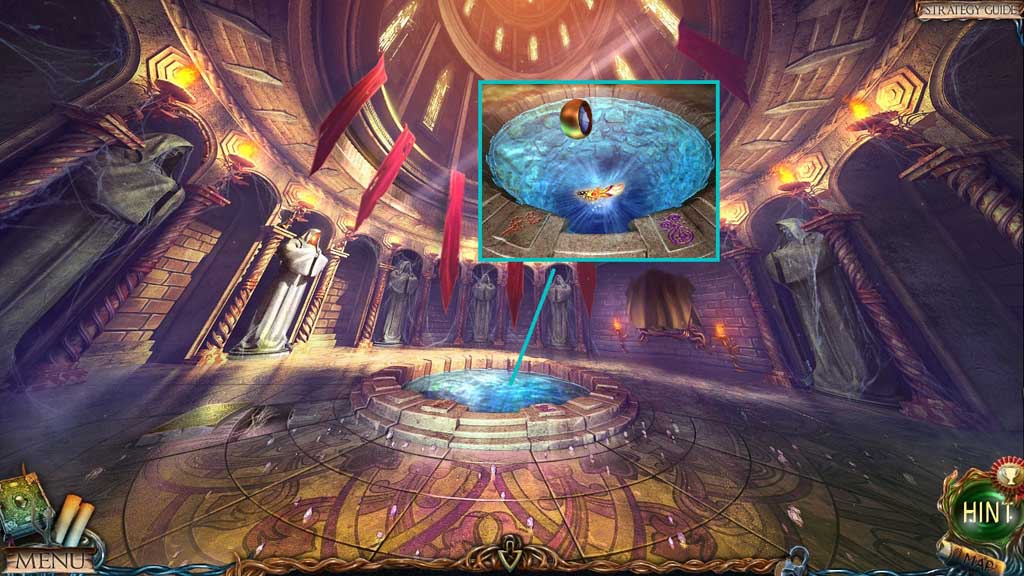
- Place the Phoenix feather and the powder of flying into the well.